
Are you tired of scrolling through your contacts list every time you want to send a group message or make a call to multiple people? Luckily, iPhones make it incredibly easy to create contact groups, allowing you to organize your contacts and streamline your communication. Whether you want to create a group for family, friends, colleagues, or any other category, this article will guide you through the process step by step. By the end of this article, you’ll be able to effortlessly send messages or make calls to a whole group of people with just a few taps on your iPhone. Say goodbye to the hassle of individually selecting contacts and say hello to the convenience of contact groups on your iPhone!
Inside This Article
- How to Make a Contact Group on an iPhone
- Create a New Contact Group
- Add Contacts to the Group
- Edit or Delete Contacts in the Group
- Send Messages or Emails to the Contact Group
- Conclusion
- FAQs
How to Make a Contact Group on an iPhone
Organizing your contacts on your iPhone can save you time and make it easier to communicate with specific groups of people. Creating contact groups allows you to quickly send messages, emails, or make calls to multiple contacts without having to select each one individually. In this article, we will guide you through the process of creating a contact group on your iPhone.
Here are the steps to make a contact group on an iPhone:
- Open the Contacts app on your iPhone.
- Tap on the “Groups” option located at the top left corner of the screen. This will display a list of your available contact groups.
- Scroll down and tap on “Create New Group.”
- Enter a name for your new contact group. Choose a name that is descriptive and easy to remember.
- Tap on “OK” to create the group.
Now that you have created a contact group, it’s time to add contacts to it. Follow these steps:
- Open the Contacts app and tap on the contact you want to add to the group.
- Tap on “Edit” located at the top right corner of the screen.
- Scroll down and tap on “Add to Existing Group.”
- Select the contact group you want to add the contact to.
- Tap on “Done” to save the changes.
Editing or deleting contacts from a contact group is simple. Just follow these steps:
- Open the Contacts app and tap on the contact group you want to edit.
- Tap on “Edit” located at the top right corner of the screen.
- To delete a contact, swipe left on the contact and tap on “Delete.”
- To edit a contact, tap on the contact and make the necessary changes.
- Tap on “Done” to save the changes.
Once you have created your contact group and added contacts to it, you can easily send messages or emails to the entire group. Here’s how:
- Open the Messages or Mail app on your iPhone.
- Compose a new message or email.
- In the recipient field, start typing the name of the contact group.
- Select the contact group from the suggestions that appear.
- Finish composing your message or email and tap on “Send.”
Creating a contact group on your iPhone is a convenient way to stay organized and streamline your communication. Whether you need to message a sports team, a work project group, or a family gathering, contact groups make it easier to reach multiple people at once. So, get started and enjoy the benefits of contact groups on your iPhone!
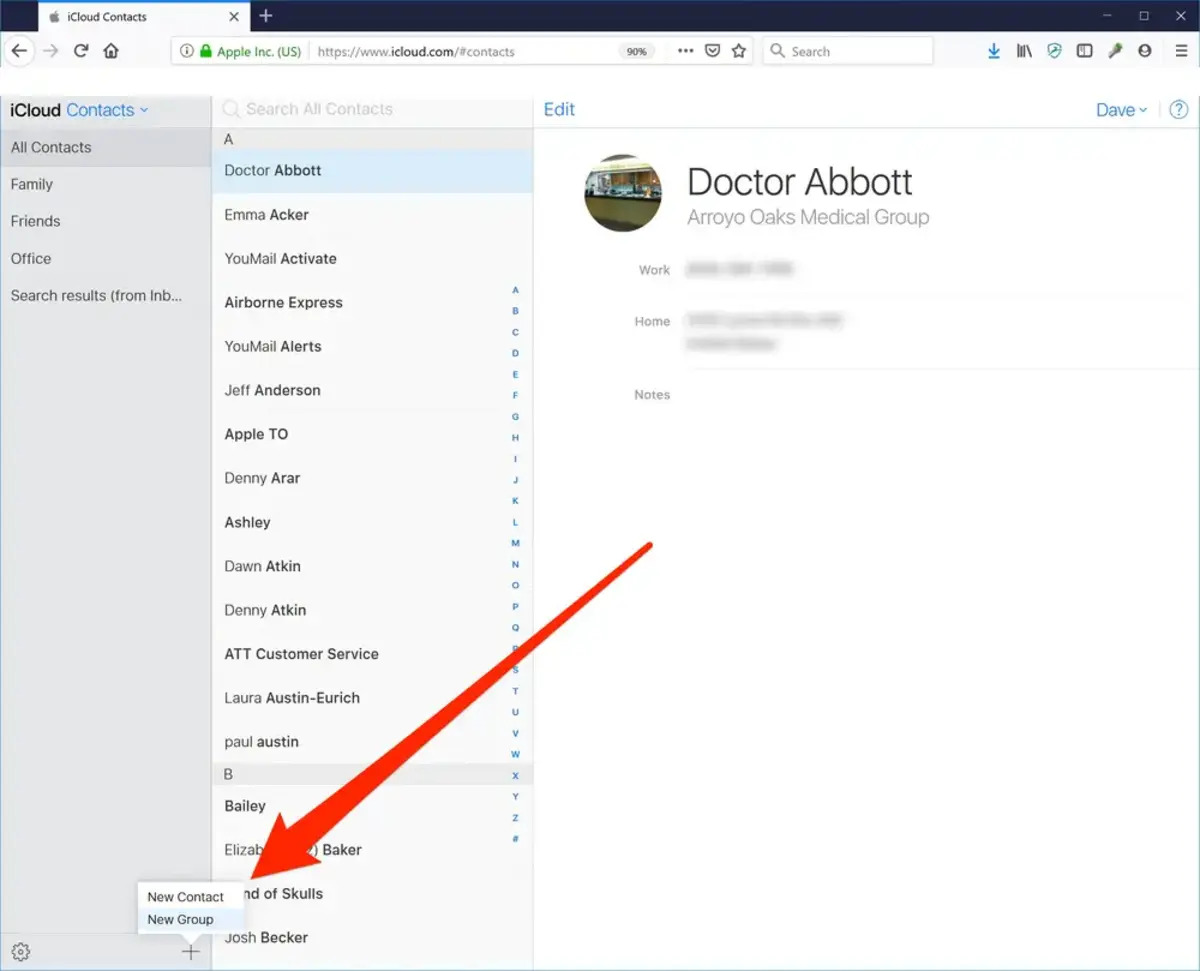
Create a New Contact Group
Creating a contact group on your iPhone allows you to organize your contacts into specific categories for easier communication. Whether you want to group your colleagues, friends, or family members, creating a new contact group is a simple and efficient process.
To create a new contact group on your iPhone, follow these steps:
- Open the Contacts app on your iPhone.
- Tap on the “Groups” tab located at the top left corner of the screen.
- You will be presented with a list of your existing contact groups. Scroll down and tap on “Create New Group” at the bottom of the list.
- Enter a name for your new contact group. Choose a descriptive name that will help you easily identify the contacts in this group.
- Once you’ve entered the name, tap on “Return” or “Done” on the keyboard.
- Congratulations! You’ve successfully created a new contact group on your iPhone. The group will now appear in the Groups tab alongside your other contact groups.
Creating a new contact group on your iPhone is a convenient way to manage your contacts and streamline your communication process. By categorizing your contacts into specific groups, you can easily send messages or emails to multiple people at once, saving you time and effort.
Add Contacts to the Group
Adding contacts to a group on your iPhone is a simple and efficient way to organize your contacts and stay connected with specific groups of people. Whether you want to create a group for your family, friends, or colleagues, the process is straightforward. Here’s how you can add contacts to a group on your iPhone:
1. Open the Contacts app on your iPhone. It’s the icon with a silhouette of a person on a blue background.
2. In the contacts list, find and select the contact you want to add to a group. You can either scroll through the list or use the search bar at the top to find a specific contact.
3. Once you’ve selected the contact, tap on the “Edit” button in the top right corner of the screen. It looks like a pencil on a square icon.
4. Scroll down to the “Notes” section and tap on it to edit. This is where you will add the contact to a group.
5. In the “Notes” section, type the name of the group you want to add the contact to. For example, if you want to add the contact to a group called “Family”, simply type “Family” in the Notes section.
6. After typing the group name, tap on “Done” in the top right corner to save the changes.
7. Repeat these steps for each contact you want to add to the group.
Once you have added contacts to a group, you can easily find and access them by going to the Contacts app and tapping on “Groups” at the top left corner of the screen. From there, select the desired group to view all the contacts associated with it.
Adding contacts to a group on your iPhone helps you efficiently manage your contacts and streamline communication with specific groups of people. Whether it’s for organizing your family, friends, or work contacts, this feature makes staying connected a breeze.
Edit or Delete Contacts in the Group
After creating a contact group on your iPhone, you might need to edit or delete contacts within that group. Fortunately, managing contacts in a group is a straightforward process.
To edit a contact in the group, follow these steps:
- Open the Contacts app on your iPhone.
- Navigate to the “Groups” tab located at the top left corner of the screen.
- Select the contact group you want to edit.
- Scroll through the list of contacts and locate the contact you wish to edit.
- Tap on the contact’s name to open the contact details.
- Make any necessary changes to the contact’s information, such as name, phone number, or email address.
- Tap “Done” to save the changes.
If you want to delete a contact from the group, follow these steps:
- Open the Contacts app on your iPhone.
- Navigate to the “Groups” tab located at the top left corner of the screen.
- Select the contact group you want to modify.
- Scroll through the list of contacts and locate the contact you wish to delete.
- Swipe left on the contact’s name.
- A delete button will appear, tap on it to remove the contact from the group.
- Alternatively, you can tap on the contact’s name, scroll down to the bottom of the contact details, and tap on the “Remove from Group” option.
By following these steps, you can easily edit or delete contacts within a group on your iPhone. It’s a convenient way to keep your contact information organized and up to date.
Send Messages or Emails to the Contact Group
Once you’ve created a contact group on your iPhone, you may want to send messages or emails to all the contacts in that group at once, saving you time and effort. Luckily, your iPhone makes it easy to do so in just a few simple steps.
To send a message or email to a contact group, follow these steps:
- Open the Messages or Mail app on your iPhone. Depending on whether you want to send a message or an email, choose the respective app.
- Compose a new message or start a new email.
- In the “To” or “Recipient” field, enter the name of the contact group you created. As you start typing, the group name should appear as a suggested contact.
- Select the contact group from the suggestions. This will automatically populate the field with all the contacts in the group.
- Write your message or email as you normally would.
- Once you’re satisfied with your message or email, tap on the send button to deliver it to all the contacts in the group.
By sending messages or emails to the contact group, you can easily communicate with multiple people at once without having to manually add each contact. This feature is especially useful for sending event invitations, updates, or important announcements to a specific group of people.
Note that when sending a message or email to a contact group, recipients will only see their own contact information and will not be able to see other recipients’ information. This helps maintain privacy and ensures that everyone receives the message individually.
Additionally, if you need to send a message or email to a contact group regularly, you can create a shortcut on your home screen for quick access. This will save you even more time and make it convenient to send messages or emails with just a tap.
Now that you know how to send messages or emails to a contact group on your iPhone, stay connected and communicate effortlessly with all your desired contacts at once.
Conclusion
Creating a contact group on your iPhone can greatly enhance your ability to stay organized and communicate efficiently. With just a few simple steps, you can group your contacts together and easily send out mass messages or emails. This feature is especially useful for business professionals, event planners, or anyone who needs to reach out to a specific group of people on a regular basis.
The process of creating a contact group may vary slightly depending on the version of iOS you have on your iPhone, but the overall concept remains the same. Whether you’re using iCloud, the Contacts app, or a third-party app, you can follow the instructions provided earlier in this article to successfully create and manage contact groups.
By utilizing contact groups, you can save time, streamline your communication, and keep important contacts organized. So why not give it a try and start creating your contact groups today? Stay organized, stay efficient, and make the most of your iPhone’s capabilities.
FAQs
1. Can I create a contact group on an iPhone?
Yes, you can easily create a contact group on your iPhone to organize your contacts and send messages or emails to multiple recipients at once.
2. How do I create a contact group on my iPhone?
To create a contact group on your iPhone, follow these steps:
a. Open the Contacts app on your iPhone.
b. Tap on the “Groups” button at the top left corner of the screen.
c. Tap on “New Group” and give it a name.
d. Tap on the empty group and tap on “Add Member” to add contacts to the group.
e. Save the changes and your contact group will be created.
3. Can I add existing contacts to a contact group on my iPhone?
Yes, you can add existing contacts to a contact group on your iPhone. Simply open the Contacts app, select the contact you want to add, tap on “Edit” at the top right corner, scroll down to the “Add to Existing Group” option, and select the desired group.
4. How do I send a message to a contact group on my iPhone?
To send a message to a contact group on your iPhone, follow these steps:
a. Open the Messages app on your iPhone.
b. Tap on the new message icon in the top-right corner of the screen.
c. In the “To” field, type the name of the contact group.
d. Tap on the group from the suggestions that appear.
e. Compose your message and tap on the send button.
5. Can I delete a contact group from my iPhone?
Yes, you can delete a contact group from your iPhone. To do so, follow these steps:
a. Open the Contacts app on your iPhone.
b. Tap on the “Groups” button at the top left corner of the screen.
c. Swipe left on the group you want to delete and tap on the “Delete” button.
d. Confirm the deletion by tapping on “Delete from My iPhone”.