
Are you struggling with how to open the back of your Android phone? Don’t worry, we’ve got you covered! Whether you need to replace your battery, insert a SIM card, or access the internal components, understanding how to safely open the back of your Android phone is essential. In this article, we’ll walk you through step-by-step instructions on how to open the back of an Android phone. From identifying the correct tools to following the proper techniques, we’ll ensure you have the knowledge and confidence to successfully open your phone without causing any damage. So, let’s dive in and explore how to get the back off your Android phone!
Inside This Article
- Step 1: Gather the necessary tools
- Step 2: Identify the back panel removal method
- Step 3: Removing the back panel using a removable battery
- Step 4: Removing the back panel using a non-removable battery
- Step 5: Reattaching the back panel
- Conclusion
- FAQs
Step 1: Gather the necessary tools
Before you begin the process of opening the back of your Android phone, it’s important to gather all the necessary tools. Having the right tools on hand will make the process easier and prevent any accidental damage to your phone. Here are the essential tools you’ll need:
- Screwdriver set: Look for a precision screwdriver set that includes various sizes of Phillips and flathead screwdrivers. This will allow you to remove any screws that hold the back panel in place.
- Plastic prying tool: A plastic prying tool is perfect for gently prying open the back panel without scratching or damaging the phone’s surface. It’s a useful tool to have in your kit.
- Tweezers: Tweezers can come in handy when dealing with small components inside the phone. They provide precision and control when working with delicate parts.
- Anti-static wristband: If you are comfortable working with electronics, it’s recommended to use an anti-static wristband. This will help protect your phone from any static charge that could potentially damage its internal components.
- Clean cloth or microfiber cloth: It’s always good to have a clean cloth on hand to wipe away any dust or fingerprints from the phone or tool surfaces.
Gather these tools before you proceed to the next steps. By having everything you need within reach, you’ll be well-prepared to safely open the back of your Android phone and carry out any necessary repairs or maintenance.
Step 2: Identify the back panel removal method
Before you begin opening the back of your Android phone, it’s crucial to understand the specific method you need to follow. Different phone models have different mechanisms for removing the back panel, so it’s essential to identify the correct method. Here are some common methods you may encounter:
- Slide or push method: This method involves sliding or pushing the back panel in a specific direction to release it from the phone’s body. Look for any notches, buttons, or arrows on the back panel that indicate the direction you need to slide or push.
- Pop-off method: Some phones have back panels that can be easily popped off with a little force. Look for any small gaps or grooves around the edges of the phone where you can insert your fingernail or a small opening tool to carefully pry off the panel.
- Screw method: In certain phone models, the back panel is secured with screws. You will need a screwdriver that fits the specific screw head to remove the screws and detach the back panel. Keep in mind that some phones may have screws hidden underneath stickers or rubber plugs.
- Heat and adhesive method: Certain phones have back panels that are held in place by adhesive. To remove the panel, you may need to heat it with a hairdryer or heat gun to soften the adhesive. Then, use a prying tool or a suction cup to carefully lift and remove the panel.
It’s important to note that these are just general methods, and your phone may have a unique back panel removal mechanism. Therefore, always refer to your phone’s user manual or search online for specific instructions tailored to your device.
Once you have identified the appropriate back panel removal method for your phone, you can proceed to the next step of actually opening the back panel. Remember to handle your phone with care and patience to avoid any damage during the process.
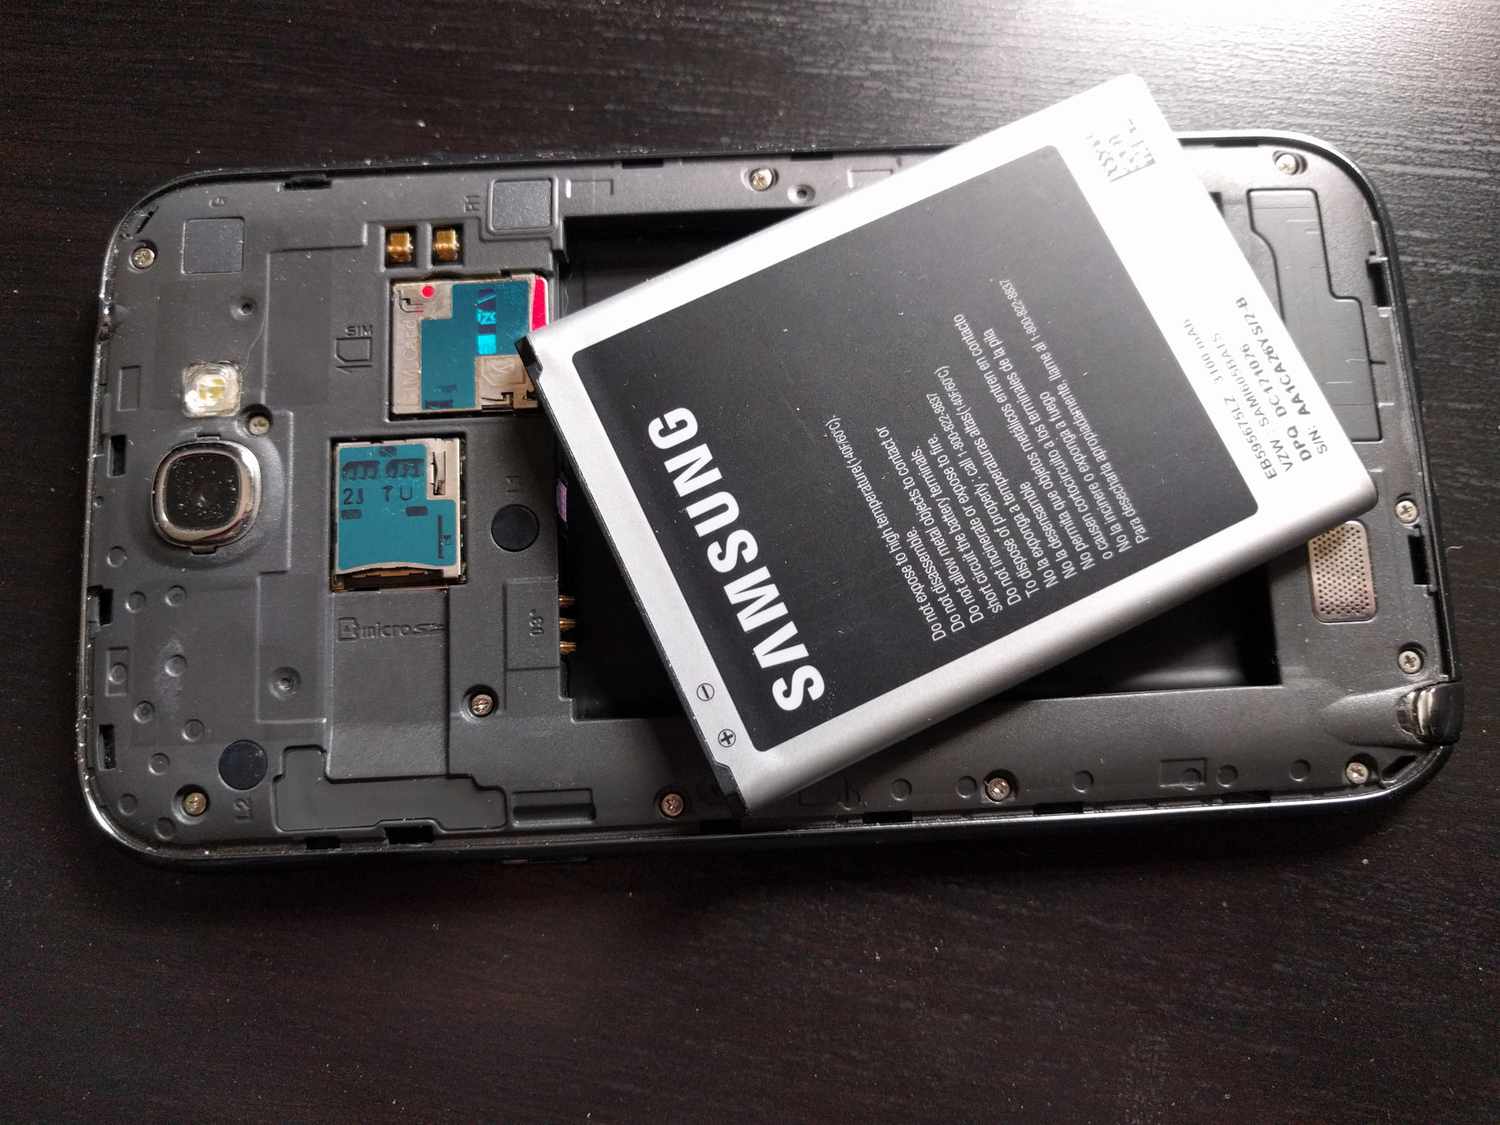
Step 3: Removing the back panel using a removable battery
If your Android phone has a removable battery, removing the back panel to access the battery compartment is relatively straightforward. Here’s how you can do it:
1. Before you begin, ensure that your phone is turned off. This step is crucial to prevent any potential damage to your device or yourself.
2. Flip your Android phone over so that the back panel is facing up. Most Android phones have a small notch or groove on the bottom corner of the back panel. This is where you’ll start the removal process.
3. Insert your fingernail or a thin, non-metallic tool like a plastic spudger or guitar pick into the notch or groove. Gently pry the back panel away from the phone, applying steady pressure until it begins to lift off.
4. Once you have created a small gap, slide your finger or the tool along the edges of the phone to gradually release the clips or latches that secure the back panel in place. Be careful not to use excessive force, as this may damage the clips or the back panel itself.
5. Continue to work your way around the edges of the phone until the back panel is completely detached. Set the panel aside in a safe place where it won’t get scratched or damaged.
6. With the back panel removed, you should now have direct access to the removable battery. Carefully lift the battery out of its compartment, ensuring that you don’t strain or tug on any connecting cables or components.
7. If you need to replace the battery, simply insert the new battery into the compartment, making sure it aligns with the correct polarity marked on the phone. Then, carefully reattach the back panel by aligning it with the latches or clips and pressing it firmly until it clicks into place.
8. Once the back panel is securely attached, you can turn your Android phone on and continue using it as usual.
Removing the back panel of an Android phone with a removable battery is a relatively simple process. However, it’s important to exercise caution and avoid using excessive force to prevent any damage to your device. If you’re unsure about removing the back panel yourself, it’s always a good idea to consult the manufacturer’s instructions or seek assistance from a professional technician.
Step 4: Removing the back panel using a non-removable battery
If you have a smartphone with a non-removable battery, don’t worry! You can still access the back panel to perform various tasks. Follow these simple steps to safely remove the back panel:
1. Power off your phone: Before attempting to remove the back panel, it’s important to power off the device to avoid any potential damage or electrical hazards.
2. Locate the SIM card and SD card tray: Most non-removable battery smartphones have a SIM card and SD card tray on the side of the device. Look for a small pinhole or a small slot with an eject button nearby.
3. Use the SIM card eject tool or a paperclip: Insert the SIM card eject tool or a straightened paperclip into the small pinhole or slot with the eject button. Apply light pressure until you feel the tray release. Gently pull out the tray and set it aside.
4. Look for the screws or clips: Once the SIM card and SD card tray are removed, examine the edges of the back panel for any visible screws or clips. Some smartphone models may have screws that need to be unscrewed, while others may have clips that need to be gently pried open.
5. Use the appropriate tools: Depending on the design of your smartphone, you may need a small Phillips head screwdriver or a plastic pry tool to remove the screws or pry open the clips. Ensure you have the correct tools before proceeding.
6. Start removing the back panel: If there are screws, use the Phillips head screwdriver to unscrew them in a counterclockwise direction. If there are clips, insert the plastic pry tool into the gap between the back panel and the main body of the phone, and gently apply pressure to release the clips. Work your way around the edges until the back panel is completely loosened.
7. Lift off the back panel: Once all screws are removed or all clips are released, you can gently lift off the back panel from the smartphone. Be cautious not to force it or bend it too much, as this can damage the panel or other components.
8. Set aside the back panel: Place the back panel in a safe location to avoid any scratches or damage. You can also use this opportunity to clean the back panel or replace it with a new one if desired.
Now that you have successfully removed the back panel of your non-removable battery smartphone, you can perform tasks like replacing the SIM card or SD card, cleaning the ports, or even replacing the battery if needed. Just remember to handle the back panel with care and be mindful of the internal components.
Step 5: Reattaching the back panel
After successfully opening the back of your Android phone, it is important to know how to properly reattach the back panel to ensure the phone is securely sealed. Follow these steps to reattach the back panel:
1. Inspect the back panel: Before reattaching the back panel, carefully examine it for any damage or dirt. Clean the panel if necessary using a soft cloth or compressed air to remove any debris.
2. Align the back panel: Hold the back panel in your hands and align it with the corresponding notches or pins on the phone’s body. Ensure that all the edges and corners are properly aligned.
3. Apply gentle pressure: Once aligned, press down gently on the back panel using your thumbs or palms. Begin at one corner and gradually move towards the other corners, applying equal pressure to ensure a uniform fit.
4. Listen for a click or snap: As you apply pressure, listen for a click or snap sound. This indicates that the back panel has securely snapped into place. If you don’t hear any sound, double-check the alignment and apply slightly more pressure as needed.
5. Test the panel: After attaching the back panel, give it a gentle shake to ensure it doesn’t feel loose or rattle. If you notice any movement, remove the panel and repeat the reattachment process, applying firmer pressure to ensure a snug fit.
6. Power on your phone: Once you are confident that the back panel is properly attached, power on your phone and ensure all functions are working correctly. Check that the buttons, ports, and camera are accessible and functioning properly.
7. Maintain regular checks: It’s a good practice to periodically check the back panel’s attachment to your phone. Over time, it may become loose due to wear and tear or rough handling. If you notice any looseness, repeat the reattachment process to ensure a secure fit.
By following these steps, you will be able to reattach the back panel of your Android phone correctly, keeping it secure and protected. Remember to handle the phone with care and avoid applying excessive force when reattaching the panel to prevent any damage.
Conclusion
Opening the back of an Android phone can be a straightforward process if you have the right tools and proper instructions. By carefully following the steps outlined in this guide, you can gain access to the phone’s battery, SIM card, and other internal components.
It is important to exercise caution and be gentle while removing the back cover to avoid damaging the phone. If you’re unsure about performing the task yourself, it’s always advisable to seek professional help or refer to the manufacturer’s guidelines.
Remember, opening the back of your Android phone might void the warranty, so proceed with caution and only do it if you are confident about your abilities. Taking care of your phone’s components can help prolong its lifespan and ensure smooth functionality for years to come.
So go ahead, armed with this knowledge and the necessary tools, confidently open the back of your Android phone and explore its inner workings!
FAQs
1. How do I open the back of my Android phone?
To open the back of your Android phone, start by locating the small notch or groove on one of the sides of the device. Gently insert your fingernail or a small tool, like a SIM card ejector pin, into the notch and apply gentle pressure to pry the back cover open. Be careful not to use excessive force or you may damage the phone.
2. Can I open the back of my phone without any tools?
In some cases, it is possible to open the back of your phone without any tools. If your phone has a removable battery, you can usually open the back cover by simply applying pressure and sliding it off. However, if your phone does not have a removable battery, you may need to use a tool like a SIM card ejector pin or a small, thin object to pry open the back cover.
3. Why would I need to open the back of my Android phone?
There are several reasons why you might need to open the back of your Android phone. Some common reasons include inserting or removing a SIM card, inserting or replacing the battery, accessing the microSD card slot, or performing repairs or maintenance on the internal components of the device.
4. Is it safe to open the back of my Android phone?
Opening the back of your Android phone is generally safe as long as you exercise caution and follow the correct procedure. However, it’s important to note that opening the back cover of some phones may void the warranty. If you’re unsure or uncomfortable about opening your phone, it’s best to seek professional assistance or contact the manufacturer for guidance.
5. What should I do if I can’t open the back of my Android phone?
If you’re having difficulty opening the back of your Android phone, double-check that you’re using the correct method for your specific model. If you still can’t open it, try applying slightly more pressure or using a different tool to assist with the process. If all else fails, it’s recommended to consult the phone’s manual or contact the manufacturer’s support team for further assistance.