
Are you tired of running out of phone storage? Do you want to save your precious phone data to an SD card for safekeeping? Look no further, as we have the perfect solution for you! In this article, we will guide you through the process of saving phone data to an SD card, ensuring that you never have to worry about storage limitations again. Whether you have an Android or an iPhone, we will provide you with step-by-step instructions tailored to your device. From photos and videos to contacts and documents, we will show you how to transfer all your important data with ease. Say goodbye to deleting files and making compromises – it’s time to take control of your phone’s storage and enjoy the freedom of having extra space at your fingertips. Let’s get started!
Inside This Article
- Step 1: Check Compatibility
- Step 2: Insert SD Card into Phone
- Step 3: Configure SD Card as Default Storage
- Step 4: Transfer Data to SD Card
- Tips and Best Practices for Saving Phone Data to SD Card
- Conclusion
- FAQs
Step 1: Check Compatibility
Before you can save your phone data to an SD card, it’s important to first check the compatibility between your phone and the SD card. Not all phones are compatible with SD cards, and some may have limitations on the type or size of the SD card you can use.
To check compatibility, start by referring to your phone’s user manual or visiting the manufacturer’s website. Look for information on whether your phone supports external storage, such as an SD card. Additionally, check for any specific requirements or recommendations regarding the type and capacity of the SD card.
If your phone supports external storage, the next step is to determine the maximum capacity of SD card it can accommodate. This information can typically be found in the phone’s specifications or settings menu. Keep in mind that using an SD card with a higher capacity than what your phone supports may lead to compatibility issues or performance limitations.
It’s also essential to consider the type of SD card your phone accepts. There are different types of SD cards available, such as SDHC (Secure Digital High Capacity) and SDXC (Secure Digital eXtended Capacity). Check your phone’s compatibility with these different types to ensure that the SD card you choose will work seamlessly with your device.
Lastly, think about the specific data you plan to save to the SD card. Certain types of data, such as high-definition videos or large applications, may require a higher read and write speed. Take note of the minimum speed rating for the SD card you choose, referred to as the Class rating, to ensure optimal performance for your data storage needs.
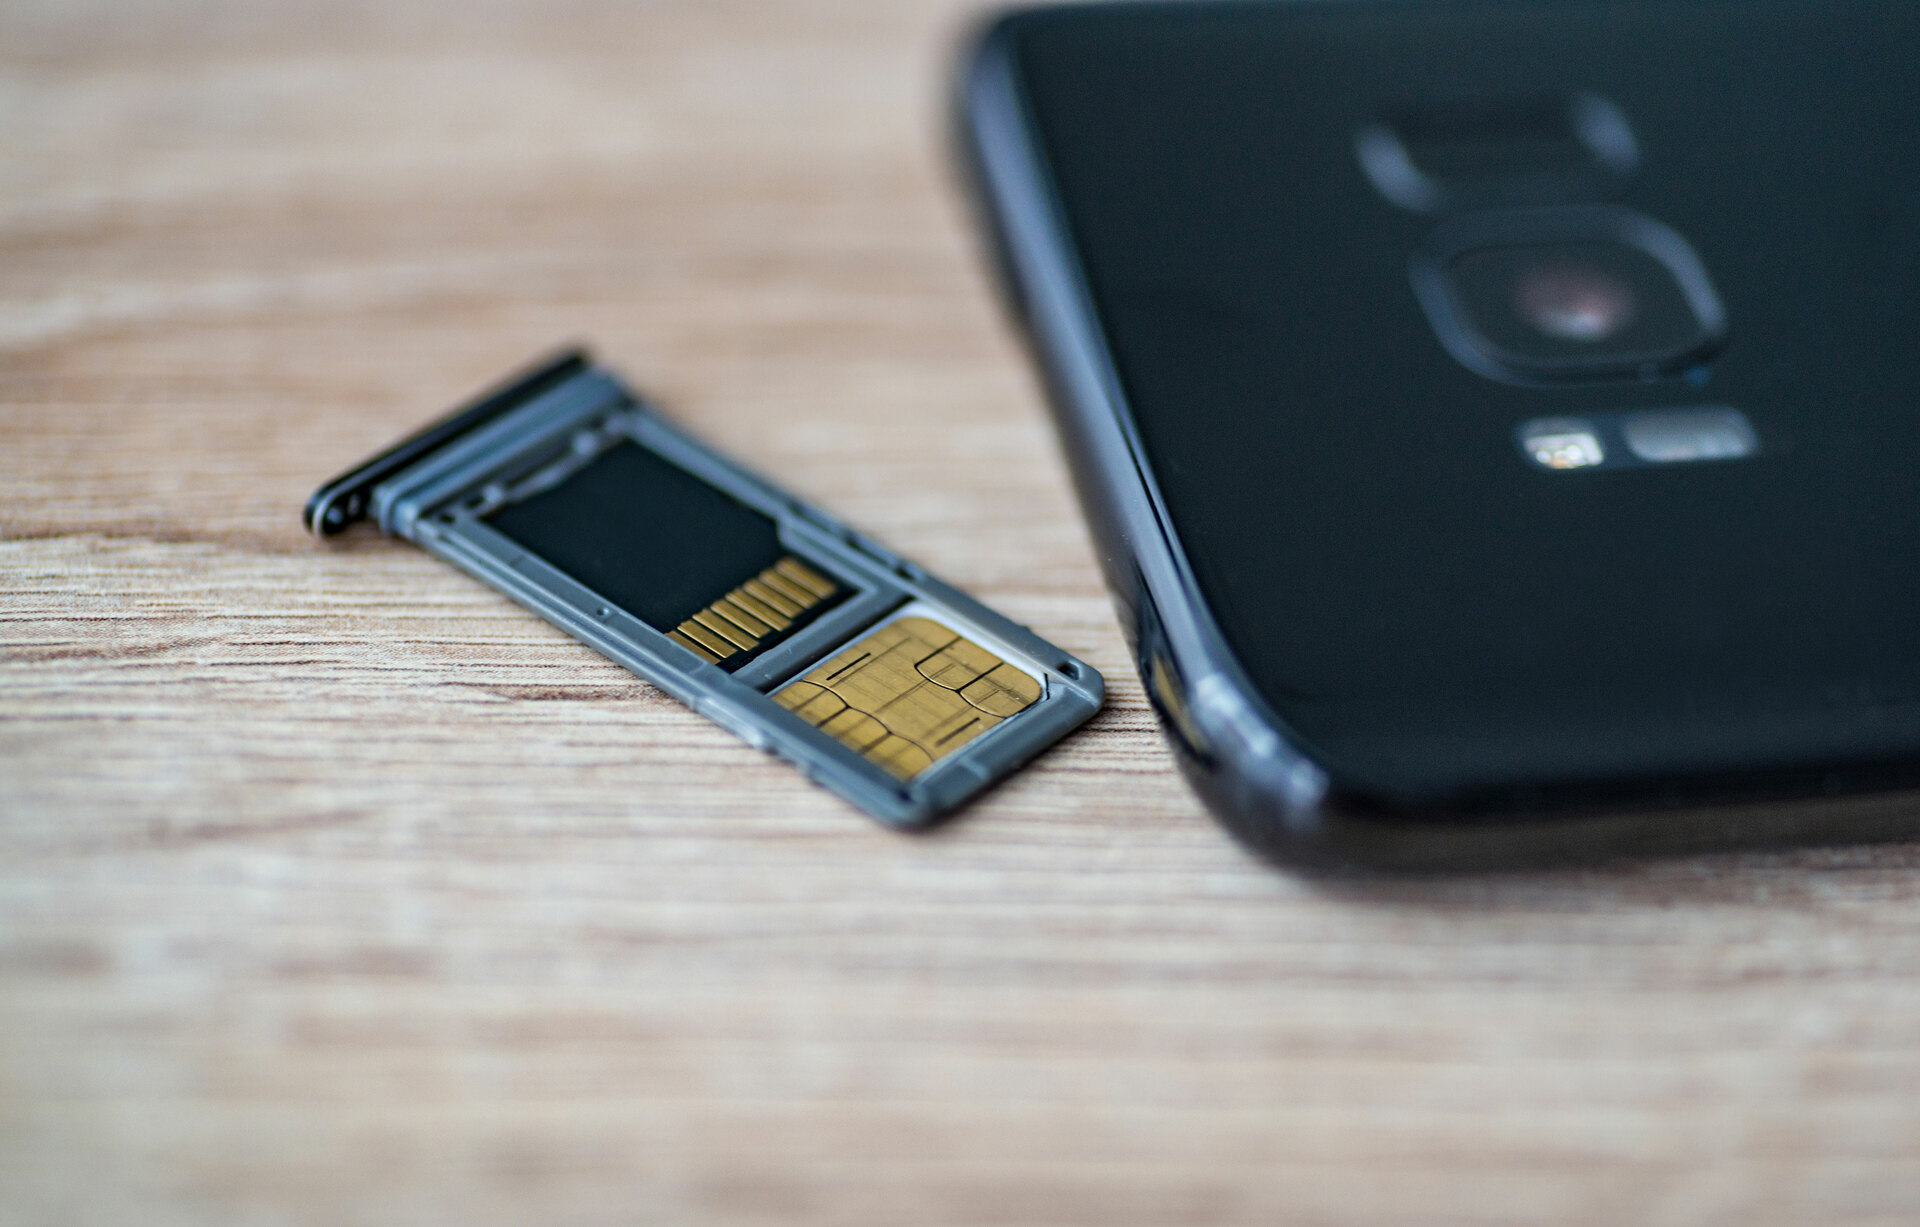
Step 2: Insert SD Card into Phone
Once you have confirmed the compatibility of your phone with an SD card, it’s time to insert the card into your device. Follow these simple steps to ensure a successful installation:
1. Locate the SD card slot on your phone. This is usually located on the side or back of the device, depending on the model.
2. Power off your phone. It’s important to turn off your device before inserting or removing the SD card to avoid any data corruption or damage.
3. Gently remove the phone’s back cover. If your phone has a removable back cover, carefully remove it by following the manufacturer’s instructions.
4. Identify the SD card slot. Once you have removed the back cover, you will see the SD card slot. It is usually labeled and located near the battery compartment.
5. Insert the SD card into the slot. Take your SD card and align it with the slot, making sure the gold contacts on the card are facing down. Gently push the card into the slot until it is securely inserted.
6. Replace the back cover. Once the SD card is inserted, carefully place the back cover back onto your phone and ensure it is properly secured.
7. Power on your phone. Now that the SD card is inserted, power on your phone and wait for it to boot up. Your device should recognize the SD card and make it available for use.
Congratulations! You have successfully inserted an SD card into your phone. Now you can start using it to store and transfer your data.
Step 3: Configure SD Card as Default Storage
Configuring your SD card as the default storage on your phone can help you save space on your device’s internal memory and ensure that any new data is automatically saved to the SD card. This is particularly useful if you have a limited amount of internal storage and want to avoid filling it up quickly.
To configure your SD card as the default storage, follow these steps:
- Open the settings on your phone.
- Scroll down and find the “Storage” or “Storage & USB” option.
- Select “Storage” to access the storage settings.
- Tap on “Preferred storage location” or a similar option.
- Choose “SD card” as the preferred storage location.
Once you have set the SD card as the default storage, any new apps, photos, videos, or other data will be automatically saved to the SD card rather than the internal memory of your phone.
It’s important to note that not all phones have this option, as it depends on the manufacturer and the version of the operating system. Some phones may have a slightly different process to configure the SD card as the default storage, so be sure to refer to your phone’s user manual or manufacturer’s website for specific instructions.
Additionally, it’s worth mentioning that not all data can be moved to the SD card. System files and certain apps may still occupy the internal memory of your phone. However, by setting the SD card as the default storage, you can ensure that any new data you generate will be saved to the SD card, freeing up space on your phone for other essential files and apps.
Step 4: Transfer Data to SD Card
Now that you have successfully inserted the SD card and configured it as the default storage option, it’s time to transfer your phone data to the SD card. This will not only free up space on your device but also provide a backup of your important files. Follow these steps to transfer your data:
1. Open Settings: Go to the Settings menu on your phone. This can usually be accessed by tapping on the gear icon in the app drawer or by swiping down from the top of the screen and selecting the settings cog.
2. Select Storage: In the Settings menu, look for the Storage option and tap on it. This will open a new window with storage-related settings.
3. Choose Internal Storage: Within the Storage menu, you’ll see two options: Internal storage and SD card. Tap on the Internal storage option.
4. Select Files: Once you’re in the Internal storage menu, you’ll see a list of categories like Photos, Videos, Music, Documents, etc. Tap on the category that contains the files you want to transfer.
5. Select Files to Transfer: Within each category, you’ll see a list of files. Tap on the files you want to transfer to the SD card. You can select multiple files by tapping on each file individually or using the select all option if available.
6. Transfer to SD Card: After selecting the files, look for an option like “Move to SD card” or “Transfer to SD card.” Tap on this option to start the transfer process. Depending on the size and number of files, this process may take some time.
7. Verify Transfer: Once the transfer is complete, you can go back to the Storage menu and select the SD card option to confirm that the files have been successfully transferred.
Tips and Best Practices for Saving Phone Data to SD Card
Transferring data to an SD card can be a convenient way to save space on your phone. Here are some tips and best practices to keep in mind:
- Regularly Backup: It’s a good practice to regularly backup the data on your SD card to ensure that you don’t lose any important files. You can do this by connecting your SD card to a computer and copying the files.
- Organize Your Files: To keep your data organized, create folders on your SD card to store different types of files. For example, you can have separate folders for photos, videos, music, etc.
- Avoid Removing the SD Card: While it may be tempting to remove the SD card from your phone frequently, it’s best to leave it inserted to ensure a seamless experience. Constantly inserting and removing the SD card can lead to wear and tear or even data corruption.
- Regularly Check the SD Card: Periodically check the SD card for any errors or issues. You can do this by inserting the SD card into a computer and running a disk check utility.
- Be Mindful of App Installations: Keep track of the apps you install on your phone. Some apps may not allow you to save their data to the SD card, and they will continue to take up space on your device’s internal storage.
- Format SD Card: If you have been using the SD card for a long time or are experiencing performance issues, consider formatting the SD card. This will erase all data on the card, so make sure to back up your files before doing this.
By following these steps and best practices, you can effectively transfer your phone data to the SD card and optimize your device’s storage capacity. Enjoy the benefits of additional space and the peace of mind that comes with having a backup of your important files.
In conclusion, saving phone data to an SD card is a simple and effective way to free up internal storage space and ensure the safety and accessibility of your important files. By following the steps outlined in this article, you can easily transfer photos, videos, documents, and other data to a convenient and portable SD card. Not only does this help you optimize your phone’s performance, but it also offers the flexibility to easily transfer data between devices or use the SD card as a backup solution.
FAQs
1. Can I save phone data to an SD card?
Yes, you can save phone data to an SD card. Many smartphones have the option to expand storage using an SD card, allowing you to save photos, videos, music, and other files directly to the card.
2. How do I save data to an SD card?
To save data to an SD card, you need to first insert the SD card into your phone (if not already inserted). Then, go to your phone’s settings and look for the storage or memory option. Within that menu, you should be able to select the default storage location for your files and switch it to the SD card. This will ensure that all new data you save, such as photos or downloads, are stored directly on the SD card.
3. What kind of data can be saved to an SD card?
You can save various types of data to an SD card. This includes photos, videos, music, documents, and even app data in some cases. However, note that not all apps support SD card storage, so it’s essential to check the app settings or preferences to see if there’s an option to save data to the SD card.
4. Can apps be saved to an SD card?
In most cases, apps cannot be directly saved to an SD card. While some older Android devices allowed for app installations on the SD card, modern versions of Android have restricted this feature for security reasons. However, you can move certain apps to the SD card to free up internal storage space. Go to your phone’s settings, then to the Apps or Application Manager section, select the app you want to move, and look for the option to “Move to SD card.”
5. Can I transfer data from my phone’s internal storage to an SD card?
Yes, you can transfer data from your phone’s internal storage to an SD card. Depending on your phone model and Android version, you should be able to go to the files app or settings menu, navigate to the specific files or folders you want to transfer, and use the “Move” or “Copy to” option to move them to the SD card. This can help free up space on your phone’s internal storage and store files on the expandable SD card.