
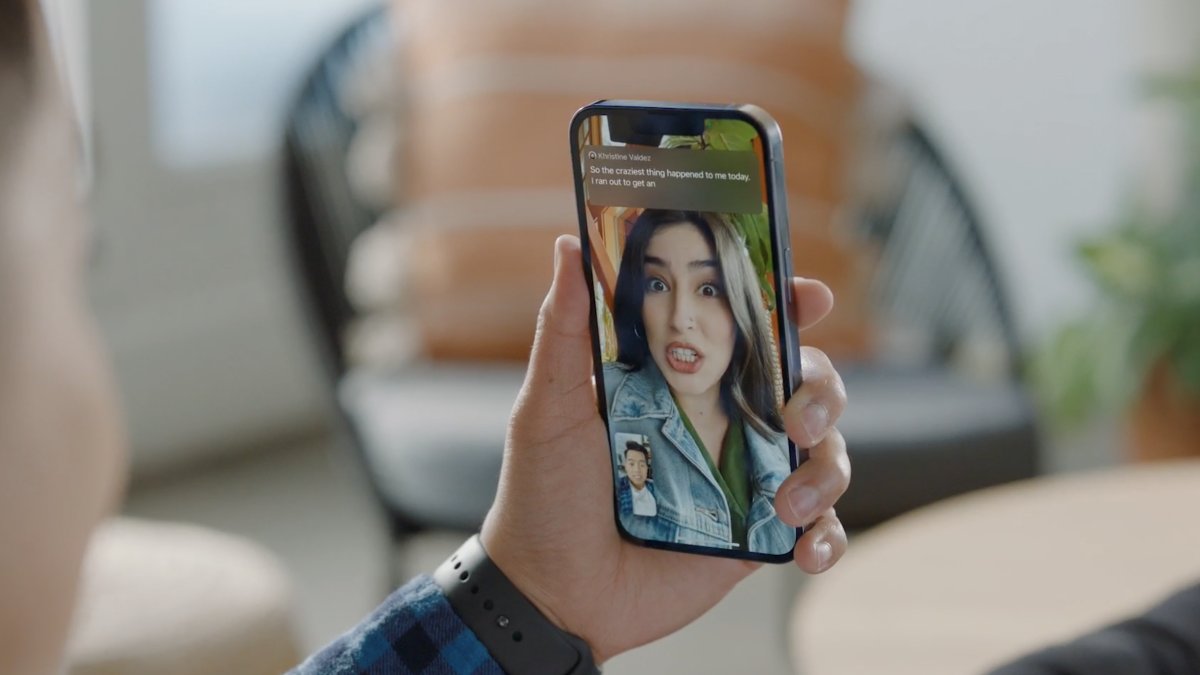
Live Captions on iPhone (iOS 16) is a revolutionary feature that brings accessibility and convenience to a whole new level. With live captions, users can enjoy real-time transcriptions of the audio content on their devices, making it easier to follow along with videos, calls, and even podcasts. Whether you have difficulty hearing, prefer reading captions, or simply want to catch every word, live captions ensure that you don’t miss out on any important information.
Setting up and using live captions on your iPhone is incredibly straightforward, and in this article, we will guide you through the process step by step. From enabling the feature to customizing its appearance and positioning, we’ll cover everything you need to know to make the most out of live captions. So, let’s dive in and discover how to experience the world of audio in a whole new way with live captions on your iPhone.
Inside This Article
- How to Enable Live Captions on iPhone (iOS 15)
- How to Use Live Captions on iPhone (iOS 15)
- Customizing Live Captions on iPhone (iOS 15)
- Troubleshooting Live Captions on iPhone (iOS 15)
- Conclusion
- FAQs
How to Enable Live Captions on iPhone (iOS 15)
Live Captions is a fantastic feature available on iOS 15 that allows you to have instant subtitles for any audio playing on your iPhone. Whether you’re watching a video, listening to a podcast, or even on a phone call, Live Captions can provide real-time captions to enhance your accessibility and overall user experience.
Enabling Live Captions on your iPhone is a breeze. Here’s a step-by-step guide to help you get started:
- Open the “Settings” app on your iPhone home screen.
- Scroll down and tap on “Accessibility”.
- In the “Accessibility” menu, select “Audio/Visual”.
- Under the “Media” section, you’ll find the option for “Live Captions”. Tap on it.
- Toggle the switch to the right to enable Live Captions.
- A pop-up will appear explaining that Live Captions will require internet access and may affect the performance of other apps. Tap on “Enable” to continue.
That’s it! You have successfully enabled Live Captions on your iPhone. Now, let’s move on to how you can use this fantastic feature in your day-to-day activities.
How to Use Live Captions on iPhone (iOS 15)
Live Captions is a fantastic feature available on iOS 15 that brings accessibility to a whole new level. With Live Captions, you can see real-time captions for any audio or video playing on your iPhone. Whether you’re watching a movie, listening to a podcast, or talking on a video call, Live Captions automatically transcribes the audio into text, making it easier for individuals with hearing impairments to follow along.
To use Live Captions on your iPhone running iOS 15, follow the steps below:
- Start by playing any audio or video on your iPhone. It could be a video from your gallery, a streaming app, or a website.
- While the audio or video is playing, swipe down from the top right corner of your screen to open the Control Center.
- In the Control Center, you’ll find the Now Playing card displaying the media that’s currently playing. Tap on the media card to open the expanded view.
- Once the expanded view is open, you’ll see the Live Captions button. It looks like a speech bubble icon with text inside. Tap on it to enable Live Captions.
- As soon as you tap on the Live Captions button, subtitles will start appearing at the bottom of your screen, displaying the real-time transcriptions of the audio or video.
Using Live Captions gives you the flexibility to consume audio and video content without relying solely on audio cues. Whether you’re in a noisy environment or you simply prefer reading along with the captions, Live Captions can be a game-changer.
It’s important to note that Live Captions might not be perfect in transcribing every word accurately. It relies on machine learning algorithms to convert audio into text, so there might be occasional inaccuracies. However, the feature generally does a remarkable job at capturing the spoken words, making it a valuable tool for many users.
Live Captions can also be customized to your preference. You can change the size, position, and style of the captions according to your visual needs. To customize Live Captions, you can follow the steps outlined in the previous section.
Now that you know how to use Live Captions on your iPhone, go ahead and give it a try. Experience the convenience and inclusivity it brings to your everyday audio and video consumption.
Customizing Live Captions on iPhone (iOS 15)
Live Captions on iPhone (iOS 15) not only provide real-time speech-to-text translations, but they also offer customization options to enhance your captioning experience. By adjusting various settings, you can personalize the appearance and behavior of Live Captions to suit your preferences. Here’s how you can customize Live Captions on iPhone.
1. Adjusting the Caption Style: To change the appearance of Live Captions, go to your iPhone’s Settings and tap on “Accessibility.” Then, select “Audio/Visual” and choose “Live Caption.” Here, you can modify the font style, size, color, and background of the captions. Experiment with different combinations until you find the style that suits you best.
2. Changing Caption Location: Live Captions can be positioned anywhere on your iPhone’s screen. To adjust the caption location, go to Settings > Accessibility > Audio/Visual > Live Caption. Tap on “Position” and choose between “Bottom,” “Top,” or “Custom.” The Custom option allows you to drag the caption box to your desired location on the screen.
3. Enabling Caption Hiding: If you find that Live Captions are obstructing important content, you can enable the “Caption Hiding” feature. This allows captions to automatically fade out when they overlap with specific areas of the screen, such as videos or images. To enable this feature, go to Settings > Accessibility > Audio/Visual > Live Caption and toggle on the “Caption Hiding” option.
4. Adjusting Caption Size: Live Captions can be resized to ensure optimal visibility. To change the caption size, go to Settings > Accessibility > Audio/Visual > Live Caption. Tap on “Text Size” and adjust the slider to make the captions larger or smaller according to your needs.
5. Controlling Caption Animation: Live Captions offer various animation styles to make the captions appear on the screen. To change the animation style, go to Settings > Accessibility > Audio/Visual > Live Caption. Tap on “Animation” and select the style you prefer, such as “Pop On,” “Scroll Up,” or “Fade In.”
6. Adjusting Caption Language: Live Captions support multiple languages. To change the caption language, go to Settings > Accessibility > Audio/Visual > Live Caption. Tap on “Language” and select the language you want the captions to be translated into. You can choose from a wide range of languages to cater to your specific needs.
7. Disabling Live Captions: If, for any reason, you no longer wish to use Live Captions, you can easily disable the feature. Go to Settings > Accessibility > Audio/Visual > Live Caption and toggle off the “Live Caption” option. This will turn off Live Captions on your iPhone.
By customizing Live Captions on your iPhone running iOS 15, you can optimize your captioning experience and make it more personalized. Experiment with different settings to find the combination that works best for you.
Troubleshooting Live Captions on iPhone (iOS 15)
Live captions on iPhone (iOS 15) can greatly enhance your accessibility and improve your overall user experience. However, as with any technology, you may encounter a few hiccups along the way. Don’t worry, though, as there are several troubleshooting steps you can take to resolve any issues you may face with live captions.
Here are some common problems and their solutions for troubleshooting live captions on iPhone with iOS 15:
-
No Live Captions option: If you don’t see the Live Captions option in your iPhone settings, make sure that you are running iOS 15 or later. Older versions of iOS do not support this feature. You can update your iPhone by going to Settings > General > Software Update.
-
No sound with Live Captions: If you enable live captions but don’t hear any sound, check your device’s volume settings. It’s possible that the volume is muted or set too low. Also, make sure that the media you’re playing has audio.
-
Inaccurate captions: If you notice that the captions are not syncing properly with the audio or are consistently inaccurate, try restarting your iPhone. This can help resolve any temporary software glitches that may be affecting the performance of live captions.
-
Captions not appearing for all content: While live captions work with a wide range of apps and media, there may be some instances where captions do not appear. This can happen if the app or media you’re using doesn’t support live captions. In such cases, you can try using a different app or media player that supports this feature.
-
Poor caption visibility: If you find that the captions are difficult to read due to their size or color, you can adjust the caption style to make them more visible. Navigate to Settings > Accessibility > Captions, and you’ll find options to change the font size, color, and background. Experiment with different settings until you find the one that suits you best.
By following these troubleshooting steps, you should be able to overcome most issues related to live captions on your iPhone running iOS 15. However, if you continue to experience difficulties, it’s always a good idea to reach out to Apple support or visit an authorized service center for further assistance.
The introduction of Live Captions on iPhone with iOS 16 has been a significant advancement in accessibility and convenience. This feature allows users to have real-time captions for any audio or video content on their devices, making it easier for individuals with hearing impairments or those in noisy environments to follow along.
By following a few simple steps, users can enable and customize Live Captions to enhance their iPhone experience. Whether it’s watching videos, listening to podcasts, or attending virtual meetings, Live Captions provide an inclusive and immersive platform for all users.
With Live Captions, iPhone users can now enjoy and engage with content in a whole new way. This exciting feature not only enhances accessibility but also adds a layer of convenience for everyone. The addition of Live Captions in iOS 16 demonstrates Apple’s commitment to inclusivity and ensuring that all individuals can fully participate in the digital world.
FAQs
1. How do I enable Live Captions on my iPhone?
To enable Live Captions on your iPhone, go to the Settings app, then tap on “Accessibility.” From there, select “Audio/Visual” and toggle on the “Live Captions” option. Once enabled, Live Captions will automatically appear on your screen whenever you play media with audio.
2. Can I customize the appearance of Live Captions?
Yes, you can customize the appearance of Live Captions on your iPhone. In the Live Captions settings, you’ll find options to adjust the text size, choose different fonts, change the text color, and even add a background color to enhance readability.
3. Are Live Captions available for all apps and content?
No, Live Captions are currently available for select apps and content on iPhone. While most media players and popular apps support Live Captions, some individual apps or less common media sources may not be compatible. However, with iOS 16’s support for Live Captions, the compatibility is expected to improve over time.
4. Can I use Live Captions in different languages?
Yes, Live Captions on iPhone support multiple languages. The feature is designed to automatically detect the language being spoken and display captions accordingly. Currently, Live Captions support a wide range of languages, including English, Spanish, Chinese, French, German, Japanese, and more.
5. Can I control the position of Live Captions on my iPhone?
By default, Live Captions appear at the bottom of the screen when enabled on iPhone. However, you can adjust the position of Live Captions to your preference. In the Live Captions settings, you’ll find an option called “Curtain Position.” Tapping on it will allow you to choose between the Bottom, Middle, or Top position for the Live Captions display.