
Are you scratching your head wondering how to shorten an iPhone video? Well, you’ve come to the right place! With the ever-increasing capabilities of iPhone cameras, it’s no surprise that video recordings can sometimes end up longer than we originally intended. Whether it’s a lengthy family gathering or an extended concert performance, a lengthy video can eat up valuable storage space on your device, not to mention the extra time it takes to upload or share.
But fear not! In this article, we will guide you through a step-by-step process on how to shorten an iPhone video. We will explore different methods, including built-in iOS features, third-party apps, and online tools. Whether you’re a tech-savvy enthusiast or a casual user, we’ve got you covered. So, let’s jump right in and learn how to trim those lengthy iPhone videos in no time!
Inside This Article
- Overview
- Method 1: Using the Photos App
- Method 2: Using a Third-Party Video Editing App
- Method 3: Using Online Video Shortening Tools
- Conclusion
- FAQs
Overview
Shortening an iPhone video can be useful in various situations, whether you want to reduce the file size for sharing or fit it within the time constraints of a social media platform. Thankfully, there are several methods you can use to accomplish this task without compromising the quality of your video. In this article, we will explore three different ways to shorten an iPhone video.
Method 1 involves using the built-in Photos app on your iPhone. This method is quick and straightforward, making it ideal for users who prefer a simple solution. Method 2 requires a third-party video editing app from the App Store. While it may take a little more time to download and set up the app, it offers additional features and customization options. Method 3 involves using online video shortening tools, which can be accessed from your computer or mobile browser. This method is particularly convenient if you prefer not to install any additional apps on your iPhone.
No matter which method you choose, it’s essential to make a backup of your original video before making any changes. This ensures that you can revert to the unedited version if needed. Additionally, consider whether you want to preserve the original aspect ratio of the video or if you are willing to crop it to a different format.
Now, let’s delve into the detailed steps of each method to shorten an iPhone video. Follow along with the instructions that suit your preference and level of technical expertise to achieve the desired result.
Method 1: Using the Photos App
The Photos app on your iPhone is not just for organizing and viewing your pictures. It also has built-in editing tools that allow you to make various adjustments to your photos and videos, including the ability to shorten a video. Here’s how you can do it:
1. Open the Photos app on your iPhone.
2. Browse through your albums or the main Photos tab to find the video that you want to shorten. Once you have located it, tap on it to open it.
3. At the bottom of the screen, you will see a timeline of the video. You can drag the white handles on either side of the timeline to adjust the start and end points of the video. Move the handles to the desired positions to select the portion of the video that you want to keep.
4. Once you have selected the desired portion of the video, tap on the “Done” button in the top-right corner of the screen.
5. The app will ask you if you want to trim the original video or create a new one. If you choose to trim the original video, the video will be shortened, and the original version will be replaced. If you choose to create a new video, a new trimmed version will be saved separately, and the original video will remain unchanged. Select your preferred option.
6. If you selected to trim the original video, the trimmed version will be saved, and you can now find it in your Photos app or camera roll.
Using the Photos app is a simple and convenient way to shorten an iPhone video without the need for any additional apps or tools. It gives you control over selecting the exact portion of the video that you want to keep, allowing you to create shorter clips for sharing or other purposes.
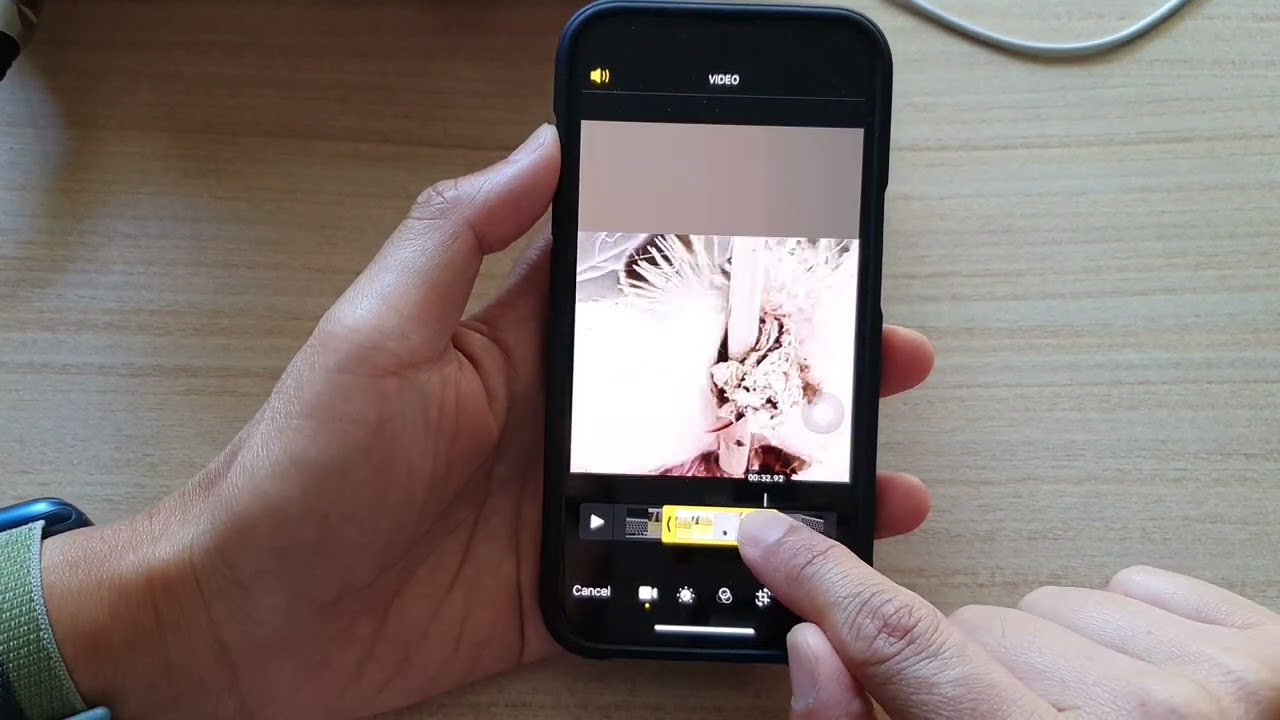
Method 2: Using a Third-Party Video Editing App
If you’re looking for more advanced video editing options, using a third-party video editing app is a great solution. These apps offer a wide range of features that allow you to not only shorten your iPhone videos but also add effects, trim clips, adjust video speed, and more. Here are the steps to shorten an iPhone video using a third-party video editing app:
1. Choose a reliable video editing app from the App Store. There are many popular options available, such as iMovie, Adobe Premiere Rush, and LumaFusion. Download and install the app on your iPhone.
2. Open the video editing app and import the video you want to shorten. This can usually be done by tapping on the “+” or “Import” button within the app. Locate the video in your iPhone’s photo library or files.
3. Once the video is imported, look for the “Trim” or “Cut” option within the editing tools. This feature allows you to select the portion of the video you want to keep and remove the rest. Drag the handles or use the sliders to adjust the start and end points of the video.
4. Preview the shortened video to make sure it meets your requirements. If needed, you can make further adjustments, such as adding transitions, applying filters, or adjusting the video’s speed.
5. Once you’re satisfied with the edits, save/export the shortened video to your iPhone’s camera roll or desired location. Some video editing apps may provide different export options, such as saving to various file formats or directly sharing the video on social media platforms.
Using a third-party video editing app gives you more flexibility and control over your editing process. You can explore additional features, such as adding text, overlays, or music tracks to further enhance your videos. Remember to choose an app that is compatible with your iPhone model and offers the necessary features for your editing requirements.
Method 3: Using Online Video Shortening Tools
If you’re looking for a quick and easy way to shorten your iPhone videos without installing any additional apps, online video shortening tools are a great option. These tools are browser-based and allow you to trim and crop your videos right from the comfort of your computer. Here’s how you can use these tools to shorten your iPhone videos:
1. Find a reliable online video shortening tool. There are several options available, such as Kapwing, Clideo, and Online UniConverter. Choose one that suits your needs and preferences.
2. Go to the website of the chosen tool and look for the video shortening feature. It is usually labeled as “trim” or “cut” in the menu.
3. Click on the “Upload” or “Select File” button to import your iPhone video to the tool. Some tools also offer the option to drag and drop the video directly onto the website.
4. Once your video is uploaded, you will see a timeline or a visual representation of the video. You can now use your mouse to select the portion of the video you want to keep. Drag the endpoints of the selection to adjust the duration.
5. Preview the trimmed video to ensure it meets your requirements. If necessary, you can make further adjustments by repeating the previous step.
6. Once you are satisfied with the trimmed video, look for the “Save” or “Export” button. Click on it to download the shortened video to your computer.
7. Depending on the tool you are using, you may also have the option to save the video to your cloud storage or share it directly to social media platforms.
Online video shortening tools provide a simple and convenient way to trim your iPhone videos without the need for complex software installations. They offer a range of editing options and are suitable for users of all skill levels. Give them a try and make your videos more concise and captivating!
Conclusion
Shortening an iPhone video can be a quick and simple process that allows you to save space on your device and share your videos more easily. With the built-in tools of the Photos app, you can easily trim and edit your videos to the desired length. Additionally, if you’re looking to reduce the file size of your videos, converting them to a compressed format can be a great option.
Remember, before you shorten a video, it’s important to consider the impact of cutting out certain parts on the overall content and message. Make sure to back up your original video files before making any edits to ensure you don’t lose any important moments. By following the steps outlined in this article, you can confidently shorten your iPhone videos and enjoy the benefits of a more streamlined video library.
FAQs
1. Can I shorten an iPhone video directly on the device?
Unfortunately, you cannot directly shorten a video on an iPhone using the default video player app. However, there are third-party apps available on the App Store that allow you to trim and edit videos right from your iPhone.
2. Which third-party apps can I use to shorten an iPhone video?
There are several popular video editing apps that can help you shorten an iPhone video. Some of the top choices include iMovie, VideoShop, Adobe Premiere Rush, and InShot. These apps provide a range of editing tools, allowing you to trim, cut, and customize your videos with ease.
3. How do I use a video editing app to shorten an iPhone video?
To use a video editing app to shorten an iPhone video, first, you will need to install the app from the App Store. Once installed, open the app and import the video you wish to edit. From there, you can use the provided editing tools, usually found in the video timeline, to trim and remove the desired sections of the video. After you are satisfied with the edits, you can save the shortened video to your iPhone’s gallery.
4. Will shortening a video affect its quality?
When you shorten a video, you are essentially removing specific sections, which should not have a significant impact on the overall quality. However, it’s important to note that re-encoding the video after editing may result in a slight decrease in quality, depending on the settings used during the export process. To minimize any potential quality loss, it is recommended to use high-quality video editing apps and export settings that preserve the original video’s resolution and bitrate as much as possible.
5. Can I undo the changes if I accidentally shorten a video too much?
Most video editing apps allow you to undo or revert the changes made during the editing process. Typically, you can find an undo button or the option to revert to the original version of the video. However, it’s always a good practice to create a backup of the original video before making any edits, just in case you need to start over or retrieve any sections that were mistakenly removed.