
Are you looking to edit a video on your iPhone? Look no further, as we have got you covered! In this article, we will guide you through the process of editing videos right from the convenience of your iPhone. Whether you want to trim a video, add filters and effects, or even create stunning cinematic masterpieces, your iPhone is equipped with powerful editing tools that can help you achieve your desired results. With the proliferation of social media platforms and the popularity of video content, knowing how to edit a video on your iPhone has become a valuable skill. So, let’s dive in and explore the various editing features and techniques that can make your videos stand out from the crowd. Whether you’re a beginner or an experienced user, this comprehensive guide will walk you through each step, ensuring that you become a pro at editing videos on your iPhone.
Inside This Article
- Importing video clips
- Trimming and rearranging clips
- Adding Transitions and Effects
- Adjusting Video Settings and Filters
- Conclusion
- FAQs
Importing video clips
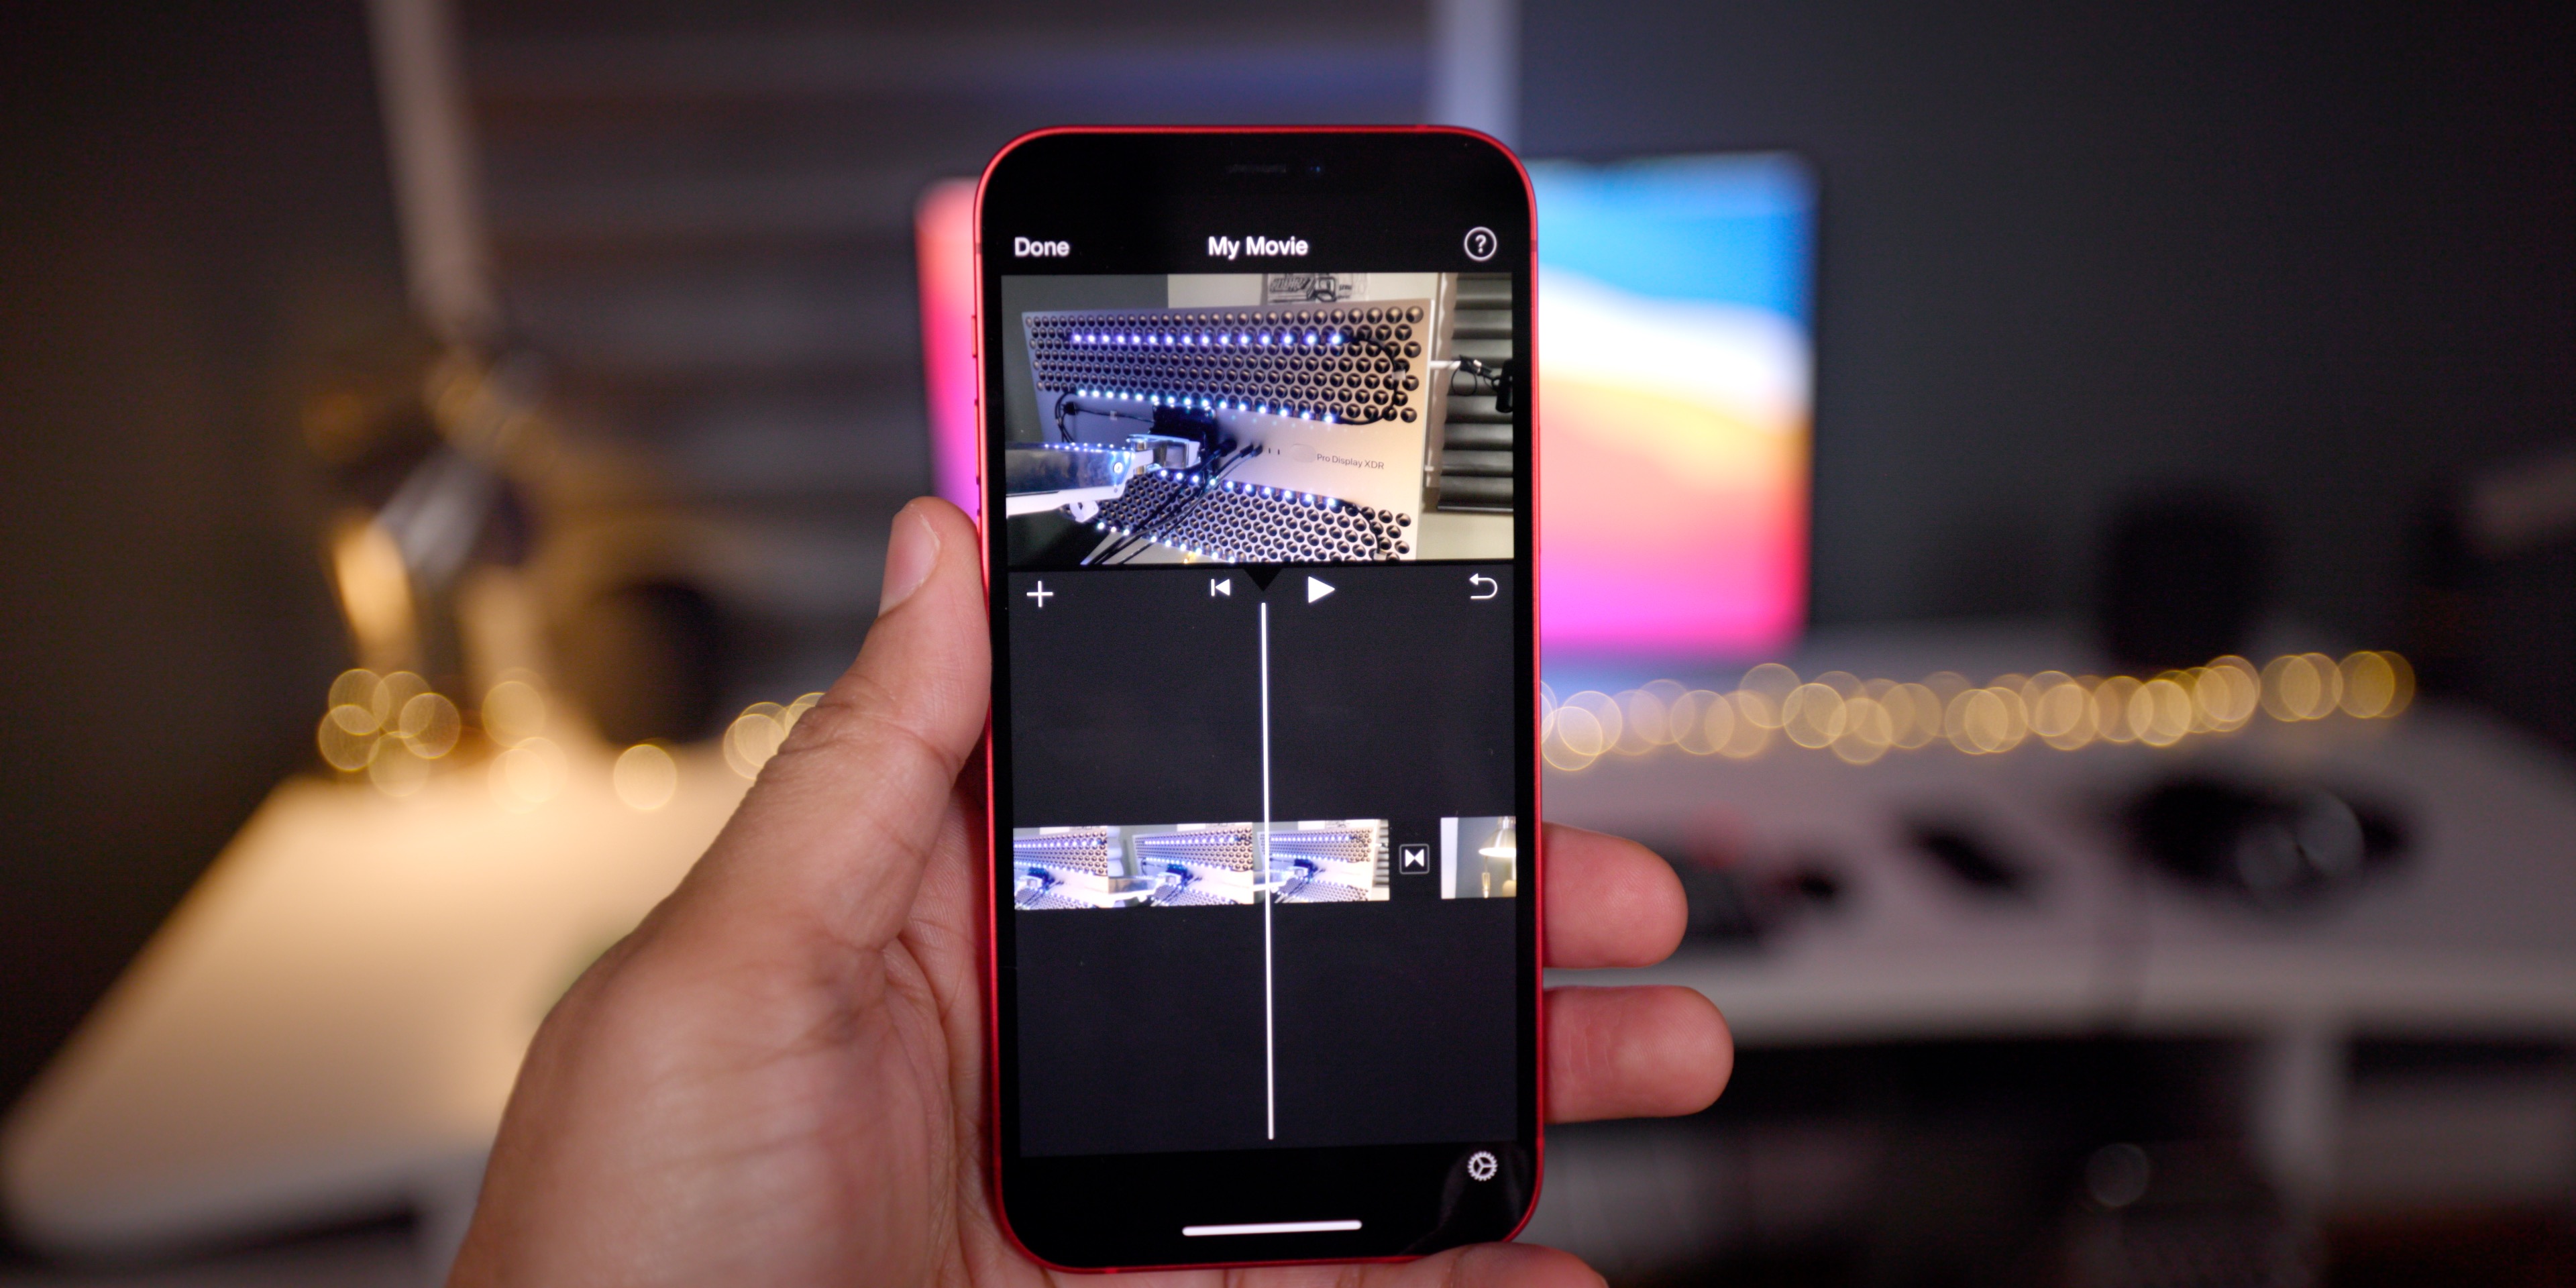
Editing videos on your iPhone has never been easier. With the built-in iMovie app, you can unleash your creativity and express yourself through stunning visual storytelling. But before you dive into the editing process, you need to import the video clips you want to work with. Here’s how to import video clips on your iPhone:
Step 1: Launch iMovie
To start the video editing process, open the iMovie app on your iPhone. If you don’t have it already, you can download it from the App Store.
Step 2: Create a new project
Once you’re inside the iMovie app, tap on the “Projects” tab and then select “Create Project.” Choose the aspect ratio and resolution that suits your needs, and give your project a name.
Step 3: Import video clips
To import video clips, tap on the “Media” button located at the bottom-right corner of the screen. This will take you to your iPhone’s photo library. Browse through your videos and tap on the ones you wish to import. You can select multiple clips at once if needed.
Step 4: Add video clips to the timeline
After selecting your video clips, tap on the “Import Selected” button. This will import the clips into your iMovie project. Once the import is complete, you will see the video clips displayed in the timeline at the bottom of the screen.
Step 5: Arrange your clips
Now that your video clips are imported, you can rearrange them in the desired order. Simply tap and hold on a clip in the timeline, then drag it left or right to adjust its position. This allows you to create a seamless flow and tell your story in a compelling way.
Step 6: Additional options
While importing your video clips, iMovie also gives you the option to select how you want your clips to be added to the timeline. You can choose to add them as individual clips or as a single clip with all the imported videos combined. This gives you flexibility in how you want to organize your footage.
Importing video clips is just the first step in the video editing journey on your iPhone. Once you have your clips ready, you can trim them, add transitions and effects, adjust video settings, and much more to create a captivating final product. The iMovie app provides an array of powerful editing tools at your fingertips, allowing you to unleash your creativity and bring your vision to life.
So, go ahead and import those video clips onto your iPhone and let your imagination soar!
Trimming and rearranging clips
Once you have imported your video clips, it’s time to start editing! The iPhone offers a user-friendly interface that allows you to easily trim and rearrange your clips to create a seamless and professional-looking video.
To trim a clip, simply tap on it in the timeline. A yellow outline will appear around the clip, indicating that it’s selected. At the bottom of the screen, you will see a toolbar with various editing options. To trim the clip, drag the handles at the beginning and end of the clip to the desired positions. This allows you to cut out unnecessary footage or shorten a clip to highlight the most important moments.
If you want to rearrange the order of your clips, simply press and hold on a clip, and then drag it to the desired position in the timeline. This enables you to create a logical flow and narrative for your video.
Additionally, the iPhone offers a feature called “splitting” which allows you to divide a clip into two separate parts. This can be useful if you want to remove a specific section of a clip or rearrange it within your video. To split a clip, first select it by tapping on it, then tap on the scissor icon that appears in the toolbar. This will create two independent clips that can be edited individually.
With the trimming and rearranging tools on the iPhone, you have the flexibility to create a visually appealing video with a well-paced storyline. Experiment with different cuts and sequencing to find the best arrangement for your footage.
Adding Transitions and Effects
Adding transitions and effects to your video can elevate its visual appeal and make it more engaging for your audience. With the iPhone’s built-in video editing tools, you can easily enhance your video with a variety of transitions and effects. Here’s how you can do it:
- Open the video editor: Launch the video editing app on your iPhone and open the video that you want to edit.
- Select a clip: Tap on the clip that you want to add a transition or effect to.
- Add a transition: To add a transition between two clips, tap on the “Transitions” option. Choose a transition from the available options, such as fade in, fade out, dissolve, or slide. You can preview the transition by tapping on it before applying it to your video.
- Apply an effect: To add visual effects to your video, tap on the “Effects” option. Choose from a range of effects like black and white, sepia, vignette, or cinematic filters. You can adjust the intensity of the effect using the slider provided.
- Preview and adjust: After adding a transition or effect, preview the changes by playing the video. If you’re not satisfied with the results, you can go back and make further adjustments as needed.
- Save your changes: Once you’re happy with the transitions and effects added to your video, tap on the “Save” or “Export” button to apply the changes and save the edited video to your camera roll or preferred storage location.
Adding transitions and effects to your iPhone videos can transform them into more professional-looking and visually appealing creations. Experiment with different transitions and effects to give your videos a unique touch and make them stand out from the crowd.
Adjusting Video Settings and Filters
Once you have imported and edited your video clips, the next step is to adjust the video settings and apply filters to enhance the overall look and feel of your video.
Firstly, let’s discuss video settings. On your iPhone, you can access the video settings by tapping on the video clip you want to adjust and then selecting the “Settings” icon. Here, you can make changes to the exposure, brightness, contrast, saturation, and other settings to make your video look more vibrant and visually appealing. Experiment with these settings to achieve the desired effect for your video.
In addition to adjusting the overall video settings, you can also apply various filters to add a specific style or mood to your video. To do this, tap on the video clip and then select the “Filters” icon. You will be presented with a range of filters to choose from, such as “Vintage,” “Black and White,” “Cinematic,” and many more. Apply different filters to see which one complements your video the best. Remember, filters can significantly impact the overall tone and atmosphere of your video, so choose wisely.
Furthermore, you can also manually adjust individual video filters to fine-tune the visual elements of your video. Tap on the video clip, select the “Filters” icon, and then choose the “Customize” option. Here, you can adjust parameters like saturation, brightness, contrast, and more to create a more personalized look for your video. Play around with these settings and find the perfect balance that suits your video’s style.
Lastly, don’t forget about sound settings! Tap on the video clip, select the “Settings” icon, and then adjust the audio settings such as volume and balance. You can even add background music or voiceovers to your video by selecting the “Audio” tab. Adding the right sounds can enhance the overall viewing experience and make your video more engaging.
Remember, adjusting video settings and applying filters is a creative process. Experiment with different settings, filters, and combinations to achieve the desired result for your video. Don’t be afraid to try new things and trust your instincts. With a little practice and experimentation, you’ll be able to add that extra touch of professionalism to your videos.
Conclusion
In conclusion, editing videos on an iPhone has become easier than ever before. Thanks to the advancements in technology and the availability of user-friendly video editing apps, anyone can now create professional-quality videos right from their iPhone. Whether you’re a beginner or a seasoned videographer, the iPhone offers a range of powerful editing tools and features that can take your videos to the next level.
With apps like iMovie and InShot, you have a wide array of editing options at your fingertips, including trimming, cropping, adding transitions, filters, text overlays, and music. Additionally, the ability to edit videos directly on your iPhone allows for more convenience and flexibility, as you can edit on the go.
By following the step-by-step guide provided in this article, you can effortlessly edit videos on your iPhone and unleash your creativity. So, grab your iPhone, download a video editing app, and start turning your footage into polished masterpieces. Remember, practice makes perfect, so don’t hesitate to experiment and explore the various editing features available. Happy editing!
FAQs
1. Can I edit videos on my iPhone?
Yes, you can definitely edit videos on your iPhone. Apple provides a powerful and user-friendly video editing app called iMovie, which is available for free on the App Store. With iMovie, you can easily trim, add transitions, apply filters, and even add music and effects to your videos.
2. How do I download iMovie on my iPhone?
To download iMovie on your iPhone, follow these steps:
- Open the App Store on your iPhone.
- Search for iMovie using the search bar.
- Tap on the “Get” or the cloud icon to download and install iMovie.
3. Can I edit videos shot on other devices using iMovie?
Yes, iMovie supports videos shot on various devices, including iPhones, iPads, and even cameras. You can import videos from your device’s Camera Roll or connect your camera directly to your iPhone to edit those videos using iMovie.
4. Are there any other video editing apps available on the App Store?
Yes, besides iMovie, there are several other video editing apps available on the App Store that you can use to edit videos on your iPhone. Some popular alternatives to iMovie include Adobe Premiere Rush, LumaFusion, and Kinemaster. These apps offer a wide range of features and capabilities to suit your video editing needs.
5. Can I edit videos on older iPhone models?
Yes, you can edit videos on older iPhone models as long as they support the required iOS version for the video editing app you choose to use. However, please note that certain resource-intensive features may not be available or may not perform as smoothly on older iPhone models compared to newer ones.