
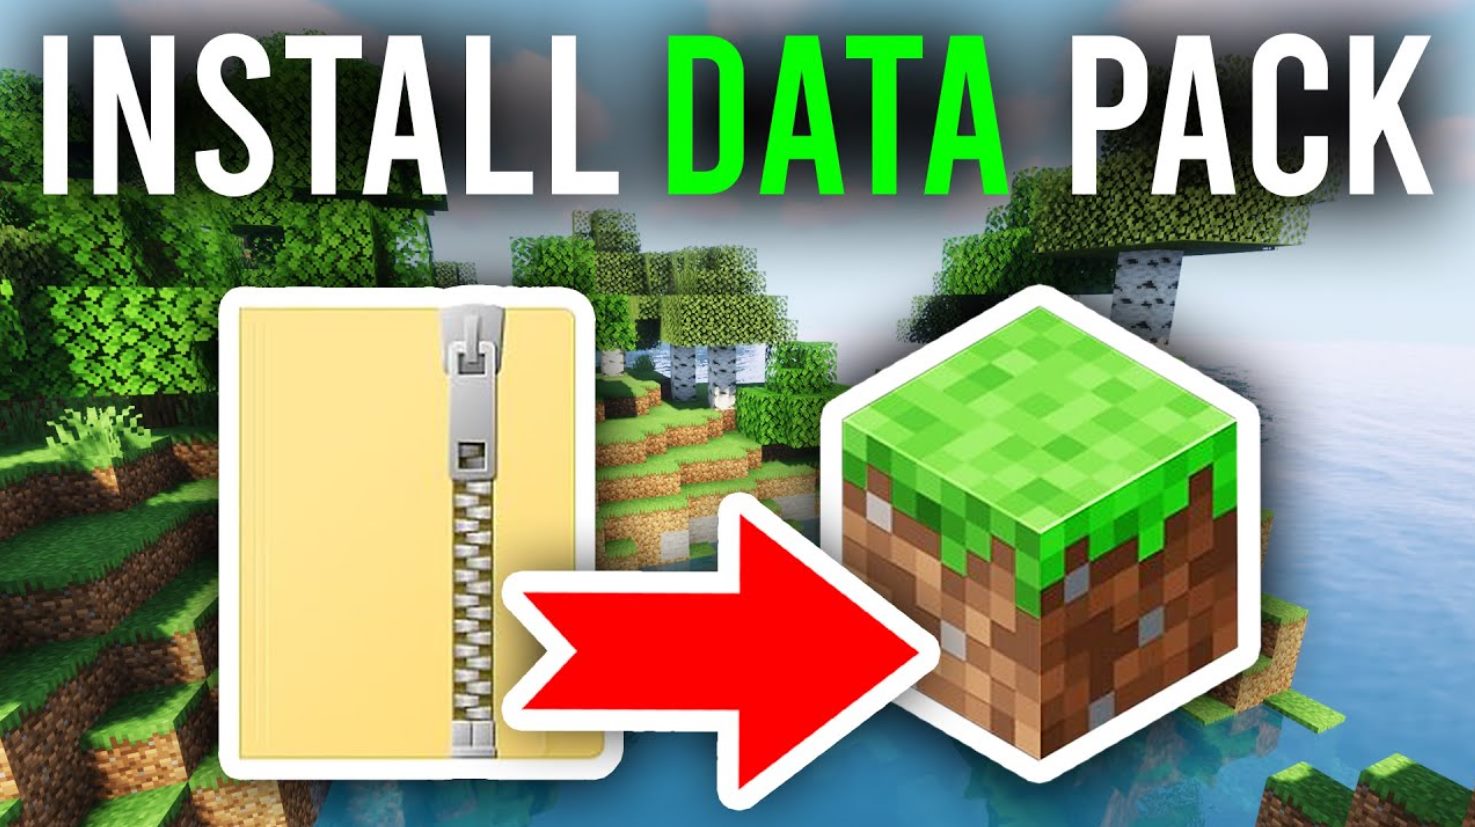
Minecraft is a wildly popular sandbox game that offers players the freedom to explore, create, and build their virtual worlds. One of the exciting features of Minecraft is the ability to enhance gameplay with data packs. Data packs are user-created modifications that add new content, functionality, and tweaks to the game.
But, you may be asking yourself, “How do I add data packs to Minecraft?” In this article, we will walk you through the process step-by-step, from finding and downloading data packs to installing and activating them in your Minecraft game. So, whether you’re a seasoned Minecraft player looking to spice up your gameplay or a newbie eager to dive into the world of data packs, this guide is here to help.
Inside This Article
- Overview
- Step 1: Downloading the Data Packs
- Step 2: Locating the Minecraft Data Packs Folder
- Step 3: Adding the Data Packs to Minecraft
- Step 4: Activating the Data Packs
- Conclusion
- FAQs
Overview
If you’re an avid Minecraft player looking to enhance your gaming experience, adding data packs to Minecraft can be a game-changer. Data packs are a way to modify and customize Minecraft by adding new features, items, and gameplay mechanics. Whether you’re looking to enhance the aesthetics of your world or introduce new challenges and adventures, data packs offer a wide range of possibilities.
To get started, you’ll need to download and install data packs that align with your desired modifications. Data packs are created by the Minecraft community and can be found on various websites and forums. These packs are usually available for free and are frequently updated, which means you can always find something new and exciting to add to your Minecraft experience.
Once you’ve found a data pack that catches your interest, you can easily download it to your computer. Most data packs are provided as a .zip file, so make sure you have a reliable file extraction software to unzip the files.
After downloading the data pack, it’s time to install it in Minecraft. Open the Minecraft Launcher and navigate to the “Installations” tab. From there, select the Minecraft version you want to add the data pack to and click on the “…” button next to it. This will open the installation settings.
In the installation settings, scroll down to the “Data Packs” section. Here, you will see a list of currently installed data packs and an “Open Folder” button. Click on the button to open the data packs folder for that specific Minecraft version.
Now, locate the downloaded data pack file on your computer and drag it into the data packs folder. Once the data pack is successfully moved into the folder, you can close the folder and go back to the installation settings window.
In the installation settings, you will now see that the data pack has been added to the list of installed packs. Make sure the checkbox next to the data pack is checked to enable it. You can also adjust the order of the data packs by using the arrows on the right side of the list. The higher the data pack is on the list, the higher priority it has in terms of override order.
With the data pack installed and enabled, you’re now ready to use it in Minecraft. Start the game, select the world you want to play in, and click on the “Edit” button. In the world edit menu, navigate to the “Data Packs” section. Here, you will see a list of installed data packs, with the enabled data pack appearing at the top.
Check the checkbox next to the data pack name to enable it for the selected world. You can also adjust the order of the data packs by using the arrows on the right side of the list, similar to the installation settings.
Once you’ve enabled the data pack for your world, click on the “Done” button to apply the changes. Now, when you enter the world, the data pack will be active, and you can start enjoying the new features and modifications it provides.
Adding data packs to Minecraft is a straightforward process that allows you to customize your Minecraft experience to suit your preferences. Whether you’re looking for new gameplay mechanics, exciting challenges, or stunning visual enhancements, data packs offer a vast array of possibilities to explore and enjoy.
Step 1: Downloading the Data Packs
Adding data packs to Minecraft can greatly enhance your gameplay experience by introducing new features, mechanics, and content. Before you can start using data packs, you need to download them. Here’s how you can do it:
Step 1: Go to your preferred data pack website or resource. There are several websites like Planet Minecraft, CurseForge, and Minecraft Forum where you can find a wide range of data packs to choose from.
Step 2: Browse through the available data packs and find the one that interests you. You can use search filters or categories to narrow down your options and find the perfect data pack for your Minecraft world.
Step 3: Once you’ve found the data pack you want to download, click on the download button or link provided. The data pack will usually be in a compressed file format, such as a .zip file.
Step 4: After the download is complete, locate the downloaded file on your computer. It is usually found in the “Downloads” folder, unless you specified a different download location.
Step 5: Extract the contents of the downloaded file. Right-click on the .zip file and select the “Extract” or “Extract Here” option. This will create a new folder containing the data pack files.
Step 6: Take note of the location where you extracted the data pack files. You will need this information in the next step when you install the data pack in Minecraft.
Once you have downloaded the data pack and extracted its files, you are ready to move on to the next step: installing the data pack in Minecraft.
Step 2: Locating the Minecraft Data Packs Folder
Once you have downloaded your desired data packs, the next step is to locate the Minecraft data packs folder on your computer. This folder is where you will copy and install the data packs for use in the game.
The location of the data packs folder varies depending on your operating system:
For Windows:
- Open the File Explorer.
- Type %appdata% in the address bar and press Enter.
- Open the .minecraft folder.
- Inside the .minecraft folder, open the “datapacks” folder. If the folder doesn’t exist, create it.
For macOS:
- Open Finder.
- Click on the “Go” menu at the top of the screen.
- Hold down the Option key to reveal the Library folder in the dropdown menu.
- Click on Library.
- Open the “Application Support” folder.
- Open the minecraft folder.
- Inside the minecraft folder, open the “datapacks” folder. If the folder doesn’t exist, create it.
For Linux:
- Open your file manager.
- Press Ctrl+H to show hidden files.
- Open the .minecraft folder.
- Inside the .minecraft folder, open the “datapacks” folder. If the folder doesn’t exist, create it.
After locating the proper folder, you can proceed to the next step of installing the data packs into the folder.
Step 3: Adding the Data Packs to Minecraft
Once you have downloaded the data packs onto your computer, it’s time to add them to your Minecraft game. Follow these simple steps to seamlessly integrate the data packs:
1. Open the folder where Minecraft is installed on your computer. The location may vary depending on your operating system, but it is usually found in the AppData folder on Windows or the Library folder on macOS.
2. Look for a folder named “saves” within the Minecraft installation directory. Open this folder to access your saved worlds.
3. Identify the specific world where you want to add the data pack. Each world will have its own folder within the “saves” folder.
4. Open the world folder and search for a folder called “datapacks.” If it doesn’t exist, simply create a new folder and name it “datapacks.”
5. Drag and drop the downloaded data pack files into the “datapacks” folder. Make sure to place the files directly into the folder and not in any subfolders.
6. Launch Minecraft and select the world you added the data packs to. Once the world has loaded, open the chat window by pressing the “T” key.
7. Type the command “/reload” without the quotation marks and press enter. This will reload the game and activate the newly added data packs.
8. You’re all set! The data packs should now be successfully added to your Minecraft world. Enjoy exploring the enhanced gameplay features and new content!
By following these steps, you’ll be able to easily add data packs to your Minecraft game and take your gaming experience to the next level. Experiment with different data packs to discover new challenges, mechanics, and items to enrich your gameplay.
Step 4: Activating the Data Packs
Now that you have successfully installed the data packs in Minecraft, it’s time to activate them and start enjoying the added features and content. Activating data packs is a straightforward process that can be done within the game itself. Follow these simple steps:
1. Launch Minecraft and navigate to the main menu.
2. Click on “Options” or “Settings” depending on your version of Minecraft.
3. In the options menu, select “Resource Packs” or “Pack Options” from the list of available settings.
4. Look for the data packs section and locate the data packs you want to activate. They should be listed there with checkboxes next to them.
5. Check the box next to each data pack you want to activate. You can activate multiple data packs at once by selecting multiple checkboxes.
6. Once you have selected the desired data packs, click “Done” or “Apply” to save your changes and activate the data packs.
7. The game will automatically reload the resource packs and data packs, and the changes will take effect immediately.
8. Start a new world or load an existing world to experience the effects of the activated data packs.
9. Enjoy the new gameplay enhancements, additional items, or modified mechanics that the data packs bring to your Minecraft experience!
Remember, you can deactivate data packs at any time by unchecking their respective boxes in the data pack settings menu. This allows you to easily switch between different data packs or play the vanilla Minecraft experience.
So go ahead and activate your favorite data packs and immerse yourself in a whole new world of possibilities in Minecraft!
Adding data packs to Minecraft can greatly enhance your gameplay experience by introducing new features, mechanics, and content to the game. Whether you’re interested in customizing your world, exploring new challenges, or expanding your creative options, data packs provide a convenient and user-friendly way to modify Minecraft to your liking.
By following the step-by-step instructions outlined in this article, you can easily add data packs to your Minecraft installation. From downloading the desired data pack to installing it in the correct location within Minecraft, the process is straightforward and accessible to players of all skill levels. With an extensive library of data packs available online, you’ll have countless options to choose from and tailor your Minecraft experience to your preferences.
So don’t hesitate to venture into the world of data packs and discover the exciting possibilities they offer. Whether you’re a seasoned player or new to Minecraft, data packs can introduce a whole new level of enjoyment and creativity to your gaming sessions. Try out different data packs, experiment with modifications, and let your imagination run wild in the vast and ever-expanding world of Minecraft!
FAQs
Q: Can I add data packs to my Minecraft game?
Yes, you can add data packs to your Minecraft game. Data packs are lightweight mods that allow you to add new features, modify existing gameplay mechanics, and customize your gaming experience.
Q: How do I add data packs to Minecraft?
To add data packs to Minecraft, follow these steps:
- Open the Minecraft game launcher.
- Select the “Installations” tab.
- Choose the game version you want to add the data pack to.
- Click on the “Edit” button next to the selected game version.
- Click on the “Open Game Dir” button to open the game files location.
- Navigate to the “datapacks” folder.
- Download the data pack you want to add and move it into the “datapacks” folder.
- Launch Minecraft and select the game version with the added data pack.
Q: Where can I find data packs for Minecraft?
There are several websites and online communities where you can find data packs for Minecraft. Some popular sources include:
- CurseForge
- Planet Minecraft
- Minecraft Forum
- Reddit’s r/Minecraft
You can browse through these platforms to discover a wide variety of data packs created by the Minecraft community.
Q: Are data packs compatible with all Minecraft versions?
Data packs are compatible with the Java Edition of Minecraft. However, it’s important to note that certain data packs may require specific Minecraft versions or custom server setups. Always check the compatibility information provided by the data pack creator before adding it to your game.
Q: Can I use multiple data packs at once?
Yes, you can use multiple data packs at once in Minecraft. Simply add each data pack to the “datapacks” folder as explained earlier. Keep in mind that some data packs may have conflicting features or may require specific load order, so it’s recommended to read the documentation provided by the data pack creators for any special instructions.