
Are you tired of the default, mundane wireless network name provided by Time Warner Cable? If you’re looking to add a personal touch to your home network, you’re in luck! Changing the wireless network name is not only easy but also gives your network a unique identity. By following a few simple steps, you can customize your wireless network name to reflect your personality or make it easier to identify among neighboring networks. In this article, we’ll guide you through the process of changing the wireless network name on your Time Warner Cable router. So, let’s get started and give your network a fresh new name that stands out from the crowd!
Inside This Article
- Overview of Time Warner Cable Wireless Network
- Step 1: Accessing the Router Settings
- Step 2: Locating the Wireless Network Name (SSID) Option
- Step 3: Changing the Wireless Network Name
- Step 4: Saving and Testing the New Network Name
- Conclusion
- FAQs
Overview of Time Warner Cable Wireless Network
The Time Warner Cable wireless network provides reliable and convenient internet access to its subscribers. With a wireless network connection, you can enjoy high-speed internet without the need for cables or physical connections. This allows you to connect various devices, such as smartphones, tablets, laptops, and gaming consoles, to the internet from anywhere within the range of your wireless network.
The Time Warner Cable wireless network operates using a router that distributes the internet connection wirelessly through a technology called Wi-Fi. This router creates a local network, known as a wireless local area network (WLAN), which enables multiple devices to connect and share the same internet connection simultaneously.
One of the essential elements of a wireless network is the network name, also known as the Service Set Identifier (SSID). The network name is what appears when you search for available Wi-Fi networks on your device. It helps you identify your network among others in your vicinity.
While Time Warner Cable assigns a default network name to its routers, it is often recommended to personalize and change the network name to make it more secure and easily identifiable by users. Changing the wireless network name can help prevent unauthorized access to your network and ensure that only authorized devices can connect.
In the following sections, we will discuss the step-by-step process of changing the wireless network name for a Time Warner Cable router.
Step 1: Accessing the Router Settings
Accessing the router settings is the first step towards changing the wireless network name for your Time Warner Cable. By accessing the router settings, you gain control over various configurations and options, allowing you to customize your network name to your preference.
To access the router settings, follow these simple steps:
1. Connect your computer or device to the Time Warner Cable router using an Ethernet cable or through a wireless connection.
2. Open a web browser, such as Google Chrome or Mozilla Firefox, on your computer or device.
3. In the address bar of the web browser, type the default IP address for the Time Warner Cable router. This IP address is often “192.168.0.1” or “192.168.1.1”.
4. Press the Enter key on your keyboard, and you will be directed to the router’s login page.
5. Enter the username and password for the router. If you haven’t changed the default username and password, you can find this information on the router itself or in the documentation that came with it. If you have changed the login credentials, enter the updated ones.
6. Once you have successfully logged in, you will be able to access the router settings and make changes to the network name and other configurations as desired.
By following these steps, you will gain access to the router settings, putting you one step closer to changing the wireless network name for your Time Warner Cable.
Step 2: Locating the Wireless Network Name (SSID) Option
Once you have accessed the router settings, the next step is to locate the option that allows you to change the wireless network name. This option is often referred to as the SSID, which stands for Service Set Identifier. The SSID is the name that appears when you search for available Wi-Fi networks on your devices.
To find the SSID option, navigate through the router settings menu. Depending on the router model, the location of the wireless network settings may vary. However, it is typically found under the “Wireless” or “Network” section of the settings.
Look for a submenu or tab labeled “SSID” or “Wireless Network Name.” Click on it to access the options associated with the SSID. If you’re unable to locate it, refer to the router’s user manual or contact your internet service provider for assistance.
Once you’ve found the SSID option, you will typically see the current network name displayed. It may be a default name provided by the router, such as “Linksys” or “Netgear,” or a custom name set by you or your internet service provider.
Take note of the current SSID, as you will need it later to confirm that you have successfully changed the network name.
Now that you have successfully located the SSID option, you are ready to proceed to the next step – changing the wireless network name.
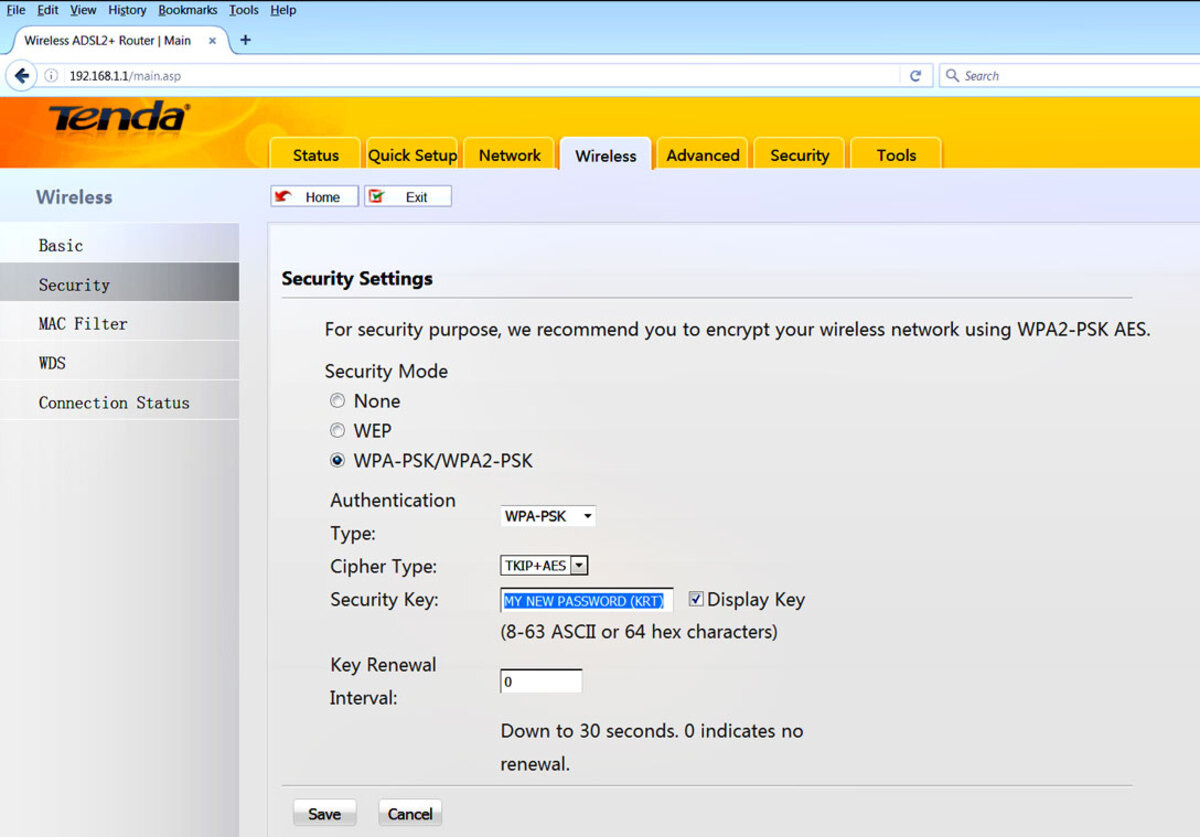
Step 3: Changing the Wireless Network Name
Once you have accessed the router settings and located the wireless network name option, it’s time to proceed with changing the network name. Changing the wireless network name is a straightforward process that can be done in a few simple steps.
1. In the router settings, find the field or option labeled “Network Name” or “SSID.” This is where you will be able to change the wireless network name.
2. Click on the field or option to highlight the existing network name. You can then delete the current name and enter the new name that you desire. Remember, the network name can be up to 32 characters long and can consist of letters, numbers, and some special characters.
3. Take this opportunity to think of a unique and creative name for your wireless network. This can help differentiate it from other networks in your area and make it easier to identify.
4. After entering the new network name, double-check for any spelling errors or typos. It’s important to ensure the correctness of the name to avoid any confusion or difficulties in connecting to the network.
5. Once you are satisfied with the new network name, save the changes by clicking on the “Save” or “Apply” button within the router settings. This will update the network name and make it visible to devices trying to connect to your wireless network.
6. After saving the changes, it’s recommended to test the new network name by connecting a device to the Wi-Fi network using the updated name. This will ensure that the new name is functioning correctly and can be easily detected by devices.
By following these steps, you can successfully change the wireless network name on your Time Warner Cable router. Remember to choose a unique and memorable name that reflects your personality or makes it easy for you to identify your network in a sea of available options.
Step 4: Saving and Testing the New Network Name
Once you have successfully changed the wireless network name (also known as the SSID), it is important to save the changes and test the new network name to ensure that it is functioning correctly. Here is what you need to do:
1. Look for the “Save” or “Apply” button on the router settings page. This button is usually located at the bottom or top-right corner of the page. Click on it to save the changes you made to the network name.
2. After saving the changes, disconnect all devices currently connected to the wireless network. This includes smartphones, laptops, tablets, and any other devices that are connected wirelessly.
3. Wait for a few seconds and then reconnect your devices to the newly renamed wireless network. You may need to enter the new network name when connecting to the Wi-Fi on each device.
4. Once connected, open a web browser and try accessing a website to ensure that the internet connection is working properly with the new network name. If the website loads successfully, it indicates that the network name change was successful.
5. Lastly, you should also verify that all the devices connected to the network are able to browse the internet and access other online services without any issues. If any device is experiencing connectivity problems, double-check the network name and password settings on that particular device.
By following these steps, you can ensure that the new network name is functioning correctly and providing a secure and reliable wireless connection.
Conclusion
Changing your wireless network name with Time Warner Cable is a straightforward process that can greatly enhance the security and personalization of your home network. By following the step-by-step instructions provided in this article, you can easily modify the network name to reflect your preferences or add a touch of creativity to your WiFi.
Remember that a unique and easily identifiable network name not only boosts the security of your network but also makes it easier for you and your family members to connect to the right WiFi. Additionally, it can help prevent unauthorized users from accessing your network, ensuring a safer browsing experience for you and your loved ones.
So, take a few minutes to follow the simple steps outlined in this article and enjoy the benefits of a customized network name that reflects your individuality and keeps your home network secure. Don’t forget to also explore other security features offered by Time Warner Cable to further enhance your online experience.
FAQs
Q: How do I change the wireless network name on my Time Warner Cable router?
Changing the wireless network name, also known as the SSID (Service Set Identifier), on your Time Warner Cable router is a relatively simple process. Here’s how:
- Connect to your router’s admin interface by entering its IP address into a web browser. The default IP address for most Time Warner Cable routers is 192.168.0.1. If that doesn’t work, consult the user manual or contact Time Warner Cable support for assistance.
- Once you’ve accessed the admin interface, you will need to sign in using your router’s administrative credentials. If you haven’t changed these from the default values, check the user manual or contact Time Warner Cable support for assistance.
- Navigate to the wireless settings section of the admin interface. Look for a menu option labeled “Wireless” or “Wi-Fi.”
- Within the wireless settings, you should see an option to change the network name or SSID. It may be labeled as “Network Name,” “SSID,” or something similar.
- Enter your desired network name in the appropriate field. Ensure that the name is unique and easily identifiable to you.
- Save the changes and exit the admin interface.
- Once the changes are saved, your Time Warner Cable router will broadcast the new wireless network name. You may need to reconnect your devices to the network using the new name and password if applicable.
Q: Can I change the wireless network name on my Time Warner Cable router remotely?
No, you cannot change the wireless network name on your Time Warner Cable router remotely. To make any changes to your router settings, including the network name, you need to be connected to the router’s admin interface either through a wired or wireless connection.
Q: Will changing the wireless network name affect the security of my Time Warner Cable router?
No, changing the wireless network name does not directly impact the security of your Time Warner Cable router. The network name is simply a way to identify your Wi-Fi network. However, it is always a good idea to ensure that your router’s security features, such as a strong password and encryption settings, are enabled to protect your network from unauthorized access.
Q: Can I change the wireless network name on my Time Warner Cable router without affecting the internet connection?
Yes, changing the wireless network name on your Time Warner Cable router does not affect the internet connection itself. It only changes the name by which your Wi-Fi network is identified. Your internet connection will remain unaffected by this change.
Q: What should I do if I forget my Time Warner Cable router’s admin credentials?
If you forget your Time Warner Cable router’s admin credentials, you may need to reset the router to its factory settings. This will erase any personalized settings you have made, including the wireless network name and password. To reset the router, locate the reset button usually found on the back or bottom of the device. Press and hold the reset button for about 10-15 seconds using a paperclip or small object, until the router’s lights flash or turn off and on again. Once the reset is complete, you can use the default admin username and password to access the router’s admin interface and reconfigure your settings.