
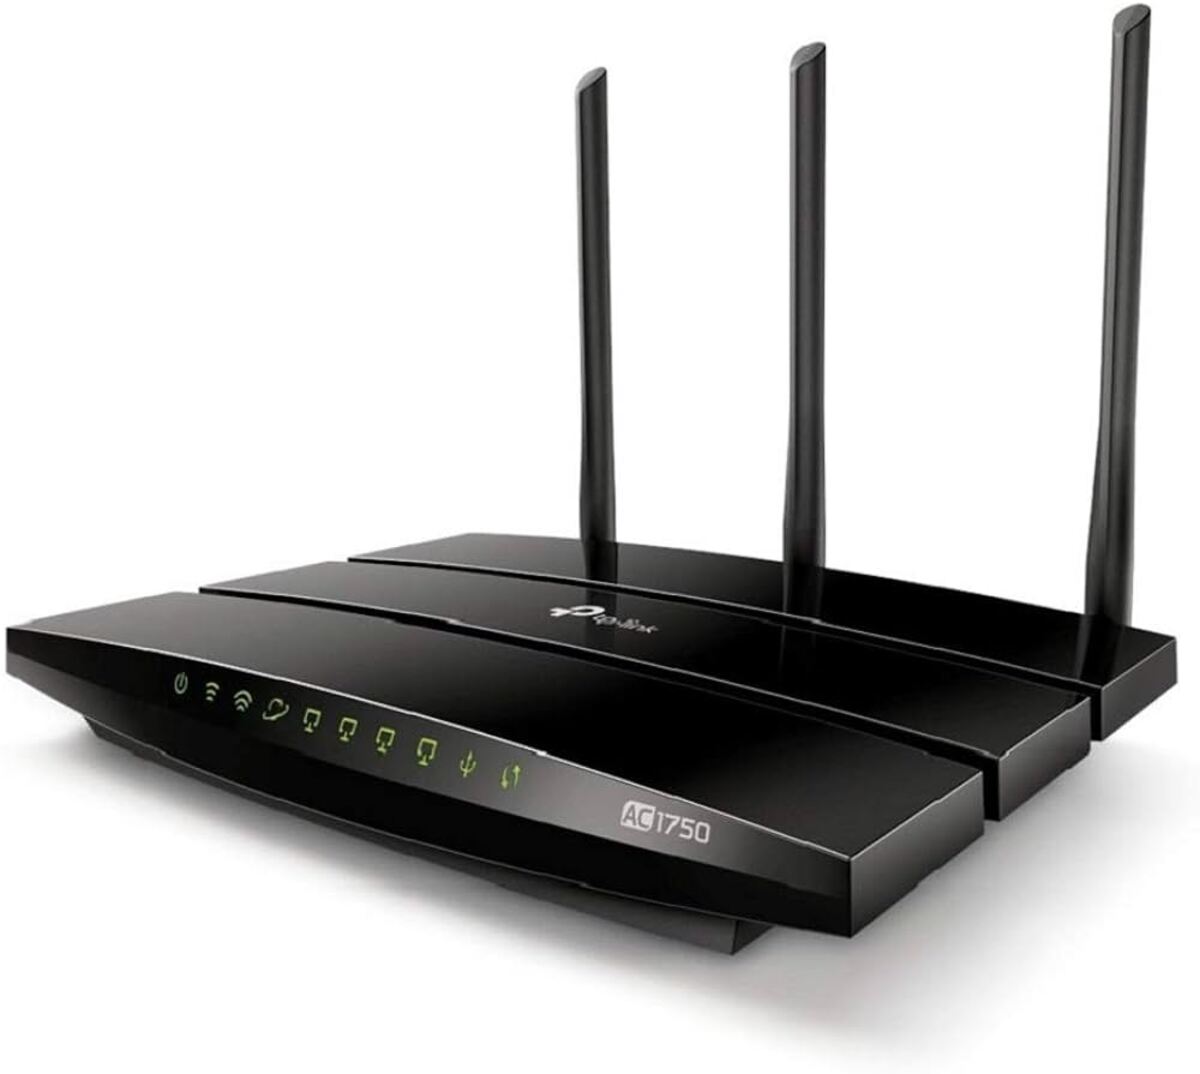
The convenience and versatility of a wireless router make it an essential component of any home or office network. Among the most popular options in the market, TP-Link stands out as a reliable and user-friendly brand. Configuring a TP-Link wireless router with LAN is a straightforward process that enables seamless connectivity and optimal performance.
In this article, we will guide you step-by-step on how to configure your TP-Link wireless router using a LAN connection. Whether you are setting up a new router or reconfiguring an existing one, this guide will help you navigate through the process with ease. So, let’s dive in and get your TP-Link wireless router up and running in no time!
Inside This Article
- Overview
- Step 1: Connect the Router
- Step 2: Access the Router’s Configuration Page
- Step 3: Configure the LAN Settings
- Step 4: Test the Connection
- Conclusion
- FAQs
Overview
Configuring a TP-Link wireless router with LAN (Local Area Network) is a simple and straightforward process that allows you to set up a secure and reliable internet connection in your home or office. Whether you are a tech-savvy individual or a beginner, this step-by-step guide will walk you through the process of configuring your TP-Link router and getting your LAN up and running smoothly.
By configuring the LAN settings on your TP-Link router, you can ensure seamless communication between multiple devices connected to the network. This includes computers, smartphones, tablets, and other smart devices. With a properly configured LAN, you can share files, access printers and other network resources, and enjoy uninterrupted internet connectivity throughout your home or workplace.
Before diving into the configuration process, it is essential to ensure that you have the necessary equipment and cables. You will need a TP-Link wireless router, an Ethernet cable, and a computer or laptop with an Ethernet port.
Now, let’s jump right into the process of configuring your TP-Link wireless router with LAN, step by step.
Step 1: Connect the Router
Before configuring your TP-Link wireless router with LAN, you need to ensure that it is properly connected to your computer or network device. This step is crucial to establish a stable and secure connection.
To connect the router, start by powering off your modem. Then, locate the Ethernet cable that connects your modem to your computer. Gently unplug this cable from the modem’s ethernet port.
Next, take the other end of the cable and plug it into the WAN port on the TP-Link router. This port is usually labeled as “WAN” or “Internet.” Ensure that the cable is securely connected to avoid any loose connections that can cause network issues.
Once the WAN port is connected, you will need an additional Ethernet cable. Take one end of the cable and plug it into any of the available LAN ports on the TP-Link router. These ports are typically labeled with numbers such as “LAN 1,” “LAN 2,” and so on.
The other end of this cable should be plugged into the Ethernet port of your computer or network device. This step will establish a direct connection between your computer and the TP-Link router.
Finally, power on your modem and TP-Link router. Give them a few seconds to boot up and establish a connection. Once the router’s power and internet status lights indicate a successful connection, you can proceed to the next step of configuring the LAN settings.
Step 2: Access the Router’s Configuration Page
Once you have connected your TP-Link wireless router to your computer via Ethernet cable, the next step is to access the router’s configuration page. The configuration page is where you can customize various settings for your router, including Wi-Fi network name, password, and security options.
To access the configuration page, you will need to open a web browser on your computer and enter the default IP address of the router in the address bar. By default, most TP-Link routers use the IP address “192.168.0.1” or “192.168.1.1”. However, it’s important to note that the actual IP address may vary depending on your specific TP-Link router model.
Once you have entered the IP address in the address bar, press Enter. This will direct you to the login page of the router’s configuration page. Here, you will be prompted to enter the administrator username and password.
The default username and password for most TP-Link routers are usually “admin” for both. However, if you have changed the login credentials in the past, you will need to enter the new username and password to access the configuration page.
After entering the correct username and password, click on the “Login” or “Submit” button. This will grant you access to the configuration page of your TP-Link wireless router.
On the configuration page, you will see a variety of options and settings that you can customize to suit your needs. It is recommended to explore each section and familiarize yourself with the different settings available.
Important settings to consider customizing include wireless network name (SSID), password, security encryption type (WPA2 is recommended), and channel. You can also set up guest networks, parental controls, and port forwarding if needed.
Once you have made the desired changes, don’t forget to save the settings by clicking on the “Apply” or “Save” button. This will ensure that your changes are implemented and your TP-Link wireless router is configured correctly.
It’s worth mentioning that if you encounter any issues during the configuration process or need further assistance, you can refer to the user manual provided with your TP-Link router or visit the TP-Link support website for troubleshooting guides and FAQs.
With access to the router’s configuration page, you have taken an important step towards setting up and customizing your TP-Link wireless router to meet your specific needs and preferences.
Step 3: Configure the LAN Settings
Configuring the LAN (Local Area Network) settings on your TP-Link wireless router is an essential step to ensure seamless connectivity within your home or office network. By properly configuring the LAN settings, you can optimize your network performance, assign IP addresses to devices, and manage network resources effectively. In this step-by-step guide, we will walk you through the process of configuring the LAN settings on your TP-Link wireless router.
Before we begin, please ensure that you have successfully connected your TP-Link router to a power source and your computer using an Ethernet cable.
1. Open a web browser on your computer and enter the default IP address of your TP-Link router in the address bar. The default IP address is usually “192.168.0.1” or “192.168.1.1”. Press Enter to access the router’s configuration page.
2. Enter the login credentials for your TP-Link router. The default username and password are usually “admin”. If you have changed the login credentials before, enter the updated username and password to log in.
3. Once logged in, navigate to the LAN settings section. This can usually be found under the Network or LAN tab.
4. In the LAN settings, you will find options to configure the IP address, subnet mask, and DHCP settings. The IP address is the unique identifier for your router on the network. Make sure to set a static IP address that is within the range of your network subnet.
5. The subnet mask determines the size of your network and helps in routing the network traffic. It is usually set to “255.255.255.0”. Ensure that the subnet mask matches the one provided by your internet service provider (ISP) or your network administrator.
6. Enable the DHCP (Dynamic Host Configuration Protocol) server to automatically assign IP addresses to devices on your network. This simplifies the process of managing IP addresses and ensures that every device on your network gets a unique IP address.
7. Save the changes and restart your TP-Link router to apply the new LAN settings.
Once the router has restarted, the LAN settings will be configured, and you can now enjoy a properly functioning and efficient network within your home or office.
It is important to note that the exact steps and options may vary slightly depending on the model of your TP-Link router. Refer to the user manual or TP-Link’s website for specific instructions related to your router model.
By following these steps, you can easily configure the LAN settings on your TP-Link wireless router. This will optimize your network connectivity and enable smooth data flow between devices, ensuring a seamless online experience for everyone connected to your network.
Step 4: Test the Connection
After successfully configuring the LAN settings on your TP-Link wireless router, the next step is to test the connection. By testing the connection, you can ensure that your devices are effectively communicating with the router and that the internet connection is working correctly. Here’s how you can do it:
1. Disconnect any devices that are currently connected to the router via LAN or Wi-Fi, except for the device you will be using for testing.
2. On the device you want to test the connection with, make sure Wi-Fi is turned on. Search for available Wi-Fi networks and select your TP-Link router’s network name (SSID) from the list.
3. Enter the Wi-Fi password when prompted to connect to the network, if you have set one up during the router configuration process.
4. Once connected, open a web browser on the device and try accessing a website. This will verify if your device can successfully connect to the internet through the TP-Link router.
5. If you are able to access websites without any issues, congratulations! Your connection is working properly. You can now reconnect other devices to your TP-Link router and enjoy a seamless internet experience.
6. In case you encounter any issues while testing the connection, double-check the router settings and ensure that the LAN configuration is accurate. You may also try resetting the router and repeating the configuration process again. If the problem persists, you can reach out to TP-Link customer support for further assistance.
Remember, testing the connection is an essential step to verify the successful configuration of your TP-Link wireless router. It ensures that all devices can connect to the internet without any difficulties, enabling you to make the most out of your network and enjoy uninterrupted online activities.
Conclusion
Configuring a TP-Link wireless router with LAN can be a straightforward process, thanks to the user-friendly interface and advanced features offered by TP-Link routers. By following the steps outlined in this guide, you can ensure a secure and efficient connection for all your wireless devices.
Remember to always refer to the router’s user manual for specific instructions and troubleshooting information. Additionally, keep in mind that your wireless network’s security is of utmost importance. Be sure to change the default password, enable encryption, and regularly update the router’s firmware to protect against potential vulnerabilities.
As technology continues to advance, TP-Link routers provide users with a reliable and customizable solution to meet their networking needs. Whether you’re a small business owner or a tech-savvy individual, TP-Link’s wireless routers offer seamless connectivity, enhanced security features, and easy management options.
So, don’t hesitate to take advantage of the TP-Link wireless router’s capabilities and enjoy high-speed internet access throughout your home or office.
FAQs
1. How do I configure my TP-Link wireless router with LAN?
2. What are the steps to set up a TP-Link wireless router with LAN?
3. Can I connect multiple devices to TP-Link wireless router using LAN?
4. Are there any specific LAN settings I need to configure on my TP-Link wireless router?
5. Is it necessary to reboot the router after configuring it with LAN?