
Are you tired of searching through endless notes on your iPhone or iPad? Do you find yourself struggling to find the information you need when you need it? Well, fear not! In this article, we will show you how to easily organize your notes using tags on your iPhone and iPad.
Tags are like labels that you can assign to your notes, making it easy to categorize and find them later. By adding relevant tags to your notes, you can create a systematic and efficient way to organize your information. Whether you’re a student, professional, or just someone who loves taking notes, using tags can be a game-changer.
In this article, we will guide you through the process of adding and managing tags on your iPhone and iPad. So let’s get started and learn how to organize your notes like a pro!
Inside This Article
- Importance of Organizing Notes
- Using Tags to Organize Notes
- Benefits of Tagging Notes on iPhone and iPad
- How to Tag Notes on iPhone and iPad
- Step 1: Open the Notes App
- Step 2: Create a New Note or Open an Existing Note
- Step 3: Add Tags to the Note
- Step 4: Assign Multiple Tags to a Note
- Step 5: View and Access Tagged Notes
- Step 6: Search for Notes by Tags
- Step 7: Edit or Remove Tags from a Note
- Additional Tips for Efficient Note Organization
- Conclusion
- FAQs
Importance of Organizing Notes
Organizing notes is an essential aspect of productivity and efficiency, especially in our fast-paced digital world. Whether you’re a student, professional, or simply someone who likes to stay organized, having well-structured and easily accessible notes can make a significant difference in your daily life.
1. Enhanced Productivity: When your notes are organized, you can find information quickly and efficiently. Instead of spending precious time searching through piles of paper or scrolling endlessly through digital files, a well-organized note system allows you to access the information you need with just a few clicks or taps.
2. Better Time Management: By organizing your notes, you can prioritize tasks, set reminders, and establish a clear workflow. This helps you stay focused and ensures that you complete tasks in a timely manner. With a well-organized note system, you can easily track deadlines, create to-do lists, and schedule appointments, making it easier to manage your time effectively.
3. Improved Memory Retention: Organizing notes helps reinforce your memory and enhances recall. When you categorize and tag your notes, the process of reviewing and linking information becomes more systematic. This aids in better retention and comprehension, making it easier to recall important details when needed.
4. Streamlined Collaboration: If you work in a team or collaborate with others, organizing notes becomes even more important. By having a consistent and structured note system, you can easily share and collaborate with colleagues, ensuring everyone has access to the necessary information. This facilitates seamless collaboration, reduces miscommunication, and improves overall productivity.
5. Efficient Information Retrieval: With the vast amount of information we encounter daily, it’s essential to have an efficient method of retrieving important details. By organizing notes with tags, you can quickly search and filter information based on specific criteria. Tags act as labels that help categorize and classify notes, allowing you to find the exact information you need when you need it.
Using Tags to Organize Notes
When it comes to staying organized, tags are a valuable tool that can greatly enhance your note-taking experience. With tags, you can easily categorize and sort your notes based on specific topics, projects, or themes. Whether you are a student, professional, or someone who simply wants to keep their thoughts in order, using tags to organize your notes on your iPhone and iPad can greatly streamline your productivity.
Tags act as virtual labels that you can assign to individual notes, allowing you to classify and group them based on their content. By applying relevant tags to your notes, you can quickly locate specific information without having to scroll through multiple pages of text. Additionally, tags provide a visual and searchable method of organizing your notes, making it easier to find what you need, when you need it.
With the Notes app on your iPhone and iPad, you can easily create and assign tags to your notes. By following a few simple steps, you can begin utilizing this powerful organizational feature to its fullest potential.
Benefits of Tagging Notes on iPhone and iPad
Tagging notes on your iPhone and iPad can bring numerous benefits to your note-taking and organization process. Here are some key advantages of using tags:
- Improved Organization: Tags allow you to categorize and group your notes based on different topics, projects, or contexts. This makes it easier to find and access specific notes when needed.
- Efficient Searching: When you tag your notes, you can quickly search for specific tags to retrieve related information. This saves you time and eliminates the need to scroll through numerous notes.
- Better Cross-Referencing: Tags provide a way to connect related notes across different folders or categories. You can assign multiple tags to a single note, making it accessible from different perspectives and contexts.
- Flexible Organization: Unlike traditional folder-based systems, tags offer more flexibility in organizing your notes. You can assign multiple tags to a note, allowing it to appear in different “virtual” folders or categories simultaneously.
- Enhanced Collaboration: Tagging notes can facilitate collaboration with others. By using consistent tags, you can easily share and locate notes with your team, ensuring everyone has access to relevant information.
- Personalized Workflow: Tags enable you to customize your note-taking workflow to suit your specific needs and preferences. You can create tags that align with your preferred organization system, allowing for a more personalized and efficient experience.
Overall, tagging notes on your iPhone and iPad enhances your ability to organize, search, and access your notes. It brings efficiency, flexibility, and customization to your note-taking process, making it easier to manage and retrieve information whenever you need it.
How to Tag Notes on iPhone and iPad
Tags are a powerful tool for organizing your notes on the iPhone and iPad. By assigning relevant tags to your notes, you can easily categorize and locate them whenever needed. Here’s a step-by-step guide on how to tag notes on your iPhone and iPad:
Step 1: Open the Notes App
Tap on the “Notes” app icon on your iPhone or iPad’s home screen to launch the application.
Step 2: Create a New Note or Open an Existing Note
To tag a new note, tap on the icon that resembles a square with a pencil inside it, located at the bottom right corner of the screen. Alternatively, if you want to tag an existing note, simply locate and open the note you wish to tag.
Step 3: Add Tags to the Note
Once you have opened a note, tap anywhere within the note’s body to reveal the keyboard. At the top of the keyboard, you will see a small icon that resembles a hashtag (#). Tap on this icon to open the tags panel.
Step 4: Assign Multiple Tags to a Note
In the tags panel, you can either select existing tags or create new ones. To select an existing tag, simply tap on it. To create a new tag, type the desired tag name in the search bar at the top and tap on “Create New Tag” when prompted. You can assign multiple tags to a single note by repeating this step.
Step 5: View and Access Tagged Notes
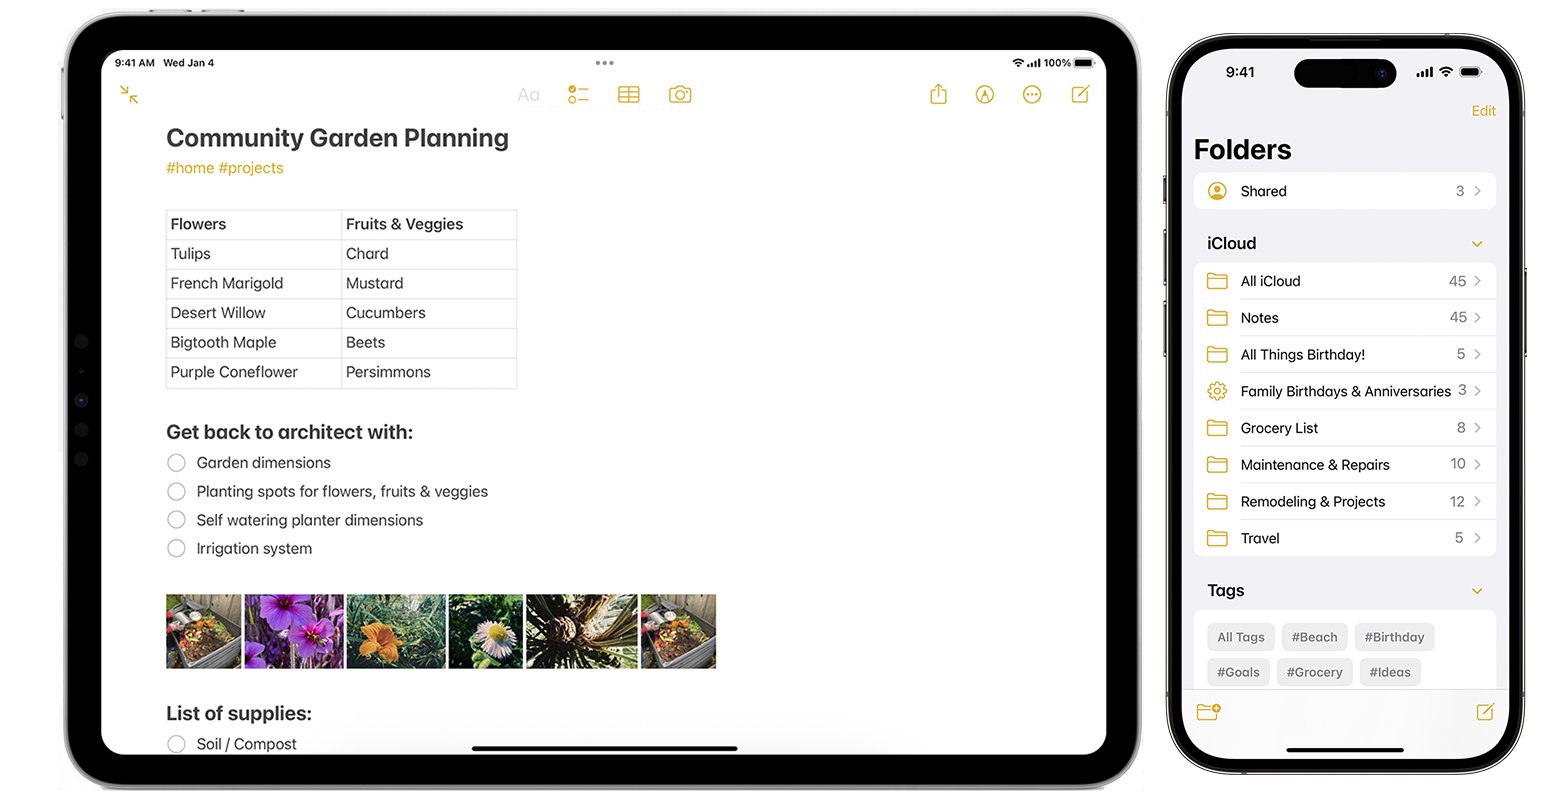
To view all your tagged notes, go back to the main screen of the Notes app. Scroll down the left-hand sidebar until you see the “Tags” section. Tap on a specific tag to view all the notes assigned to that tag.
Step 6: Search for Notes by Tags
If you have a large number of notes and want to find a specific note by its tag, you can use the search bar at the top of the “Tags” section. Simply type the tag name in the search bar, and the app will display all the notes with that particular tag.
Step 7: Edit or Remove Tags from a Note
If you want to edit or remove the tags assigned to a note, open the note and tap on the tags displayed at the top. In the tags panel, you can add or remove tags as necessary.
By following these simple steps, you can efficiently organize your notes using tags on your iPhone and iPad. Whether you’re a student, professional, or simply someone who likes to stay organized, leveraging tags can make a world of difference in managing and accessing your notes.
Step 1: Open the Notes App
Before you can start organizing your notes with tags on your iPhone or iPad, you need to open the Notes app. The Notes app comes pre-installed on all Apple devices, so you don’t need to download it separately.
To open the Notes app, simply locate the app icon on your home screen. It looks like a yellow icon with a white notepad on it. Tap on the Notes app icon to launch the application.
If you can’t find the Notes app on your home screen, you can swipe down on your home screen and use the search bar at the top to type in “Notes.” The search results will display the Notes app icon, and you can tap on it to open the app.
Once you have successfully opened the Notes app, you are ready to start organizing your notes using tags. Tags provide a convenient and efficient way to categorize and find your notes quickly, making it easier to stay organized and productive.
Step 2: Create a New Note or Open an Existing Note
Once you have opened the Notes app on your iPhone or iPad, you are ready to create a new note or access an existing one. This step is crucial in order to utilize the tagging feature effectively and keep your notes well-organized.
To create a new note, simply tap on the “+” button located at the bottom center of the screen. This will open a blank note where you can start typing or adding other types of content, such as images or drawings. Remember to give your note a meaningful title to make it easier to find later.
If you already have existing notes that you want to organize using tags, you can easily access them by tapping on the “Back” button in the top left corner of the screen until you reach the list of all your notes. From there, you can scroll through your notes or use the search bar at the top to find a specific note by its title or content.
Opening an existing note will allow you to add tags or modify the existing ones. It is recommended to go through your existing notes to ensure they are properly tagged for efficient organization.
Creating new notes or accessing existing ones is a breeze with the Notes app on your iPhone or iPad. Now that you know how to create or open a note, let’s move on to the next step, which is adding tags to your notes.
Step 3: Add Tags to the Note
Adding tags to your notes on your iPhone or iPad allows you to easily organize and categorize your notes for quick and effortless retrieval. Tags act as labels or keywords that provide a visual representation of the content of your notes, making it easier to locate specific information when needed.
To add tags to a note, follow these simple steps:
- Open the Notes app on your iPhone or iPad.
- Create a new note or open an existing note.
- Within the note, you will find an option to add tags. Tap on the “Add Tag” button (usually represented by a tag icon) located at the top or bottom of the note editing screen.
- A list of suggested tags will appear based on your previous tags or the content of the note. You can choose from these suggestions or create a new tag by tapping on the “Create New Tag” option.
- Once you select or create a tag, it will be added to the note. You can add multiple tags to a single note to further classify and organize your content.
By adding tags to your notes, you can create a systematic and efficient way to navigate through your notes, saving you time and effort when searching for specific information. Whether you’re organizing your work-related notes, personal ideas, or even recipes, the ability to tag notes on your iPhone or iPad can greatly enhance your note-taking experience.
Step 4: Assign Multiple Tags to a Note
Assigning multiple tags to a note is a fantastic way to further organize and categorize your notes on your iPhone and iPad. With multiple tags, you can easily find and access your notes based on different criteria or themes. Whether it’s for work, personal, or school-related notes, having the ability to assign multiple tags allows for greater flexibility in organizing your digital notes.
To assign multiple tags to a note, follow these simple steps:
- Open the Notes app on your iPhone or iPad.
- Create a new note or open an existing note that you want to tag.
- At the top of the note, you will see the tag icon (a small tag-shaped icon). Tap on it.
- A list of your existing tags will appear. You can select multiple tags by tapping on each one.
- Once you have selected all the tags you want to assign to the note, tap “Done” to save the changes.
That’s it! You have successfully assigned multiple tags to your note. Now, when you want to find a specific note, you can simply filter by one or more of the assigned tags to quickly locate the information you need.
For example, let’s say you have a note about a project you’re working on that is tagged with both “work” and “project management.” Instead of scrolling through all your notes, you can simply filter by the “work” and “project management” tags to instantly find that specific note.
Assigning multiple tags to a note provides you with a powerful organizational tool that helps you stay on top of your notes and easily retrieve information when you need it. Whether you’re a student, professional, or just someone who likes to keep things organized, leveraging the feature to assign multiple tags will greatly enhance your note-taking and retrieval process.
Step 5: View and Access Tagged Notes
Once you have tagged your notes on your iPhone or iPad, it’s easy to view and access them whenever you need to.
To view your tagged notes, simply open the Notes app on your device. You will see a list of all your notes organized by their respective tags.
If you want to focus on a specific tag, you can tap on the tag name in the left sidebar. This will display all the notes that have been assigned that particular tag.
You can also access tagged notes through the search function. Simply tap on the search icon at the top right corner of the Notes app, then enter the tag name in the search bar. The app will display all the notes containing that tag.
If you want to further refine your search, you can combine tags. For example, if you want to find notes tagged as “work” and “meeting,” you can enter both tags in the search bar, separated by a comma or a space.
By viewing and accessing your tagged notes, you can easily find and retrieve your important information with just a few taps, making your note organization more efficient and convenient.
Step 6: Search for Notes by Tags
One of the key advantages of organizing your notes with tags on iPhone and iPad is the ability to quickly search for specific notes based on the assigned tags. The search feature provides a convenient way to locate relevant information without having to manually scroll through all your notes.
To search for notes by tags, follow these simple steps:
- Open the Notes app on your iPhone or iPad.
- Tap on the search bar at the top of the screen.
- Enter the tag name you want to search for. As you type, the app will provide auto-suggestions based on the tags you have created.
- Select the desired tag from the suggestions or continue typing the full tag name.
- The Notes app will display all the notes that are tagged with the specified tag.
- You can further refine your search by adding multiple tags or combining tags with other search terms.
With the ability to search for notes by tags, you can easily retrieve specific information or access related notes with just a few taps. This feature is particularly useful when you have a large collection of notes and need to locate information quickly.
Furthermore, the search function works seamlessly across all your devices using iCloud sync, allowing you to access your tagged notes from your iPhone, iPad, or even your Mac.
Step 7: Edit or Remove Tags from a Note
After tagging your notes on your iPhone or iPad, there may come a time when you need to edit or remove tags from a specific note. The process is quick and easy, allowing you to make adjustments to your note organization as needed.
To edit or remove tags from a note, follow these simple steps:
- Open the Notes app on your device.
- Select the note that you want to edit or remove tags from.
- Tap on the “More Options” button (represented by three dots) located at the top right corner of the note.
- From the dropdown menu, choose “Edit Tags.”
- This will bring up the list of tags associated with the note. Simply tap on any tags you want to add or remove.
- If you want to remove a tag, simply tap on the “x” next to the tag name.
- If you want to add a tag, tap on the “Add Tag” option, and type in the desired tag name.
- Once you have made the necessary changes, tap on the “Done” button to save your edits.
It’s important to note that when you remove a tag from a note, it doesn’t delete the tag itself. The tag will still exist and can be used for other notes. Removing a tag simply disassociates it from the current note.
By learning how to edit or remove tags from your notes, you can easily keep your organization system up to date and ensure that your notes are always categorized accurately.
Additional Tips for Efficient Note Organization
Organizing your notes effectively is crucial for staying productive and finding information quickly. While using tags is a great way to categorize and locate your notes, there are additional tips you can follow to further enhance your note organization:
1. Consistency is key: Establish a consistent naming convention for your tags. This will make it easier to find and retrieve notes in the future. For example, if you have tags for work-related notes, use prefixes like “work_” or “project_” to keep them organized.
2. Create hierarchies: Consider creating tag hierarchies to create a more structured organization system. For instance, you can have a top-level tag called “Personal” and sub-tags under it such as “Finances,” “Health,” and “Travel.”
3. Use color-coding: Take advantage of color-coding features available in note-taking apps. Assign different colors to your tags to visually differentiate between categories. This can make it easier to identify and access specific groups of notes at a glance.
4. Utilize nested tags: Some note-taking apps allow you to create nested or nested tags. This means you can have tags within tags, providing even more granular organization. For example, if you have a “Recipes” tag, you can create sub-tags like “Desserts,” “Main Courses,” and “Appetizers.”
5. Regularly review and update: Develop a habit of regularly reviewing and updating your tags. Over time, your note organization needs may change, and certain tags may become obsolete or less relevant. By periodically reassessing your tags, you can ensure that your note organization remains streamlined and efficient.
6. Utilize shortcuts and automation: Depending on the note-taking app you use, explore the available shortcuts and automation features. These can help speed up the process of tagging and organizing your notes. For example, you might be able to set up a shortcut to automatically tag a note with a specific tag or create rules to apply tags based on certain criteria.
7. Leverage cloud synchronization: If your note-taking app supports cloud synchronization, take advantage of it. This ensures that your notes and tags are synced across all your devices, allowing you to access and organize them seamlessly, whether you’re using your iPhone, iPad, or computer.
By implementing these additional tips, you can take your note organization to the next level. With a well-structured and efficiently organized system, you’ll have no trouble finding and managing your notes, boosting your productivity and keeping your digital life in order.
In conclusion, organizing notes with tags on iPhone and iPad can greatly enhance productivity and efficiency. By using this feature, users can easily categorize and access their notes based on specific topics or themes. Whether you’re a student, professional, or someone who just wants to stay organized, tags offer a convenient way to manage your notes effectively.
With tags, you can find your notes quickly and seamlessly, saving you precious time searching through endless lists or folders. The ability to assign multiple tags to a single note also allows for more flexibility and a personalized organizational system.
So, if you’re ready to take your note-taking game to the next level, start utilizing tags on your iPhone and iPad. Try incorporating this feature into your workflow and see how it streamlines your productivity and keeps your notes organized like never before.
FAQs
1. How do I organize notes with tags on iPhone and iPad?
To organize your notes with tags on your iPhone and iPad, follow these steps:
– Open the Notes app on your device.
– Create a new note or open an existing note.
– Tap the “…” (three dots) button in the upper-right corner.
– Select “Add Tags” from the menu.
– Enter a tag name or choose from the suggested tags.
– Tap “Done” to save the tag to your note.
– To view and organize your tagged notes, go to the “Tags” section in the main Notes app.
– Tap on a tag to see all the notes associated with that tag.
– You can also edit or delete tags by tapping on the tag name.
2. Can I add multiple tags to a single note?
Yes, you can add multiple tags to a single note. Once you have opened a note and selected “Add Tags,” you can enter multiple tag names or choose from the suggested tags. Simply separate the tag names with commas, and all the tags will be added to the note.
3. How can I create new tags for my notes?
To create new tags for your notes on iPhone and iPad, follow these steps:
– Open the Notes app.
– Tap the “…” (three dots) button in the upper-right corner.
– Select “Add Tags.”
– Enter the new tag name in the text field and tap “Return” on the keyboard.
– Your new tag will be saved and can be selected for your notes.
– Note that you can also create new tags inline when adding tags to a note by typing a new tag name and tapping “Return.”
4. Can I search for notes using tags?
Yes, you can search for notes using tags on your iPhone and iPad. To do this, follow these steps:
– Open the Notes app.
– Go to the “Tags” section.
– Tap on the desired tag to see all the notes associated with that tag.
– You can also use the search bar at the top of the Notes app and type the tag name to filter and display all the notes with that tag.
– This makes it easy to find specific notes that are related to a particular topic or category.
5. Can I remove tags from a note?
Yes, you can remove tags from a note on your iPhone and iPad by following these steps:
– Open the note that has the tag you want to remove.
– Tap the “…” (three dots) button in the upper-right corner.
– Select “Add Tags.”
– Deselect the tag by tapping on the blue checkmark next to its name.
– Once you have deselected the tag, it will be removed from the note.
– Tap “Done” to save the changes.
– The note will no longer be associated with the removed tag.