
In today’s digital age, storing files and documents in the cloud has become a common practice for many people. Apple’s iCloud Drive is one such cloud storage solution that offers seamless integration with iOS devices. One of the most convenient features of iCloud Drive is the ability to browse all your documents in the Files app. Whether you want to access important work files, personal photos, or any other document stored in your iCloud Drive, the Files app provides a user-friendly interface to retrieve and manage your files. In this article, we will explore how to effortlessly navigate through your iCloud Drive documents in the Files app, making it easier than ever to access your files anytime, anywhere. So, let’s dive in and unveil this handy feature that can revolutionize the way you interact with your files on your iOS device.
Inside This Article
- # How to Browse Your iCloud Drive Documents in the Files App
- Understanding the Files App: Explaining the features and functions of the Files app on iOS devices.
- Accessing iCloud Drive in the Files App
- Organizing and Managing Documents
- Searching for Documents
- Sharing and Collaborating on Documents
- Conclusion
- FAQs
# How to Browse Your iCloud Drive Documents in the Files App
Are you wondering how to browse your iCloud Drive documents in the Files app? Look no further! In this article, we will guide you through the process of accessing, organizing, searching, and collaborating on your iCloud Drive documents using the Files app on your iOS device.
The Files app on iOS provides a centralized location for managing all your files, including those stored in iCloud Drive. It offers a user-friendly interface with a range of features that make browsing and managing your documents a breeze.
To access your iCloud Drive in the Files app, follow these steps:
- Open the Files app on your iOS device. It is represented by a blue folder icon.
- Tap on the “Browse” tab at the bottom of the screen.
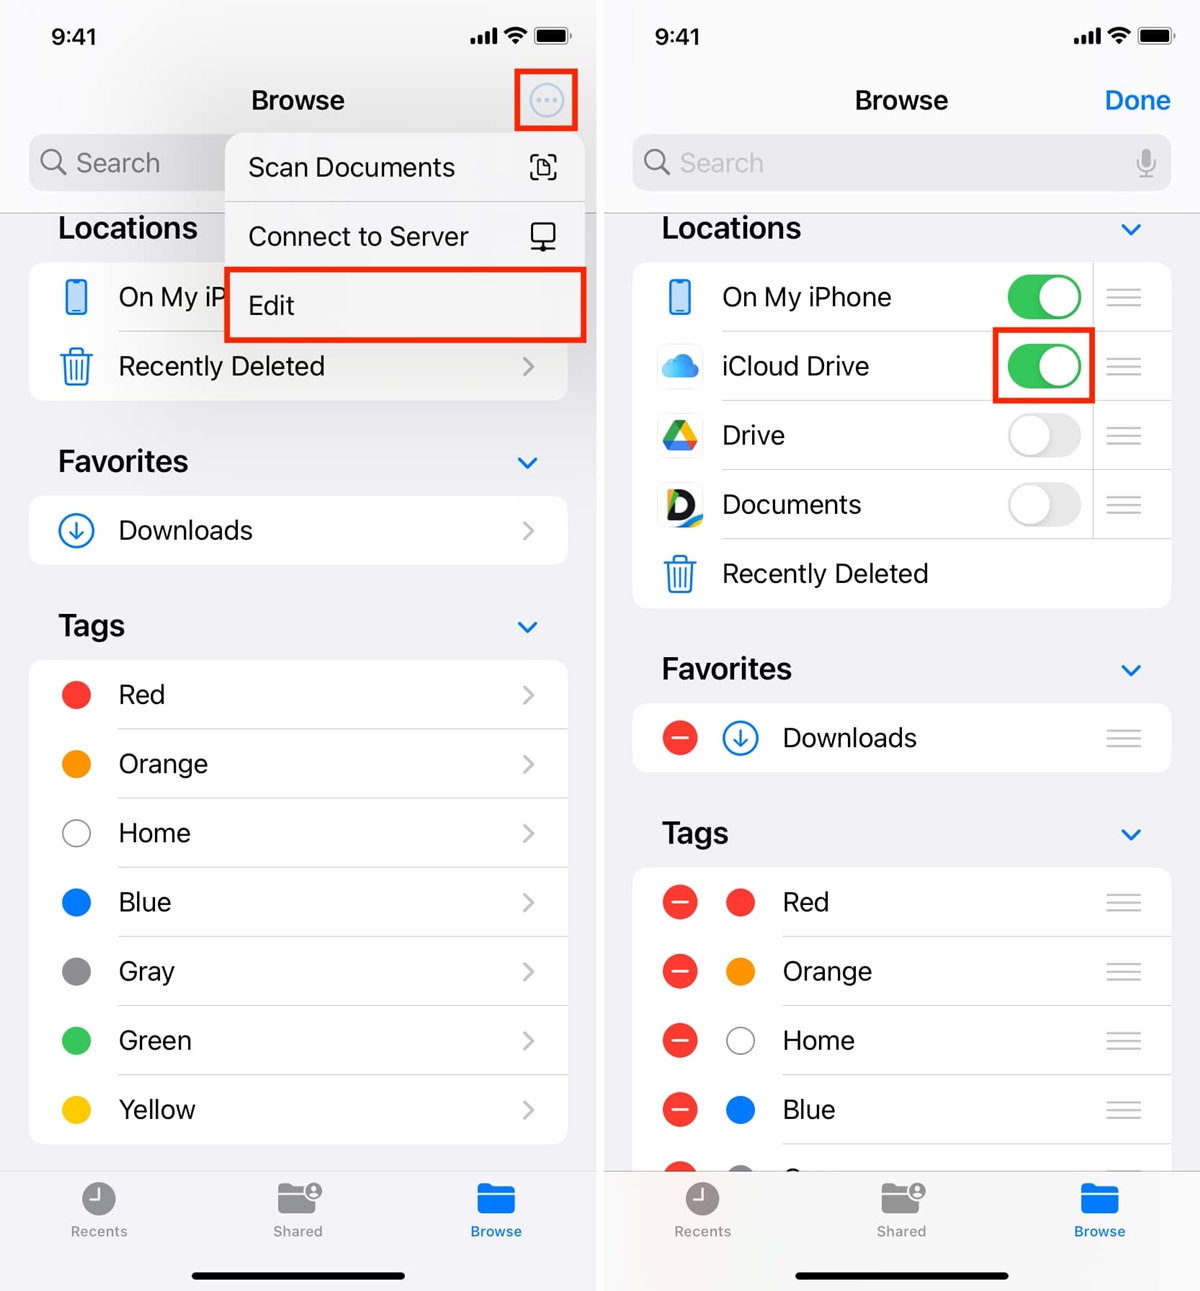
- Under the “Locations” section, you will find “iCloud Drive.” Tap on it to access your iCloud Drive.
Once you’re in your iCloud Drive, you can navigate through folders, view documents, and perform various actions using the Files app’s intuitive interface. Here are some tips for organizing and managing your documents:
- Create folders: To keep your documents organized, tap on the “New Folder” icon and give it a name. You can then move documents into the folder by dragging and dropping them.
- Rename and delete documents: Press and hold a document’s icon to bring up options such as renaming or deleting it. This allows you to keep your iCloud Drive tidy and remove any unnecessary files.
- Sort documents: Tap on the “Sort” button to arrange your documents by name, date, size, or tags. This feature helps you quickly find the file you’re looking for.
When searching for specific documents in your iCloud Drive, the Files app offers a powerful search functionality. Here’s how you can find files with ease:
- Tap on the “Search” tab at the bottom of the Files app.
- Type in the name or keywords related to the document you’re looking for.
- The search results will display the matching documents, making it easy for you to locate the desired file.
The Files app also allows you to share and collaborate on your iCloud Drive documents. Here’s how:
- Locate the document you want to share or collaborate on in your iCloud Drive.
- Tap and hold its icon to bring up the options menu, then select “Share.”
- You can choose to share the document via AirDrop, Messages, Mail, or other compatible apps.
- If you want to collaborate on a document, you can invite others to make edits or view the file by selecting the appropriate sharing option.
Understanding the Files App: Explaining the features and functions of the Files app on iOS devices.
The Files app is a powerful tool that comes pre-installed on iOS devices, offering users a convenient way to browse, organize, and access their documents and files. It provides a centralized location to manage all files, whether they are stored on your device or in cloud storage services like iCloud Drive, Google Drive, or Dropbox.
One of the key features of the Files app is its ability to integrate with various cloud storage providers. This means that you can connect your iCloud Drive, or other cloud accounts, directly to the app and have all your files accessible in one place. This eliminates the need to switch between multiple apps to access different files stored across various platforms.
With the Files app, you can also create folders and subfolders to organize your documents, making it easier to find and access files when needed. The app supports a hierarchical structure, allowing you to nest folders within folders, providing a more efficient way to manage your files.
The Files app offers a user-friendly interface, making it easy to navigate and perform actions on your files. You can use the built-in search function to quickly find specific files or sort them based on different criteria like name, date, or file size. Additionally, you can view your files in different view modes, such as Grid or List view, to suit your preferences.
Another noteworthy feature of the Files app is its compatibility with file formats. It supports a wide range of file types, including documents, images, videos, audio files, and more. This means you can open, preview, and edit files directly within the app, without the need for additional third-party applications.
The Files app also integrates seamlessly with other apps on your iOS device. For example, you can easily attach files from the Files app when composing an email, or access files from the Files app when using productivity apps like Pages, Numbers, or Keynote. This integration enhances productivity and streamlines your workflow by allowing you to access and work on your files seamlessly across different applications.
Moreover, the Files app provides robust file-sharing capabilities. You can share files with others via AirDrop, email, or messaging apps. Additionally, you can generate shareable links to specific files or folders, granting others access to view or edit the shared content. This makes collaboration easier, allowing multiple users to work on the same document simultaneously, whether they are using an iOS device or a different platform.
Accessing iCloud Drive in the Files App
Are you looking to access your iCloud Drive documents using the Files app? Look no further! In this step-by-step guide, we’ll walk you through the process of accessing your iCloud Drive within the Files app on your iOS device.
1. Open the Files app on your iPhone or iPad. You can find it on your home screen or by swiping down and using the search function.
2. Once the Files app is open, tap on the “Browse” tab located at the bottom of the screen. This will allow you to browse through different locations on your device.
3. Within the Browse tab, you’ll see a list of different locations such as iCloud Drive, On My iPhone/iPad, and third-party cloud storage providers. Tap on “iCloud Drive” to access your iCloud Drive documents.
4. If prompted, enter your Apple ID and password to sign in to your iCloud account. This step ensures that you have permission to access your iCloud Drive files.
5. After signing in, you’ll be taken to your iCloud Drive, where you can see all your saved files and folders. You can navigate through the folders just like you would on a regular file manager.
6. To open a file, simply tap on it. The Files app supports a wide range of file types, including documents, images, videos, PDFs, and more.
7. If you want to create a new folder within your iCloud Drive, tap on the “…” (three-dot) icon located at the top-right corner of the screen. Choose “New Folder” and give it a name.
8. To upload a file to iCloud Drive, tap on the “…” (three-dot) icon again and select “Add Files” or “Add Folder.” Choose the file or folder you wish to upload from your device, and it will be added to your iCloud Drive.
9. To move or organize your files within iCloud Drive, simply tap and hold on a file or folder to activate the drag and drop feature. You can then move the item to the desired location.
10. To exit the iCloud Drive and return to the main Files app interface, tap on the “Browse” tab or the back arrow icon located at the top-left corner of the screen.
That’s it! You have successfully accessed your iCloud Drive within the Files app and are now able to view, organize, and manage your files with ease.
Organizing and Managing Documents
Organizing and managing your documents within iCloud Drive is made easy with the Files app. With a few simple techniques, you can keep your files in order and easily access them whenever you need.
Here are some tips and techniques to help you efficiently organize and manage your documents in iCloud Drive using the Files app:
- Create Folders: One of the first steps in organizing your documents is to create folders. You can create folders within iCloud Drive to categorize your files based on different criteria such as project type, topic, or date. To create a folder, simply open the Files app, navigate to iCloud Drive, and click on the ‘+ New Folder’ button.
- Move and Drag Files: The Files app allows you to easily move and drag files between folders. To move a file, simply tap and hold on the file, and then drag it to the desired folder. This allows you to reorganize your documents and keep them updated as needed.
- Use Tags: Tags are a useful feature in the Files app that allows you to categorize and label your documents. You can assign multiple tags to a file, making it easier to search and filter for specific documents. To add a tag to a file, simply select the file and click on the ‘More’ button, then choose the ‘Tags’ option.
- Sort and Filter: The Files app allows you to sort and filter your documents based on various criteria such as name, date, size, or tags. This makes it easier to locate specific files or organize them in a desired order. To sort or filter your files, tap on the ‘Sort’ or ‘Filter’ button within the Files app.
- Use Favorites: The Files app allows you to mark certain folders or files as favorites, making them easily accessible with just a few taps. This is especially useful for documents that you frequently access or refer to. To add a folder or file to favorites, simply swipe right on the item and click on the ‘Add to Favorites’ option.
- Manage File Versions: iCloud Drive keeps multiple versions of your files, allowing you to revert back to a previous version if needed. To manage file versions, select the file, click on the ‘More’ button, and choose the ‘Browse All Versions’ option. From there, you can view and restore previous versions of the file.
By utilizing these tips and techniques, you can efficiently organize and manage your documents within iCloud Drive using the Files app. Whether it’s creating folders, assigning tags, or utilizing favorites, the Files app provides a comprehensive set of tools to keep your documents in order and easily accessible.
Searching for Documents
When it comes to managing a large collection of documents in your iCloud Drive, efficiency is key. Fortunately, the Files app offers powerful search capabilities that allow you to find specific documents quickly and effortlessly. Whether you’re searching for a recent report, an important presentation, or an old receipt, the Files app can help you locate it in a matter of seconds. Here are some methods for efficiently searching and finding specific documents in your iCloud Drive using the Files app.
1. Utilize the search bar: The Files app features a search bar at the top of the screen, which you can use to perform a quick search for documents. Simply tap on the search bar, enter the name or keywords related to the document you’re looking for, and the app will display the relevant results. The search is not case-sensitive, so you don’t have to worry about matching capitalization.
2. Filter your search: To narrow down your search results, you can utilize the filtering options in the Files app. Tap on the search bar, and you’ll see a list of available filters, such as “All Files,” “Folders,” “Documents,” “Images,” and more. By selecting a specific filter, you can limit the search results to a certain type of file, making it easier to find what you’re looking for.
3. Sort search results: If you have a large number of search results, you can sort them to further refine your search. Tap on the “Sort” option, usually located at the top right corner of the screen, and choose the sorting criteria that best suits your needs. You can sort by name, date modified, size, or even tags. Sorting will help you quickly identify the desired document among the search results.
4. Use tags: Tags are a powerful tool for organizing and categorizing your documents. By assigning relevant tags to your files, you can easily locate them using the search functionality. To tag a document, simply open the Files app, locate the file, tap and hold on it, and select “Add Tags.” You can then search for files using their assigned tags in the search bar.
5. Take advantage of Siri: If you prefer a hands-free approach, you can use Siri to search for documents in your iCloud Drive. Simply activate Siri by saying “Hey Siri” or pressing the home button, and ask Siri to find the specific document you’re looking for. Siri will use the Files app to perform the search and present you with the results.
By utilizing these methods, you can efficiently search and find specific documents in your iCloud Drive using the Files app. Whether you’re a busy professional or a student managing multiple assignments, the search functionality of the app will save you time and frustration by quickly locating the files you need.
Sharing and Collaborating on Documents
When it comes to working on documents with others, the Files app on iOS devices offers a range of options for sharing and collaborating. Whether you’re collaborating on a project with colleagues or sharing important documents with friends and family, the Files app makes it easy to collaborate and keep everyone in sync.
1. Share a Document
The first step to collaborating on a document in iCloud Drive is to share it with others. Open the Files app and navigate to the document you want to share. Tap and hold on the document, then select the “Share” option from the menu. From here, you can choose how you want to share the document, whether it’s through AirDrop, Messages, Mail, or other compatible apps.
2. Set Permissions
Once you’ve shared a document, you can specify the permissions for each person you’re collaborating with. For example, you can allow them to view the document, make edits, or even restrict their access to read-only. To do this, tap on the “Share” button again and select the “Add People” option. Here, you can add people by their email address or contact information, and choose the permissions for each person.
3. Collaborate in Real-Time
One of the standout features of collaborating on documents in iCloud Drive is the ability to work on the same document in real-time. This means that multiple users can make changes to the document simultaneously, and the changes will be reflected for everyone involved. It’s a seamless way to work together, ensuring that everyone has the most up-to-date version of the document.
4. Comments and Revisions
The Files app also allows you to leave comments and track revisions within the document. This is particularly useful for teams working on projects or for providing feedback on a file. By leaving comments, you can discuss specific sections or provide suggestions, keeping the collaboration process organized and efficient. Revisions are also tracked, so you can easily revert to previous versions if needed.
5. Access and Collaboration Across Devices
One of the major advantages of using iCloud Drive and the Files app for collaboration is that it seamlessly integrates across all your iOS and macOS devices. This means that you can start working on a document on your iPhone, continue editing it on your iPad, and then fine-tune it on your Mac. The changes and collaboration are synced in real-time, ensuring that everyone can access and contribute to the document, regardless of the device they’re using.
With these sharing and collaboration options available in the Files app, working on documents with others becomes a breeze. Whether you’re co-authoring a report, planning a project, or simply sharing important files, the Files app provides a convenient and efficient platform for seamless collaboration.
Conclusion
Exploring the documents stored in your iCloud Drive has never been more convenient, thanks to the Files app. This versatile app allows you to easily browse, organize, and access all your iCloud Drive files from one central location. With its user-friendly interface and powerful features, it’s the perfect tool for managing your documents on the go.
Whether you want to open a PDF, edit a Word document, or view an image, the Files app has got you covered. With just a few taps, you can navigate through folders, search for specific files, and even share documents with others. Plus, with the added benefit of offline access, you can view and edit your iCloud Drive files even when you’re not connected to the internet.
So, make the most out of your iCloud Drive and take advantage of the functionality offered by the Files app. Start browsing your documents effortlessly and enjoy the seamless integration between your iPhone, iPad, and Mac devices. Stay organized, productive, and in control of your files with the Files app.
FAQs
1. Can I browse iCloud Drive documents on my iPhone?
Yes, you can easily browse your iCloud Drive documents on your iPhone using the Files app. The Files app is a built-in application on iOS devices that allows you to access and manage files stored on iCloud Drive and other cloud storage services.
2. How do I access the Files app on my iPhone?
To access the Files app on your iPhone, simply locate the app icon on your home screen and tap on it. The app will open, and you’ll be able to browse your files and folders.
3. How can I view my iCloud Drive documents in the Files app?
Once you’ve opened the Files app, you can navigate to your iCloud Drive by tapping on the “Browse” tab, located at the bottom of the app. From there, you’ll see a list of available locations, including your iCloud Drive. Tap on iCloud Drive to view your documents.
4. Can I organize my iCloud Drive documents in the Files app?
Yes, you can organize your iCloud Drive documents within the Files app. You can create folders, move files into different folders, rename files, and even delete files you no longer need. This allows you to keep your documents organized and easily accessible.
5. Can I open and edit iCloud Drive documents in other apps?
Absolutely! The Files app allows you to open and edit your iCloud Drive documents in other compatible apps installed on your iPhone. When you tap on a document, you’ll be presented with a list of compatible apps that you can use to open and edit the file. Simply select the app you want to use, and it will launch with the document ready for editing.