
Whether you’re a professional artist or just enjoy doodling on your iPad, Procreate has become the go-to app for digital art creation. With its wide range of tools and features, Procreate allows you to unleash your creativity and produce stunning artwork. However, as with any digital platform, it’s important to back up your files to ensure their safety and avoid any potential loss of your precious creations. In this article, we will guide you through the process of backing up your Procreate files, giving you peace of mind and the ability to restore your artwork effortlessly. So, let’s dive in and explore the best methods for backing up your Procreate files on your iPad so you can focus on what you do best: creating amazing artwork!
Inside This Article
- Getting Started with Procreate Backups
- Using iCloud for Procreate Backups
- Backing Up Procreate Files Locally – Options for Local Backups – Steps to Manually Backup Procreate Files
- Restoring Procreate Files from Backups
- Conclusion
- FAQs
Getting Started with Procreate Backups
When it comes to creating digital art, Procreate has quickly become one of the most popular and powerful tools available. With its extensive range of features and intuitive interface, artists can bring their imagination to life. However, like any digital files, it’s essential to have a backup plan in place to safeguard your creations. In this article, we will explore the importance of backing up Procreate files and the various methods you can use.
Overview of Procreate backups
Procreate offers built-in backup options to ensure that your files are secure and easily recoverable. The app provides two main ways to back up your Procreate files: exporting and saving to the cloud. Let’s take a closer look at each method:
- Method 1: Using Procreate’s Export Feature
- Method 2: Using Third-Party Cloud Storage
- Method 3: Using External Storage Devices
Procreate allows you to export your artwork as individual files or as a Procreate file format. You can choose to export it to your device’s storage, email it to yourself, or save it in a cloud storage service like Dropbox or Google Drive. This method gives you full control over where your files are stored and allows for easy sharing between devices.
Another popular option is to use third-party cloud storage services to back up your Procreate files. Services like iCloud, Dropbox, and Google Drive offer seamless integration with Procreate, allowing you to automatically sync your artwork across multiple devices. This method provides an added layer of security as your files are stored off-site and can be easily accessed if your device is lost or damaged.
If you prefer a physical backup solution, you can also save your Procreate files to external storage devices like USB drives or external hard drives. This method is helpful if you want to have a dedicated backup that is separate from your device or cloud storage. It provides an extra level of protection against data loss.
Ways to back up Procreate files
Now that we have discussed the different backup methods, let’s dive into a step-by-step guide on how to back up your Procreate files:
- Method 1: Using Procreate’s Export Feature
- Open the Procreate app on your device.
- Select the artwork you want to back up.
- Tap on the wrench icon to access the Actions menu.
- Choose “Share” or “Export” from the list of options.
- Select the desired file format and location to save your backup.
- Tap “Export” to save the backup file.
- Method 2: Using Third-Party Cloud Storage
- Ensure that you have a cloud storage service installed on your device (such as Dropbox or Google Drive).
- Open the Procreate app.
- Tap on the wrench icon to access the Actions menu.
- Select “Share” or “Export”.
- Choose the cloud storage service you want to use.
- Sign in to your account and allow Procreate to access your cloud storage.
- Select the location to save your backup.
- Tap “Export” to save the backup file to the cloud storage.
- Method 3: Using External Storage Devices
- Connect your external storage device to your device (e.g., USB drive or external hard drive).
- Open the Procreate app.
- Tap on the wrench icon to access the Actions menu.
- Select “Share” or “Export”.
- Choose the external storage device as the location to save your backup.
- Tap “Export” to save the backup file to the external storage device.
By following these simple steps, you can ensure that your Procreate files are safely backed up and easily accessible whenever you need them.
Using iCloud for Procreate Backups
Setting up iCloud for Procreate backups is a great way to ensure that your artwork is safely stored in the cloud. iCloud offers seamless integration with Procreate, allowing you to automatically back up your files without any hassle. In this section, we’ll guide you through the steps to enable automatic iCloud backups for Procreate.
Before you begin, make sure you have a stable internet connection and enough storage space in your iCloud account to accommodate your Procreate files. Here’s how you can set up iCloud for Procreate backups:
- Open the “Settings” app on your iPad.
- Scroll down and tap on your Apple ID at the top of the menu.
- Select “iCloud” from the list of options.
- Under the “Apps Using iCloud” section, locate and tap on “Procreate”.
- Toggle the switch next to “Procreate” to enable iCloud backup for the app.
- At this point, you’ll see a pop-up message asking if you want to “Merge” or “Don’t Merge” your existing Procreate files with those stored in iCloud. Choose the option that suits your needs.
- Once you’ve enabled iCloud backup for Procreate, your files will be automatically backed up to iCloud whenever your iPad is connected to Wi-Fi and charging.
In addition to enabling iCloud backups, you can also manually back up your Procreate files to iCloud at any time. Simply open Procreate, go to the “Gallery” view, and swipe left on the artwork thumbnail you want to back up. Then, tap on the “Share” icon and select “Export” to iCloud.
By using iCloud for Procreate backups, you can rest assured knowing that your valuable artwork is securely stored in the cloud. Whether your iPad gets lost, damaged, or you simply want to access your files from a different device, iCloud will have your Procreate creations backed up and ready for you.
Backing Up Procreate Files Locally – Options for Local Backups – Steps to Manually Backup Procreate Files
Backing up your Procreate files locally is a crucial step in ensuring the safety and security of your valuable artwork. By creating local backups, you have direct control over the storage and access of your files. In this section, we will explore the various options available for local backups and provide step-by-step instructions for manually backing up Procreate files.
Options for Local Backups
When it comes to backing up Procreate files locally, you have a few options to choose from. Let’s take a look at each of these options:
1. Using iCloud Drive
One convenient option for local backups is to utilize iCloud Drive, a cloud storage service provided by Apple. By enabling iCloud Drive within Procreate’s settings, your files will automatically sync and be backed up to your iCloud account. This allows you to access your artwork across multiple devices and ensures that you have a copy of your files stored securely in the cloud.
2. Using Airdrop
If you prefer a more direct method of local backups, you can make use of the Airdrop feature on your Apple devices. Simply open the Procreate file you wish to back up, tap the Share button, and select the recipient device through Airdrop. This transfers a copy of the file directly to the selected device, providing you with a local backup that is easily accessible.
Steps to Manually Backup Procreate Files
If you prefer a more hands-on approach to backing up your Procreate files locally, you can follow these simple steps:
- Connect your Apple device to your computer using a USB cable.
- Open iTunes on your computer and select your device when it appears.
- Navigate to the “File Sharing” section in the device’s settings within iTunes.
- Scroll down and select “Procreate” from the list of apps.
- In the Procreate file list, select the artwork files you wish to back up.
- Click “Save to” or “Save…” to choose a folder on your computer to save the files.
- Click “Save” to initiate the backup process.
By following these steps, you can manually back up your Procreate files to your computer, giving you an additional layer of security and control over your artwork.
Remember, it’s essential to regularly create local backups of your Procreate files to safeguard against data loss or device failures. Whether you choose to utilize cloud storage services like iCloud Drive, transfer files via Airdrop, or manually backup to your computer, taking the time to protect your artwork is well worth the effort.
Restoring Procreate Files from Backups
If you have ever encountered a situation where your Procreate files were accidentally deleted or lost, don’t panic. With the right backup strategy in place, you can easily restore your precious artwork and designs. In this section, we will explore two methods for restoring Procreate files from backups: recovering files from iCloud backups and restoring files from local backups.
Recovering Procreate Files from iCloud Backups
If you have been using iCloud to back up your Procreate files, the process of restoring them is relatively straightforward. Follow these steps:
- Ensure that your device is connected to the internet and signed in to your iCloud account.
- Go to Settings on your device and tap on your iCloud account.
- Select iCloud Backup and make sure that the Procreate app is included in the list of apps to be backed up.
- Tap on “Back Up Now” to create an updated backup of your Procreate files.
- In case you need to restore your Procreate files from an existing iCloud backup, navigate to Settings > General > Reset > Erase All Content and Settings.
- During the setup process, choose “Restore from iCloud Backup” and sign in to your iCloud account.
- Select the appropriate backup file that contains your Procreate files and follow the on-screen instructions to complete the restoration process.
Make sure to be patient during the restoration process, as it may take some time depending on the size of your backup and internet connection speed. Once the restoration is complete, you should have all your Procreate files back in their respective locations.
Restoring Procreate Files from Local Backups
If you have been backing up your Procreate files locally using third-party apps or external storage devices, you can easily restore them by following these steps:
- Connect your device to the computer where your local backups are stored.
- Launch the backup software or access the external storage device where your Procreate files are stored.
- Locate the backup file that contains your Procreate files and select it.
- Choose the option to restore the backup to your device.
- Follow any additional prompts or instructions provided by the backup software or external storage device.
Again, be patient during the restoration process, especially if you have a large backup file. Once the restoration is complete, your Procreate files should be successfully restored and accessible within the Procreate app.
By utilizing either iCloud backups or local backups, you can rest easy knowing that your Procreate files are safeguarded and easily recoverable in case of any unforeseen data loss.
Conclusion
In conclusion, backing up your Procreate files is crucial to safeguard your artwork and ensure that it is protected from potential loss or damage. By following the steps outlined in this article, you can easily create backups of your Procreate files and have peace of mind knowing that your creative work is safe. Remember to regularly back up your files to an external storage device or cloud service to minimize the risk of losing your artwork. Additionally, taking advantage of Procreate’s auto-backup feature and syncing your files with iCloud can provide an extra layer of protection. Don’t underestimate the importance of backups – they can be a lifesaver in the event of data loss or device failure. Start implementing these backup strategies today to safeguard your Procreate files and preserve your artistic creations for years to come.
FAQs
1. Can I back up my Procreate files?
Yes, you can back up your Procreate files to ensure the safety and preservation of your artwork. Procreate provides various options for backing up your files, including utilizing external storage devices like iCloud, Dropbox, or Google Drive. By backing up your files, you can safeguard your valuable creations from accidental loss or device damage.
2. How do I back up my Procreate files using iCloud?
To back up your Procreate files using iCloud, follow these steps:
- Ensure that your iOS device is connected to Wi-Fi and has enough iCloud storage space available.
- Open the Procreate app and go to the Gallery.
- Select the artwork you want to back up.
- Tap on the wrench icon located in the top-right corner of the screen.
- Choose “Share” from the menu and select “Export” to create a Procreate file (a .procreate extension).
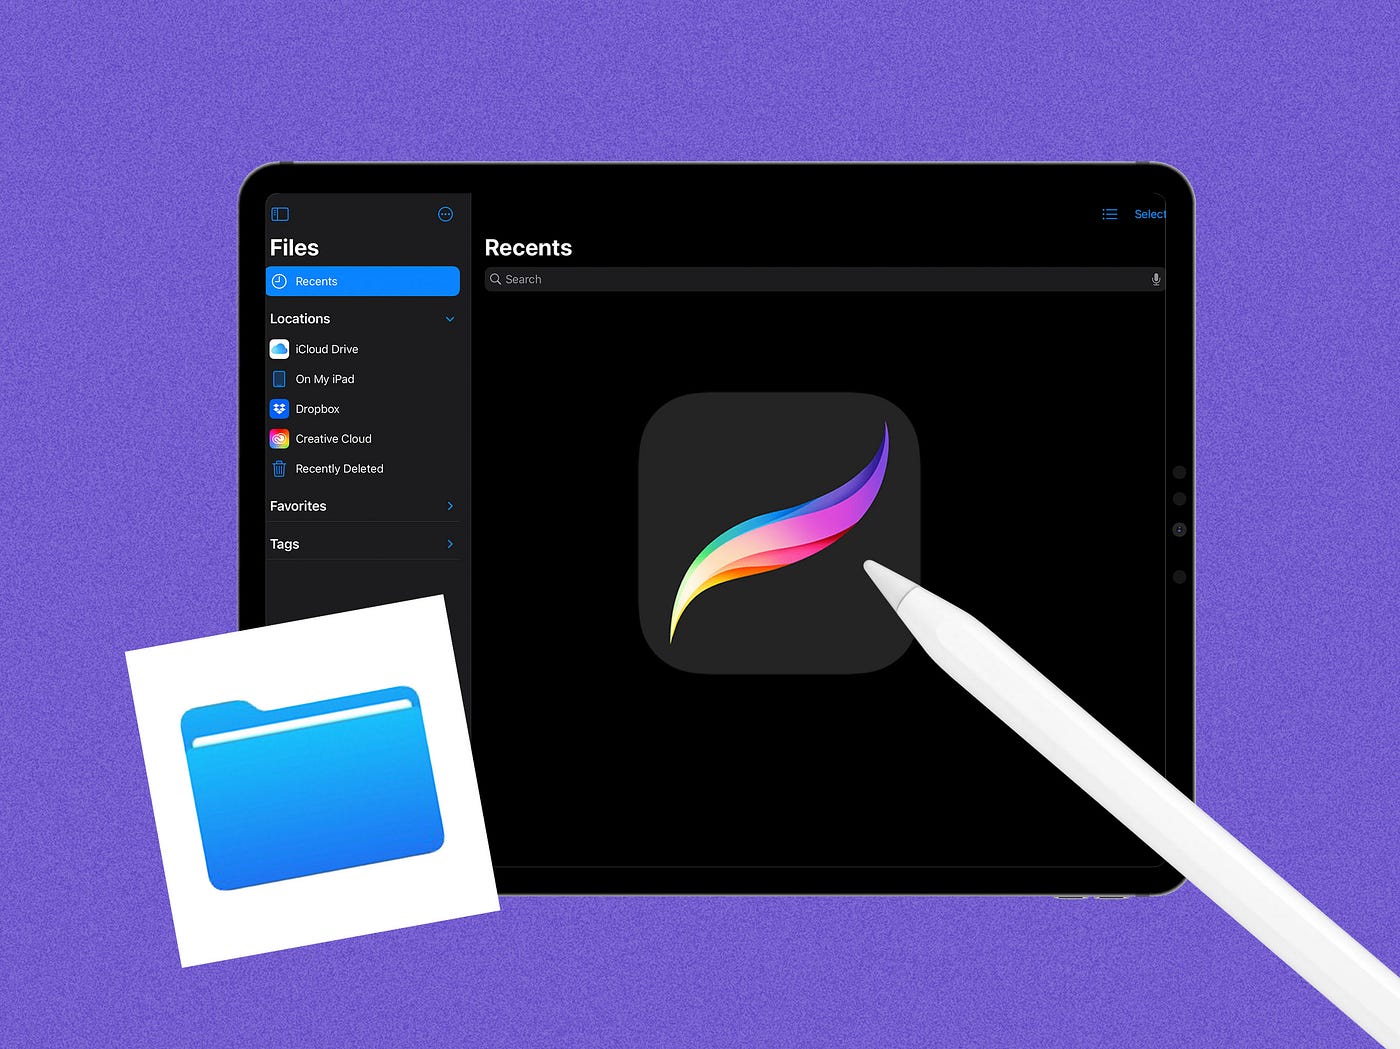
- After the file is successfully exported, you can upload it to iCloud Drive. Open the Files app on your iOS device, navigate to iCloud Drive, and select the location where you want to store the file.
- Your Procreate file is now backed up on iCloud and can be accessed from any device with iCloud Drive.
3. Is it possible to back up Procreate files on a computer?
Yes, you can back up your Procreate files on a computer. One way to do this is by connecting your iOS device to your computer using a USB cable and transferring the files manually. When connected, navigate to the Procreate app folder in your device’s file system and copy the necessary files to your computer’s storage.
Alternatively, if you use cloud storage services like iCloud, Dropbox, or Google Drive, you can install their corresponding apps on your computer and sync your Procreate files across devices. This way, your files will be automatically backed up and accessible from both your iOS device and computer.
4. Can I restore my Procreate files from a backup?
Yes, you can restore your Procreate files from a backup. If you have backed up your files using iCloud, Dropbox, or Google Drive, you can easily recover them by accessing the backup and downloading the files to your iOS device.
If you have manually transferred the files to a computer, you can copy them back to your iOS device using a USB cable.
Remember to ensure that the Procreate app is installed on your device before attempting to restore any backup.
5. What are the benefits of backing up my Procreate files?
Backing up your Procreate files offers several advantages:
- Protection against accidental loss or device damage: By backing up your files, you can ensure that your artwork remains safe even if your device is lost, stolen, or damaged.
- Multiple device access: With backups stored in the cloud, you can access your Procreate files from multiple devices, such as your iPhone and iPad, allowing for seamless continuity in your creative workflow.
- Version control and revision history: Backing up your Procreate files enables you to keep track of different versions or revisions of your artwork, allowing you to retrace your steps or revert to previous iterations if needed.
- Peace of mind: Knowing that your valuable artwork is securely backed up provides peace of mind, helping you focus on your creative process without worrying about potential data loss.