
If you’re an artist or designer who loves using Procreate on your iPad, then you know how essential brushes are for unleashing your creativity and adding depth to your digital artwork. While Procreate provides a wide range of default brushes, you may find yourself wanting to explore new styles and techniques with fresh brushes. In this article, we’ll guide you on how to get new brushes on Procreate, helping you take your digital artwork to the next level. Whether you’re looking for realistic textures, unique effects, or specialized brushes for specific projects, we’ve got you covered. So, let’s dive in and discover the exciting world of new brushes in Procreate!
Inside This Article
- Import Brushes from Third-Party Sources
- Utilize the Procreate Brush Library
- Create Custom Brushes in Procreate
- Share Brushes with Others
- Conclusion
- FAQs
Import Brushes from Third-Party Sources
One of the great features of Procreate is its ability to import brushes from third-party sources. This means that you’re not limited to the brushes that come with the app – you can access a vast library of brushes created by other artists and designers.
To import brushes from third-party sources, you’ll first need to find a reliable website or marketplace where you can download these brushes. There are several popular platforms such as Gumroad, Creative Market, and Procreate Market, where artists sell their custom-made brushes.
Once you’ve found a website or platform of your choice, browse through the available brushes and pick the ones that catch your eye. Keep in mind that while some brushes may be free, others may come with a price tag. Select the brushes you want to download and make note of their file formats. Procreate supports .brush and .brushset file formats.
Next, you’ll need to transfer the downloaded brushes to your iPad. The easiest way to do this is through cloud services like iCloud or Dropbox. Simply upload the brush files to your cloud storage from your computer and then access them using the respective app on your iPad.
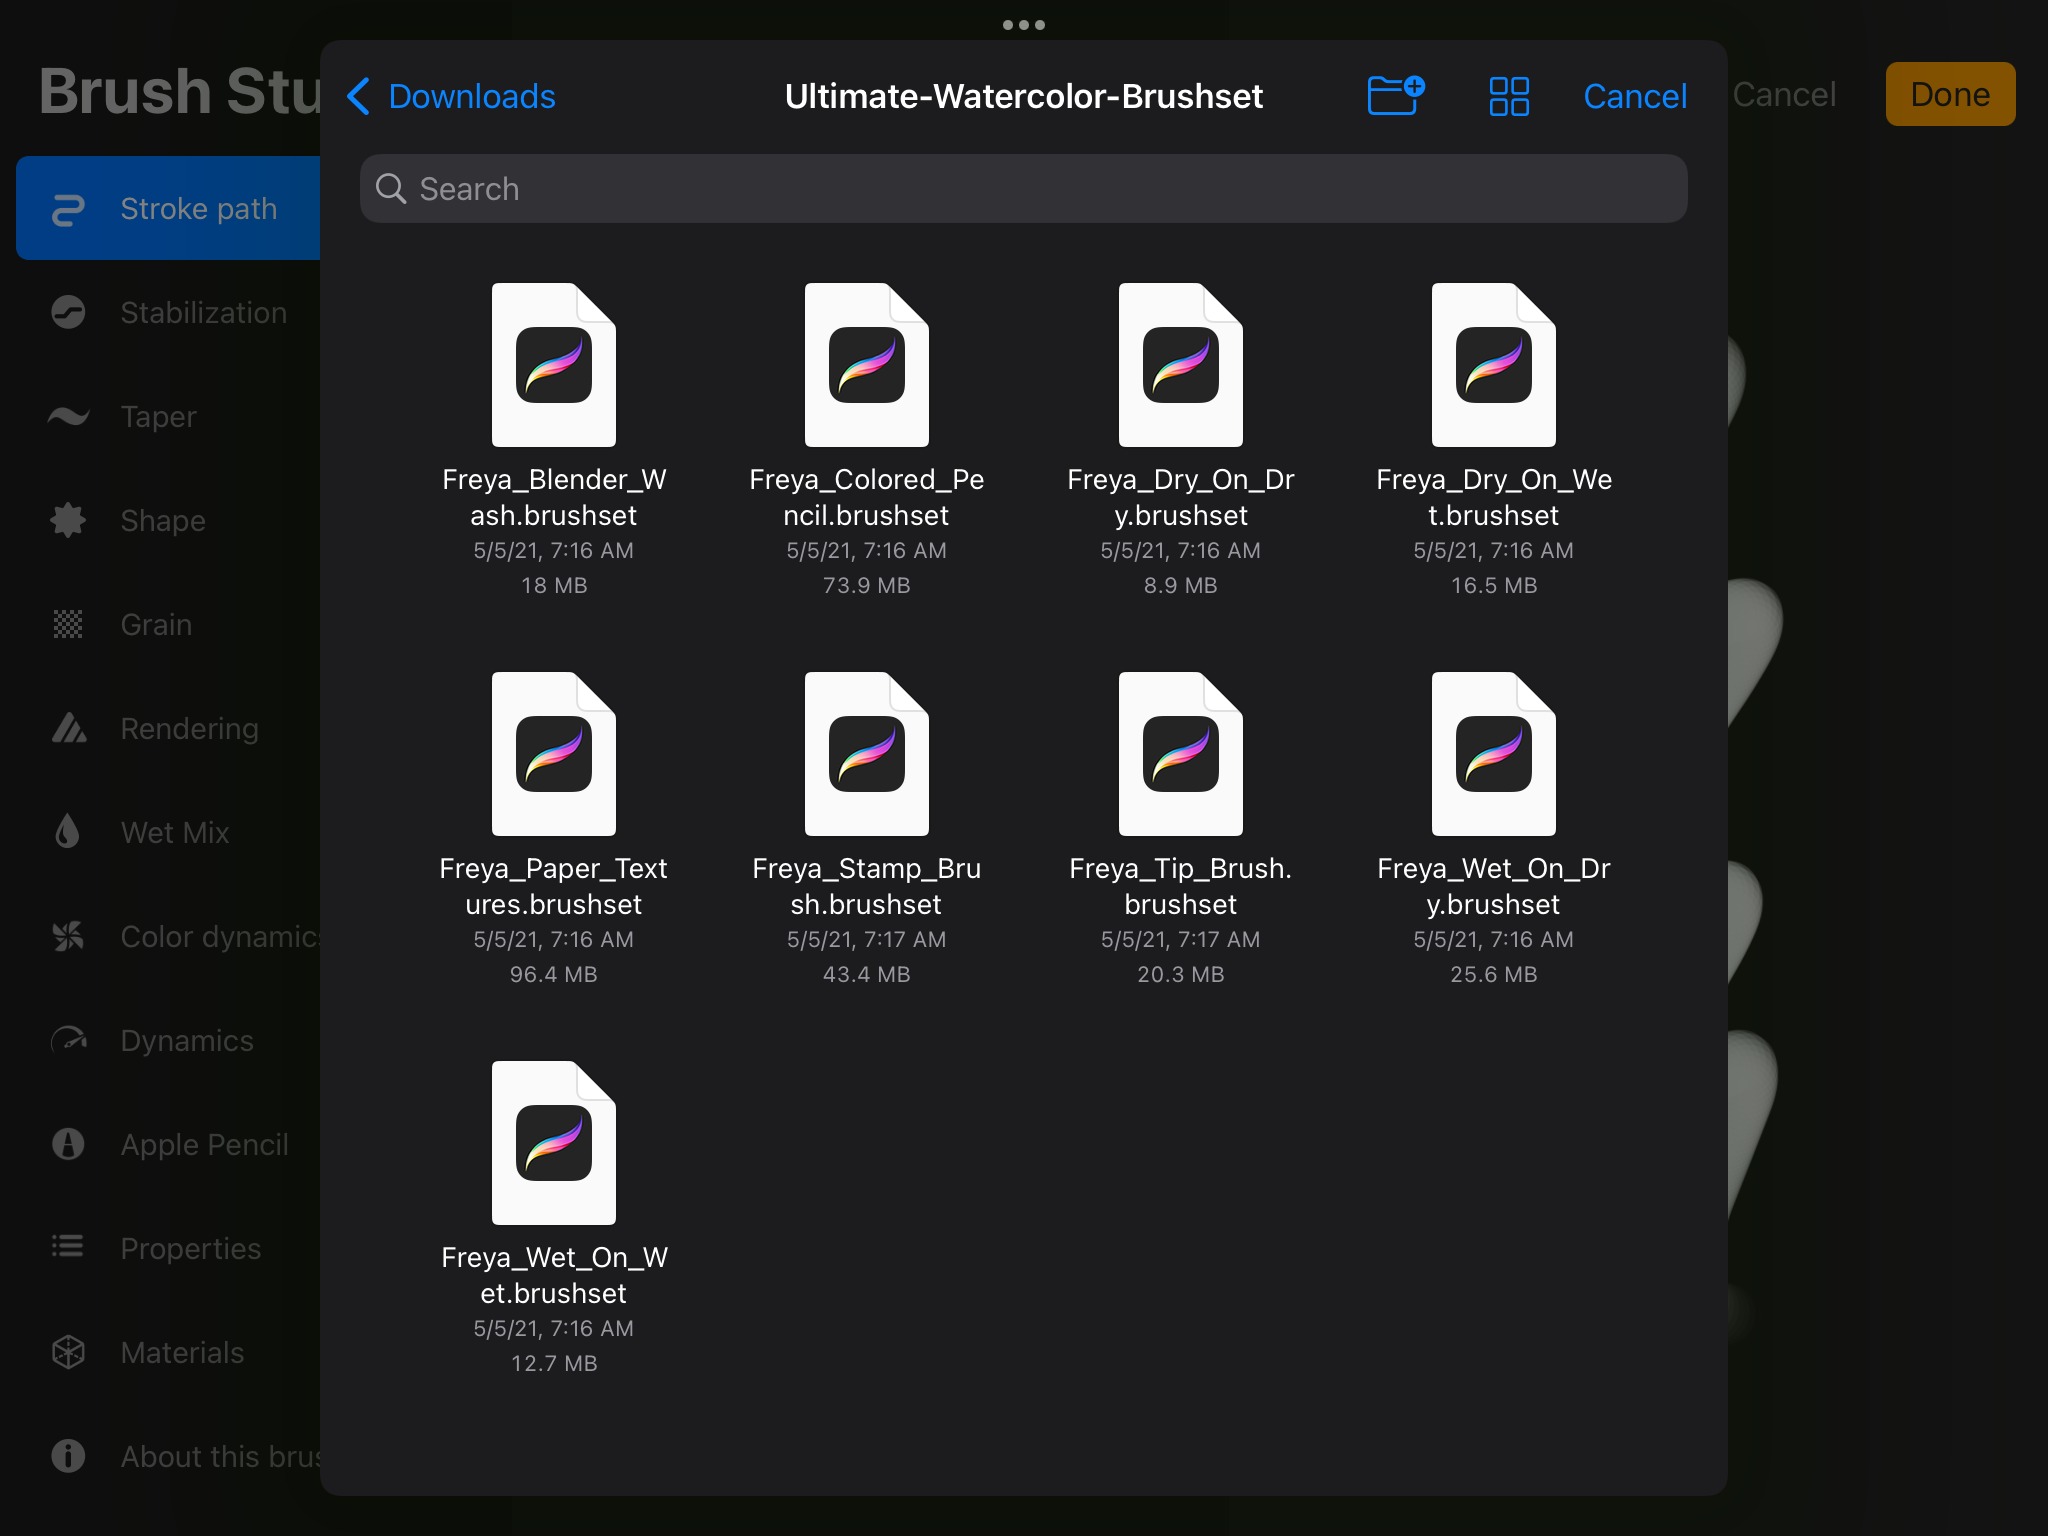
Once you have the brush files on your iPad, locate and open the Files app, which is pre-installed on all iOS devices. Navigate to the folder where you saved the downloaded brush files and tap on them to import them into Procreate. The app will automatically recognize and add the brushes to your brush library.
Now that you’ve successfully imported the brushes, you can start using them in your artwork. Open Procreate and tap on the brush icon to access your brush library. You’ll find the newly added brushes in the Imported section. Simply select the brush you want to use, adjust its settings if desired, and start creating!
Importing brushes from third-party sources gives you access to a wide variety of styles and effects, allowing you to explore new artistic possibilities. So go ahead and experiment with different brushes to enhance your Procreate experience!
Utilize the Procreate Brush Library
Procreate, the popular digital art and illustration app, offers a vast library of brushes to enhance your creative projects. The Procreate Brush Library is a treasure trove of pre-made brushes, carefully crafted by talented artists and designers to elevate your artwork to new heights.
To access the Brush Library, simply launch Procreate and tap on the brush icon in the toolbar. This will open up the Brush Library, where you’ll find a wide assortment of brushes organized into different categories, such as Drawing, Inking, Painting, and Special Effects.
The Brush Library is constantly being updated by Procreate’s developers, ensuring that you have access to the latest and greatest brushes. You can browse through the available brushes and preview them by tapping on each brush thumbnail. This allows you to get a feel for how the brush behaves and decide if it fits your artistic vision.
Once you’ve selected a brush, you can further customize its settings to suit your specific needs. Procreate provides a plethora of options, including brush size, opacity, flow, and blending modes. These settings allow you to create unique and personalized brush strokes, adding depth and dimension to your artwork.
Moreover, the Brush Library allows you to organize your favorite brushes into sets for easy access. This feature is incredibly handy when working on multiple projects or when you have a set of brushes that you frequently use. You can create custom sets and name them accordingly, making it a breeze to switch between brushes without any hassle.
One of the standout features of Procreate’s Brush Library is the ability to import and export brushes. This means that you’re not limited to the pre-installed brushes – you can also explore thousands of brushes created by artists worldwide. By simply importing a brush file into Procreate, you can broaden your artistic horizons and experiment with different textures, styles, and effects.
Whether you’re a digital artist, illustrator, or hobbyist, the Procreate Brush Library is an invaluable resource for unleashing your creativity. With its diverse range of brushes and intuitive interface, Procreate allows you to push the boundaries of digital art and bring your ideas to life in stunning detail.
Create Custom Brushes in Procreate
One of the great features of Procreate is the ability to create your own custom brushes. This allows you to add a personal touch to your artwork and explore unique styles and textures. Here’s a step-by-step guide on how to create your own custom brushes in Procreate.
1. Open Procreate and create a new canvas. Tap on the brush icon at the top right corner of the screen to open the brush library.
2. In the brush library, you’ll see a plus button at the top left corner. Tap on it to create a new brush. You’ll be presented with a range of brush settings to customize.
3. Start by choosing a brush shape. Procreate offers a variety of options, from basic shapes like round and square to more complex shapes like foliage and textures. Select the shape that suits your desired brush style.
4. Once you’ve chosen the shape, you can further customize the brush by adjusting settings such as size, opacity, and flow. These settings will determine how the brush behaves when you use it on the canvas.
5. Experiment with different settings and test your brush on the canvas to see how it looks. Don’t be afraid to play around and make adjustments until you’re satisfied with the result.
6. If you want to add texture or pattern to your brush, you can import custom textures or create your own patterns within Procreate. This allows you to create brushes with unique and interesting effects.
7. Once you’re happy with your brush, you can save it by tapping on the “Done” button. Give your brush a name that reflects its style or purpose so that you can easily identify it later.
8. Your custom brush will now be available in the brush library, ready to be used in your artwork. You can access it by tapping on the brush icon and selecting your custom brush from the list.
9. To further refine your custom brush, you can explore additional settings in the brush studio. This allows you to fine-tune the behavior of the brush and experiment with different effects.
Creating custom brushes in Procreate opens up a world of possibilities for your artwork. By exploring different brush shapes, textures, and settings, you can develop a unique style that truly sets your work apart.
So go ahead and unleash your creativity by creating your own custom brushes in Procreate. Have fun experimenting and let your imagination run wild!
Share Brushes with Others
Sharing your custom brushes with others can be a great way to foster a sense of community and creativity. Whether it’s fellow artists, friends, or a wider audience, Procreate allows you to easily share your brushes. Here are a few methods to share your brushes and help others elevate their digital art:
1. Export and Share the Brush File
If you’ve created a brush in Procreate and want to share it with someone, you can export it as a brush file. To do this, open the Brush Library and swipe left on the brush you want to share. Tap the “Share” icon, and choose the “Brush” option. This will create a .brush file that you can send via email, messaging apps, or even upload to a cloud storage service.
2. Share Brushes via Airdrop
If you and the recipient both have Apple devices, you can use the Airdrop feature to instantly share brushes. Simply open the brush file in Procreate, tap the “Share” icon, and select the Airdrop option. Choose the person you want to share the brush with from the list, and they’ll receive the brush file directly on their device.
3. Share Brushes Through Procreate’s Community
Procreate has a vibrant and active community where artists share their work and resources. You can join forums, social media groups, or platforms like DeviantArt and Behance to share your brushes with a wider audience. Create a post showcasing your brush, provide a download link, and engage with other artists who may have questions or feedback.
4. Collaborate and Exchange Brushes
Collaborating with other artists can be a fun and inspiring way to learn and grow. Reach out to fellow artists and see if they are interested in exchanging brushes. You can exchange files directly, share them through cloud storage services, or even create shared folders where everyone can contribute their brushes. This way, you can expand your collection and explore new creative possibilities.
5. Curate Your Own Brush Collection
If you have a collection of brushes that you want to share, consider curating and organizing them into a brush pack. You can create a zip file containing multiple brush files and share it through various channels like social media, personal websites, or even online marketplaces. Give your brush pack a unique name, include previews of the brushes, and provide instructions on how to install them in Procreate for easy use.
Sharing brushes with others not only allows you to showcase your creations but also contributes to the digital art community’s growth. Whether you’re giving back to the community or collaborating with fellow artists, sharing brushes can spark inspiration and open up new creative possibilities for everyone involved.
Conclusion
In conclusion, getting new brushes on Procreate is a simple and exciting process that allows you to expand your artistic capabilities and explore new styles and techniques. With a wide range of brushes available from the Procreate community and various online resources, you can find the perfect brush to bring your artistic vision to life. Whether you are a professional artist or a hobbyist, the ability to customize and add new brushes to your Procreate app opens up endless possibilities for creativity and expression. So don’t hesitate to explore and experiment with different brushes, unleash your imagination, and take your digital artwork to the next level with Procreate.
FAQs
Q: How can I get new brushes on Procreate?
A: Getting new brushes on Procreate is a simple and straightforward process. First, you need to find a reliable source for Procreate brushes, such as the Procreate Brush Marketplace or various online art communities. Once you have found a brush that you like, you can download it from the source’s website. After downloading the brush file, you can easily import it into Procreate by selecting the ‘Import’ option in the Brushes menu. The new brush will then be available for you to use in your artwork.
Q: Are there any free brushes available for Procreate?
A: Yes, there are numerous free brushes available for Procreate. Many talented artists and designers generously share their creations online. You can find free brushes on websites like Gumroad, Behance, and even on social media platforms such as Instagram and Pinterest. Additionally, the Procreate app itself offers a selection of default brushes that you can use without any additional cost.
Q: Can I create my own brushes on Procreate?
A: Absolutely! Procreate provides a powerful and intuitive brush creation tool that enables you to design your own unique brushes. You can customize various parameters such as shape, size, opacity, texture, and dynamics to create brushes that suit your artistic style. The possibilities are virtually limitless, allowing you to unleash your creativity and experiment with different brush designs.
Q: Can I share the brushes I create on Procreate with others?
A: Yes, you can share the brushes you create on Procreate with others. Procreate allows you to export your custom brushes as .brush files, which can be easily shared through various platforms and websites. Many artists often share their custom brushes as freebies or sell them on platforms like Gumroad or Etsy. Sharing your brushes not only allows you to contribute to the artistic community but also provides an opportunity for other artists to explore and experiment with different tools.
Q: Can I use Photoshop brushes on Procreate?
A: By default, Procreate does not support Photoshop brushes (ABR files). However, there are ways to convert Photoshop brushes into a compatible format for Procreate. You can utilize third-party applications or online converters to convert the ABR files into the Procreate-supported brush format (BRUSH files). Additionally, some brush creators offer their brushes in both Photoshop and Procreate formats, ensuring cross-compatibility between the two software.