
The iPhone 14 is a powerful and sophisticated device that stores a wide range of personal and sensitive information. As such, it is crucial to take the necessary steps to protect your privacy and ensure the security of your data. One of the most fundamental aspects of securing your iPhone is setting a strong and unique password. However, there may come a time when you feel the need to change your iPhone 14 password for various reasons. In this article, we will guide you through the process of changing your iPhone 14 password, providing you with step-by-step instructions that are easy to follow. Whether you have forgotten your password or simply wish to update it for added security, we’ve got you covered. So let’s dive in and explore how you can change your iPhone 14 password.
Inside This Article
- Overview
- Step 1: Accessing Settings – Accessing the Home Screen – Opening the Settings App
- Step 2: Changing the Passcode
- Step 3: Additional Security Settings – Enabling Face ID or Touch ID – Customizing Passcode Options
- Step 4: Testing the New Passcode – Locking and Unlocking the Device
- Troubleshooting: If you forget your passcode – Resetting the passcode through iCloud
- Conclusion
- FAQs
Overview
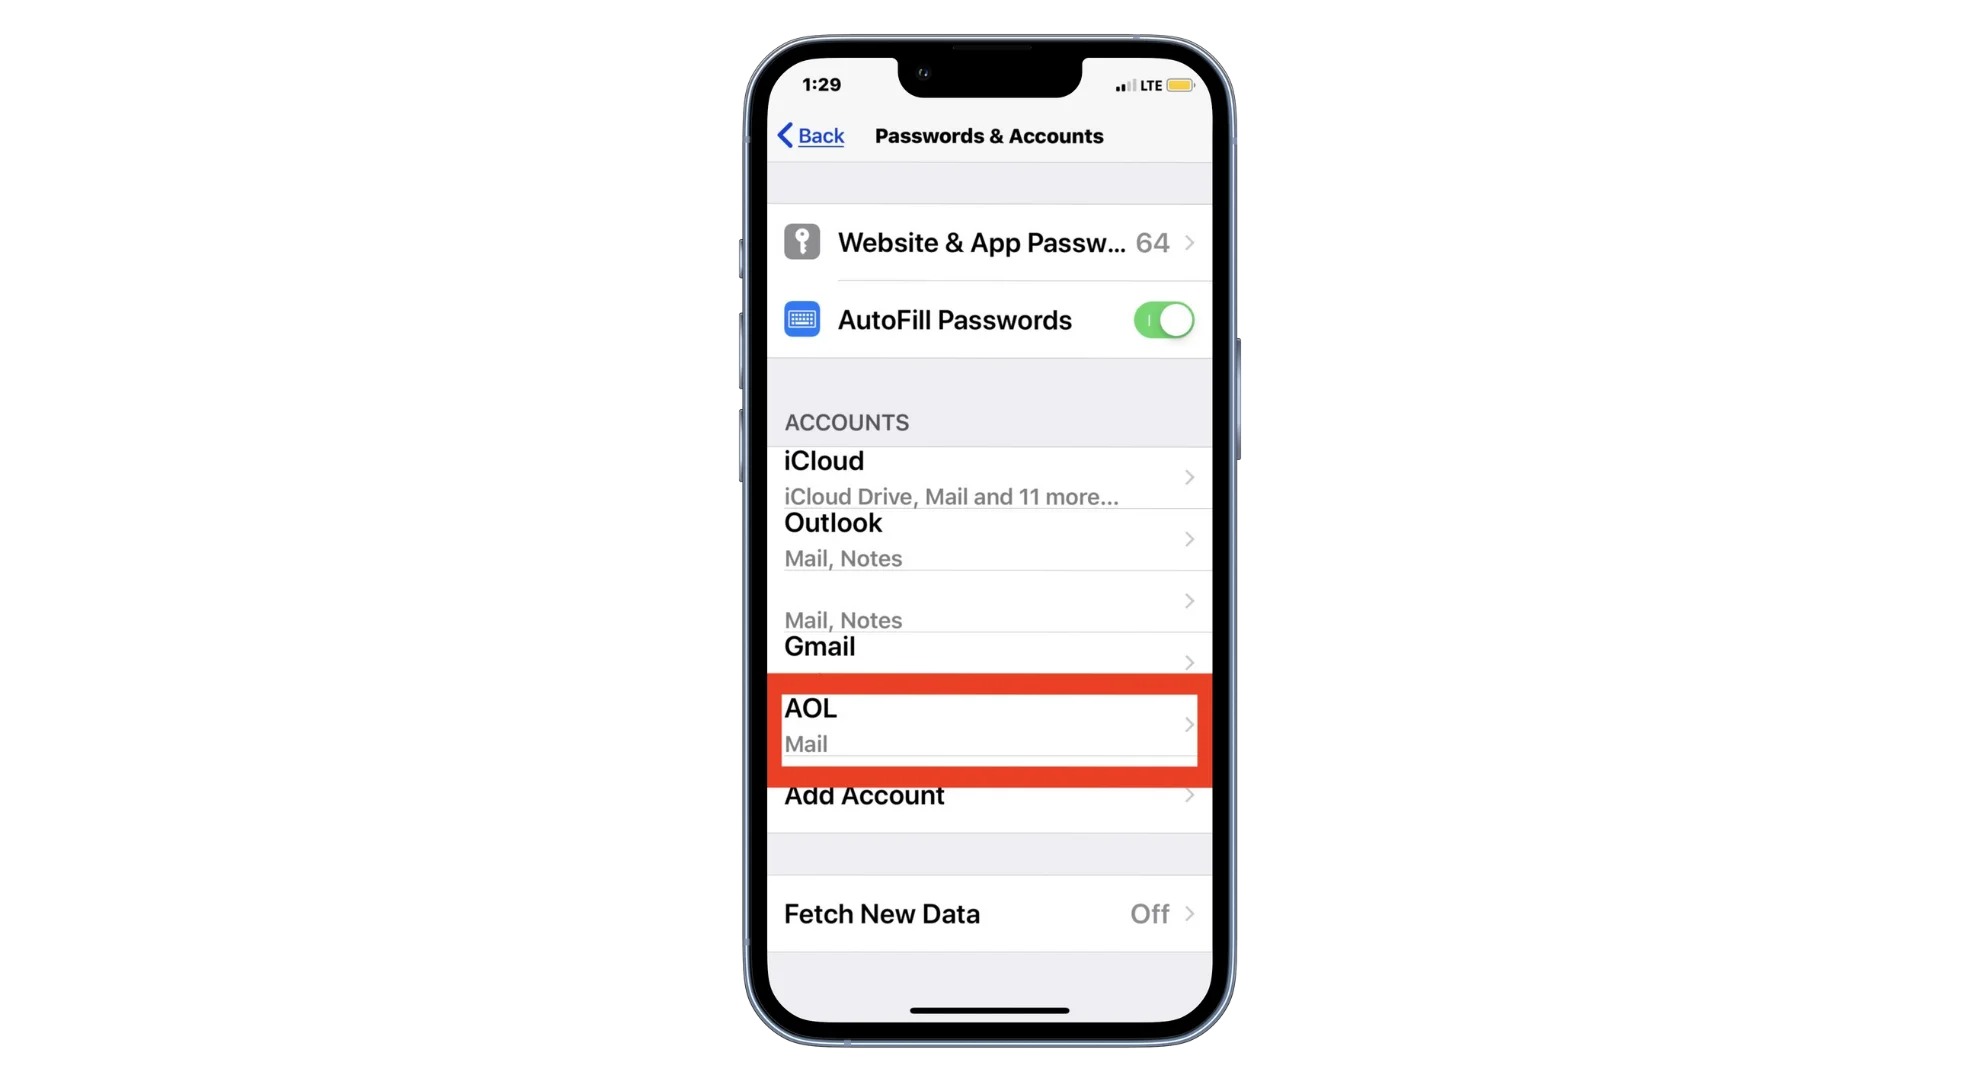
Changing the password on your iPhone 14 is a crucial step in safeguarding your personal information and ensuring the security of your device. Whether you want to update your passcode for added protection or simply want to refresh your security settings, it’s important to know how to change your iPhone’s password. In this article, we will guide you through the step-by-step process of changing your iPhone 14 password, as well as provide tips on additional security settings.
By changing your iPhone 14 password, you can prevent unauthorized access to your device and protect your sensitive data, including personal information, photos, and financial details. It is recommended to regularly update your passcode and take advantage of the advanced security features available on your iPhone 14, such as Face ID or Touch ID.
Whether you recently bought a new iPhone 14 or have been using it for a while, you can change your password at any time. The process is straightforward and can be done directly from your iPhone’s settings menu.
Next, we will walk you through the step-by-step process of changing your iPhone 14 password, including accessing the settings, selecting the “Passcode” option, entering the current and new passcodes, and testing the new passcode to ensure it is functioning correctly.
Step 1: Accessing Settings – Accessing the Home Screen – Opening the Settings App
When it comes to changing the password on your iPhone 14, the first step is to access the Settings app. To do this, you need to navigate to the home screen, which is the main screen displayed when you unlock your device.
Once you have accessed the home screen, look for the Settings app icon. It is represented by a grey cogwheel and is usually located on one of the main screens or in a folder labeled “Utilities” on your iPhone 14. Tap on the app icon to open the Settings app.
Upon opening the Settings app, you will be greeted with a variety of options and settings to customize your iPhone 14. The main settings categories are displayed as a list on the left side of the screen, while the selected category’s options are shown on the right side.
Now that you have successfully accessed the Settings app, you can proceed to the next step in changing your iPhone 14 password.
Step 2: Changing the Passcode
To change the passcode on your iPhone 14, follow the steps below:
Selecting the “Passcode” Option:
Begin by accessing the Settings app on your home screen. Look for the icon that resembles a gear and tap on it to open the Settings menu.
Entering the Current Passcode:
Once you are in the Settings menu, scroll down and tap on the “Passcode” option. You will be prompted to enter your current passcode in order to proceed.
Choosing the “Change Passcode” Option:
After entering your current passcode, you will see several options related to passcodes. Look for the “Change Passcode” option and select it.
Entering the New Passcode:
Next, you will be prompted to enter your new passcode. Choose a combination that is easy for you to remember, but difficult for others to guess. You can use a mix of numbers, letters, and special characters to enhance the security of your passcode.
Verifying the New Passcode:
Once you have entered your new passcode, you will be asked to verify it. This is to ensure that you have entered the correct passcode and there are no typing errors. Enter the new passcode again to verify it.
Once you have completed these steps, your passcode on your iPhone 14 will be successfully changed. You can now use the new passcode to unlock your device and access its features.
Step 3: Additional Security Settings – Enabling Face ID or Touch ID – Customizing Passcode Options
Once you’ve changed your iPhone 14 passcode, you can further enhance the security of your device by enabling either Face ID or Touch ID. These advanced biometric authentication features provide an extra layer of protection and convenience. Here’s how you can enable them:
Enabling Face ID: If your iPhone 14 supports Face ID, you can enable this feature for seamless and secure unlocking. To enable Face ID, follow these steps:
- Open the “Settings” app on your iPhone 14.
- Scroll down and tap on “Face ID & Passcode.”
- Enter your current passcode when prompted.
- Tap on “Set Up Face ID.”
- Follow the on-screen instructions to scan your face and complete the setup process.
Once Face ID is enabled, you can use it to unlock your iPhone and authenticate purchases simply by looking at your device.
Enabling Touch ID: If your iPhone 14 supports Touch ID, you can enable this feature for quick and secure fingerprint recognition. To enable Touch ID, follow these steps:
- Go to the “Settings” app on your iPhone 14.
- Scroll down and tap on “Touch ID & Passcode.”
- Enter your current passcode when prompted.
- Tap on “Add a Fingerprint.”
- Follow the on-screen instructions to scan your fingerprint and complete the setup process.
Once Touch ID is enabled, you can use your fingerprint to unlock your iPhone and authorize various actions, such as downloading apps and making purchases.
Customizing Passcode Options: In addition to enabling biometric authentication, you can customize various passcode options for added security. Here are some options you can explore:
- Require Passcode: You can choose how quickly your iPhone 14 requires a passcode after you lock it. You can select between “Immediately,” “After 1 minute,” “After 5 minutes,” or “After 15 minutes.”
- Allow Access When Locked: You can decide what actions are allowed without unlocking your iPhone. These include accessing Siri, replying to messages, and controlling playback. You can enable or disable these options based on your preference.
- Erase Data: Enabling this option will erase all data on your iPhone after ten failed passcode attempts. This feature provides an added layer of security in case your device falls into the wrong hands.
By customizing these passcode options, you can tailor the security settings of your iPhone 14 to your specific needs and preferences.
Step 4: Testing the New Passcode – Locking and Unlocking the Device
Once you have successfully changed your iPhone 14 passcode, it’s important to test it to ensure that it is working properly. Testing the new passcode will give you peace of mind knowing that your device is secure and protected. Here are the steps to lock and unlock your device using the new passcode:
1. Locking the Device:
To lock your iPhone 14, simply press the power button on the side or the top of the device. This will put your device into sleep mode and activate the passcode lock screen. Alternatively, you can let the device automatically lock itself after a certain period of inactivity.
2. Unlocking the Device:
To unlock your iPhone 14, wake up the device by pressing the power button or by using Face ID or Touch ID if you have enabled them. You will then be prompted to enter your passcode on the unlock screen. Enter the new passcode that you set earlier, using the on-screen numeric keypad.
If you enter the correct passcode, your device will unlock, and you will have full access to your iPhone 14’s features and functions. However, if you enter an incorrect passcode, your device will not unlock, and you’ll need to try again. After several unsuccessful attempts, your iPhone 14 may be temporarily locked for security reasons.
Remember, it is important to enter the correct passcode to prevent any unauthorized access to your device or personal information. If you ever suspect that someone knows your passcode or if it has been compromised, it’s essential to change it immediately.
By following these simple steps to test the new passcode on your iPhone 14, you can ensure that your device remains secure and protected. Always remember to choose a passcode that is both secure and easy for you to remember to maintain the perfect balance of convenience and safety.
Troubleshooting: If you forget your passcode – Resetting the passcode through iCloud
If you ever find yourself in a situation where you forget your iPhone 14 passcode, don’t panic. Apple provides a convenient solution through iCloud to reset your passcode and regain access to your device. Follow these steps to reset your passcode using iCloud:
1. First, make sure your iPhone 14 is connected to the internet, either via a Wi-Fi network or cellular data. This is crucial as the iCloud reset feature requires an internet connection.
2. Open a web browser on any device, such as a computer or another smartphone, and visit the iCloud website at https://www.icloud.com.
3. Sign in to your iCloud account using the Apple ID and password associated with your iPhone 14.
4. Once you’re logged in, you’ll see a list of iCloud apps and services. Locate and click on the “Find iPhone” app.
5. In the “Find My iPhone” app, click on the “All Devices” dropdown menu located at the top of the screen, and select your iPhone 14 from the list of devices linked to your iCloud account.
6. With your iPhone 14 selected, you’ll see a few options appear at the top of the screen. Click on the “Erase iPhone” option.
7. A confirmation prompt will appear, informing you that erasing your iPhone will delete all data on the device. If you have a recent backup of your iPhone, click on the “Erase” button to proceed.
8. The iCloud service will now remotely erase your iPhone 14, including the forgotten passcode. This process may take a few minutes to complete.
9. Once the erasing process is finished, your iPhone 14 will restart and present you with the initial setup screen. At this point, you can set up your device as new or restore from a previous backup.
Please note that using iCloud to reset your passcode will erase all data on your iPhone 14. It’s crucial to have a recent backup of your device to restore from after the passcode reset process. This ensures you don’t lose any important information or personalized settings.
If you don’t have a backup, you may still be able to recover some of your data through other methods, such as using third-party software or contacting Apple Support for further assistance.
Resetting the passcode through iCloud is an effective solution for regaining access to your iPhone 14 if you forget your passcode. However, it’s important to remember your passcode or enable features like Face ID or Touch ID for added convenience and security.
When resetting your passcode, take the opportunity to choose a secure and memorable code. Avoid using easily guessable combinations like “1234” or “0000” to ensure the safety of your device and personal information.
By following these troubleshooting steps, you can confidently reset your passcode through iCloud and regain access to your iPhone 14.
Conclusion
Changing the password on your iPhone 14 is a simple yet crucial task to ensure the security and privacy of your device. By following the step-by-step process outlined in this article, you can effortlessly update your password to enhance the protection of your personal data.
Remember, regularly changing your iPhone’s password is a proactive measure against potential security breaches and unauthorized access. Make it a habit to update your password periodically to stay one step ahead of any potential threats.
With the easy-to-follow instructions provided, you can confidently navigate the settings menu of your iPhone 14 and update your password in no time. Stay secure and enjoy peace of mind knowing that your personal information is well-protected.
Should you encounter any difficulties or have further questions regarding changing your iPhone 14 password, don’t hesitate to reach out to the Apple support team or refer to the extensive resources available on their website.
FAQs
Q: How do I change the password on my iPhone 14?
A: To change the password on your iPhone 14, follow these steps:
1. Open the Settings app on your iPhone 14.
2. Scroll down and tap on “Face ID & Passcode” or “Touch ID & Passcode”, depending on the authentication method you have set up.
3. Enter your current passcode if prompted.
4. Scroll down and tap on “Change Passcode”.
5. Enter your current passcode again.
6. Next, you will be prompted to enter a new passcode. You have the options to use a custom alphanumeric code, a custom numeric code, or a 4-digit numeric code.
7. After entering the new passcode, you will be asked to confirm it.
8. Once confirmed, your iPhone 14 will now have a new passcode.
Q: Can I use Touch ID or Face ID to unlock my iPhone 14 instead of a passcode?
A: Yes, the iPhone 14 offers the option to use either Touch ID or Face ID as an alternative to a passcode. These biometric authentication methods provide convenience and added security by using your fingerprint or facial features to unlock your device. To set up Touch ID or Face ID on your iPhone 14, go to the Settings app, tap on “Face ID & Passcode” or “Touch ID & Passcode”, and follow the prompts to enroll your biometric data.
Q: What should I do if I forget my iPhone 14 passcode?
A: If you forget your passcode on your iPhone 14, the only way to regain access to your device is by performing a factory reset. Please note that this process will erase all data on your iPhone 14, so it’s crucial to have a recent backup. To perform a factory reset, follow these steps:
1. Connect your iPhone 14 to a computer with iTunes installed.
2. Put your iPhone 14 into recovery mode. This process varies slightly depending on the iPhone model.
3. iTunes will detect your iPhone 14 in recovery mode and display a prompt offering to restore your device.
4. Click on “Restore” to initiate the factory reset process. This will erase all content and settings on your iPhone 14.
5. After the reset is complete, you can set up your iPhone 14 as new or restore from a backup.
Keep in mind that this method will only work if you have previously synced your iPhone 14 with iTunes or iCloud and have a backup available.
Q: Can changing the passcode on my iPhone 14 protect my data?
A: Yes, changing the passcode on your iPhone 14 can help protect your data. By regularly updating your passcode, you minimize the risk of unauthorized access, especially if your old passcode has been compromised. It’s also recommended to use strong and unique passcodes that are not easily guessable. Additionally, enabling features like Touch ID or Face ID adds an extra layer of security to ensure that only you can unlock your device.
Q: Can I use a passcode to encrypt the data on my iPhone 14?
A: Yes, you can use a passcode to encrypt the data on your iPhone 14. When you set a passcode on your device, it automatically enables the encryption feature. Encryption protects your data by scrambling it and making it unreadable to anyone without the correct passcode. This ensures that even if someone gains physical access to your iPhone 14, they won’t be able to access your personal information unless they know the passcode.