
Creating an album on your iPhone 10 is a fantastic way to organize and cherish your precious memories. Whether it's a collection of stunning vacation photos, heartwarming family moments, or captivating snapshots of your hobbies, having them neatly arranged in an album can bring a sense of joy and nostalgia. In this article, we'll delve into the step-by-step process of creating an album on your iPhone 10, ensuring that your treasured memories are beautifully organized and easily accessible. Let's embark on this delightful journey of preserving your cherished moments in a visually appealing and organized manner. Exciting, isn't it? Let's get started!
Inside This Article
- Step 1: Selecting Photos
- Step 2: Creating a New Album
- Step 3: Adding Photos to the Album
- Step 4: Organizing and Editing
- Step 5: Sharing the Album
- Conclusion
- FAQs
Step 1: Selecting Photos
One of the first steps in creating an album on your iPhone 10 is selecting the photos you want to include. Start by opening the Photos app on your device. This app organizes all the photos and videos on your iPhone, making it easy to navigate through your media.
Once you’re in the Photos app, you can browse through your photo library to find the images you want to include in your album. You can scroll through your Camera Roll, Photo Library, or any other albums you’ve created to find the perfect photos for your new album.
As you browse through your photos, take your time to select the ones that best represent the theme or event you want to capture in your album. Whether it’s a collection of vacation memories, family gatherings, or special occasions, choose the photos that evoke the emotions and memories you want to preserve.
After selecting the photos, you can proceed to the next step of creating a new album to organize and showcase your chosen images.
Step 2: Creating a New Album
Once you’ve selected the photos you want to include in your album, the next step is to create a new album to house them. Creating a new album on your iPhone 10 is a straightforward process that allows you to easily organize and access your photos.
To begin, open the Photos app on your iPhone 10. From the main screen, tap on the “Albums” tab located at the bottom of the interface. This will bring up a list of your existing albums, as well as the option to create a new one.
Next, tap on the “Add” button, usually represented by a “+” sign or “New Album.” You’ll then be prompted to enter a name for your new album. Choose a descriptive and memorable name that reflects the content of the photos you’re adding, making it easier to locate the album in the future.
After naming your album, tap “Save” or “Done” to create it. Your new album will now appear in the “Albums” tab, ready for you to populate it with your selected photos. You can repeat this process to create multiple albums, allowing you to organize your photos into distinct categories or events.
Step 3: Adding Photos to the Album
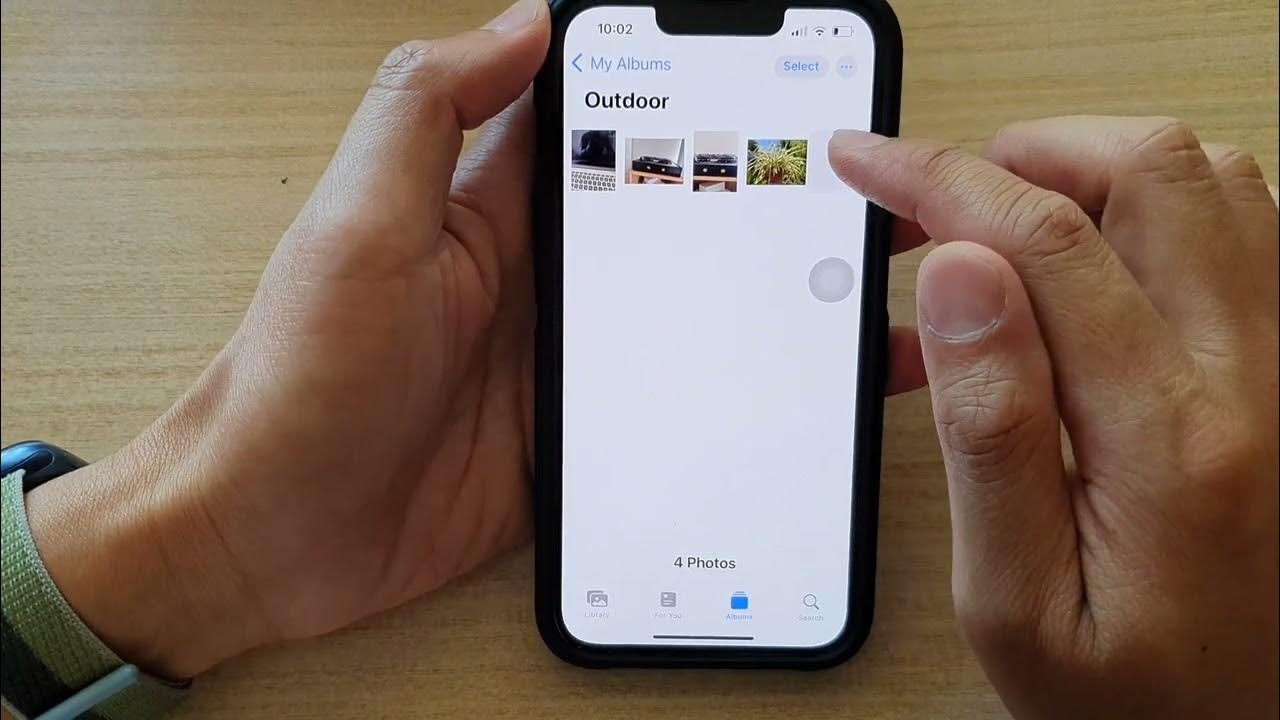
Once you’ve created a new album, it’s time to populate it with photos. To do this, navigate to the “Photos” app on your iPhone 10. Tap on the “Albums” tab at the bottom of the screen to access your existing albums.
Next, select the album you’ve just created by tapping on it. You’ll be taken to the album’s contents, which will currently be empty. To add photos, tap the “Select” button located at the top right corner of the screen. You can now choose the photos you want to add by tapping on them.
After selecting the desired photos, tap the “Add” button, typically located at the bottom right corner of the screen. Your chosen photos will now be added to the album, and you’ll see them displayed within it.
It’s important to note that adding photos to an album doesn’t remove them from their original location in your photo library. They are simply linked to the album, allowing for easy access and organization without duplication.
Step 4: Organizing and Editing
Once you’ve created your new album, it’s time to organize and edit the photos within it. This step allows you to fine-tune the visual narrative and ensure that the album reflects your desired aesthetic and storytelling. Here’s how you can efficiently organize and edit your iPhone 10 album:
First, you can rearrange the order of the photos in the album to create a cohesive visual flow. Simply tap “Select” in the upper right corner, then hold and drag the photos to rearrange them as desired. This feature enables you to craft a captivating visual journey for anyone viewing the album.
Next, take advantage of the editing tools available within the Photos app to enhance the visual appeal of each photo. You can adjust lighting, color balance, and apply filters to achieve the desired look. With just a few taps, you can transform ordinary photos into stunning visual masterpieces.
Furthermore, consider adding captions to the photos to provide context and evoke emotions. Captions can serve as storytelling elements, enriching the viewing experience for anyone exploring the album. To add a caption, simply tap on a photo, then tap the “Edit” button and enter the desired caption in the “Add a Caption” field.
Lastly, take advantage of the “Markup” feature to add personal touches to the photos. Whether it’s doodles, text, or highlighting specific details, the Markup tool allows you to infuse your personality into the visual narrative. This step adds a unique and personal dimension to your album, making it even more engaging for viewers.
Step 5: Sharing the Album
Now that you’ve created and organized your album, it’s time to share it with friends and family. Sharing albums on your iPhone 10 is a breeze, allowing you to spread the joy of your cherished memories with just a few taps.
To share your album, open the Photos app and navigate to the album you want to share. Tap on the album to open it, and then tap the “Select” button at the top right corner of the screen. Next, tap on the photos you want to share within the album.
After selecting the desired photos, tap the “Share” button located at the bottom left corner of the screen. This will open a menu with various sharing options, including AirDrop, Messages, Mail, and more. Choose your preferred sharing method and follow the prompts to share your album with your chosen contacts.
Whether you’re sending the album via text, email, or social media, the intuitive sharing options on your iPhone 10 make it simple to spread the love and relive your special moments with others.
Creating an album on your iPhone 10 is a convenient way to organize and cherish your precious memories. With just a few simple steps, you can curate a collection of photos and videos that are meaningful to you. By utilizing the native features of the iPhone 10, you can easily access and share these albums with friends and family, adding a personal touch to your digital interactions. The ability to create albums directly on your device empowers you to tailor your photo organization to suit your preferences, ensuring that your most cherished moments are always at your fingertips. Embracing the functionality of your iPhone 10 to create albums not only streamlines your photo management but also adds a layer of personalization to your digital experience, enriching the way you engage with your memories.
html
Conclusion
Creating an album on your iPhone 10 is a convenient way to organize and cherish your precious memories. With just a few simple steps, you can curate a collection of photos and videos that are meaningful to you. By utilizing the native features of the iPhone 10, you can easily access and share these albums with friends and family, adding a personal touch to your digital interactions. The ability to create albums directly on your device empowers you to tailor your photo organization to suit your preferences, ensuring that your most cherished moments are always at your fingertips. Embracing the functionality of your iPhone 10 to create albums not only streamlines your photo management but also adds a layer of personalization to your digital experience, enriching the way you engage with your memories.
FAQs
Q: Can I create an album on my iPhone 10 to organize my photos?
A: Yes, you can easily create albums on your iPhone 10 to organize your photos and keep them neatly categorized.
Q: Can I add existing photos to a newly created album on my iPhone 10?
A: Absolutely! You can add existing photos from your camera roll to any newly created album on your iPhone 10, allowing you to customize your photo organization.
Q: Is it possible to rename an album after creating it on my iPhone 10?
A: Certainly! You have the flexibility to rename albums after creating them on your iPhone 10, enabling you to personalize your photo organization.
Q: Can I share an album with others from my iPhone 10?
A: Yes, you can easily share albums with others directly from your iPhone 10, allowing you to effortlessly distribute and showcase your photos.
Q: Will creating albums on my iPhone 10 affect the original photos in my camera roll?
A: No, creating albums on your iPhone 10 does not affect the original photos in your camera roll. The albums serve as a convenient way to organize and access your photos without altering the originals.