
If you're wondering how to organize your iPhone 10 photos into albums, you've come to the right place. Keeping your photo library tidy and well-organized can make it easier to find and enjoy your favorite memories. In this article, we'll delve into the step-by-step process of moving your iPhone 10 photos to specific albums, allowing you to create a personalized and easily accessible photo collection. Whether you want to categorize your photos by events, people, or locations, we'll guide you through the process, ensuring that your precious memories are neatly organized and readily available. So, let's embark on this journey to streamline your iPhone 10 photo library and make it more manageable.
Inside This Article
- Step 1: Open Photos App
- Step 2: Select Photos
- Step 3: Move Photos to Album
- Step 4: Create a New Album
- Conclusion
- FAQs
**
Step 1: Open Photos App
**
Opening the Photos app on your iPhone 10 is the first step to organizing your photos into albums. The Photos app is a powerful tool that allows you to store, view, and manage all your precious memories captured on your device. With just a few taps, you can easily access and organize your photos into albums, making it convenient to locate and share them with friends and family.
When you open the Photos app, you’ll be greeted with a visually appealing interface that showcases your photos and videos in a neatly organized manner. The app provides various viewing options, such as Moments, Collections, and Years, allowing you to navigate through your photo library seamlessly. Whether you’re looking for a specific snapshot from a recent vacation or a cherished memory from years ago, the Photos app makes it effortless to find what you’re looking for.
By tapping on the Photos app icon on your iPhone 10, you’ll gain instant access to a treasure trove of memories captured through your device’s camera. The app’s intuitive design and user-friendly interface make it easy for users to explore their photo collections, relive special moments, and take the next step in organizing their photos into personalized albums.
**
Step 2: Select Photos
**
After opening the Photos app on your iPhone X, you’ll be greeted by a display of your photo library, showcasing all the precious memories captured on your device. To begin the process of moving photos to a specific album, you’ll need to select the photos you wish to transfer. This step is crucial as it determines which images will be organized into the designated album.
First, tap the “Select” option located at the top right corner of the screen. This action triggers the selection mode, allowing you to choose multiple photos at once. Once in selection mode, you can tap on each photo you want to move. As you tap each photo, a blue checkmark will appear, indicating that the image has been selected. Additionally, you can drag your finger across the screen to select multiple photos simultaneously, streamlining the process and saving valuable time.
As you proceed with this step, it’s essential to ensure that all the desired photos are selected. This meticulous attention to detail guarantees that the intended images will be seamlessly transferred to the designated album, preserving your memories in an organized and easily accessible manner.
**
Step 3: Move Photos to Album
**
Once you’ve selected the photos you want to organize, it’s time to move them to a specific album. Here’s how you can do it with just a few taps on your iPhone 10.
1. After selecting the photos, tap the “Add To” option located at the bottom left corner of the screen. This will prompt a menu to appear at the bottom of the screen, displaying your existing albums and an option to create a new one.
2. Choose the album you want to move the selected photos to by tapping on it. If you want to create a new album, select the “New Album” option and follow the prompts to create and name the new album.
3. Once you’ve selected the destination album, tap “Add” or “Done” at the top right corner of the screen. Your selected photos will now be moved to the chosen album, helping you keep your memories organized and easily accessible.
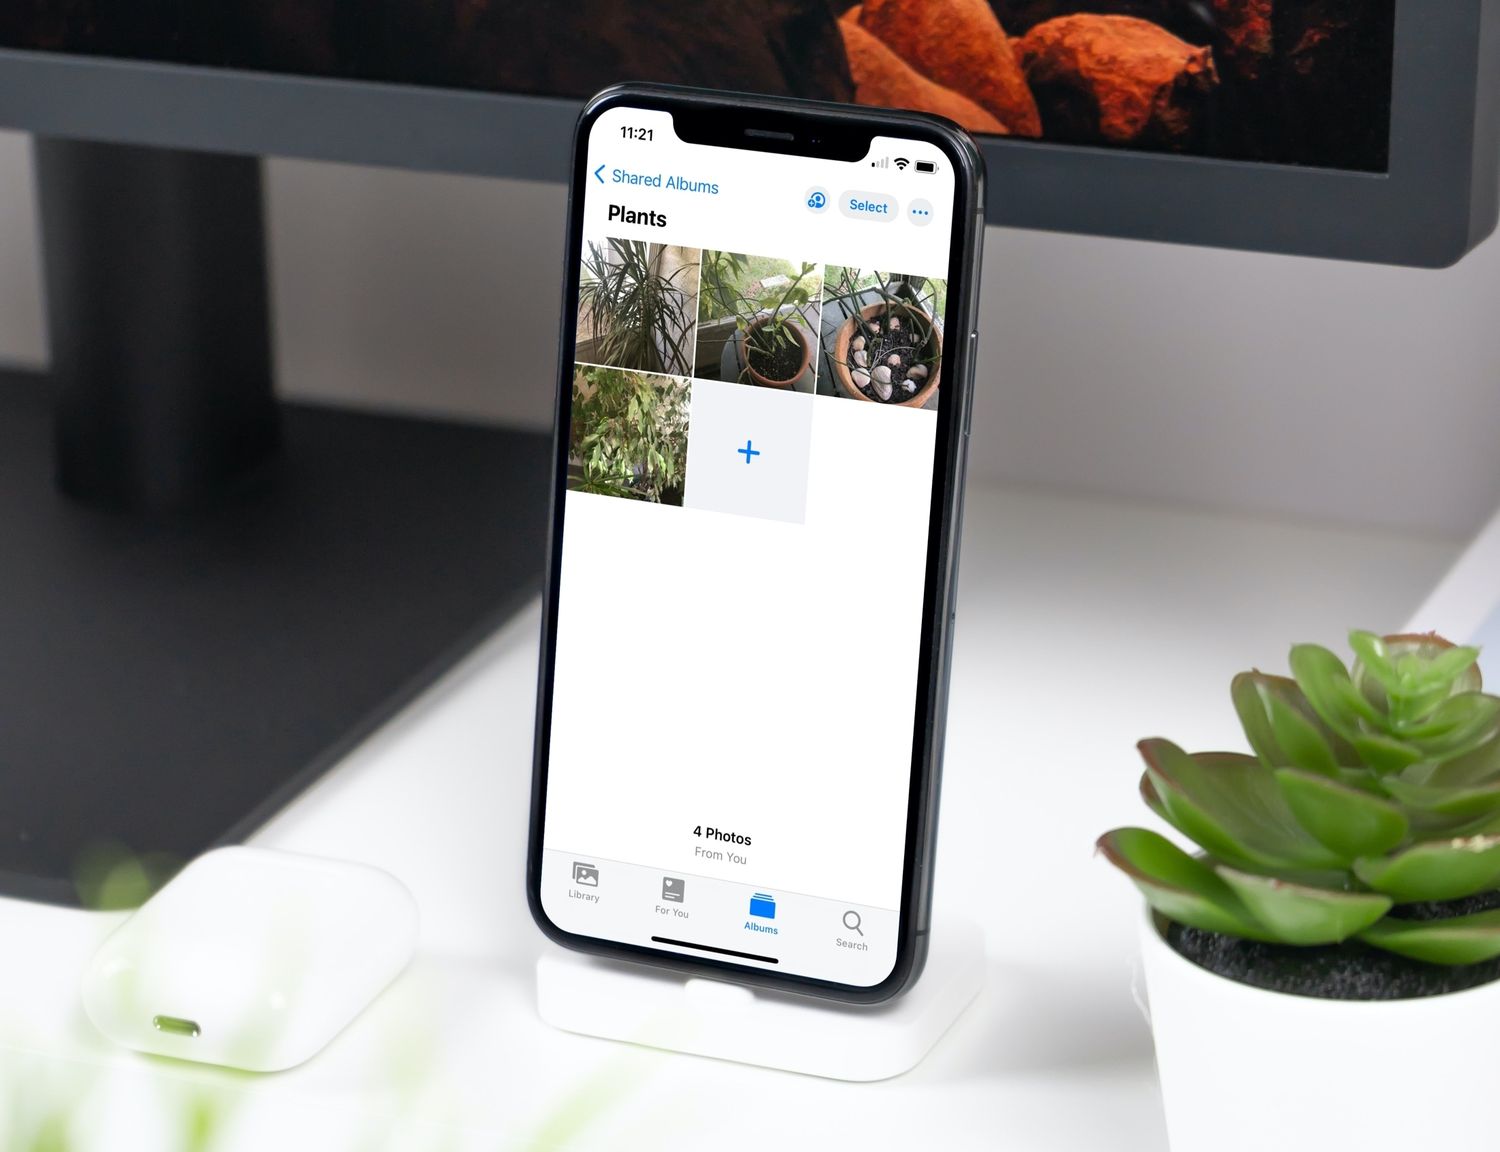
Step 4: Create a New Album
Creating a new album in the Photos app on your iPhone 10 is a straightforward process that allows you to organize and access your photos with ease. Follow these simple steps to create a new album and keep your memories neatly arranged.
To start, open the Photos app on your iPhone 10. This app is represented by a multicolored pinwheel icon and is typically found on the home screen or within the “Extras” folder.
Next, tap on the “Albums” tab located at the bottom of the screen. This will display all your existing albums, including the default ones such as “Recents,” “Favorites,” and “Recently Deleted.”
Now, to create a new album, tap on the “Add” button, usually denoted by a plus sign or the word “Add” at the top or bottom right corner of the screen. This will prompt a new window where you can input the details for your album.
Enter a name for your new album in the designated field. You can be as creative or descriptive as you like when naming your albums, making it easier to locate specific photos in the future. Once you’ve entered the desired name, tap “Save” or “Done” to create the album.
Congratulations! You’ve successfully created a new album in the Photos app on your iPhone 10. Now, you can start populating it with photos by selecting the images and adding them to the newly created album, keeping your precious memories neatly organized and easily accessible.
Conclusion
Organizing photos on your iPhone 10 into albums is a simple yet effective way to keep your precious memories in order. Whether it’s creating albums for special occasions, trips, or specific themes, having a well-organized photo library can make it easier to relive those moments in the future. With the intuitive features of the iPhone 10, moving photos to albums is a seamless process that can be done in just a few taps. By following the steps outlined in this guide, you can take full advantage of the Photos app’s capabilities and ensure that your photo collection remains neatly categorized and easily accessible. Embrace the convenience and personalization that comes with curating your own photo albums, and enjoy the satisfaction of effortlessly navigating through your cherished snapshots.
FAQs
Q: How do I move photos to an album on iPhone 10?
A: To move photos to an album on your iPhone 10, simply open the Photos app, select the photo you want to move, tap the "Share" button, choose "Add to Album," and then select the album you want to move the photo to.
Q: Can I create a new album to move photos to on my iPhone 10?
A: Yes, you can create a new album by tapping the "Add to Album" option and then selecting "New Album." You can then name the album and add the selected photo to it.
Q: What if I want to move multiple photos to an album on my iPhone 10?
A: You can move multiple photos to an album by tapping "Select" in the Photos app, choosing the photos you want to move, tapping the "Share" button, selecting "Add to Album," and then choosing the album to move the selected photos to.
Q: Can I rearrange the order of photos within an album on my iPhone 10?
A: Yes, you can rearrange the order of photos within an album by opening the album, tapping "Select," and then dragging the photos to rearrange them as desired.
Q: Will moving photos to an album on my iPhone 10 affect their original location?
A: No, moving photos to an album on your iPhone 10 does not affect their original location in the Photos app. They will still be accessible in the camera roll and any other albums they were previously in.