
Are you eager to preserve a memorable slideshow on your iPhone 12 but unsure how to do so? Fear not, as this comprehensive guide will equip you with the knowledge and techniques to effortlessly save a captivating slideshow on your iPhone 12. Whether it’s a cherished collection of photos from a recent vacation, a heartwarming montage of family moments, or a professionally crafted presentation, your iPhone 12 offers a range of intuitive methods to save and enjoy these visual delights at your convenience. Let’s delve into the various approaches and tips for saving a slideshow on your iPhone 12, ensuring that your cherished memories and captivating visuals are readily accessible whenever you desire.
Inside This Article
- Setting Up a Slideshow on iPhone 12
- Saving a Slideshow to Photos App
- Using Third-Party Apps to Save Slideshows
- Sharing and Exporting Slideshows
- Conclusion
- FAQs
Setting Up a Slideshow on iPhone 12
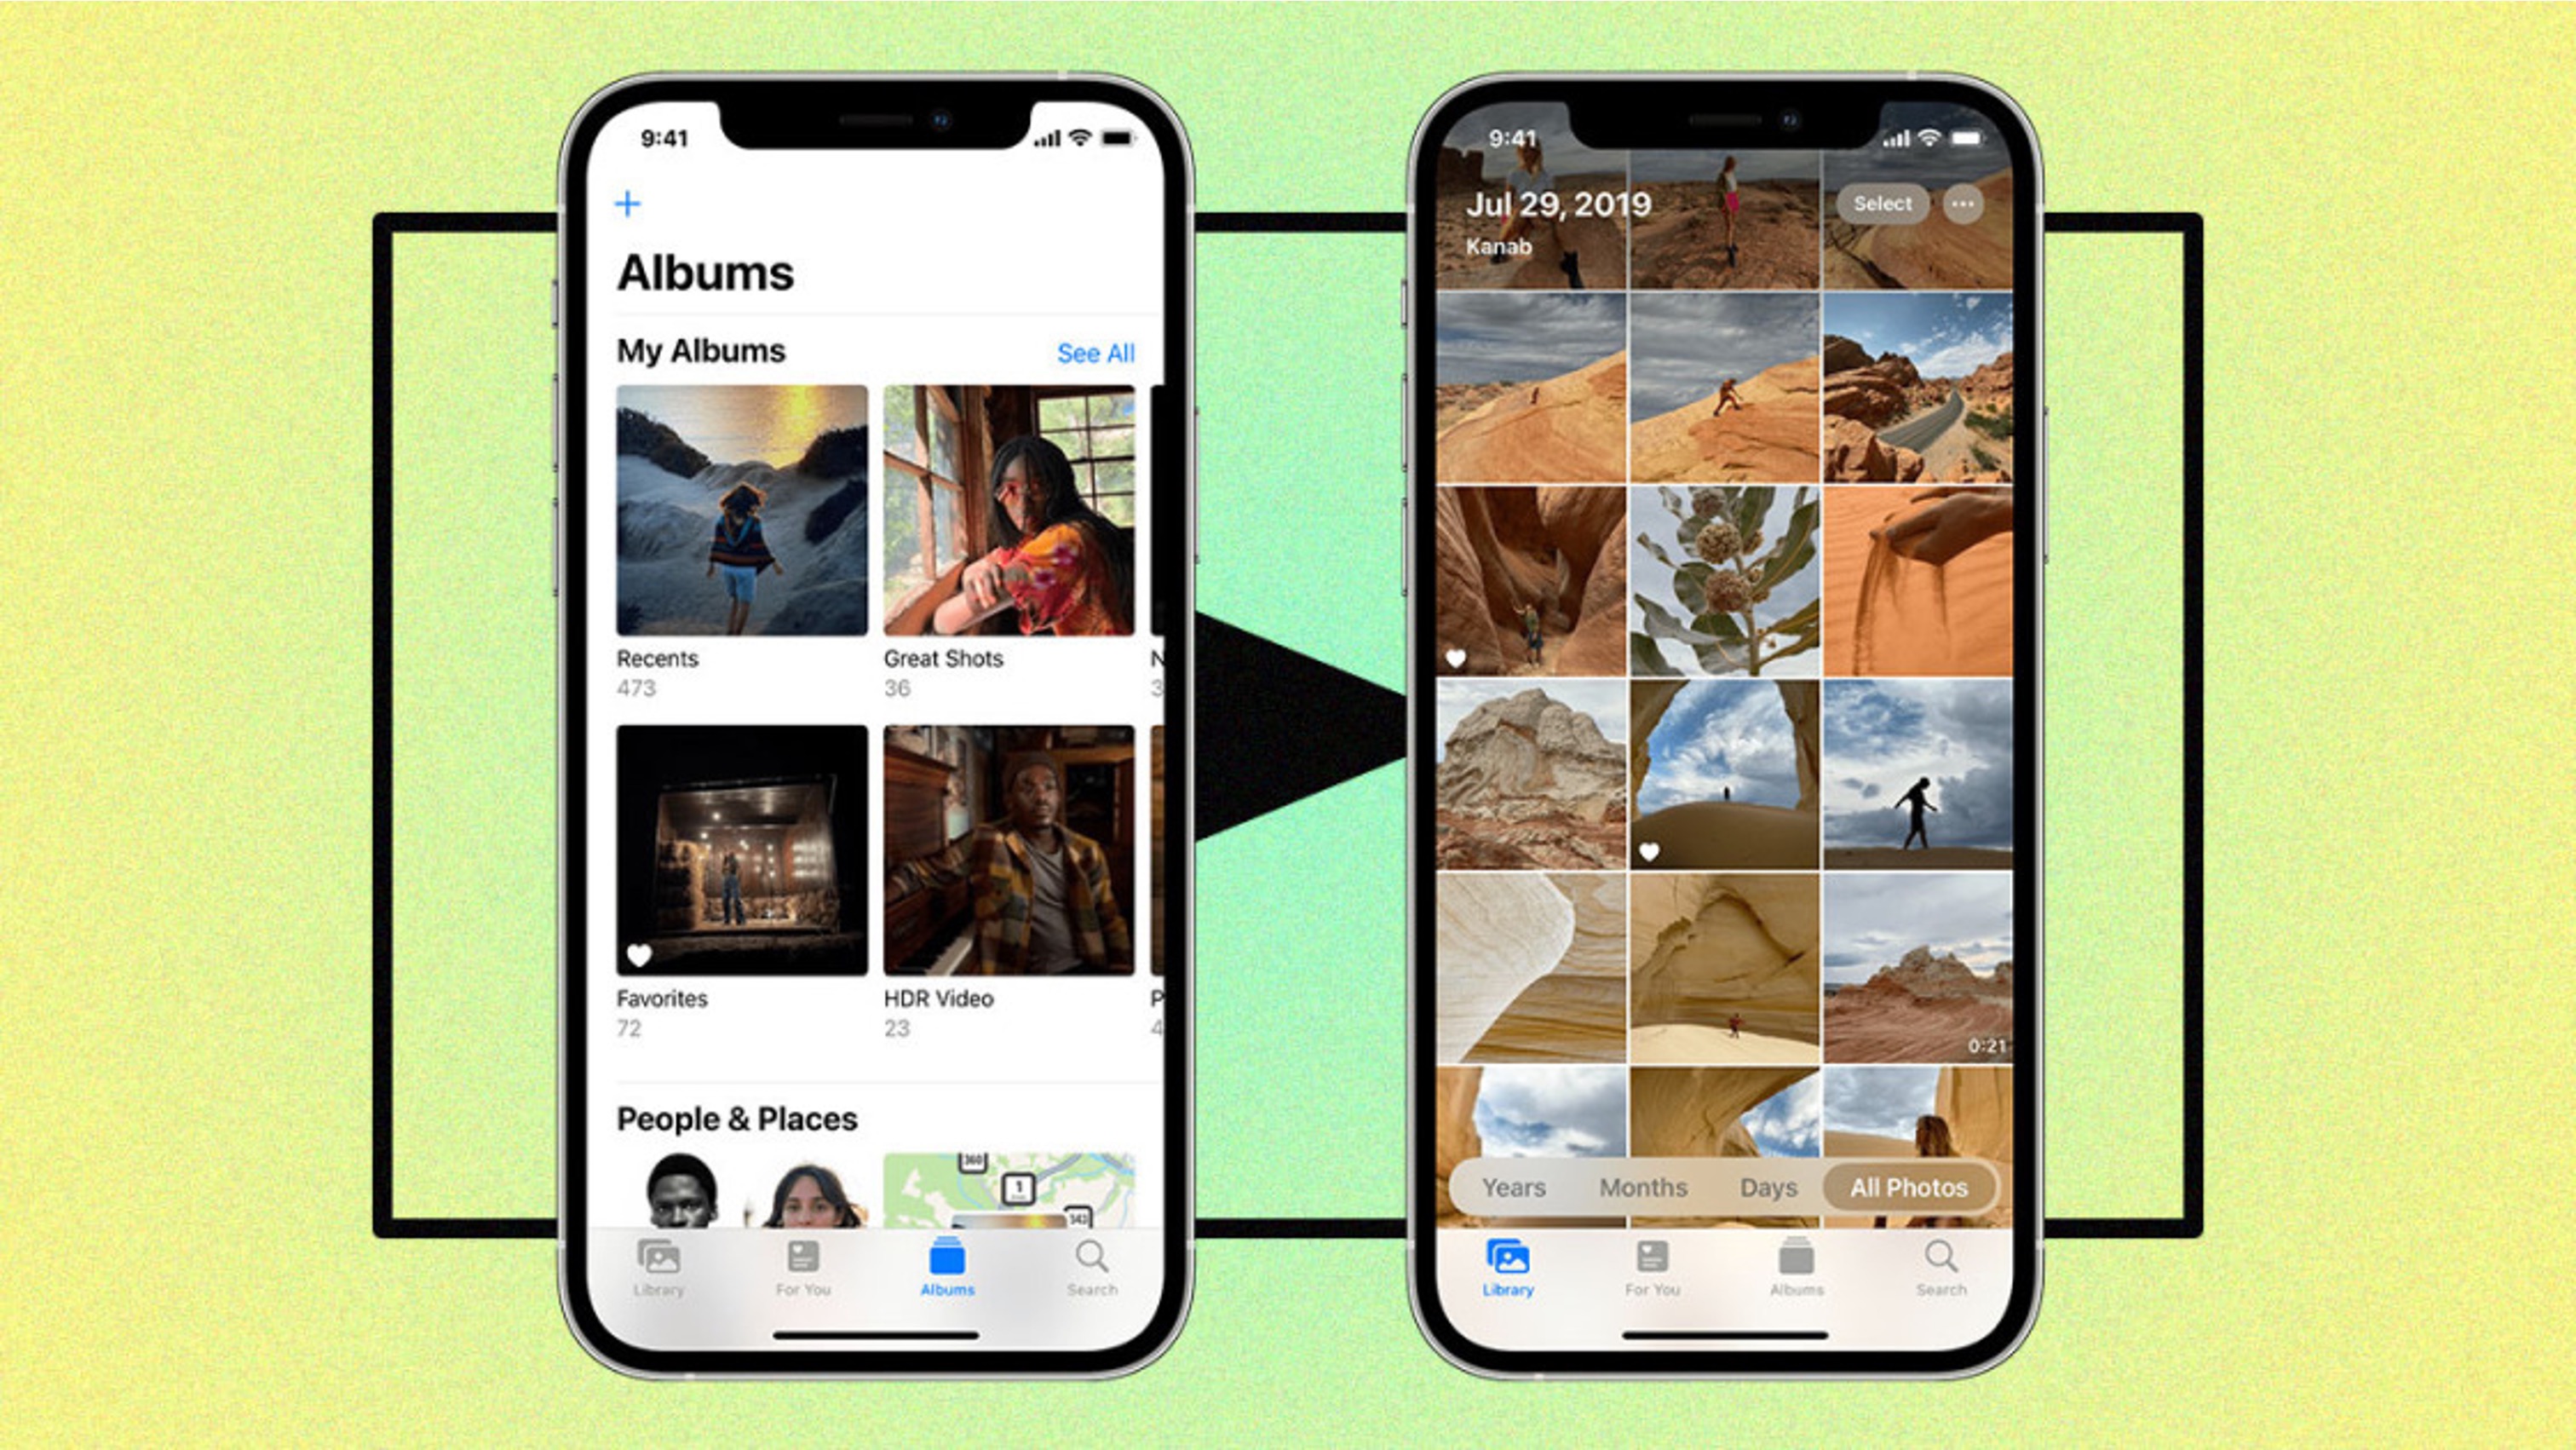
Creating a captivating slideshow on your iPhone 12 is a great way to compile and showcase your memorable photos and videos. To begin, open the Photos app on your iPhone 12 and select the “Albums” tab at the bottom of the screen. Next, tap “Add” in the top-left corner and choose “New Album” to create a dedicated album for your slideshow.
After creating the album, select the “Select” option in the top-right corner and choose the photos and videos you want to include in your slideshow. Once you’ve made your selections, tap the “Add” button at the bottom of the screen to add the chosen media to the newly created album.
With your photos and videos organized in the album, tap on the “Album” to open it, then tap the ellipsis (…) in the top-right corner. From the menu that appears, select “Play Slideshow” to start the slideshow with the default settings. You can also customize the slideshow settings by tapping “Options” and adjusting the settings to your preference.
Saving a Slideshow to Photos App
Once you’ve created a captivating slideshow on your iPhone 12, it’s essential to save it to your Photos app for easy access and sharing. Fortunately, the process is straightforward and can be completed in just a few simple steps.
To begin, open the Photos app on your iPhone 12 and locate the slideshow you wish to save. Once you’ve found it, tap on the slideshow to open it and then tap the “Share” icon, typically represented by a square with an arrow pointing upward.
Next, select the “Save Video” option from the available sharing options. Your iPhone 12 will then convert the slideshow into a video format and save it to your Photos app. Depending on the length and complexity of the slideshow, this process may take a few moments to complete.
Once the conversion is finished, you can locate the saved slideshow video in your Photos app’s library. From here, you can easily access, view, and share your slideshow video with friends, family, or on social media platforms directly from your iPhone 12.
Using Third-Party Apps to Save Slideshows
If you’re looking to add more flair and customization options to your slideshows, consider using third-party apps available on the App Store. These apps offer a wide range of features, including advanced editing tools, unique transition effects, and the ability to incorporate music and voiceovers into your slideshows.
One popular app for creating and saving slideshows is “iMovie.” This powerful video editing app allows you to compile your photos and videos into a professional-looking slideshow. You can choose from a variety of pre-designed themes, add text overlays, and adjust the timing of each slide to create a dynamic presentation.
Another noteworthy app is “InShot,” which offers a user-friendly interface and a plethora of editing options. In addition to creating slideshows, InShot allows you to add music, apply filters, and adjust the playback speed of your presentation. Once you’ve customized your slideshow to your liking, you can easily save it to your iPhone’s Photos app for future viewing.
For those seeking more artistic control over their slideshows, “Adobe Spark Video” is an excellent choice. This app provides a wide range of design tools, enabling you to craft visually stunning slideshows with ease. Whether you’re looking to add animated text, incorporate icons and stickers, or apply professional-grade filters, Adobe Spark Video empowers you to unleash your creativity.
Sharing and Exporting Slideshows
Once you’ve created a captivating slideshow on your iPhone 12, you may want to share it with friends and family or export it for use in other applications or platforms. Fortunately, the iPhone 12 offers several convenient options for sharing and exporting your slideshows.
One of the simplest ways to share your slideshow is by using the built-in sharing features of the Photos app. After creating your slideshow, open the Photos app, select the slideshow, and tap the “Share” button. From there, you can choose to share the slideshow via Messages, Mail, AirDrop, or various social media platforms. This allows you to quickly and easily send your slideshow to anyone in your contacts list or share it on your favorite social networks.
If you want to export your slideshow for use outside of the Photos app, you can save it to your iPhone’s storage or upload it to cloud storage services such as iCloud, Google Drive, or Dropbox. Saving the slideshow to your device’s storage gives you the flexibility to use it in other apps, attach it to emails, or transfer it to a computer. Additionally, uploading the slideshow to a cloud storage service ensures that you can access it from any device with an internet connection.
For more advanced sharing and exporting options, consider using third-party apps designed for creating and sharing multimedia content. These apps often provide additional features for customizing and distributing your slideshows, such as adding music, applying filters, or creating interactive presentations. Some popular third-party apps for sharing and exporting slideshows on iPhone 12 include iMovie, Adobe Spark, and Canva.
Conclusion
Knowing how to save a slideshow on your iPhone 12 can greatly enhance your ability to preserve and share cherished memories. Whether it’s a collection of travel photos, a visual diary of family moments, or a professional presentation, the iPhone 12 offers a seamless and convenient way to create, customize, and save slideshows. By following the simple steps outlined in this guide, you can effortlessly save your slideshows and access them whenever you want. With the power of the iPhone 12 at your fingertips, you can easily curate and share stunning visual stories with friends, family, and colleagues. Embrace the potential of your iPhone 12 and start preserving and sharing your most treasured moments today!
FAQs
Q: Can I save a slideshow on my iPhone 12?
A: Yes, you can save a slideshow on your iPhone 12 using the built-in Photos app.
Q: Can I customize the slideshow settings on my iPhone 12?
A: Absolutely! You can customize the slideshow settings, including the slide duration, music, and transition effects on your iPhone 12.
Q: Is it possible to share a saved slideshow from my iPhone 12 with others?
A: Yes, you can easily share a saved slideshow from your iPhone 12 with friends and family via messaging apps or social media platforms.
Q: How can I ensure that my saved slideshow maintains high quality on my iPhone 12?
A: To maintain high quality, ensure that the photos and videos used in the slideshow are of high resolution and compatible formats.
Q: Can I set a saved slideshow as my iPhone 12's wallpaper?
A: While you can't directly set a saved slideshow as your wallpaper, you can use a workaround by creating a Live Photo from the slideshow and setting it as your wallpaper.