
Setting up an Apple ID for your iPhone 10 using Google Gmail is a crucial step in unlocking the full potential of your device. By linking your iPhone 10 to your Google Gmail account, you can seamlessly access a myriad of Apple services, such as the App Store, iCloud, and Apple Music. This integration allows you to make the most of your iPhone 10 experience, from downloading your favorite apps to backing up your data securely. In this article, we will delve into the process of setting up an Apple ID for your iPhone 10 using your Google Gmail account, providing you with a comprehensive guide to streamline the setup process and ensure a smooth transition into the Apple ecosystem. So, let's embark on this journey to unlock the endless possibilities that await you with your iPhone 10 and Google Gmail.
Inside This Article
- Creating a Google Gmail Account
- Accessing the Apple ID Website
- Setting Up an Apple ID Using Google Gmail
- Verifying and Activating the Apple ID
- Conclusion
- FAQs
**
Creating a Google Gmail Account
**
Creating a Google Gmail account is a straightforward process that begins with navigating to the Gmail website. Once there, you will be prompted to click on the “Create account” option, which will lead you to a form where you can input your personal information. This includes your first and last name, desired email address, and a secure password.
After entering your information, you will need to provide a valid phone number for account verification and security purposes. Google will send a verification code to the provided phone number, which you will need to enter on the verification page to proceed with the account creation process. Once the code is verified, you can proceed to set up recovery options such as a recovery email address and security questions.
Upon completing the necessary steps, you will be directed to the Gmail dashboard, where you can access your email, customize your account settings, and explore the various features and functionalities offered by Google’s email service. With your new Google Gmail account, you will have access to a wide array of Google services, including Google Drive, Google Photos, and more, all tied to your newly created email address.
Accessing the Apple ID Website
After creating a Google Gmail account, the next step in setting up an Apple ID for your iPhone 10 is accessing the Apple ID website. To do this, open your web browser and navigate to the official Apple website. Once there, locate and click on the “Sign In” option, typically found at the top right corner of the page. If you already have an Apple ID, you can sign in using your existing credentials. However, since you are setting up a new Apple ID, select the “Create Your Apple ID” link to proceed with the registration process.
Upon clicking the “Create Your Apple ID” link, you will be directed to a page where you can begin the registration process. Here, you will be prompted to enter your personal details, including your name, date of birth, and email address. Since you are using a Google Gmail account, ensure that you input the Gmail address that you previously created. It’s important to double-check the email address to avoid any errors in the setup process.
Sure, I can help with that. Here's the content for "Setting Up an Apple ID Using Google Gmail":
Setting Up an Apple ID Using Google Gmail
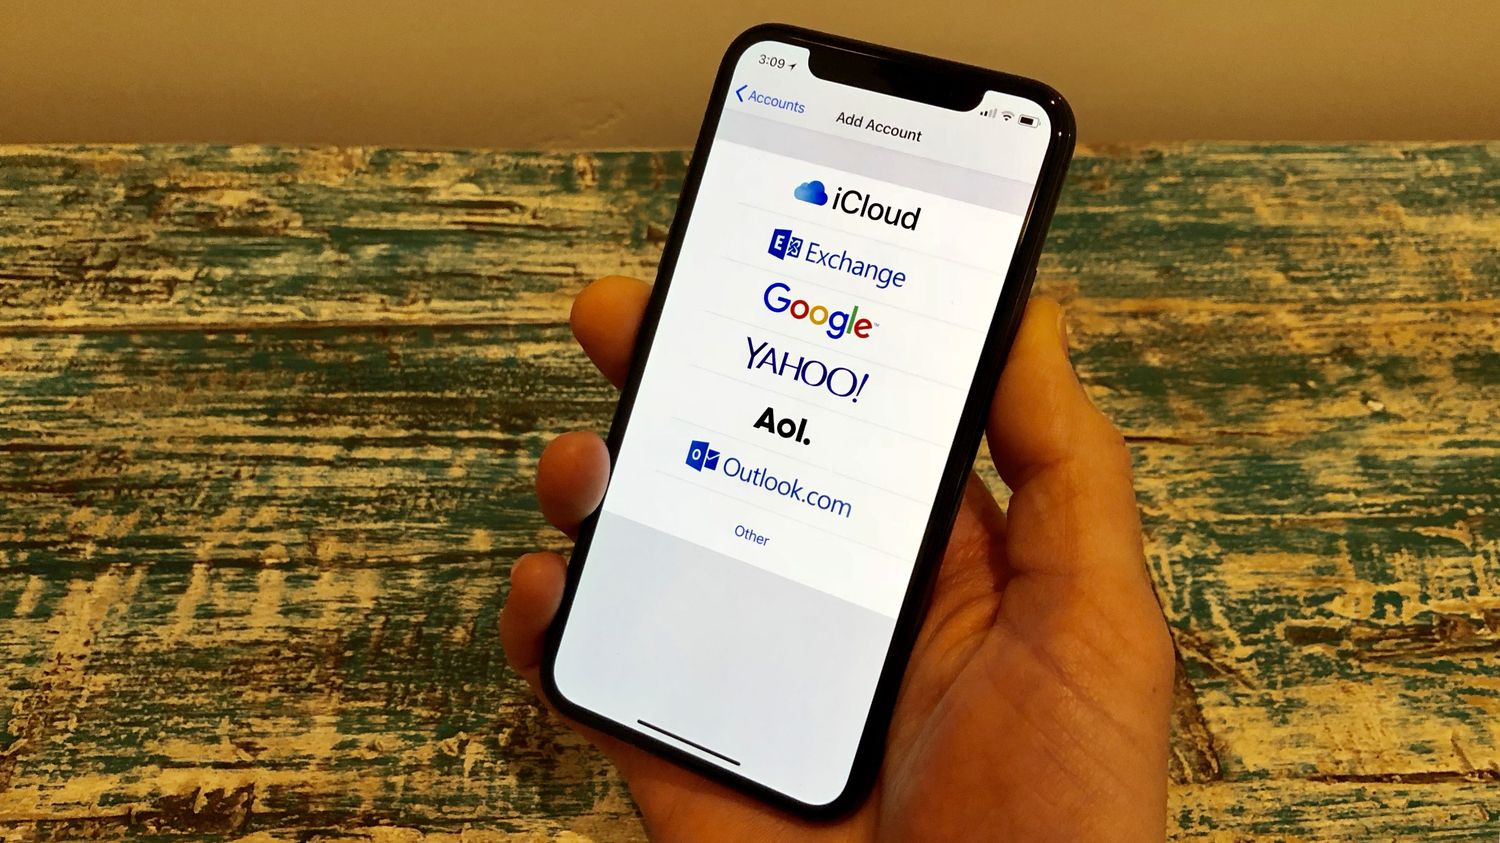
Once you have created a Google Gmail account, you can use it to set up your Apple ID. An Apple ID is essential for accessing various Apple services, including the App Store, iCloud, iTunes, and more. By linking your Google Gmail account to your Apple ID, you can streamline the login process and enjoy seamless access to a multitude of Apple services using your existing email address.
To get started, open your preferred web browser and navigate to the official Apple ID website. Click on the “Create Your Apple ID” link, which will prompt you to enter your personal details, including your name, date of birth, and email address. Here, you will use your Google Gmail email address as the primary email for your Apple ID.
After entering your email address, proceed to choose a secure password for your Apple ID account. It’s essential to select a strong and unique password to safeguard your account and ensure the security of your personal information. Once you’ve set your password, follow the on-screen prompts to complete the registration process and verify your email address.
Upon completing the registration, you will receive a verification email in your Google Gmail inbox. Open the email and click on the verification link provided by Apple to confirm and activate your Apple ID. This step is crucial to finalize the setup and ensure that your Apple ID is ready for use with your Google Gmail account.
With your Apple ID successfully linked to your Google Gmail account, you can now enjoy seamless access to a wide range of Apple services using your existing email credentials. This integration simplifies the login process and enhances the overall user experience, allowing you to make the most of your iPhone 10 and other Apple devices.
Verifying and Activating the Apple ID
After successfully setting up your Apple ID using your Google Gmail account, the final steps involve verifying and activating the Apple ID to gain full access to all the features and services offered by Apple. The verification process is crucial as it ensures the security of your account and provides a seamless user experience across all Apple devices.
Once you have completed the initial setup, Apple will send a verification email to the Gmail account you used to create the Apple ID. Open your Gmail inbox and look for the email from Apple. It may take a few minutes for the email to arrive, so be patient and periodically refresh your inbox if necessary.
Upon receiving the verification email, open it and click on the provided link to verify your Apple ID. This step is essential to confirm that the email address associated with the Apple ID is valid and belongs to you. By clicking the verification link, you are ensuring the security of your account and preventing unauthorized access.
After clicking the verification link, you will be directed to a confirmation page, indicating that your Apple ID has been successfully verified and activated. This confirmation signifies that you can now access the full range of Apple services, including the App Store, iCloud, Apple Music, and more, using your newly created Apple ID linked to your Google Gmail account.
With the verification and activation process completed, you are now ready to explore the myriad of features and benefits that come with owning an Apple ID. Whether it’s downloading your favorite apps, securely storing your data on iCloud, or enjoying seamless integration across your Apple devices, your verified and activated Apple ID opens the door to a world of possibilities.
Setting up an Apple ID for your iPhone 10 using a Google Gmail account is a seamless process that allows you to access a wide array of Apple services and apps. By following the steps outlined in this guide, you can ensure that your iPhone 10 is fully integrated with your Google Gmail account, providing you with a convenient and efficient user experience. With your Apple ID in place, you can make the most of your iPhone 10’s capabilities, from downloading apps to accessing iCloud services. This integration between your iPhone 10 and Google Gmail empowers you to maximize the potential of your device while leveraging the features of both platforms.
FAQs
Q: Can I use a Google Gmail account to set up an Apple ID for my iPhone 10?
A: Yes, you can use your Google Gmail account to set up an Apple ID for your iPhone 10. Apple allows users to use their existing email addresses, including those from Gmail, to create an Apple ID.
Q: What information do I need to set up an Apple ID for my iPhone 10?
A: To set up an Apple ID for your iPhone 10, you will need to provide your name, date of birth, a valid email address (such as your Google Gmail account), a password, and security questions for added account security.
Q: Can I use the same Apple ID for multiple iPhones?
A: Yes, you can use the same Apple ID for multiple iPhones. This allows you to share purchases, iCloud storage, and other services across different devices using the same Apple ID.
Q: Do I need to enter payment information when setting up an Apple ID for my iPhone 10?
A: While it is not mandatory to enter payment information when creating an Apple ID, you may be prompted to add a payment method during the setup process. However, you can choose the "None" option to proceed without adding payment details.
Q: Is it necessary to verify my Google Gmail account when setting up an Apple ID for my iPhone 10?
A: Yes, it is necessary to verify your Google Gmail account when setting up an Apple ID. After entering your Gmail address during the setup process, Apple will send a verification email to your Gmail account. You will need to follow the instructions in the email to verify your email address and complete the setup of your Apple ID.