
Welcome to the world of iPhone 13! If you’re wondering “Where is Do Not Disturb on my iPhone 13?” you’ve come to the right place. The Do Not Disturb feature on your iPhone 13 is a handy tool that allows you to silence calls, notifications, and alerts when you need some uninterrupted time. Whether you’re in a meeting, catching up on sleep, or simply need some peace and quiet, knowing how to access and customize the Do Not Disturb feature can greatly enhance your iPhone experience. In this article, we’ll delve into the ins and outs of the Do Not Disturb feature on your iPhone 13, guiding you through its location and providing valuable tips to make the most of this convenient functionality.
Inside This Article
- Enabling Do Not Disturb on iPhone 13
- Customizing Do Not Disturb Settings
- Scheduling Do Not Disturb
- Using Do Not Disturb While Driving Mode
- Conclusion
- FAQs
Enabling Do Not Disturb on iPhone 13
Do Not Disturb is a handy feature on the iPhone 13 that allows you to silence calls, alerts, and notifications. It’s perfect for when you need some uninterrupted time, such as during meetings, at night, or when you simply want to disconnect. Enabling Do Not Disturb is a breeze and can be done in just a few simple steps.
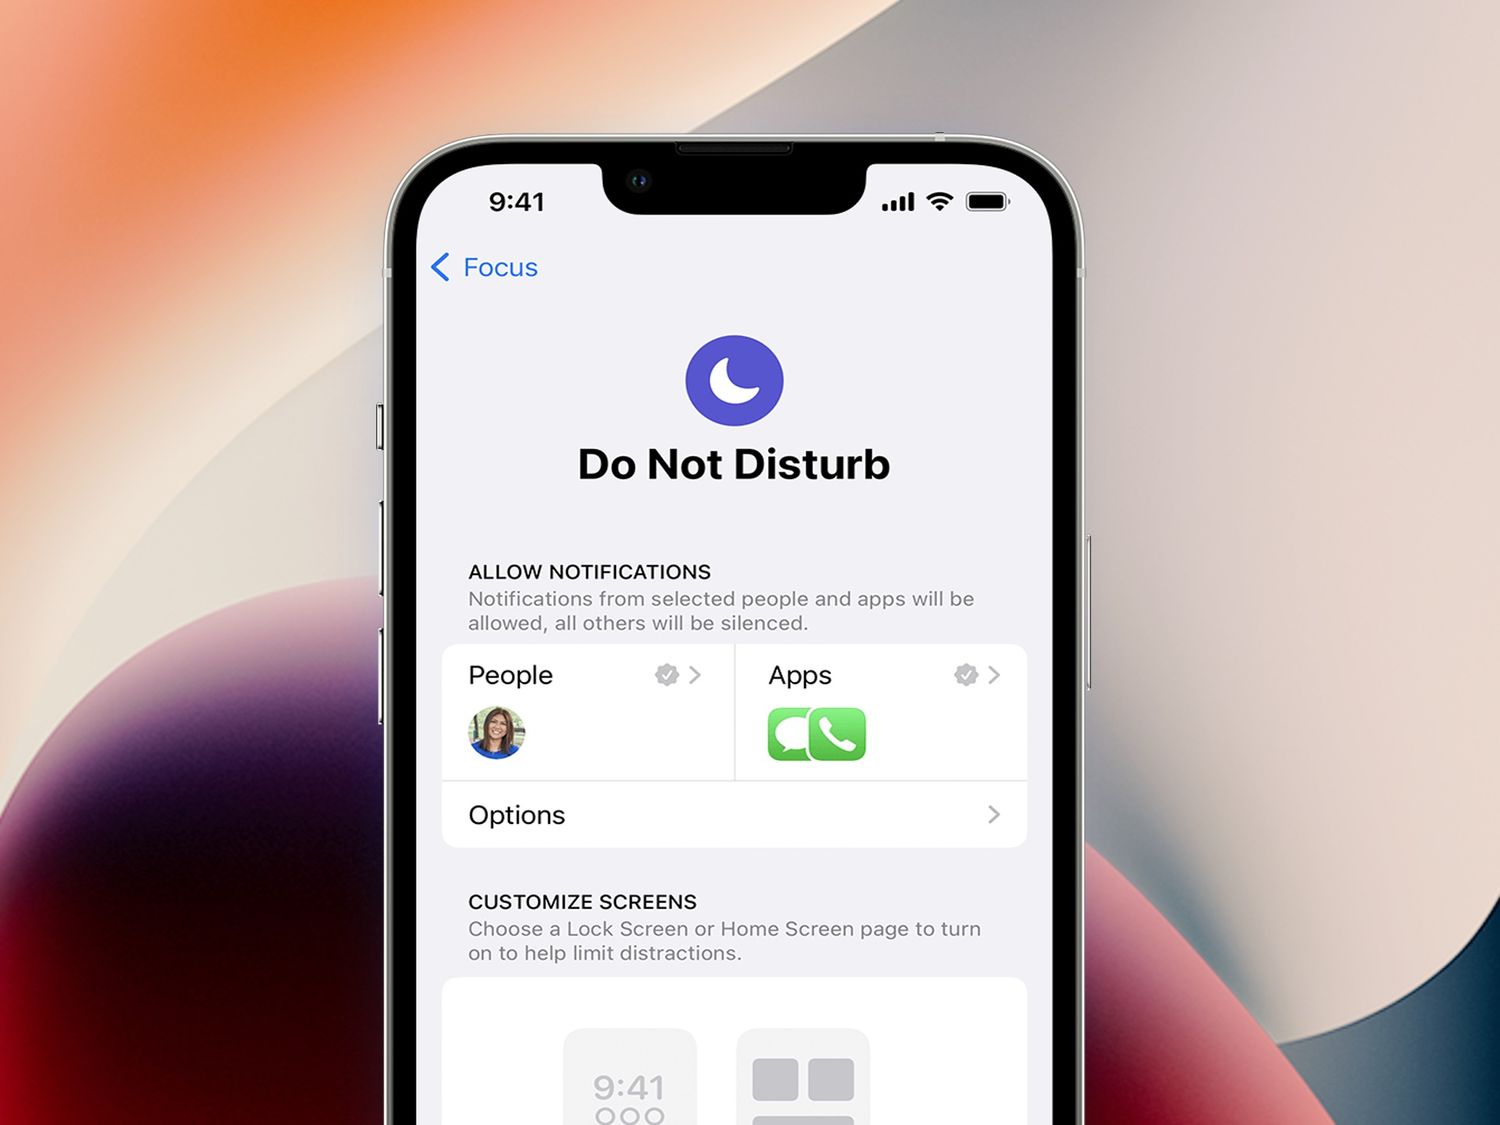
To enable Do Not Disturb on your iPhone 13, start by opening the Control Center. You can access the Control Center by swiping down from the top-right corner of the screen. Once the Control Center is open, look for the crescent moon icon. This icon represents Do Not Disturb. Tap the crescent moon icon to activate Do Not Disturb mode. You’ll know it’s enabled when the icon turns purple.
Another way to enable Do Not Disturb is through the Settings app. Simply open Settings, scroll down and tap on “Do Not Disturb.” From there, you can toggle the “Do Not Disturb” switch to the on position. Once activated, the crescent moon icon will appear in the status bar, indicating that Do Not Disturb is active.
Customizing Do Not Disturb Settings
Customizing the Do Not Disturb settings on your iPhone 13 allows you to tailor the feature to your specific needs and preferences. Here’s how you can make the most out of this functionality:
1. Allow Calls From: This setting enables you to select who can reach you during Do Not Disturb mode. You can choose to receive calls from everyone, your favorites, specific contact groups, or no one at all.
2. Repeated Calls: When this option is enabled, a second call from the same person within three minutes will not be silenced, ensuring that urgent calls are not missed.
3. Silence: You can choose to silence calls and notifications always or only when the iPhone is locked. This allows for further customization based on your usage patterns.
4. Scheduled: By setting a schedule for Do Not Disturb, you can automate when the feature activates and deactivates, ensuring that you are not disturbed during specific times, such as during sleep or important meetings.
5. Bedtime Mode: This feature integrates with the Clock app and can be set to dim the lock screen and silence calls and notifications during your scheduled bedtime, promoting uninterrupted rest.
With these customizable options, you can tailor the Do Not Disturb feature to seamlessly integrate with your daily routine, ensuring that you remain undisturbed when necessary while still being accessible to those who matter most.
Scheduling Do Not Disturb
One of the convenient features of the iPhone 13 is the ability to schedule Do Not Disturb mode. This feature allows you to automatically enable and disable Do Not Disturb at specific times, ensuring that you are not interrupted during important meetings, appointments, or sleep.
To schedule Do Not Disturb on your iPhone 13, start by opening the “Settings” app and tapping on “Do Not Disturb.” Next, toggle the “Scheduled” switch to enable this feature. You can then set the start and end times for Do Not Disturb mode based on your daily routine and preferences.
For example, if you want to avoid notifications and calls during your nightly sleep schedule, you can schedule Do Not Disturb to activate from 10:00 PM to 6:00 AM. This ensures that you can enjoy uninterrupted rest without being disturbed by incoming alerts.
Additionally, you have the option to repeat the scheduled Do Not Disturb settings on specific days of the week. This level of customization allows you to tailor the feature to align with your unique schedule, whether it’s for work, leisure, or other activities.
By utilizing the scheduling feature, you can proactively manage your iPhone 13’s notifications, creating a more peaceful and focused environment during designated times without the need for manual intervention.
Using Do Not Disturb While Driving Mode
Do Not Disturb While Driving is a safety feature on the iPhone 13 that helps prevent distractions while you’re on the road. When enabled, it can automatically silence notifications and keep the screen dark, reducing the temptation to check your phone while driving.
To enable Do Not Disturb While Driving, go to Settings, tap on “Do Not Disturb,” and then scroll down to “Do Not Disturb While Driving.” Here, you can choose to activate the feature manually or have it turn on automatically when your iPhone detects that you’re driving.
When activated, Do Not Disturb While Driving can send automatic replies to your contacts, letting them know that you’re driving and will respond later. This is a helpful way to manage expectations and let others know that you’re focused on the road.
Remember, safety should always be the top priority while driving. Using Do Not Disturb While Driving mode can help minimize distractions and keep you and others safe on the road.
Conclusion
Understanding the “Do Not Disturb” feature on your iPhone 13 is essential for managing notifications and maintaining uninterrupted focus. By utilizing this function, you can customize your device’s settings to suit your preferences, ensuring that you remain undisturbed during crucial moments. Whether you’re in a meeting, catching up on sleep, or simply seeking some peace and quiet, “Do Not Disturb” empowers you to take control of your digital interruptions. With the flexibility to schedule “Do Not Disturb” periods and tailor its behavior, you can strike a harmonious balance between staying connected and enjoying uninterrupted moments of tranquility. Mastering this feature will undoubtedly enhance your iPhone 13 experience, allowing you to harness the full potential of your device while minimizing distractions.
FAQs
Q: Where is the "Do Not Disturb" feature located on my iPhone 13?
A: The "Do Not Disturb" feature on your iPhone 13 can be found in the Control Center. Simply swipe down from the top-right corner of the screen to access the Control Center, then tap the crescent moon icon to activate "Do Not Disturb."
Q: Can I schedule "Do Not Disturb" on my iPhone 13?
A: Yes, you can schedule "Do Not Disturb" on your iPhone 13 to automatically activate and deactivate at specific times. To do this, go to Settings > Do Not Disturb, then toggle on the Scheduled option and set the desired start and end times.
Q: Will "Do Not Disturb" silence all notifications on my iPhone 13?
A: Yes, activating "Do Not Disturb" will silence all calls, alerts, and notifications on your iPhone 13. You can customize this further by allowing certain calls to come through when "Do Not Disturb" is enabled.
Q: Can I allow specific contacts to bypass "Do Not Disturb" on my iPhone 13?
A: Absolutely! You have the option to create an exception for specific contacts so that their calls and messages will still come through even when "Do Not Disturb" is active. This can be configured in the Settings app under the Do Not Disturb section.
Q: Will "Do Not Disturb" affect alarms on my iPhone 13?
A: "Do Not Disturb" will not silence your alarms on the iPhone 13. Alarms will still sound even when "Do Not Disturb" is enabled, ensuring that you don't miss important wake-up calls or reminders.