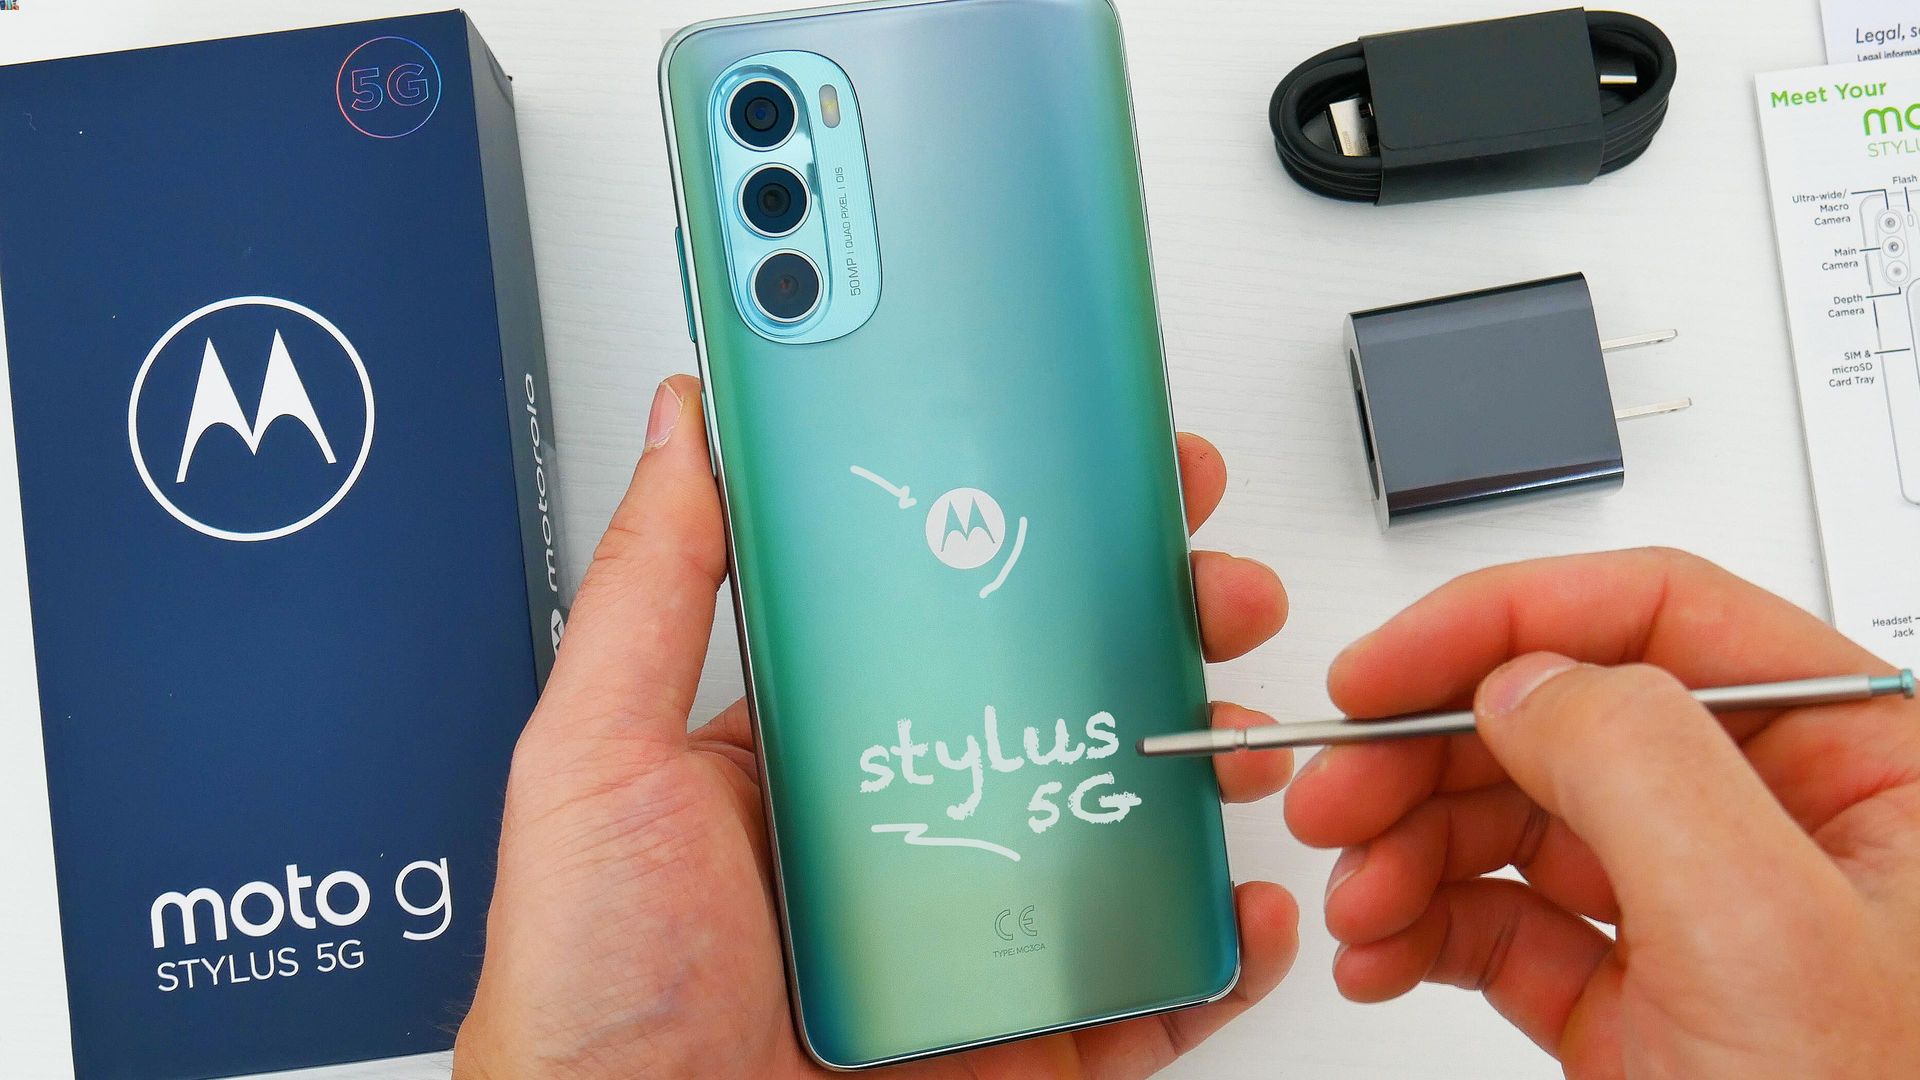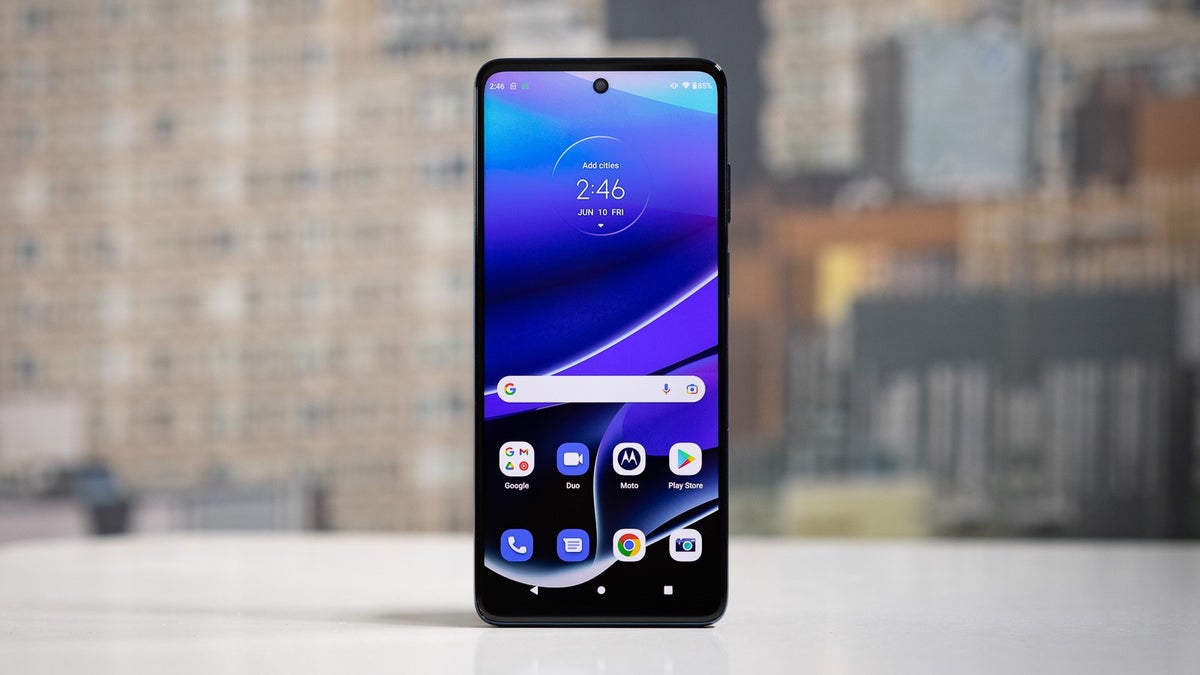
To remove the Moto G Stylus battery, you must open the phone's sealed body and carefully separate the adhesive-secured battery from the chassis. This is an advanced repair procedure, not a simple removal, and requires specific tools and safety precautions.
Before you begin: is the Moto G Stylus battery removable?
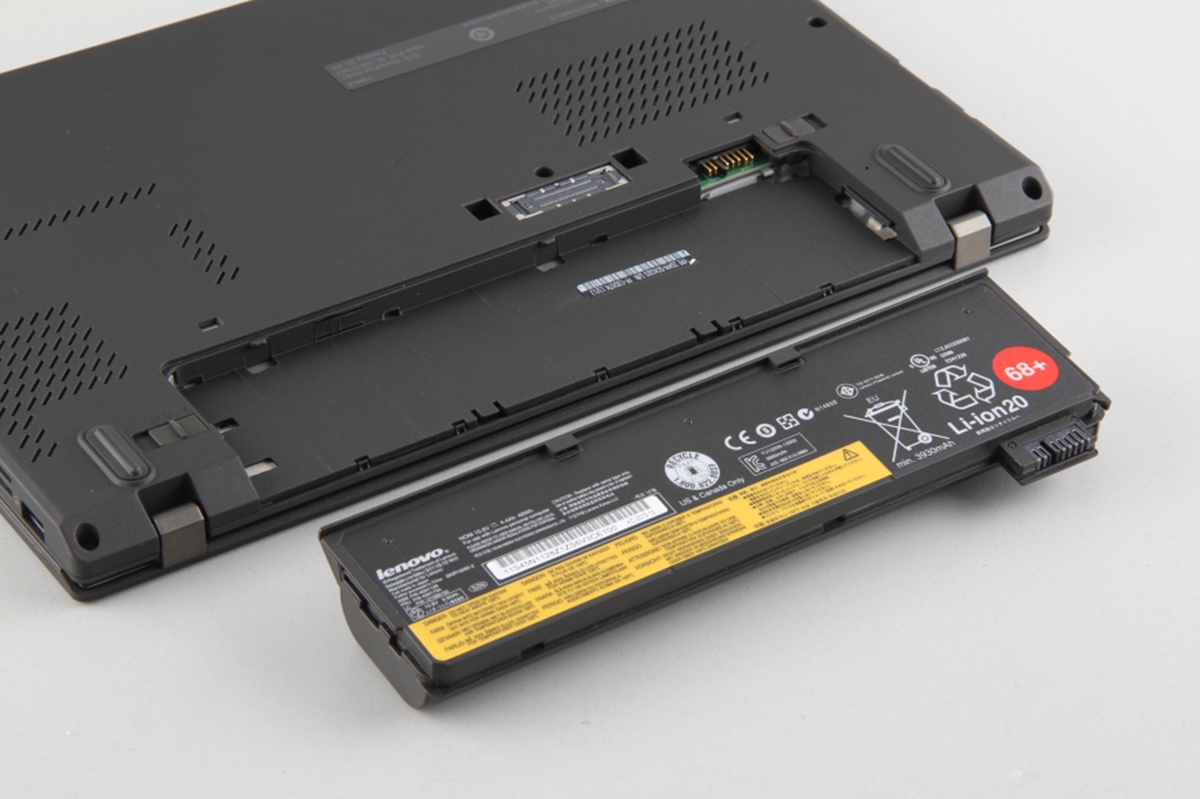
The Moto G Stylus battery is not user-removable in the traditional sense. Accessing the battery requires opening the phone, removing screws, and carefully prying the battery free from strong adhesive.
Safety precautions for removing a Moto G Stylus battery
Discharge the battery to 25% or lower before starting. Power off the phone completely. The battery is adhesive-secured, so removal involves heat, prying, and careful adhesive separation rather than a simple battery cover removal. The battery should not be bent or punctured during removal, as this can cause a fire or chemical leak.
Tools you need for the battery removal
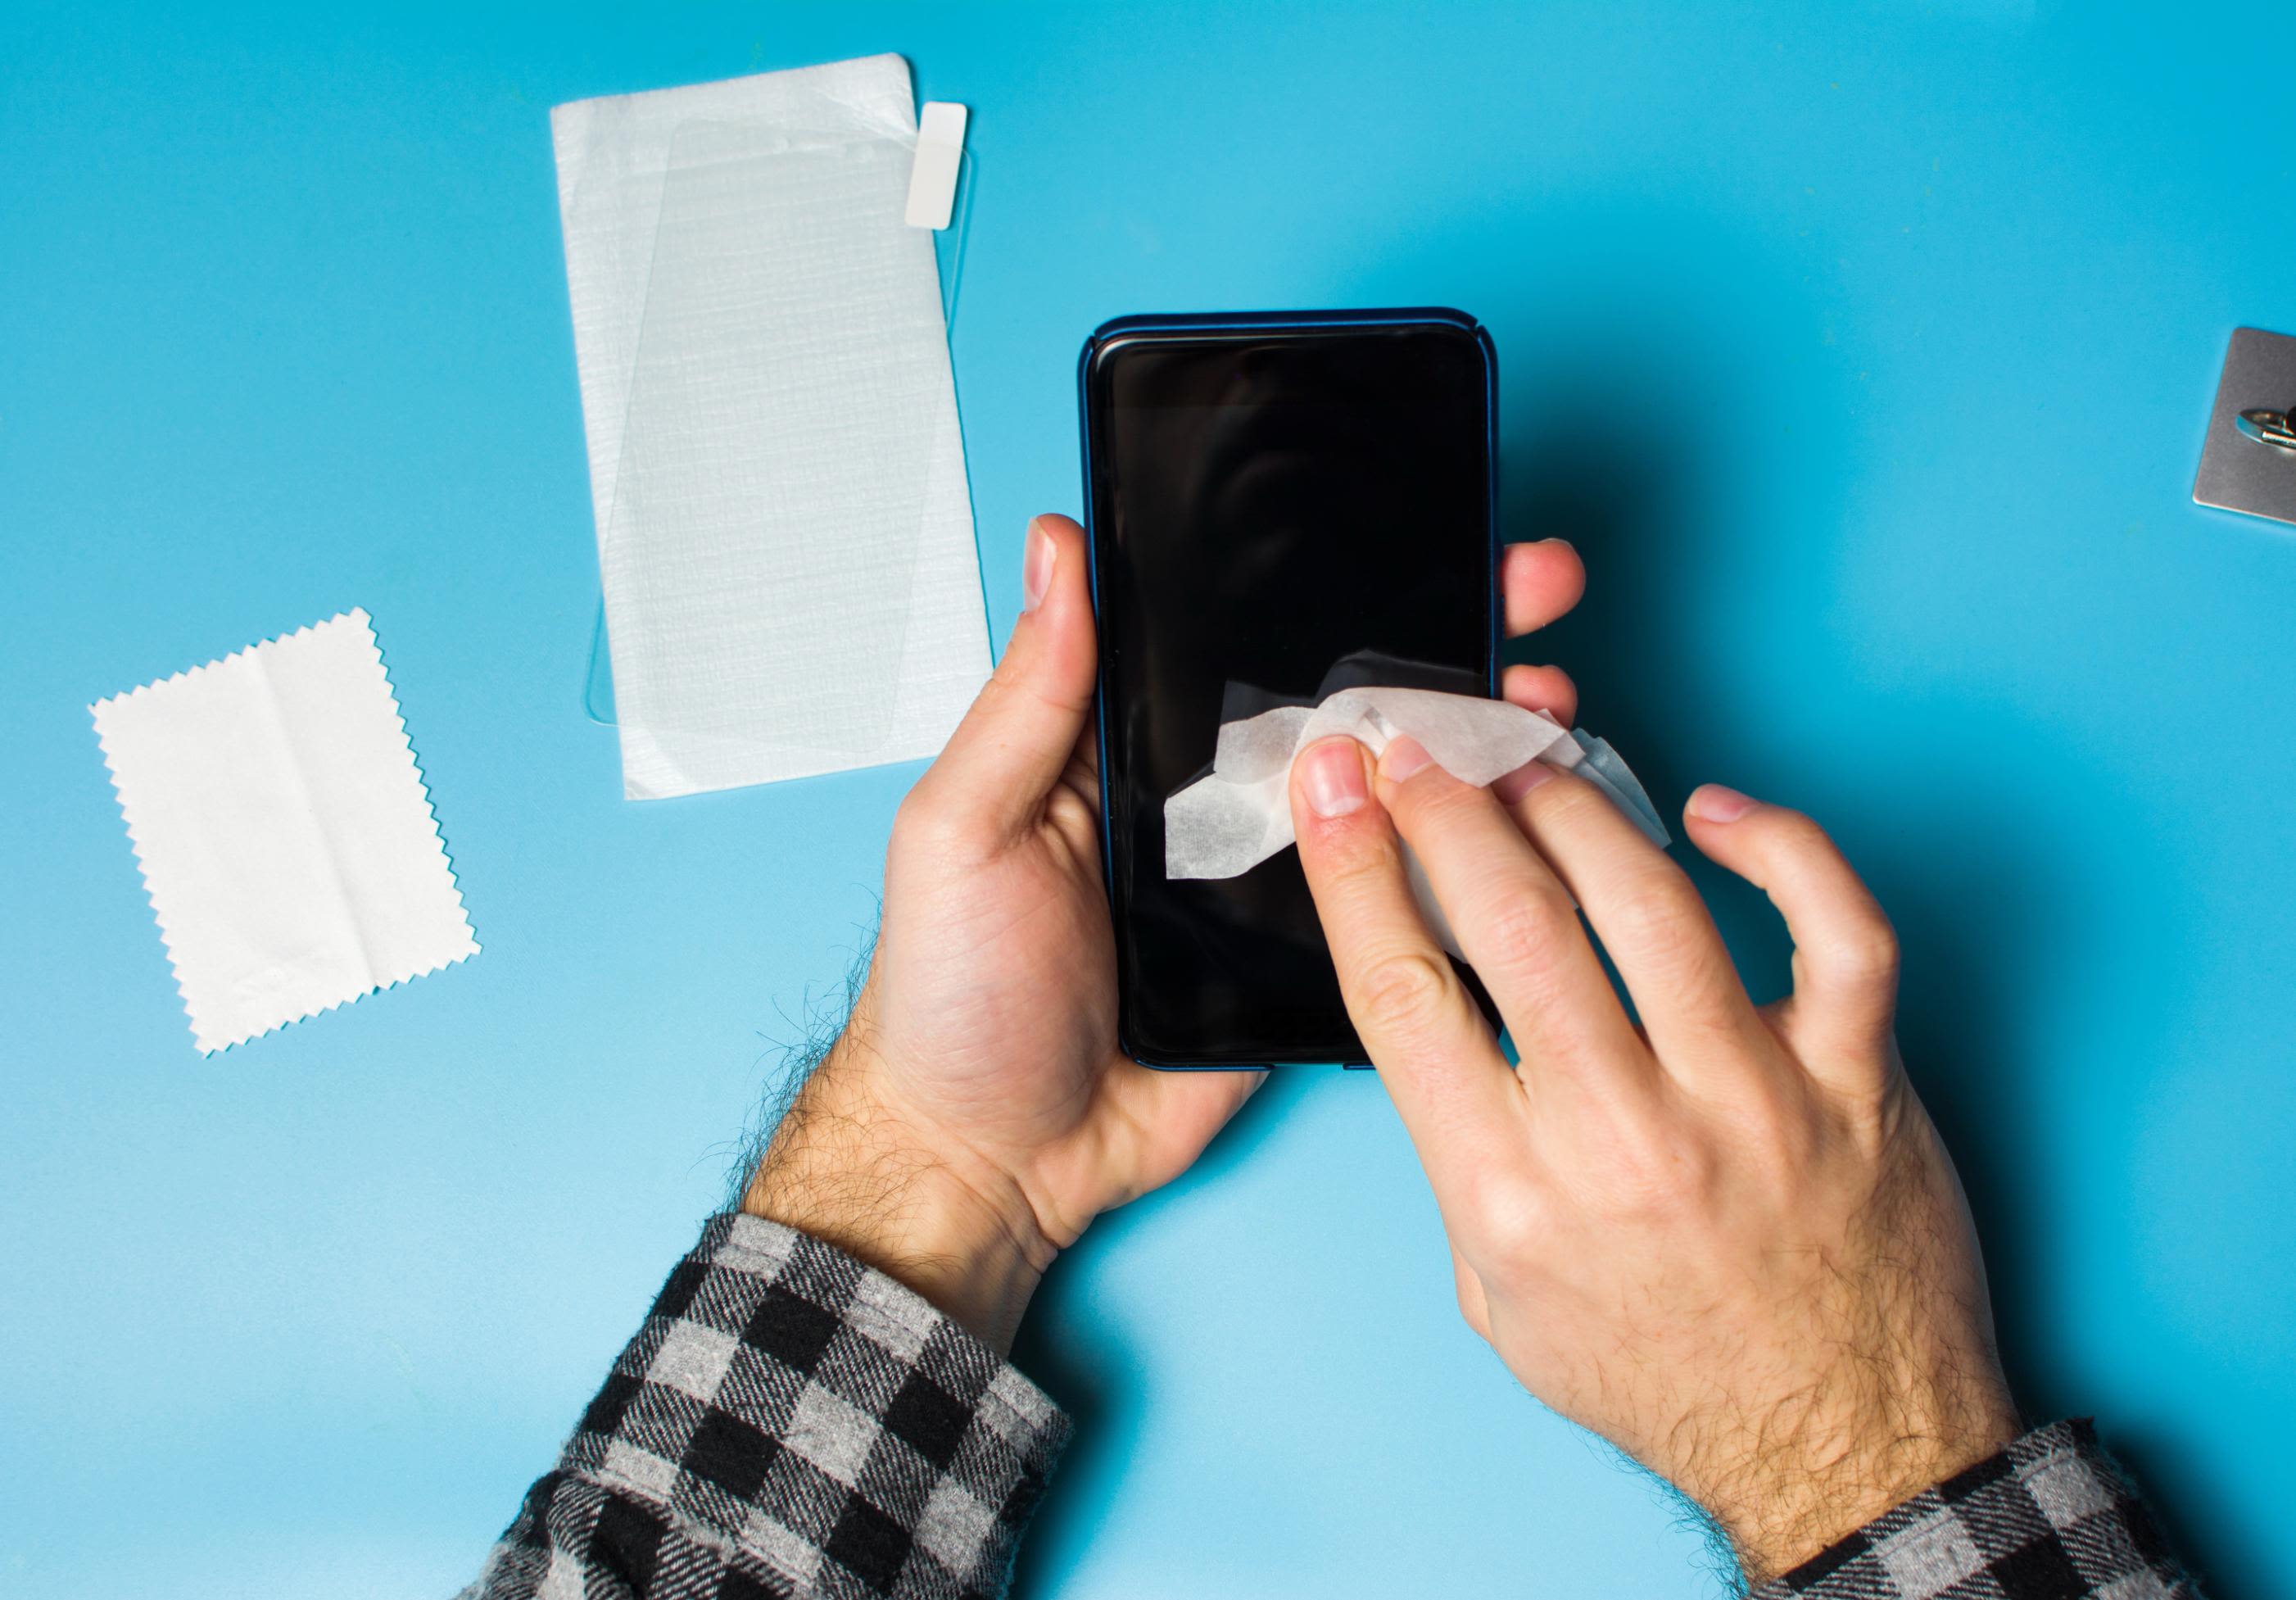
Gather the following tools before beginning: a heating method (heat gun or hairdryer) to soften adhesive, a suction cup to lift the back cover, plastic opening or pry tools to cut adhesive and disconnect components, isopropyl alcohol to loosen battery adhesive, a screwdriver, and replacement adhesive for reinstalling the new battery. These tools are essential for safely performing the procedure, which is similar to replacing watch and device batteries in terms of precision and care.
Step-by-step guide to remove the Moto G Stylus battery
- Power off the phone.
- Remove the SIM tray.
- Heat the back cover edges to soften the adhesive.
- Use a suction cup and plastic opening tool to separate the back cover.
- Remove the internal frame screws. Note that the screw count varies by model year; for example, one guide for the Moto G Stylus 2022 shows nine screws, while a 2021 guide mentions eleven.
- Disconnect the battery connector from the logic board.
- Apply heat to the battery area and, if needed, isopropyl alcohol to weaken the adhesive.
- Gently pry the battery free and lift it out without bending or puncturing it.
How to install the new Moto G Stylus battery
- Place the new battery into position with fresh adhesive.
- Reconnect the battery connector.
- Reinstall the board cover and screws.
- Reattach the back cover and press it into place.
- Reinsert the SIM tray.
Testing your Moto G Stylus after battery replacement
Power on the phone and test charging and normal operation. Verify that the device charges properly and functions as expected to confirm the repair was successful.
Frequently Asked Questions
Can the Moto G Stylus battery be removed from the outside?
No. The battery is accessed by opening the phone; there is no external removal method documented.
Does the process vary by model year?
Yes. The retrieved guides differ by model year. For example, a 2022 guide specifically mentions nine screws, while a 2021 guide mentions eleven screws.
What if I need official support?
Motorola does not provide step-by-step battery removal instructions for the Moto G Stylus on its support pages. The available guidance comes from third-party repair sources.
Is the battery removal procedure the same for the Moto G Stylus 5G models?
The relevant repair sources cover battery replacement for specific Moto G Stylus models, including Moto G Stylus 5G (2021), 5G (2022), and 5G (2023). A 2024 repair video is also surfaced for Moto G Stylus 5G (2024), but no manufacturer help page for that model’s battery removal was retrieved.
Can I remove the battery without a heat gun?
A heating method is used to soften the adhesive. While a hairdryer can be used as an alternative, the adhesive must be sufficiently softened to avoid damaging the phone or battery.