Before the progress of technology, people were limited to a handful of payment options, especially when it comes to in-store purchases. However, there are tons of options today — even online ones — and many of them come in the form of an app. One such app is Google Pay. However, you need to go through the pay.google.com verify card process in order to unlock its full features.
In this article, we will go through the nitty-gritty of verifying your card and information in order to use Google Pay.
Related: What Is Google Play Pass? All You Need to Know Before Subscribing
Inside This Article
What Is Google Pay?
Google Pay has a very interesting history. In 2011, Google launched “Google Wallet”, a peer-to-peer payment service that also went by the name “Google Pay Send” at one point in time. The tech giant followed that iteration up with “Android Pay”, which was actually started back in 2015 under a different name. It officially changed its name to Google Pay in 2018.
To put it simply, it is a digital wallet application and online payment system. It allows users to perform in-app or tap-to-pay purchases on and using their Android devices. The app works on Android phones, tablets, and watches.
Although users in the United States can also use it on iOS devices, it is worth noting that it does come with more restricted features. It is also available on a computer by accessing pay.google.com.
What are the Advantages of Google Pay?
After going through the pay.google.com verify card process, this digital wallet offers plenty of benefits for smartphone users, such as:
1. Instant Payments
With the app, you can instantly send money to and receive money from your friends. You can exchange money with an individual or a group, too. This comes particularly handy when you eat out or make a big group payment.
Instead of reaching for the calculator on your phone, it can compute how much each person owes. It can even keep track of who has already paid and who hasn’t. This money app makes it easy to split payments without needing to get your wallets out. Everything is in one neat place!
2. Tracking Abilities
If you’ve ever lost track of your purchases because there were just too many, you’re not alone. Plenty of people have trouble staying on top of their financials. With the app, though, you don’t need to keep a manual record of your transactions anymore.
It literally stores everything in its database — from your purchases and loyalty cards to offers and even online orders. It even saves tickets for you. If you want to, you can also connect your Gmail, Google Photos, and bank account to your Google Pay app. All of this combined allows for quick and easy searching.
3. Easy Access to Cards
How many times have you fumbled for your credit card at a store only to realize you accidentally left it at home? With this app, that won’t be a problem anymore.
You can keep all of your cards within your app so you can just tap your phone to make in-store payments. Simply choose the card you want to use. It isn’t even limited to credit cards. You can also store your debit cards, loyalty or membership cards, and transit passes, too. No need to reach for your wallet!
4. Financial Insights
Far too often, people lose sight of their finances and end up spending way more than their monthly budget allows. With this app, though, you can get a better picture of your spending habits. It also displays your recent activity, where your money goes, and where you can save money. Additionally, if you have accounts linked to the app, you can monitor their balances with just a few taps.
5. Rewards
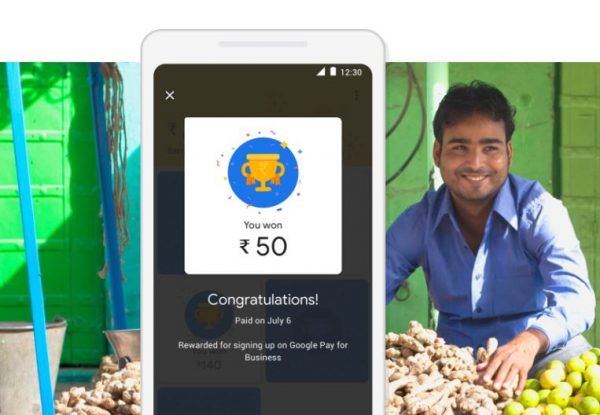
It makes it easy to view offers from your favorite businesses and earn rewards along the way. You can earn cashback, and the app even tracks and collects all of your cashback earnings, too.
Check out the best cashback apps you can take advantage too!
6. Privacy and Security
Security is a primary concern most people have about payment apps like Google Pay. However, Google promises that making purchases with their app is even safer than paying with cash or credit.
Every transaction is secured with built-in authentication and encryption, protecting users from potential fraud. Moreover, Google will also never sell your personal information to third parties, so you can rest easy knowing your private data is safe. If you’re anxious, you can even adjust the settings for privacy yourself.
Also read: Samsung Pay vs. Google Pay
How to Set Up Google Pay?
Before you can even start using this app, you must make sure you’re using the appropriate operating system on your phone. Your Android device should be running on Lollipop 5.0 or higher. If you see errors saying you can’t use the app and can’t verify your phone, it’s likely an OS issue.
To set up Google Pay on your Android device, follow the steps below:
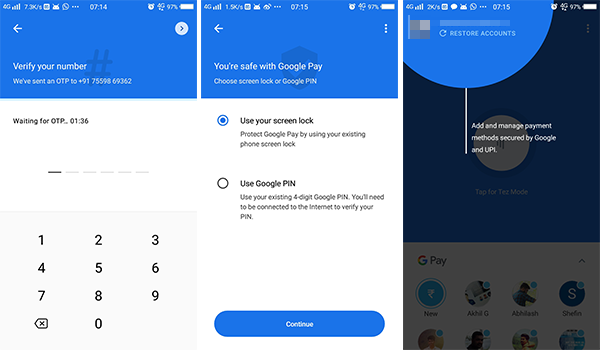
- Download the Google Pay app from the Google Play Store.
- It will provide you with a set of instructions to follow.
- Add a card when the app asks you to.
- You may also need to establish a screen lock for security purposes. It’s worth noting that the app can work with PINs, patterns, passwords, fingerprints, and retinae scanners. It isn’t compatible with screen locks that use facial recognition, Smart Unlock, or Knock to Unlock.
- Go to your phone’s Settings to set Google Pay as your default app for making payments.
You should know that there are certain requirements your device must meet in order to make contactless payments in stores. It must meet certain software standards, including NFC and HCE capabilities.
How to Start pay.google.com Verify Card Process?
Google Pay needs this process in order to make sure some things are in check. It makes sense considering Google does not want to be a promoter of unsafe online transactions. Google will request verification for the following reasons:
- Ensure the information provided are correct before accessing Google Pay and its services.
- Verify the customer’s identity before using Google Pay and its services.
- To track unusual transactions.
- For legal or regulatory reasons.
Below are the following ways to verify your card on Google Pay.
1. Verify Card with a Verification Code
Here’s a comprehensive guide to pay.google.com verify card process through verification code.
- Go to pay.google.com and sign in to your account.
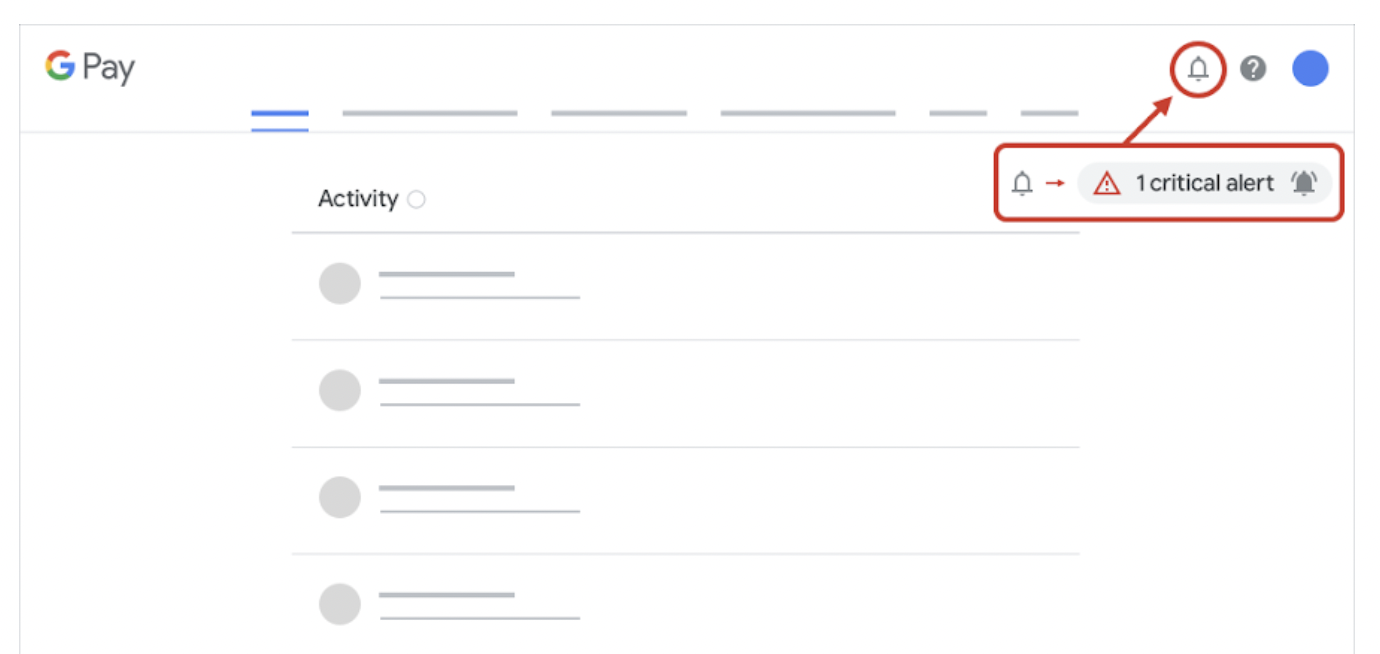
- At the top right, click Alerts then click on Verify.
- If there are no alerts, click Payment methods.
- Next to the card that you want to verify, click Verify then click on Get code.
- On your card statement, you’ll find a temporary charge of less than $1.95 USD called “GOOGLE.” The verification code is the last 6 digits.
- You should get the code right away, but it can take up to 7 days.
- To complete the verification, return to your account and enter the 6-digit code.
2. Verify Card with Documents
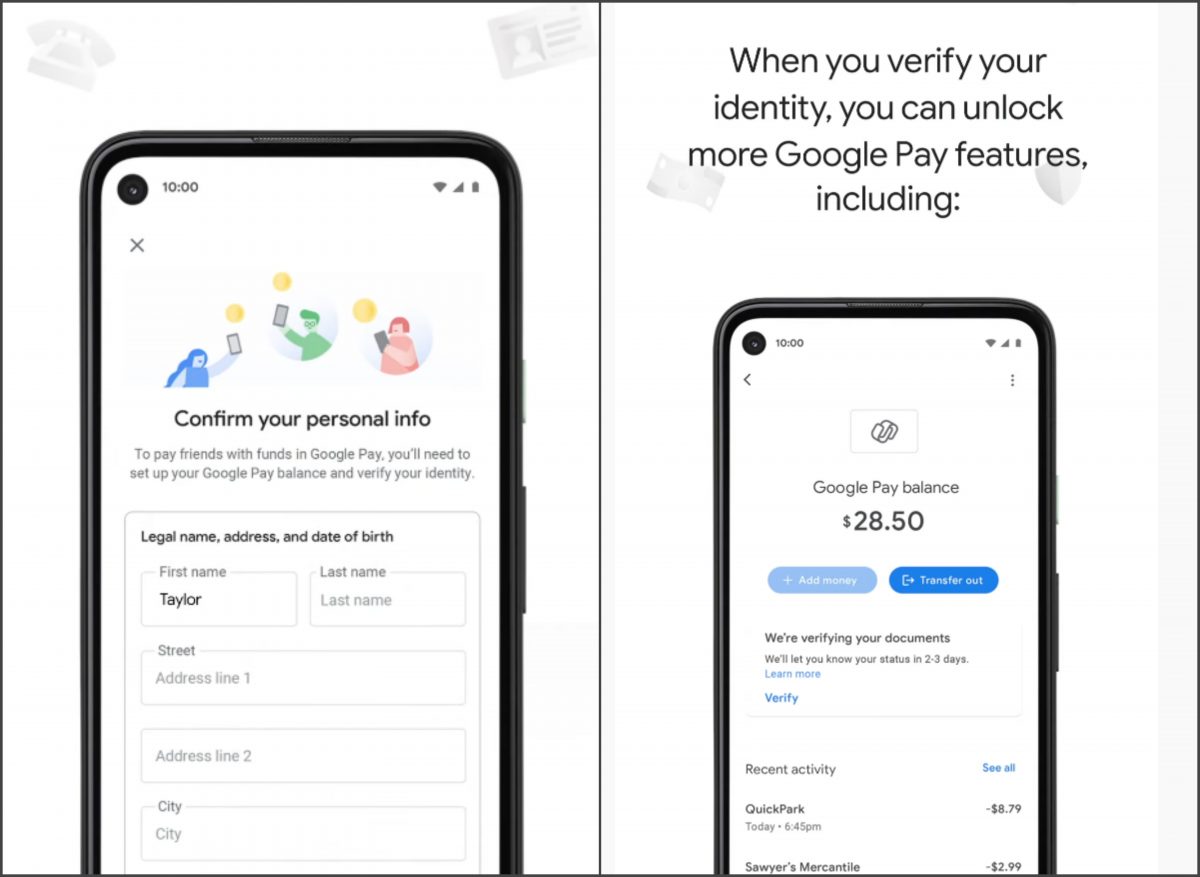
Alternatively, you can use this guide if the above does not apply for whatever reasons. You can supply the necessary documents to Google Pay in order for them to verify your card. Here are tips to bear in mind when submitting your documents:
- Use the same full name in all the documents you submit
- Are current and not expired
- Is an image of a document and not anything else
- Is in color, not in black and white
- Doesn’t have blur, glare, or dim light
- Shows the full document with all 4 corners
- The writings on the documents should be legible and clear
How to Use Google Pay?
Of course, after completing the pay.google.com verify card process, the next thing you can expect is to be able to use Google Pay as it should. However, it’s always confusing when you’re learning how to use a new app. Luckily, you can use the helpful guides below to make the process much easier.
1. Sending Money to Friends and Family
To send money to individuals, follow the steps below:
- Launch your Google Pay app on your Android or iOS device.
- Tap Send from the bottom right.
- At the bottom of the screen, tap +Send or request.
- Select a contact you wish to send money to. Alternatively, you can enter the recipient’s phone number.
- Input the amount you wish to send.
- Tap Send.
- Select the payment method you wish to use (debit card, Google Pay balance, etc.).
- Tap Confirm & send.
Keep in mind that you only have a few seconds to cancel the transfer after confirming the action. Additionally, if the individual you sent money to doesn’t have it or fails to claim the payment within 14 days, you will receive your money back.
When it comes to transferring times, debit cards and your balance offer the fastest transfers. However, bank accounts usually take longer, somewhere between five to ten business days.
Also, there are limitations on how much money you can send. In a single transaction, you can only send up to $10,000. You can also only send up to $10,000 in seven days. But, for those living in Florida, you can send up to $3,000 every 24 hours.
2. Requesting Money From an Individual or Group
To request money from one person or a group of people, follow the steps below:
- Launch your Google Pay app on your Android or iOS device.
- Tap Send from the bottom right.
- At the bottom of the screen, tap +Send or request.
- Select a contact you wish to request money from. To request money from a group, tap Create group request, and select the contacts.
- Input the amount you want to request.
- Tap Request.
3. Paying With Your Phone
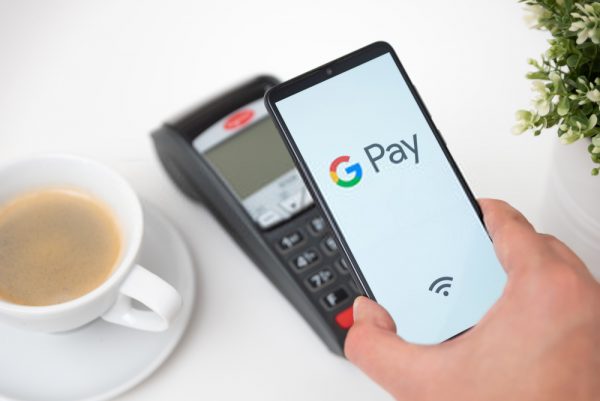
To pay with your phone in stores, you must first enable contactless payments on your Google Pay app. You can do this by tapping on the hamburger menu icon and then going to payment methods. For your preferred payment method, choose Enable contactless. All you need to do after that is verify your payment method by email, text, phone, or bank app.
Now that you have contactless payments enabled, you can use it to pay for physical purchases. To do that, follow the instructions below:
- Unlock your Android device.
Note: This feature isn’t currently available on iOS devices. - Place the back of your phone close to the payment reader.
Note: You don’t need to open your Google Pay app. Your phone just needs to be awake and unlocked. - Wait a few seconds for the payment reader to detect your payment. Some stores may ask you to enter a PIN or signature.
- Your phone will notify you of the successful payment with a blue checkmark on your screen.
You should note that Google Pay will use your default payment method to pay for in-store purchases. So, if you wish to use a different payment method, simply change the default payment method on the app.
4. Paying on an App or Website
You can use Google Pay to pay for your online transactions as well. Simply choose the “Buy with G Pay” or simply “G Pay” option at the checkout screen. You might need to enter your shipping address and select a payment method, too. After that, all you need to do is confirm your transaction.
5. Receiving Money Using a Phone Number
If someone sends money to your phone number using Google Pay, you can link the number to your Google account. This way, future payments will go directly to your default payment method.
For first-time claiming, though, you should follow the directions below:
- Tap the link on the text from 445-67.
- Sign in to your Google Account.
- Add a bank account or debit card to your Google Account.
- Input your address details.
- Claim the money.
Additionally, if you’re claiming a transaction over $2,500, you will need to add a bank account to your Google Pay app to push through with the action.
6. Finding Transactions
You can easily keep track of your finances through Google Pay. Search for your transactions, statements, and charges by following the steps below:
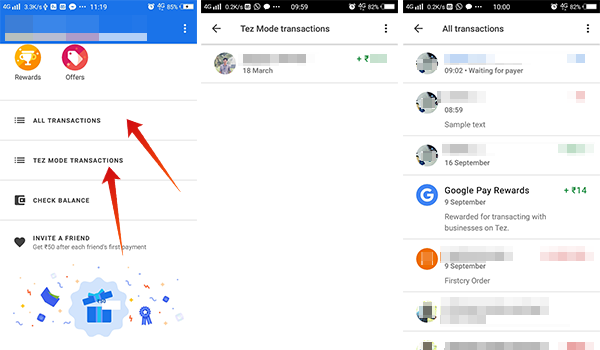
- Launch your Google Pay app.
- Tap the menu icon (three horizontal lines).
- Tap Activity.
Moreover, if you have notifications enabled, Google Pay will inform you every time you use it to pay for your purchase. Although some people find this helpful (and a great way to counteract theft), others might find it annoying. You can turn off notifications easily, though, by going to the Google Pay menu and tapping on Settings. Once there, simply turn on Purchase notifications.
How to Add Money to Google Pay?
Because Google Pay allows you to link various cards to your account after going through the pay.google.com verify card process, you can simply use one of those credit or debit cards to pay for your purchases. You can also receive money directly on your debit card or bank account, though the latter takes longer to transfer.
1. Adding a Payment Method
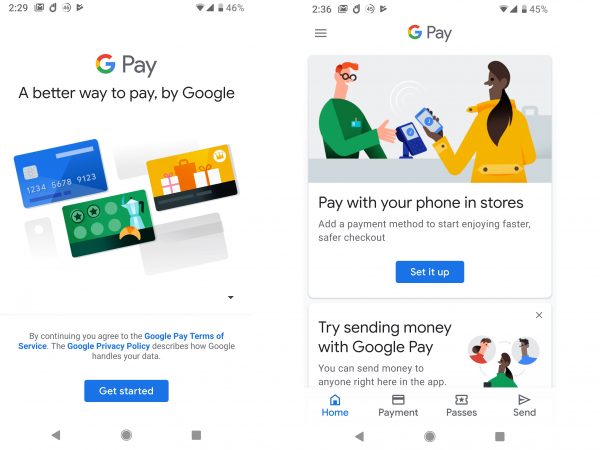
To add a payment method to Google Pay, follow the steps below:
- Launch the Google Pay app on your device.
- Tap Add then Payment method.
- From there, you can choose to add a credit/debit card or your PayPal account. If you choose PayPal, you need to sign in to your account and follow the instructions it provides you.
- To add a credit or debit card, input the details manually or use your phone’s camera to capture the information.
- Google Pay may ask you to verify your payment method. If it does, simply enter the verification code it sends you.
If you find a small fee charged to your payment method from Google Pay, don’t panic. The service only does this to confirm that your payment method works. The charge will eventually disappear. Therefore, it won’t deduct from your balance.
To link a bank account to your Google Pay, do the following:
- Launch the Google Pay app on your device.
- Tap Send from the bottom right.
- Select a person you wish to send money.
- Tap Send.
- Tap Change next to the payment method you wish to use.
- Select Add bank account.
- Input your bank account details.
- Tap Save.
- Google Pay may ask you to verify your bank account by signing in or by making a small deposit to your account.
2. Adding to Google Pay Balance
You can use your cards to send money to friends and family. However, you also have the option of adding money to your Google Pay balance, which you can use to send payments as well. Keep in mind, though, that you can’t use your Google Pay balance for purchases outside of Play Movies & TV. That means it won’t work in stores or online.
You can’t really add money to your Google Pay balance. However, when your contacts send money to you, you have the option of sending it to your balance instead of your debit card or bank account. From there, you can withdraw your balance by following these instructions:
- Launch the Google Pay app on your device.
- Tap Payment from the bottom.
- Under Google Pay balance, choose the Cash out option.
- Input the amount you wish to withdraw.
- Tap Transfer.
Where Is Google Pay Accepted?
After following our guides on how to set up Google Pay and going through the pay.google.com verify card process, you can start using Google Pay in a number of stores, websites, apps, and modes of transit. To know if a store accepts contactless payments through this app, look for the Google Pay or Contactless symbol at the checkout counter. Some stores don’t have these symbols on display, though. In that case, you can always ask the checkout clerk.
Interestingly, Google is also partnering with a number of financial institutions in the United States — 11 of them, as of writing — for the launch of Google Plex. For those who are unaware, Google Plex is a checking account that will integrate with Google Pay. Right now, though, there’s no telling what Google Plex will look like or what features it will have.
Final Word
Despite having just relaunched recently, Google Pay has managed to make waves in the payment app scene. Given how fast it’s evolving and incorporating new features, Google Pay will definitely secure its spot as one of the best digital payment apps for Android users, thanks to pay.google.com verify card process. It still has a long way to go for iOS users, though, since many of its features have yet to become available to them. Still, Google Pay is off to a great start.
