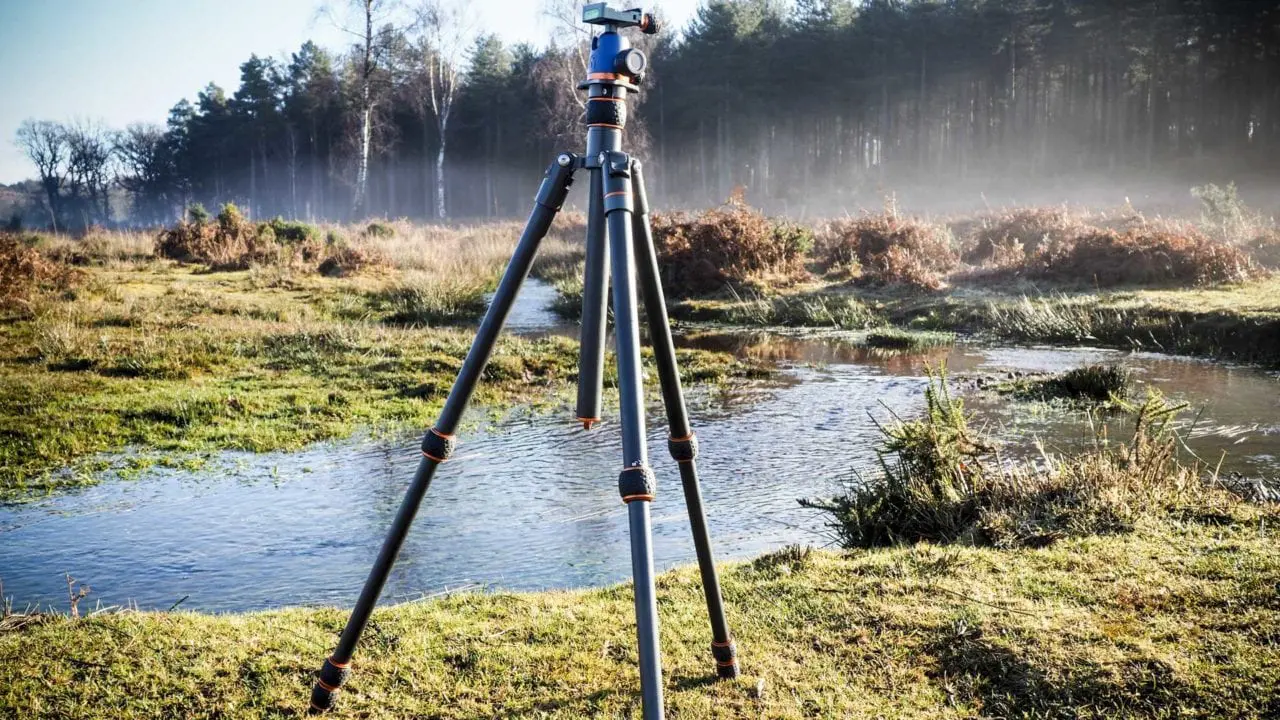
To set up a tripod correctly, you must first find a stable location, then extend the legs evenly, adjust the head, and securely mount your camera. This step-by-step guide covers the entire process of how to set up a tripod to ensure sharp, blur-free images every time.
How to set up a tripod in the right location
Selecting a flat and stable surface is the first step to preventing wobble or tipping. Look for level ground such as solid earth, concrete, or a sturdy tabletop. Avoid uneven or sloping surfaces, which cause the legs to distribute weight unevenly, and steer clear of slippery areas like wet or icy ground that increase the risk of the tripod sliding over. If you're shooting outdoors, consider using a tripod stabilizer or weighted bag to anchor your tripod and prevent it from being swayed by strong winds or accidental bumps.
Extending the tripod legs
Once you have found a suitable spot, extend the legs to your desired height while maintaining stability.
- Locate the leg locks on each leg. These are typically release buttons or levers near the leg joints.
- Unlock the leg locks by pressing or lifting the release mechanism. Repeat for each leg.
- Gently pull the legs outward one at a time. If your tripod has multiple leg sections, extend each section individually.
- Ensure all legs are extended evenly to keep the tripod balanced. On uneven terrain, adjust the length of each leg individually to level the setup.
- Some tripods allow you to adjust the leg angle for different terrains. Unlock the mechanism at the top of each leg, set the angle, and relock it.
- Once the legs are at the correct height and angle, lock all leg locks firmly back in place.
Some tripods come with a built-in bubble level, which can help you ensure that the tripod is perfectly level.
Adjusting the tripod head
The tripod head controls your camera’s movement and composition. Understanding the differences between common head types helps you choose the right adjustments for your shot.
Pan-tilt heads allow independent control of horizontal (pan) and vertical (tilt) movements. Loosen the locking knobs, adjust the camera to the desired angle, then tighten them to secure the position. Ball heads use a ball joint and a single locking mechanism for quick, free movement in any direction. Release the lock, position the camera, and tighten to hold it. Gimbal heads are designed for heavy telephoto lenses, balancing the camera on a pivot point for smooth tracking of moving subjects.
For a specific example, the Peak Design Travel Tripod features an omnidirectional ball head controlled by a single adjustment ring. This single-ring design lets you quickly unlock, position, and relock the camera with one hand, making it ideal for fast-paced shooting.
Securing the camera on the tripod
Mounting the camera correctly prevents accidents and ensures sharp results.
- Attach the quick-release plate to the bottom of your camera, tightening it until it is snug.
- Slide the plate into the tripod head’s mounting slot until it clicks or locks into place.
- Tighten the head’s locking mechanism to secure the camera.
- Use the camera’s built-in level or a separate spirit level to confirm the setup is perfectly horizontal.
- Give the entire tripod and camera assembly a gentle shake or nudge to check for any instability before shooting.
Frequently Asked Questions
What are the benefits of using a tripod for photography?
Using a tripod improves sharpness and clarity by eliminating camera shake. It also enables long exposure photography, night shots, time-lapses, and panoramas that are impossible to capture handheld.
How do I choose the right tripod for my needs?
Consider load capacity, height, weight, stability, and portability. Choose a tripod that supports the weight of your camera and heaviest lens. For example, the Peak Design Travel Tripod is available in Aluminum and Carbon Fiber versions and supports up to 20 lbs (9.1 kg), making it suitable for full-frame DSLRs with telephoto lenses.
Are there any tips for using a tripod effectively?
Always use a remote shutter release or the camera’s self-timer to minimize vibration. On windy days, hang a weight from the center column hook to add stability. Use the tripod as a stabilizing tool for video recording and for capturing sharp phone photos and media.
Can I use a tripod with my smartphone?
Yes. Many tripods are designed specifically for smartphones, or you can attach a phone holder or mount to a standard tripod head. This allows steady shots, hands-free selfies, and smooth video recordings.
How do I set up a tripod correctly?
To set up a tripod, start by finding a stable surface and extend the legs to your desired height. Make sure the tripod is level by adjusting the leg angles or using a bubble level. Attach your camera securely to the tripod head and adjust the tilt and pan to frame your shot.
How do I level a tripod on uneven ground?
Adjust the length of each leg individually rather than extending them all to the same height. Many tripods also have a built-in bubble level to help you confirm the setup is perfectly level before mounting the camera.