Whether they’re for a statement wall or social media post, photo collages make captivating art pieces. They also don’t require the maker to have much artistic skill. As a result, learning how to make a photo collage on iPhone devices can be fun and highly rewarding. It also helps that the process is as easy as editing photos — though it requires outside assistance sometimes.
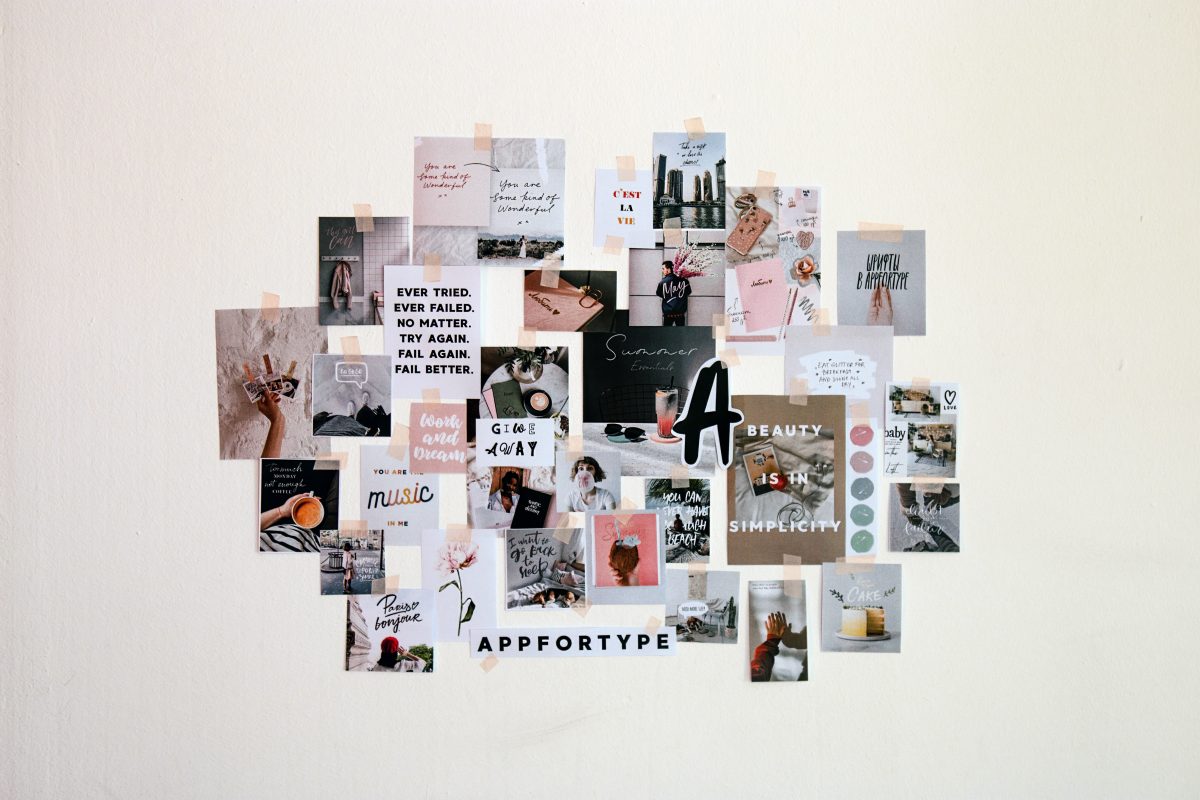
Ready to try making your first photo collage via your iPhone? If yes, read on and follow our walkthroughs.
Inside This Article
How to Make a Photo Collage on iPhone
There are multiple ways to create a photo collage on your iPhone. Here are five apps and how to use them:
Google Photos
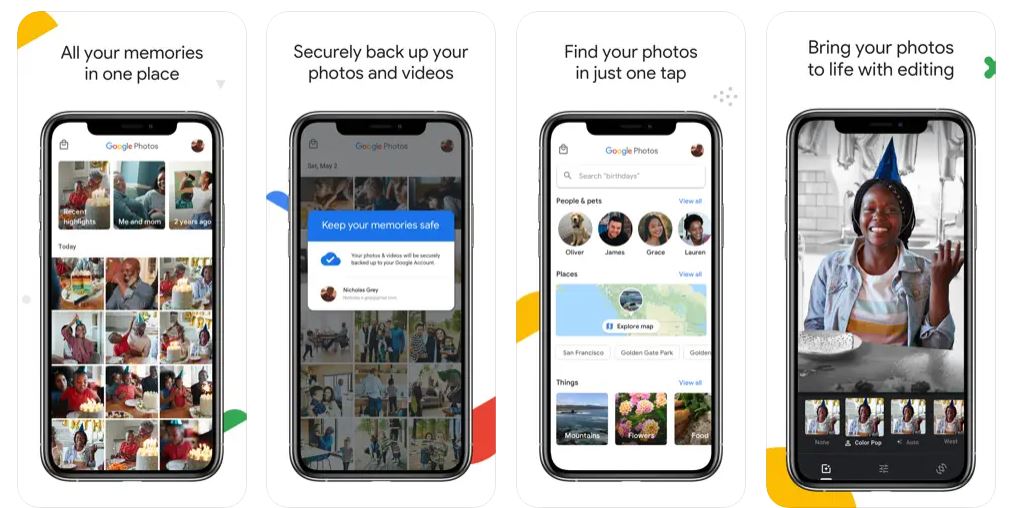
If you’re looking for free collage maker apps, Google Photos should be one of your top choices. That is because, apart from its collage-making capabilities, it’s available across multiple platforms.
Google Photos lets you upload thousands of photos and access them on any device. The user-friendly app also provides filters for making your photo collages stand out. Above all, Google Photos is free. You aren’t forced to shell out money to create nice collages.
If you’re intrigued, check out these guidelines on how to make a photo collage on iPhone devices using Google Photos:
Step 1: Download Google Photos
Unfortunately, Google Photos isn’t a default app that exists on iOS as it does on some Android devices. Therefore, you must install it if you want to use it for learning how to make a photo collage on iPhone devices.
Access the App Store, then type “Google Photos” in the search field. Alternatively, hit the download button below. Afterward, press the Get button to have the app.
Step 2: Create a Collage
After the download, it’s time to get into the details of how to make a photo collage on iPhone devices. Unlike other apps, Google Photos doesn’t have a complicated process for making collages. Just start the app and press the Library tab on your home screen. Afterward, head to Utilities and scroll down until you see Create New.
Next, tap on Create New and then choose Collage. Google Photos should redirect you to a screen containing all the photos in your Google Photos gallery. Once there, tap on the photos you require. Remember that the maximum number of photos you can add to your photo collage is nine.
Afterward, tap the Create button, and Google Photos will immediately generate the collage. You can press the Upload button to transfer the output to your gallery.
Layout From Instagram
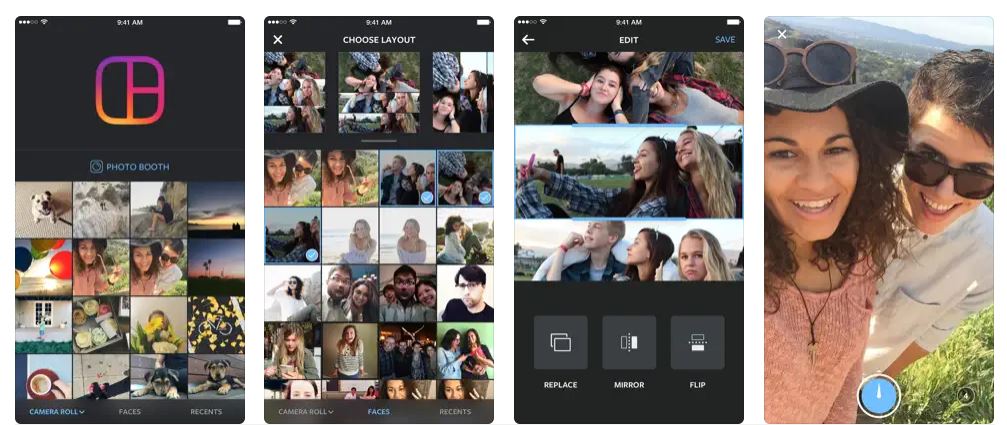
Instagram is the leading social media platform for sharing image-based content. So, it’s unsurprising that it also released a photo collage maker app that anyone can use — Layout From Instagram. The said app is a top-tier collage maker.
That is because you don’t have to sync your photos from your library with it. You can simply use your built-in camera roll to upload photos. Moreover, you can use the app’s in-house photo booth to take candid shots. Afterward, Layout From Instagram can instantly incorporate them in various layouts.
In addition, the app is intuitive to use. It also provides you with more effects and features compared to what other free apps can give. Layout From Instagram is one of the best apps to use when learning how to make a photo collage on iPhone devices.
If you want to make attractive collages using the app, here is a quick walkthrough:
Step 1: Get the App
Like Google Photos, Layout From Instagram isn’t native to iOS. You must get the free app first from the App Store. For this, click the blue button below or input the app’s name on the store’s search bar and press the Get icon.
Download Layout From Instagram for iOS
Step 2: Select Your Photos
Once done with the abovementioned step, tap on the downloaded app to open it. Once it launches, the app should cascade all photos on your camera roll. You can peruse the images and pick the ones you desire by tapping on each photo. Be mindful because you can only include up to nine photos in the collage.
Step 3: Choose a Layout
Once you’ve chosen your photos, it’s time to choose a layout. Compared to Google Photos, Layout From Instagram is more flexible. That is because the latter offers several different layouts you can choose from for your photo collage. Hence, you’re not stuck with the basic and uncreative grid you find on most apps.
To choose a layout, scroll to the left to find one you like. If you see one that is pleasing, tap it. The Layout From Instagram app will generate the collage afterward. The completed collage should appear on full screen.
Step 4: Edit Your Work
After choosing a layout, you’re allowed to enhance your collage further. You can do so via the bottom interface’s editing tools. That should let you add filters, mirror or flip images, and edit the pictures in various ways.
Once you’re satisfied, you can finally save the photo collage. Tap the Save button on the interface’s upper-right edge. The collage should instantly transfer to your photo gallery.
Canva
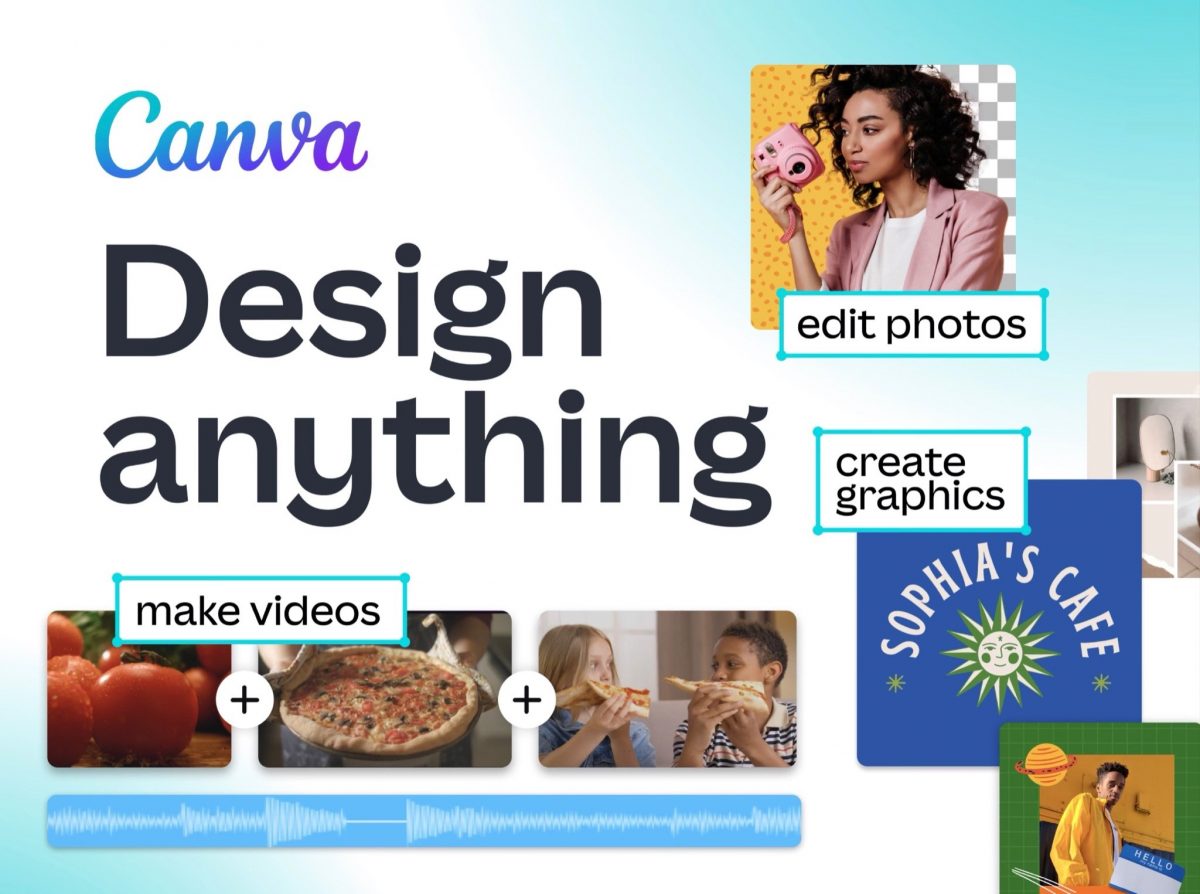
If you desire to make a collage on iPhone, Canva is an excellent choice. It’s a high-quality app that easily creates graphics and layouts for professional use. Apart from collages, you can design promotional materials, presentation templates, banners, and brochures. Canva even has design templates and stock photos to help you jumpstart the process.
As a collage-maker, the app is an incredibly versatile choice. That is because it is not limited to stock templates; it lets you customize layouts. Consequently, you have more control and creative freedom with the app. Best of all, unlike other collage makers, Canva has more tools that allow you to add text, icons, and assets.
Below is a quick guide that can help you get used to Canva:
Step 1: Download Canva
Canva is free software on the App Store. The app’s more advanced features do hide behind a paywall, though. Nonetheless, you can use its basic features to make a collage. Alternatively, you can also learn how to make a photo collage on iPhone devices using the web version of Canva. It’s a solid option if your iPhone doesn’t have enough storage left.
Step 2: Look Through Templates
Canva has hundreds of templates in various designs. Look through them and choose one that suits your idea the most. Unlike other collage maker apps, Canva doesn’t limit your photo collage to just a set number of photos. Hence, you can choose more than nine so long as it fits the templates.
Step 3: Choose Your Photos
After finding a layout, you may pick the photos you want from your photo gallery or Canva’s stock library. The app has over a million images to choose from.
Step 4: Add Elements (Optional)
You can settle for the default template that Canva provides you — it’s certainly much easier that way. On the other hand, you can choose to elevate your template by incorporating more design elements. You can add text, stickers, vectors, shapes, frames, and more through the app’s tools.
Step 5: Save Your Work
Once your photo collage is finished, you can download the output as a PNG or JPG file. You may also send it directly to social media platforms.
Collage Maker
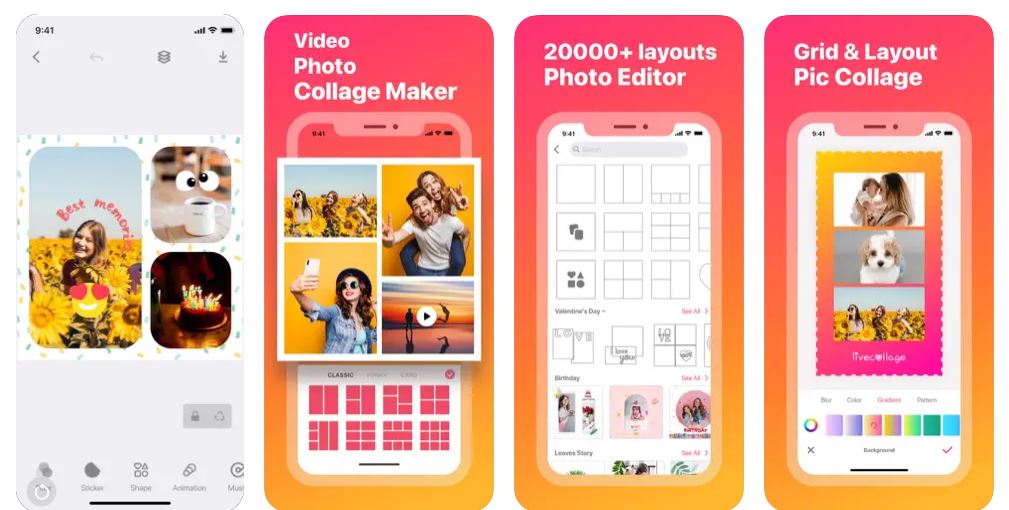
Creating a picture collage is easy if the app specializes in collages. Fortunately, Collage Maker offers just that with built-in tools dedicated to collage-making. It has fashionable layouts, different collage styles and sizes, stickers, effects, backgrounds, gradients, and frames.
In addition, the app has photo-editing features that can filter, touch up, or beautify portraits. With it, you can certainly make an attractive Instagram-worthy collage.
Follow the instructions below to start making your collage:
Step 1: Get Collage Maker
Fortunately, like Layout From Instagram and Google Photos, Collage Maker is completely free. Hence, you only need to install the software from the App Store. Once downloaded, launch the app to get started.
Download Collage Maker for iOS
Step 2: Create a Collage
Unlike Canva, Collage Maker is more beginner-friendly. That is because it has a specialized Collage option that you can tap once you launch the app. You don’t have to sift through different buttons or menus to create your collage.
After tapping Collage, press the plus (+) button and look through the templates. However, note that layouts with a pink crown icon are paid templates. Thus, unless you’re willing to buy the subscription, choose one without the pink logo.
Step 3: Edit Your Layout
Once you’ve found a good layout, tap on it and press the plus (+) icon to add photos. Choose the photos you want from the library to proceed. Afterward, you can edit the photos further using the tools down the interface. With the tools, you can add frames, borders, margins, shapes, and more.
Step 4: Save Your Output
When you’re done creating the collage, press the Download button to save your output. The collage will then be found in your photo library, ready for sharing with other platforms.
Pic Stitch
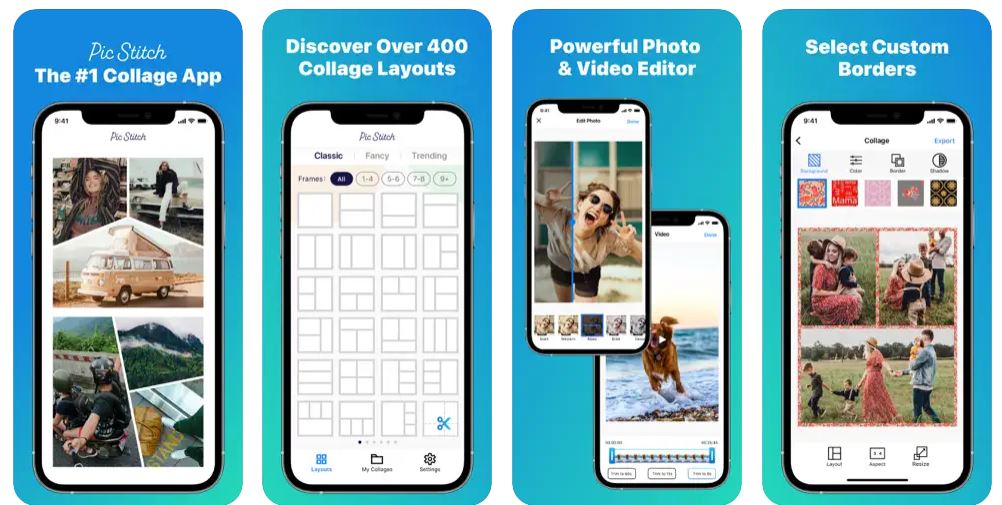
Like Collage Maker, Pic Stitch is a picture collage maker with advanced editing tools. It’s certainly worth considering if you’re learning how to make a photo collage on iPhone devices. That is because the app has more than 300 layouts, several filters, borders, and even photo editing tools.
In addition, Pic Stitch has a simple interface that makes it intuitive even for novices. It also works with videos, so you’re not limited to photos when creating your final product. Moreover, it’s free and reliable; therefore, you certainly won’t run into trouble using the platform.
Here’s an easy walkthrough on how to make a photo collage on iPhone via Pic Stitch:
Step 1: Get Pic Stitch
Pic Stitch is a free service you can quickly install from the App Store. It includes in-app purchases for special items. However, those aren’t necessary to make a collage. Hence, don’t agonize over whether the app will force you to pay anything or not. Download it via the button below to begin your creative project.
Step 2: Choose Your Layout
Unlike other apps, Pic Stitch classifies its templates into two categories: classic and fancy. The classic set provides paneling and collage layouts without being overly complicated. Meanwhile, the fancy layouts are more creative and unique in their compositions — perfect for crazier or quirkier posts. Choose from it if you truly want to stand out.
Step 3: Add Photos and Filters
Once you’ve chosen a layout, the frame should appear on the screen. Afterward, tap the middle of the frame to open the camera roll. You may pick the pictures you desire by tapping on each one. The photos should appear at the bottom once chosen.
Next, drag each of the photos you chose to specific positions. This should help you dictate where photos go in your collage and help you tell a clearly defined story. Once finished, you can modify the collage with filters, text, and other editing tools.
Step 4: Finalize Edits and Export
Afterward, you can reposition the photos by tapping them or adjusting the aspect ratio by pressing Aspect. Once satisfied with your final edits, store the output in your gallery by tapping Export.
How to Make a Stunning Picture Collage
You already know how to use the best apps to make a photo collage on an iPhone. That is the easy part. The more difficult task is making sure the photos and layout work well enough to stand out. How do you make stunning collages, then?
Firstly, we recommend choosing a color theme. A common color across all photos can unify the entire piece, making it cohesive or fit well together. Of course, we still suggest choosing photos that vary in subject matter to create contrast. Nonetheless, a common color brings the whole collage together and is easier on the eyes.
Secondly, you can also play with more abstract compositions. For example, you can add mirrored versions of the same photo in different parts of the grid. This can create an abstract shape or a tile composition that adds more visual interest.
FAQs
Final Thoughts
Finding out how to make a photo collage on iPhone devices is fairly easy. There are several free apps that have the relevant feature built-in. The more challenging part of the task is arguably choosing the right layout and photo composition. Once you have this down, even the simplest collage can become a stunning art piece.
