
With the release of iOS 16, Apple introduces an exciting new feature to its Shared Photo Library – the ability to share only photos of specific people. This innovative feature allows users to curate their photo sharing experience by selecting particular individuals whose photos they want to include in their shared albums or libraries. Gone are the days of sifting through countless pictures or manually selecting the images you wish to share. iOS 16 streamlines the process, making it easier than ever to create and manage shared photo collections with just the pictures of the people that matter most to you. In this article, we will delve into the details of how to utilize this new feature and make the most of your shared photo experiences on iOS 16.
Inside This Article
- A New Feature in iOS 16: Shared Photo Library
- How to Select Specific People for Photo Sharing
- Step-by-Step Guide to Sharing Only Photos of Specific People
- Conclusion
- FAQs
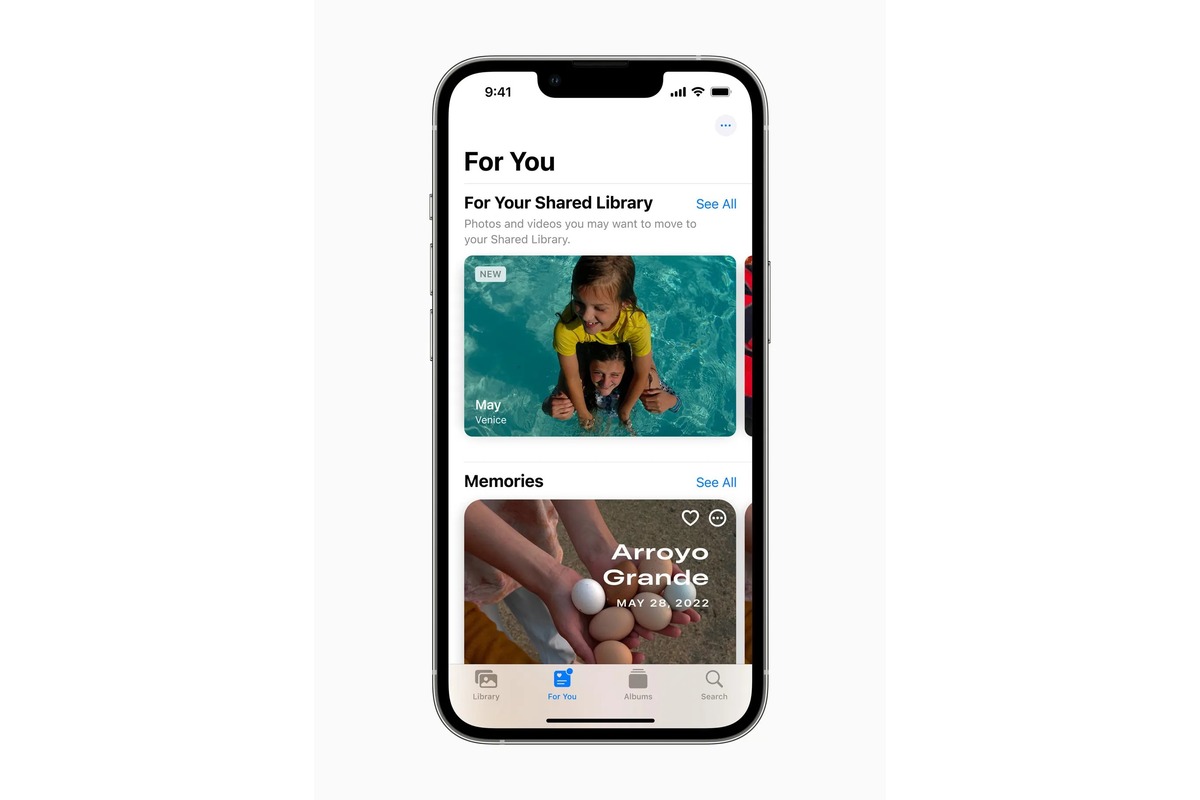
A New Feature in iOS 16: Shared Photo Library
With the release of iOS 16, Apple has introduced an exciting new feature called the Shared Photo Library. This feature allows users to easily share and collaborate on photo albums with specific individuals or groups. Gone are the days of manually selecting and sharing individual photos; now you can grant access to a curated collection of photos with just a few taps.
The Shared Photo Library feature is designed to streamline the process of photo sharing, making it more efficient and convenient for users. Whether you want to share vacation memories with your family or collaborate on a project with your colleagues, this feature provides a seamless way to exchange photos and keep everyone in the loop.
One of the standout capabilities of the Shared Photo Library is the ability to selectively share photos based on specific people. This means you can create an album and choose only certain individuals to have access to those photos. Whether it’s photos of your children, your significant other, or your closest friends, you can ensure that only the intended recipients can view and interact with those images.
Gone are the worries of accidentally sharing sensitive or private photos with the wrong people. With this new feature, you have full control over who can see and contribute to your shared photo albums. It’s a game-changer for privacy-conscious individuals and anyone who wants to maintain a curated collection of photos for specific people.
Furthermore, the Shared Photo Library in iOS 16 offers a seamless collaborative experience. Once you’ve selected the specific individuals for photo sharing, they can view, like, comment on, and even add their own photos to the shared album. It’s a wonderful way to capture collective memories and create a shared photo archive that everyone can enjoy.
Whether you’re planning a surprise birthday party or collaborating on a creative project, the Shared Photo Library in iOS 16 is an invaluable tool. It simplifies the process of photo sharing and enhances collaboration, all while maintaining privacy and control over the shared content.
Overall, the Shared Photo Library feature in iOS 16 is a testament to Apple’s commitment to optimizing user experiences. It’s a practical addition that empowers users to share photos in a more organized and efficient manner. So, why not take advantage of this new feature and start sharing your cherished moments with the people who matter most?
How to Select Specific People for Photo Sharing
If you’re an iOS 16 user, you’re in luck! One of the exciting features introduced in the latest update is the ability to share photos with specific people. This means you no longer have to send your entire photo library to everyone on your contact list. Instead, you can selectively choose the people you want to share your precious memories with.
Sharing photos with specific people is a breeze on iOS 16. With just a few simple steps, you’ll be able to create a customized sharing experience and ensure that only the intended recipients have access to your photos.
Now, let’s dive into the step-by-step guide on how to select specific people for photo sharing:
- Open the Photos app: Launch the Photos app on your iOS device. This is where all your photos are stored, and where you’ll be able to select the specific people you want to share your photos with.
- Select the desired photos: Browse through your photo library and choose the photos you want to share. You can do this by tapping on the “Select” option in the top right corner of the screen and then selecting the desired photos.
- Tap the Share button: Once you’ve selected the photos, tap the Share button. This button is typically represented by a square icon with an arrow pointing upwards and is located at the bottom of the screen.
- Choose the “Message” option: Among the various sharing options, select the “Message” option. This will open the Messages app, allowing you to send the selected photos to specific individuals.
- Select the recipients: In the Messages app, choose the contacts you want to share the photos with. This step involves typing in their names or selecting them from your contact list.
- Send the photos: After selecting the recipients, tap the Send button to share the photos. This will send the photos directly to the chosen individuals, ensuring that only they can see them.
And that’s it! You’ve successfully learned how to select specific people for photo sharing on iOS 16. By following these steps, you can easily share your cherished moments with the people of your choice, while keeping your privacy intact.
Step-by-Step Guide to Sharing Only Photos of Specific People
Sharing photos with friends and family is a common practice in this digital age. However, there may be instances where you want to share specific photos with only certain individuals. With the introduction of iOS 16’s Shared Photo Library, you can now easily select specific people to share your photos with. Here is a step-by-step guide to help you navigate through this feature.
Step 1: Open the Photos app
The first step is to open the Photos app on your iOS device. Locate the app icon on your home screen and tap on it to launch the app.
Step 2: Select the desired photo
Browse through your photo library and find the photo that you want to share with specific people. Tap on the photo to open it in full view.
Step 3: Tap on the Share button
Next, locate the Share button, which is represented by a square with an upward arrow. It is usually located at the bottom-left or bottom-right corner of the screen. Tap on it.
Step 4: Choose “Shared Photo Library”
From the list of sharing options, select “Shared Photo Library”. This will allow you to create a shared album specifically for sharing photos with certain individuals.
Step 5: Add specific people
Now, you’ll be prompted to add specific people to the shared album. You can add them by typing their names, selecting them from your contacts, or even using facial recognition to automatically include people present in the photo.
Step 6: Customize sharing settings
Once you’ve added the specific people, you can further customize the sharing settings. You can choose whether they can contribute with their own photos, comment on the shared album, or only view the photos. Adjust the settings according to your preferences.
Step 7: Share the album
After customizing the sharing settings, tap on the Share button to create and share the album with the selected individuals. They will receive a notification and have access to view or contribute to the shared photos.
And that’s it! You have successfully shared only photos of specific people using iOS 16’s Shared Photo Library feature. The shared album will provide a convenient and secure way to privately share memories with your desired audience.
Remember, this feature is available on devices running iOS 16 or later. So, make sure to update your device to the latest version to enjoy this functionality.
Conclusion
In conclusion, iOS 16’s Shared Photo Library feature is a fantastic addition that allows users to share specific photos with specific people. Gone are the days of sharing a whole album and worrying about unintended recipients seeing private photos. With this new feature, you have the freedom to curate your shared photos and ensure that only the intended individuals can view them.
iOS 16’s Shared Photo Library feature offers a seamless and secure way to share memories with your loved ones. Whether it’s photos of a family gathering, a vacation, or a special occasion, you can now easily select and share only the photos of specific people. This not only ensures privacy but also adds a personalized touch to your photo sharing experience.
With the power to control who sees what, iOS 16 empowers users to safeguard their cherished memories while fostering closer connections with the people who matter most. So go ahead and dive into the exciting world of sharing only the photos of specific people with iOS 16’s Shared Photo Library feature. Capture, curate, and share those special moments with peace of mind!
FAQs
Q: How do I share only photos of specific people in iOS 16’s Shared Photo Library?
A: To share only photos of specific people in iOS 16’s Shared Photo Library, follow these steps:
- Open the Photos app on your iOS 16 device.
- Navigate to the “Albums” tab.
- Scroll down and find the “Shared” album.
- Select the “Shared” album and tap on the “Add People” option.
- Enter the names or email addresses of the individuals you want to share the photos with.
- Tap on “Next” and select the photos you want to share by tapping on the checkboxes next to them.
- Once you’ve selected the photos, tap on “Done” to share them with the specific people.
Q: Can I revoke access to shared photos in iOS 16’s Shared Photo Library?
A: Yes, you can revoke access to shared photos in iOS 16’s Shared Photo Library. Simply follow these steps:
- Open the Photos app on your iOS 16 device.
- Go to the “Albums” tab and locate the “Shared” album.
- Select the “Shared” album and tap on the “People” tab.
- Find the person from whom you want to revoke access, and swipe left on their name.
- Tap on “Remove” to revoke their access to the shared photos.
Q: How can I view photos shared by others in iOS 16’s Shared Photo Library?
A: To view photos shared by others in iOS 16’s Shared Photo Library, follow these steps:
- Open the Photos app on your iOS 16 device.
- Navigate to the “Albums” tab.
- Scroll down and find the “Shared” album.
- Select the “Shared” album to see all the shared photos.
Q: Can I comment on shared photos in iOS 16’s Shared Photo Library?
A: Yes, you can comment on shared photos in iOS 16’s Shared Photo Library. Here’s what you need to do:
- Open the Photos app on your iOS 16 device.
- Go to the “Albums” tab and locate the “Shared” album.
- Select the “Shared” album and tap on the photo you want to comment on.
- Scroll down, and you’ll find a text box labeled “Add a comment.”
- Type your comment and tap on “Send” to post it.
Q: How can I remove a photo from iOS 16’s Shared Photo Library?
A: To remove a photo from iOS 16’s Shared Photo Library, follow these steps:
- Open the Photos app on your iOS 16 device.
- Go to the “Albums” tab and locate the “Shared” album.
- Select the “Shared” album and find the photo you want to remove.
- Tap on the photo, swipe up to reveal more options, and tap on the trash icon.
- Confirm the deletion by tapping on “Delete Photo.”