
In the digital era, our lives are filled with countless precious moments captured through the lens of our smartphones. Whether it’s a stunning sunset, a family gathering, or a hilarious candid, these photos hold memories that we want to cherish and share with our loved ones. With the introduction of iOS 16, Apple has made it easier than ever to share these special moments with the people who matter most through the Shared Photo Library in iCloud. Now, you can effortlessly create a centralized hub where you and your loved ones can contribute and enjoy a collective photo album. In this article, we will walk you through the simple steps on how to share all your photos to the Shared Photo Library in iCloud, ensuring that your memories are always just a tap away.
Inside This Article
- Setting up the Shared Photo Library in iCloud
- Enabling the Shared Photo Library on your iOS 16 device
- Adding photos to the Shared Photo Library
- Managing and organizing your photos in the Shared Photo Library
- Conclusion
- FAQs
Setting up the Shared Photo Library in iCloud
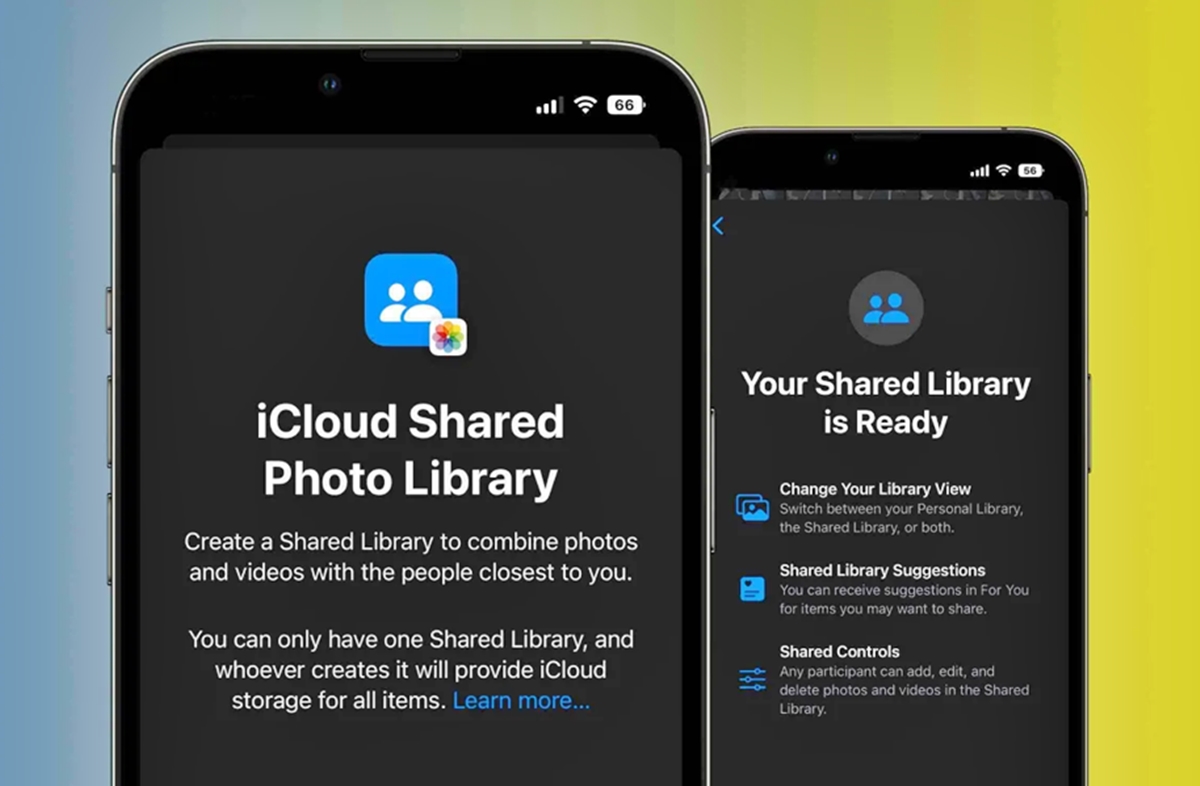
Sharing photos with friends and family has never been easier with the Shared Photo Library feature in iCloud. This convenient feature allows you to create a shared album where you can upload and view photos collectively. To get started, you’ll need to set up the Shared Photo Library on your iCloud account. Follow these simple steps to begin sharing your cherished memories:
1. Open the Settings app on your iOS 16 device and tap on your name at the top of the screen to access your Apple ID settings.
2. Scroll down and tap on “iCloud” to open the iCloud settings menu.
3. In the iCloud settings, locate and tap on “Photos”.
4. Toggle the switch next to “Shared Photo Library” to enable the feature. You may be prompted to enter your Apple ID password for security purposes.
5. Once the Shared Photo Library is activated, you can customize your sharing options by tapping on “Shared Albums”. Here, you can choose whether to allow subscribers to add photos, and who can access the shared album.
6. You’re all set! Now you can start creating shared albums and invite friends or family members to contribute to the collection.
Setting up the Shared Photo Library in iCloud is a simple process that opens up a world of possibilities for sharing and storing your precious memories. Whether it’s a vacation album or a special event, you can now create a shared space where everyone can contribute and revisit the moments that matter most.
Remember, by enabling the Shared Photo Library, you’ll have access to the shared albums across all your iOS devices linked to your iCloud account. This means you can seamlessly browse and contribute to the shared albums using your iPhone, iPad, or even your Mac.
Start sharing your photos today by setting up the Shared Photo Library in iCloud. It’s a fantastic way to stay connected, reminisce, and preserve the memories that truly matter.
Enabling the Shared Photo Library on your iOS 16 device
If you own an iOS 16 device, you have the option to enable the Shared Photo Library feature, which allows you to share all your photos with other iCloud users. Enabling this feature is simple and can be done directly from your device’s settings.
To enable the Shared Photo Library on your iOS 16 device, follow these steps:
- Open the “Settings” app on your device.
- Scroll down and tap on “Photos”.
- In the Photos settings, locate and tap on “Shared Albums”.
- Toggle the switch next to “Shared Albums” to turn the feature on.
Once you have enabled the Shared Photo Library feature, your device will start syncing your photos with iCloud. This means that any new photos you capture or import will be automatically uploaded to your iCloud account and made available to other users you have shared the library with.
It’s important to note that enabling the Shared Photo Library will only sync new photos going forward. Any existing photos in your library will not be shared. If you want to include existing photos in the Shared Photo Library, you will need to manually add them.
Additionally, you can invite other iCloud users to access and contribute to your Shared Photo Library. To do this, follow these steps:
- Go to the “Photos” app on your device.
- Tap on the “Shared” tab at the bottom of the screen.
- Select the Shared Photo Library you want to share.
- Tap on the “People” button at the top of the screen.
- Tap on the “Add People” option.
- Choose the method of sharing, such as sending an invitation through Messages or email.
- Invite the person to join and contribute to your Shared Photo Library.
By enabling the Shared Photo Library on your iOS 16 device, you can easily share your precious moments with friends, family, and loved ones. Whether it’s a memorable vacation, a special event, or simply everyday snapshots, everyone can now have access to and contribute to your shared photo collection. Enjoy capturing and sharing your precious memories in a convenient and collaborative way!
Adding photos to the Shared Photo Library
Now that you have set up the Shared Photo Library in iCloud and enabled it on your iOS 16 device, it’s time to start adding photos to the library and share them with your chosen contacts. Adding photos to the Shared Photo Library is a simple process that ensures everyone who has access to the library can view and enjoy your cherished memories.
To add photos to the Shared Photo Library, follow these steps:
- Open the Photos app on your iOS 16 device. This is where all your photos and albums are stored.
- Navigate to the photo or album you want to share. You can choose individual photos or entire albums to add to the Shared Photo Library.
- Tap on the “Share” button, which is represented by a square with an upward arrow. This button allows you to share the selected photo or album.
- From the sharing options that appear, select “Add to Shared Album.” This option will add the photo or album to the Shared Photo Library.
- A new window will appear, showing the existing shared albums you have set up. If you haven’t created a shared album yet, you can tap on “New Shared Album” to create one specifically for the selected photos.
- Select the shared album where you want to add the photos. You can choose an existing shared album or create a new one with a specific name.
- Tap “Add” to add the selected photo or album to the chosen shared album in the Shared Photo Library.
Once you have followed these steps, the selected photos or albums will be added to the Shared Photo Library in iCloud, and anyone who has been invited to access the library will be able to see and interact with them. The changes you make, such as adding or deleting photos from the shared album, will be reflected in real-time for all users with access to the library.
Adding photos to the Shared Photo Library provides a convenient way to share memories with friends, family, or colleagues. Whether it’s a special event, a vacation, or just everyday moments, you can easily add and showcase your photos in the shared space, allowing everyone to enjoy and contribute to the collection.
Managing and organizing your photos in the Shared Photo Library
Once you have set up the Shared Photo Library in iCloud and enabled it on your iOS 16 device, it’s time to dive into the exciting task of managing and organizing your photos. By following these simple steps, you can keep your photo collection neat, easily accessible, and share-worthy:
1. Create albums: Start by creating albums to group similar photos together. This can help you find and share specific categories of photos with ease. To create a new album, open the Photos app, tap on the “Albums” tab, and then tap on the “+” symbol. Give your album a name and start adding photos to it.
2. Add tags and descriptions: Adding tags and descriptions to your photos can make them more searchable and provide context to your memories. Tap on a photo, then tap on the “Edit” button, and you will see options to add tags and descriptions. Use relevant keywords or phrases as tags to make it easier to locate specific photos in the future.
3. Sort and organize: Keep your photos in order by sorting them chronologically or by custom order. In the Photos app, tap on the “Photos” tab and select “All Photos” to see your entire collection. Tap on the “Select” button in the top right corner, and then drag and drop the photos into the desired order. You can also sort them chronologically by tapping on “Sort” and selecting “Oldest First” or “Newest First”.
4. Delete unwanted photos: To free up space in your Shared Photo Library, get rid of any unwanted or duplicate photos. Open the Photos app, go to the “Photos” tab, and select the photos you want to delete. Tap on the trash bin icon and confirm the deletion. Remember, deleted photos will be moved to the “Recently Deleted” album and can be recovered within 30 days.
5. Share with others: The whole purpose of the Shared Photo Library is to easily share your photos with friends and family. To share an album or individual photos, open the Photos app, go to the “Albums” tab, select an album or photos, and tap on the “Share” button. Choose the desired sharing method, such as AirDrop, Messages, or social media platforms, and select the recipients. You can also generate a shareable link or invite people to collaborate on an album.
6. Backup your photos: While iCloud stores your photos in the Shared Photo Library, it’s always a good idea to have an additional backup. Consider using iCloud Backup or other cloud storage services to ensure your photos are safe and accessible even if something happens to your device.
With these tips in mind, you can now confidently manage and organize your photos in the Shared Photo Library. Enjoy the convenience of having all your memories in one place and the ease of sharing them with your loved ones.
In conclusion, the ability to share all your photos to the Shared Photo Library in iCloud on iOS 16 is a game-changer for iPhone users. With just a few simple steps, you can effortlessly sync and collaborate with friends and family, creating a shared photo album that captures all the memories. Whether it’s a family vacation, a special occasion, or a group gathering, the Shared Photo Library allows for seamless photo sharing and collective viewing experiences. Now, you no longer have to worry about missing out on precious moments or struggling to keep everyone updated. The Shared Photo Library in iCloud on iOS 16 brings convenience, accessibility, and a sense of togetherness, ensuring that your memories are never lost but forever cherished.
FAQs
Here are some frequently asked questions about sharing photos to the Shared Photo Library in iCloud:
-
Can I share all my photos to the Shared Photo Library in iCloud?
Yes, with the release of iOS 16, you can now share all your photos to the Shared Photo Library in iCloud. This includes photos from your camera roll, albums, and even those saved in other apps. -
How do I enable the Shared Photo Library in iCloud?
To enable the Shared Photo Library in iCloud, go to your device’s settings, tap your name at the top, select “iCloud,” and then turn on the “Photos” toggle. This will automatically sync all your photos to the Shared Photo Library in iCloud. -
Can I control who can access the Shared Photo Library?
Yes, you have full control over who can access the Shared Photo Library. You can choose to share it with specific individuals, create a shared album for selected people, or make it available to all your contacts. Additionally, you can set permissions for each person, allowing them to either view or contribute to the library. -
How do I share photos to the Shared Photo Library?
To share photos to the Shared Photo Library, open the Photos app on your iOS device, select the photos you want to share, tap the share button, and choose the option to add them to the Shared Photo Library. This will make the photos accessible to everyone you’ve granted access to. -
Can I remove photos from the Shared Photo Library?
Yes, you can remove photos from the Shared Photo Library. To do this, open the Shared Photo Library, select the photos you want to remove, and tap the delete button. This will remove the photos from the library without affecting their presence in your own albums or camera roll.