
In today’s digital age, capturing moments and memories through photos has become an integral part of our lives. Whether it’s a striking landscape, a precious family portrait, or a hilarious candid shot, our smartphones have become the go-to devices for capturing these priceless images. However, with limited storage capacity, it’s essential to transfer these photos from our Android devices to our computers for safekeeping, editing, or sharing with others. In this article, we will explore the different methods and steps involved in moving pictures from an Android smartphone to a computer. From USB cable connections to wireless file transfers, we will provide you with all the necessary information and tips to seamlessly transfer your precious photos to your computer’s storage.
Inside This Article
- Preparing your Android device for transfer
- Connecting your Android device to your computer
- Transferring pictures via USB cable
- Transferring pictures wirelessly using Google Photos
- Conclusion
- FAQs
Preparing your Android device for transfer
Before you can start moving pictures from your Android device to your computer, there are a few steps you need to follow to ensure a smooth and successful transfer. Here’s a quick guide on how to prepare your Android device:
1. Update your Android device: It’s always a good idea to have the latest software version on your Android device. Check for any available updates by going to Settings > Software Update and follow the on-screen instructions to download and install any pending updates.
2. Clean up your device: To free up space and make the transfer process faster, it’s recommended to delete any unnecessary pictures or files from your Android device. You can do this by going to your gallery app or file manager and selecting the pictures you want to delete. Alternatively, you can use a cleaning app from the Google Play Store to help you remove unnecessary files.
3. Backup your pictures: It’s always a smart move to back up your pictures before transferring them to your computer. You can use cloud storage services like Google Drive or Dropbox to upload your pictures and ensure that they are safely stored in case something goes wrong during the transfer process.
4. Enable USB debugging: If you plan to transfer your pictures using a USB cable, you’ll need to enable USB debugging on your Android device. To do this, go to Settings > About Phone and tap on the Build number seven times to unlock Developer options. Then, go back to Settings > Developer options and toggle on USB debugging.
5. Install necessary drivers: If you’re connecting your Android device to your computer using a USB cable, you may need to install the necessary drivers to establish a connection. Most Android devices automatically install the drivers when connected to a computer, but if you encounter any issues, you can visit the manufacturer’s website and download the specific drivers for your device.
By following these simple steps, you can ensure that your Android device is prepared for the picture transfer process. Once you’ve completed these preparations, you’re ready to connect your Android device to your computer and start moving your pictures.
Connecting your Android device to your computer
When it comes to transferring pictures from your Android device to your computer, the first step is to establish a connection between the two devices. By doing so, you can easily transfer your cherished photos and free up some storage space on your phone. There are a few different ways to connect your Android device to your computer, depending on your preferences and the available options at your disposal.
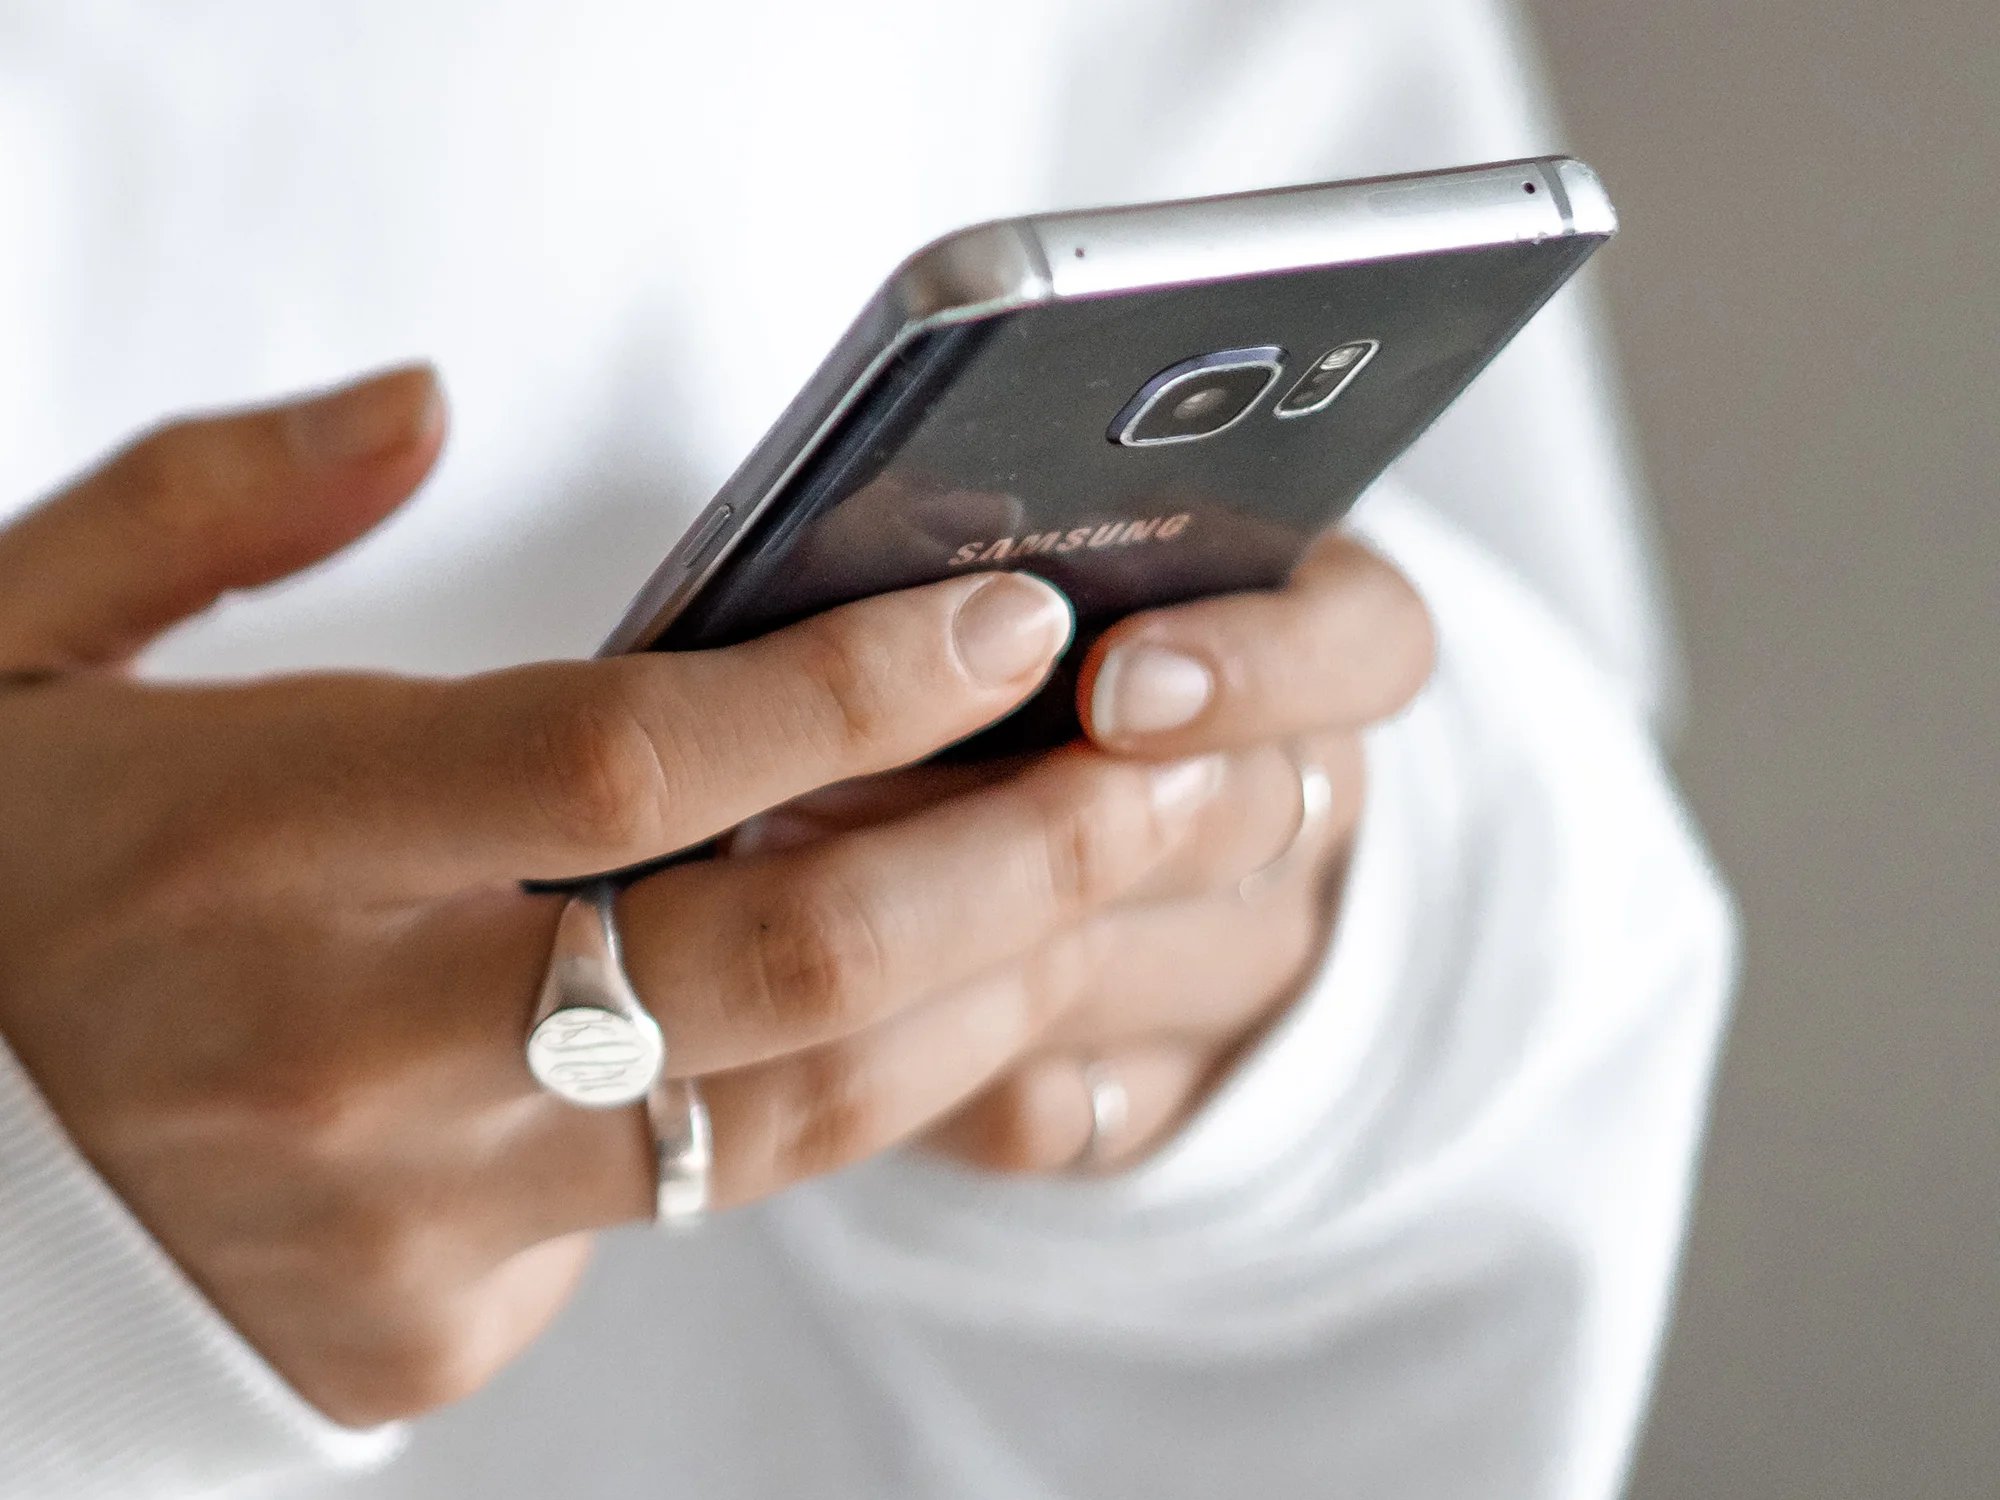
One of the most commonly used methods is to connect your Android device to your computer using a USB cable. This method allows for a direct and secure connection between the two devices, ensuring the efficient transfer of pictures. To begin, make sure that your Android device is charged and unlocked. Then, locate the USB cable that came with your phone or use a compatible one.
Next, find the USB port on your computer. It is usually located on the front or back of the desktop tower or on the side of a laptop. Plug one end of the USB cable into the port on your Android device and the other end into the USB port on your computer. Your computer should recognize the connection and display a notification that your device has been successfully connected.
At this point, you may need to select the appropriate connection mode on your Android device. To do this, swipe down from the top of your screen to access the notification panel, then tap on the USB icon or “USB for charging” notification. Choose the “File Transfer” or “Transfer Files” option to enable the transfer of pictures between your Android device and computer.
Once the connection is established and the appropriate mode is selected, you can access your Android device’s internal storage or SD card on your computer. Simply open the File Explorer or Finder on your computer and look for your Android device under the list of available devices. Click on your device’s name to open it and browse through the folders to find the location of your pictures.
From there, you can select the desired pictures and copy them to a folder on your computer. You can create a new folder specifically for the transferred pictures or choose an existing one. To copy the pictures, simply right-click and select “Copy” or use the keyboard shortcut Ctrl+C. Navigate to the destination folder on your computer, right-click, and select “Paste” or use the keyboard shortcut Ctrl+V to complete the transfer.
By following these steps, you can easily connect your Android device to your computer and transfer pictures using a USB cable. Keep in mind that some newer Android devices may require a USB Type-C cable, so ensure that you have the correct cable for your specific device. Alternatively, if you prefer a wireless method, you can transfer pictures using Google Photos, which we will cover in the next section.
Transferring pictures via USB cable
Transferring pictures from your Android device to your computer can be done quickly and easily using a USB cable. This method allows for a direct and reliable connection between the two devices, ensuring a smooth transfer process. Here’s a step-by-step guide on how to transfer pictures from your Android device to your computer using a USB cable:
1. First, make sure you have a compatible USB cable. Most Android devices use a USB Type-C or Micro USB cable. Check the port on your Android device to determine the type of cable you need.
2. Connect one end of the USB cable to your Android device, and the other end to an available USB port on your computer. Be sure to use a USB port that is functioning properly.
3. On your Android device, you may receive a notification asking you to select a USB connection mode. Choose “File Transfer” or “Media Transfer” mode, depending on the options available on your device. This will enable your computer to access the files on your Android device.
4. Once the connection is established, your computer should recognize your Android device as a removable storage device. Open the file explorer on your computer and navigate to the folder where your pictures are stored on your Android device.
5. Select the pictures you want to transfer by either dragging and dropping them into a folder on your computer or by copying and pasting them into the desired location. You can create a new folder on your computer to organize the transferred pictures if needed.
6. Wait for the transfer to complete. The time it takes to transfer the pictures will depend on the size of the files and the speed of the USB connection.
7. Once the transfer is finished, safely disconnect your Android device from your computer. On your computer, right-click on the removable storage device representing your Android device and select “Eject” or “Safely Remove Hardware” to safely disconnect it.
That’s it! You have successfully transferred pictures from your Android device to your computer using a USB cable. You can now access and organize your pictures on your computer, edit them, or back them up for safekeeping.
Please note that the steps mentioned above may vary slightly depending on the version of Android and the file explorer software used on your computer. However, the basic process of transferring pictures via USB cable remains the same.
Transferring pictures wirelessly using Google Photos
Google Photos is a powerful app that not only helps you organize and store your photos but also allows you to conveniently transfer them from your Android device to your computer wirelessly. Here’s how you can make use of Google Photos to transfer your pictures:
1. Install and set up Google Photos: If you don’t already have Google Photos on your Android device, head to the Google Play Store and download it. Open the app and sign in with your Google account. Follow the setup instructions and grant necessary permissions for the app to access your photos.
2. Upload your pictures to Google Photos: Once you have Google Photos installed, open the app and ensure that all the pictures you want to transfer are backed up to your Google account. This can be done automatically, or you can manually select the pictures and tap on the cloud icon to upload them.
3. Access Google Photos on your computer: To transfer your pictures wirelessly, you’ll need to access Google Photos on your computer. Open a web browser and go to photos.google.com. Sign in with the same Google account you used on your Android device.
4. Select and download the pictures: Once you’re logged in to Google Photos on your computer, you’ll be able to view all the pictures from your Android device. You can browse through the albums, search for specific photos, or scroll through the timeline. To transfer pictures, simply select the ones you want to download by clicking on them or using the “Select” option.
5. Download the selected pictures: After selecting the desired pictures, click on the “More” button (three vertical dots) in the top right corner and choose “Download.” Google Photos will then create a ZIP file containing the selected pictures and start the download process. Once the ZIP file is downloaded, you can extract the pictures to a folder of your choice on your computer.
6. Organize and enjoy your pictures: Now that your pictures are safely transferred to your computer, you can organize them in folders or edit them using your favorite photo editing software. You can also easily share the pictures with friends and family, or create backup copies to ensure their safety.
Transferring pictures wirelessly using Google Photos offers a convenient and efficient way to have your Android pictures readily available on your computer. No cables or additional software required. Give it a try, and experience the seamless transfer of your cherished memories from your Android device to your computer.
Conclusion
In conclusion, transferring pictures from your Android device to your computer is a simple process that allows you to safely back up your precious memories and free up space on your phone. Whether you prefer using a USB cable, cloud storage, or third-party apps, there are several options available to suit your needs. Remember to always double-check the compatibility of your device and computer, and ensure that you have the necessary drivers installed. With the step-by-step instructions provided in this article, you can easily move your pictures from your Android device to your computer.
FAQs
1. Why should I move pictures from my Android to my computer?
Moving pictures from your Android phone to your computer has several benefits. Firstly, it allows you to create backups of your precious photos, preventing data loss in case something happens to your phone. Secondly, transferring pictures to your computer frees up storage space on your phone, allowing you to capture more memories without worrying about running out of storage. Lastly, having your pictures on your computer makes it easier to edit, organize, and share them with friends and family.
2. What are the different methods to move pictures from Android to computer?
There are various methods to transfer pictures from your Android device to your computer. You can use a USB cable to connect your phone to the computer and then manually copy and paste the pictures. Another option is to use cloud storage services like Google Drive or Dropbox to upload and access your pictures on both devices. Additionally, you can use apps like AirDroid or Snapdrop for wireless transfer, or use email to send the pictures to yourself and download them on your computer.
3. Can I transfer pictures from Android to computer wirelessly?
Yes, you can transfer pictures from your Android phone to your computer wirelessly. There are several apps and services available that allow you to transfer files over a Wi-Fi connection. Examples include apps like AirDroid, which enables wireless file transfer between your phone and computer, and Snapdrop, a web-based file transfer service that works across different devices and platforms. These wireless methods provide convenient and efficient ways to move pictures without the need for a USB cable.
4. Do I need special software to transfer pictures from Android to computer?
In most cases, you don’t need special software to transfer pictures from your Android phone to your computer. The built-in file manager of your computer should be able to recognize your Android device when connected through a USB cable, allowing you to manually copy and paste the pictures. However, specific software or apps may be required for wireless transfer or for accessing cloud storage services. It’s always a good idea to check the documentation or support resources for the specific method you plan to use.
5. Is it safe to move pictures from Android to computer?
Yes, it is safe to move pictures from your Android phone to a computer. When using a USB cable, the data transfer is typically secure, and the risk of data loss or corruption is minimal. However, it’s always a good practice to make sure your computer is virus-free and to scan any files transferred from your phone. When using cloud storage services or wireless transfer methods, make sure to use trusted and secure platforms and be cautious of sharing sensitive or personal information.