
Are you looking to transfer files from your Android phone to your PC using a USB cable? With the abundance of data stored on our smartphones these days, it’s no wonder that we often need to move files from our mobile devices to our computers. Whether it’s photos, videos, documents, or any other file, having a seamless and efficient way to transfer them is essential.
In this article, we will explore the step-by-step process of transferring files from your Android phone to your PC using a USB cable. This method allows you to directly connect your phone to your computer and transfer files without relying on an internet connection or cloud storage. So, grab your USB cable and let’s dive into the world of hassle-free file transfers!
Inside This Article
- Step 1: Connect the Android phone to the PC
- Step 2: Enable USB debugging on the Android phone
- Step 3: Open the file transfer settings on the Android phone
- Step 4: Select and transfer files from Android phone to PC
- Step 5: Safely disconnect the Android phone from the PC
- Troubleshooting Tips for File Transfer Issues
- Conclusion
- FAQs
Step 1: Connect the Android phone to the PC
One of the most efficient ways to transfer files from your Android phone to your PC is by using a USB cable. Follow these simple steps to establish the connection:
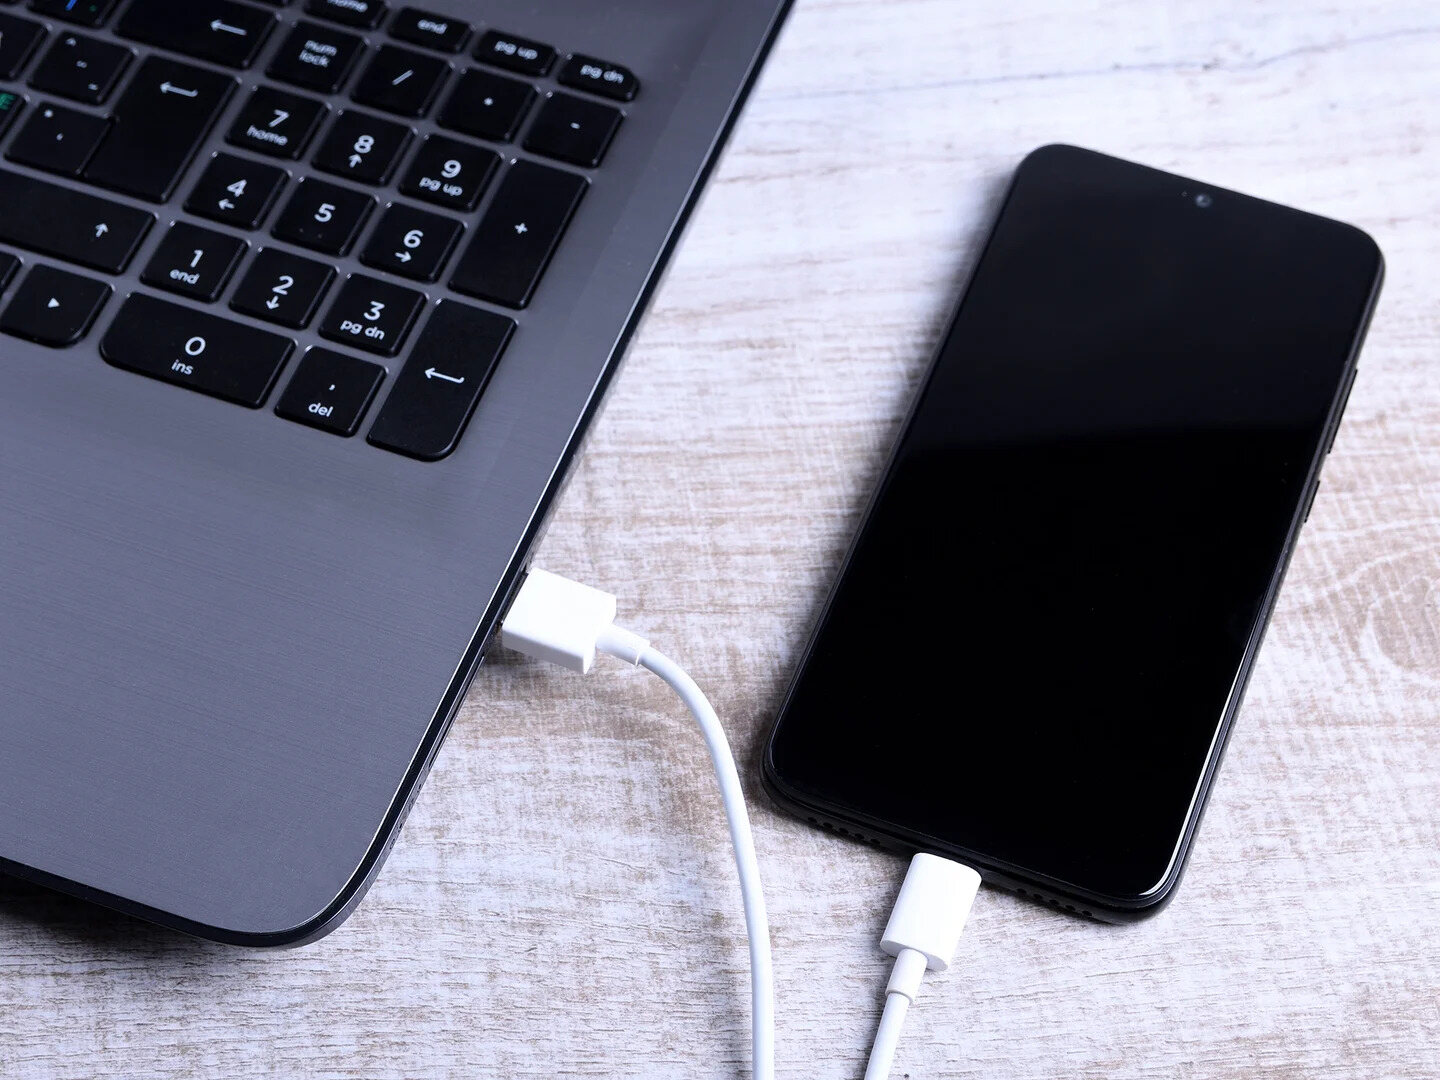
1. Locate the USB cable that came with your Android phone. It usually has a micro USB or USB Type-C connector on one end, which goes into your phone, and a standard USB connector on the other end, which goes into your PC.
2. Connect one end of the USB cable into the charging port of your Android phone. Make sure it is securely plugged in.
3. Take the other end of the USB cable and insert it into an available USB port on your PC. It is usually located on the sides or back of your computer tower, or on the sides of your laptop.
4. Once the cable is connected to both your Android phone and PC, you will see a notification on your Android phone’s screen that says “USB charging this device” or “USB for file transfer.” Tap on this notification and select the “File Transfer” option.
5. Your Android phone is now successfully connected to your PC. You can access its files and folders from the PC as if it were an external storage device.
Remember, some Android phones may require additional drivers or software to establish a successful connection. If you encounter any issues, refer to your phone’s user manual or visit the manufacturer’s website for assistance.
Now that your Android phone is connected to your PC, you can proceed to the next step to enable USB debugging.
Step 2: Enable USB debugging on the Android phone
Enabling USB debugging on your Android phone is an essential step to establish a successful connection with your PC and transfer files. Here’s how you can enable USB debugging on your Android phone:
- Unlock your Android phone and navigate to the “Settings” menu.
- Scroll down and tap on “About phone” (or “About device”) to access the device information.
- Look for the “Build number” or “Software information” option, and tap on it repeatedly for around seven times. This action will enable the “Developer options” on your Android phone.
- Once you have enabled the “Developer options,” go back to the “Settings” menu.
- Scroll down and locate the newly enabled “Developer options” (it should appear above or below the “About phone” option).
- Tap on “Developer options” to access the developer settings.
- In the “Developer options” menu, scroll down and find the “USB debugging” option.
- Toggle the switch next to “USB debugging” to enable it. You may be prompted with a warning message, but don’t worry, it is safe to enable USB debugging.
- Once you have enabled USB debugging, you will see a pop-up message asking for your confirmation. Simply tap “OK” to proceed.
That’s it! You have successfully enabled USB debugging on your Android phone. Now you can proceed to the next step and transfer files from your Android phone to your PC.
Step 3: Open the file transfer settings on the Android phone
Once you have successfully connected your Android phone to your PC using a USB cable and enabled USB debugging, it’s time to open the file transfer settings on your Android device. This step is crucial as it allows you to specify how you want your files to be transferred between your phone and PC.
To access the file transfer settings on your Android phone, follow these simple steps:
- Unlock your Android phone and navigate to the home screen.
- Swipe down from the top of the screen to open the notification panel.
- Look for the USB connection options and tap on it.
- A menu will appear with various USB connection modes.
- Select the “File Transfer” or “Transfer files” option.
By choosing the “File Transfer” or “Transfer files” mode, you are instructing your Android phone to establish a data connection with your PC, specifically for file transfer purposes. This mode ensures that your device is recognized as a storage device by your computer, allowing you to view and copy the files on your Android phone directly from your PC.
Please note that the exact steps to access the file transfer settings may vary slightly depending on the Android phone model and the version of the operating system it is running. However, the general concept remains the same, and you should be able to find the USB connection options by swiping down the notification panel.
If you are unable to locate the file transfer settings or encounter any difficulties while accessing them, refer to your phone’s user manual or the manufacturer’s website for detailed instructions specific to your device.
Step 4: Select and transfer files from Android phone to PC
Now that your Android phone is properly connected to the PC and the necessary settings have been enabled, it’s time to select and transfer the files you want from your phone to your computer. Follow the steps below:
1. Open your file manager: On your PC, open the file manager application that you prefer to use for file transfer, such as Windows File Explorer or macOS Finder.
2. Locate your Android device: In the file manager, look for your Android phone listed under the “Devices” or “Removable Devices” section. It may be named as the model of your phone or simply as “Android Device.”
3. Access the phone’s storage: Double-click or right-click on your Android phone to open its storage. This will show you the folders and files available on your device.
4. Select the files you want to transfer: Browse through the folders on your Android phone and select the files you wish to transfer to your PC. You can use the Ctrl or Shift key on your keyboard to select multiple files at once.
5. Copy the selected files: Once you have chosen the files, right-click on them and select the “Copy” option from the context menu. Alternatively, you can use the Ctrl+C shortcut on your keyboard.
6. Navigate to the desired destination on your PC: Go back to the file manager window of your PC and navigate to the location where you want to save the transferred files. It can be a specific folder or the desktop.
7. Paste the files: Right-click on the destination folder and select the “Paste” option from the context menu. You can also use the Ctrl+V shortcut to paste the files into the selected location.
8. Wait for the transfer to complete: The file transfer process may take some time, depending on the size and number of files being transferred. Ensure that you do not disconnect the USB cable or interrupt the transfer until it is fully completed.
9. Verify the transferred files: After the transfer is finished, navigate to the destination folder on your PC and verify that the transferred files are successfully saved there.
That’s it! You have successfully selected and transferred files from your Android phone to your PC using a USB cable. Now you can access and manage those files directly on your computer.
Step 5: Safely disconnect the Android phone from the PC
After successfully transferring files from your Android phone to your PC, it’s important to safely disconnect your device to prevent any potential data loss or damage. Follow these steps to ensure a safe disconnection:
1. Locate the USB icon in your computer’s system tray (usually located in the lower-right corner of the screen). Right-click on the icon to display a list of available USB devices.
2. Look for the option that corresponds to your connected Android phone. It may be labeled with the device name or “Android phone”.
3. Once you have identified the correct option, click on it to bring up a menu. From the menu, select “Eject” or “Safely remove” to initiate the disconnection process.
4. Wait for the system to complete the disconnection process. You may see a notification confirming that it is safe to remove the device.
5. Once you receive the confirmation notification, gently unplug the USB cable from both your Android phone and the computer.
By following these steps, you ensure that any ongoing file transfers are completed, and that your Android device is safely disconnected from your PC. This helps to prevent any potential data corruption or loss.
Remember, abruptly disconnecting your Android phone from the PC without following these steps can lead to file errors, data loss, or even hardware damage. Taking the time to safely disconnect your device safeguards your files and preserves the integrity of your Android phone.
Troubleshooting Tips for File Transfer Issues
While transferring files from your Android phone to your PC using a USB cable is usually a straightforward process, there can be instances where you might encounter some issues. Don’t worry, we’ve got you covered with these troubleshooting tips to help you resolve common file transfer problems:
1. Check the USB cable: Ensure that the USB cable you’re using is in good condition and properly connected to both your Android phone and the PC. Sometimes, a faulty or loose connection can disrupt the file transfer process.
2. Enable USB debugging: In some cases, file transfer issues can be resolved by enabling USB debugging on your Android phone. To do this, go to the “Developer options” section in your phone’s settings and toggle on the USB debugging option. This allows your PC to communicate with your phone more effectively.
3. Restart your devices: Sometimes, a simple restart can fix any temporary glitches or conflicts that may be causing file transfer problems. Try restarting both your Android phone and PC before attempting the file transfer again.
4. Update USB drivers: Outdated or incompatible USB drivers can hinder the file transfer process. To resolve this, visit the manufacturer’s website of your Android phone and download the latest USB drivers for your specific device model. Install them on your PC and then try the file transfer again.
5. Change USB connection options: On your Android phone, go to the “Developer options” and look for the “USB configuration” or “USB connection” settings. Try changing the USB connection mode to “File transfer” or “MTP” (Media Transfer Protocol) if it is set to something else. This can help establish a proper connection for file transfer.
6. Disable antivirus or firewall: Antivirus software or firewall settings on your PC can sometimes interfere with file transfer. Temporarily disable the antivirus software or adjust the firewall settings to allow file transfer between your Android phone and PC. Remember to enable them again once the transfer is complete.
7. Use a different USB port or cable: If you’re still facing issues, try using a different USB port on your PC or a different USB cable. Sometimes, a malfunctioning USB port or a damaged cable can cause problems with file transfer.
8. Clear cache and data: In some cases, clearing the cache and data of the file transfer apps on your Android phone can resolve any underlying issues. Go to the “Apps” or “Applications” section in your phone’s settings, find the file transfer app (such as Android File Transfer) and clear its cache and data.
9. Update software: Ensure that both your Android phone and PC have the latest software updates installed. Outdated operating systems or file transfer apps can sometimes cause compatibility issues. Update your devices to the latest versions and try the file transfer again.
10. Use alternative file transfer methods: If all else fails, consider using alternative methods for file transfer, such as cloud storage services or wireless transfer apps. These methods bypass the need for a USB cable and can offer a seamless file transfer experience.
By following these troubleshooting tips, you can overcome common file transfer issues and ensure a smooth and hassle-free transfer of files from your Android phone to your PC.
Conclusion
Transferring files from your Android phone to your PC using a USB cable is a straightforward and efficient method. It allows you to easily back up important data, share files with others, or simply free up storage space on your device. By following the steps outlined in this article, you can quickly establish a connection between your Android phone and PC and start transferring files in no time.
Remember to regularly transfer files from your Android phone to your PC to ensure that your important data is safely backed up. Additionally, keep your USB cable and PC drivers up to date to ensure a seamless and reliable file transfer experience.
Mastering the art of transferring files using a USB cable opens up a world of convenience and accessibility. Say goodbye to file size limitations and slow upload/download speeds. With just a few clicks, you can effortlessly move files between your Android phone and PC, streamlining your digital life.
FAQs
Q: How do I transfer files from my Android phone to my PC using a USB cable?
A: To transfer files from your Android phone to your PC using a USB cable, follow these simple steps:
- Connect your Android phone to your PC using the USB cable.
- On your Android phone, swipe down from the top of the screen to access the notification panel. Tap on the USB option and select “File Transfer” or “Transfer files” mode.
- On your PC, open File Explorer (Windows) or Finder (Mac).
- Locate your Android phone in the list of connected devices and click on it to open.
- Navigate to the files or folders you want to transfer. Select the files or folders by clicking on them.
- Drag and drop the selected files or folders from your Android phone to the desired location on your PC.
- Wait for the transfer to complete. Once done, you can safely disconnect your Android phone from the USB cable.
Q: Are there any requirements for transferring files from Android to PC using a USB cable?
A: Yes, there are a few requirements to ensure a smooth transfer:
- Your Android phone must have a USB port and be compatible with USB file transfer.
- Make sure you have a compatible USB cable that can connect your Android phone to your PC.
- Both your Android phone and PC should be powered on and functioning properly.
- Ensure that your Android phone has enough storage space to accommodate the files you want to transfer.
Q: Can I transfer all types of files from my Android phone to my PC?
A: Yes, you can transfer various types of files from your Android phone to your PC, including photos, videos, music, documents, and more. However, some files may have restrictions due to copyright protection or compatibility issues. Make sure you have the necessary permissions to transfer certain files and ensure that your PC supports the file types you want to transfer.
Q: Is it necessary to install any software on my PC to transfer files from my Android phone?
A: In most cases, you do not need to install any additional software on your PC to transfer files from your Android phone. The default file transfer protocols and drivers provided by the operating systems (Windows or Mac) should be sufficient. However, if you encounter any issues, you may need to install specific drivers or software provided by your Android phone manufacturer. Refer to your phone’s documentation or the manufacturer’s website for more information.
Q: Can I transfer files from my Android phone to my PC wirelessly without a USB cable?
A: Yes, you can transfer files from your Android phone to your PC wirelessly using various methods such as Wi-Fi, Bluetooth, or cloud storage services. Some popular options include using apps like Google Drive, Dropbox, or Microsoft OneDrive to sync your files across devices. Alternatively, you can enable Wi-Fi file transfer on your Android phone and connect to the same Wi-Fi network as your PC to transfer files wirelessly. Keep in mind that the transfer speed may vary depending on your network connection and the size of the files being transferred.