
Are you tired of receiving unwanted emails on your iPhone? Well, you’re in luck because we have the perfect solution for you – blocking emails! Blocking unwanted emails is a great way to regain control over your inbox and reduce the distractions caused by spam or other irrelevant messages.
In this article, we will guide you through the steps to block emails on your iPhone. We’ll cover different methods, including blocking specific email addresses, blocking senders in the Mail app, and even blocking emails from unknown senders. With these techniques, you’ll be able to create a more streamlined and focused email experience, freeing up your time and energy for what truly matters.
So, let’s dive in and discover how you can easily block emails on your iPhone!
Inside This Article
- Configuring Email Blocking Settings on iPhone
- Using the Mail App to Block Specific Senders on iPhone
- Blocking Unwanted Emails with Third-Party Apps on iPhone
- Managing Email Filters to Block Certain Senders on iPhone
- Conclusion
- FAQs
Configuring Email Blocking Settings on iPhone
Emails have become an integral part of our daily lives, but sometimes we encounter unwanted messages that disrupt our productivity. Fortunately, if you own an iPhone, you can easily configure email blocking settings to keep the spam and unwanted emails at bay. By following a few simple steps, you can regain control over your inbox and ensure that only the emails you want to see make it through.
To start blocking emails on your iPhone, you need to access the settings for your email accounts. Simply open the Settings app and scroll down until you find the “Mail” section. Tap on it to open the Mail settings.
Once in the Mail settings, you will see several options related to your email accounts. Look for the “Blocked” or “Blocked Senders” option, depending on the version of iOS you are using. Tap on it to access the list of blocked senders.
To add a sender or domain to the blocked list, tap on the “Add New” or “+” button. You can then enter the email address or domain name you wish to block. Alternatively, you can tap on the “Edit” button in the top-right corner and then select the sender or domain you want to block from the list of recent senders.
After adding a sender or domain to the blocked list, all emails from them will be automatically moved to the trash or spam folder, depending on your email provider’s configuration. This ensures that you won’t have to deal with their messages cluttering your inbox.
It is important to note that blocking email senders on your iPhone only affects the Mail app and the email accounts associated with it. If you use other email apps or access your email accounts through a web browser, you will need to configure blocking settings separately.
Additionally, if you want to unblock a sender or domain, you can simply go back to the blocked senders list and tap on the “Edit” button. Then, you can select the sender or domain you wish to unblock and tap on the “Unblock” or “-” button.
By taking advantage of the email blocking settings on your iPhone, you can effectively manage and filter unwanted emails. This allows you to prioritize the messages that truly matter and maintain a clutter-free inbox. So, go ahead and start configuring your email blocking settings today to enjoy a more streamlined email experience on your iPhone.
Using the Mail App to Block Specific Senders on iPhone
If you’re tired of receiving emails from certain senders cluttering up your inbox, the Mail app on your iPhone gives you the option to block specific senders. By blocking these senders, you can ensure that their emails are automatically moved to the trash folder and never make their way to your inbox again. Here’s how you can do it:
1. Open the Mail app on your iPhone and navigate to the inbox where the email from the specific sender is located.
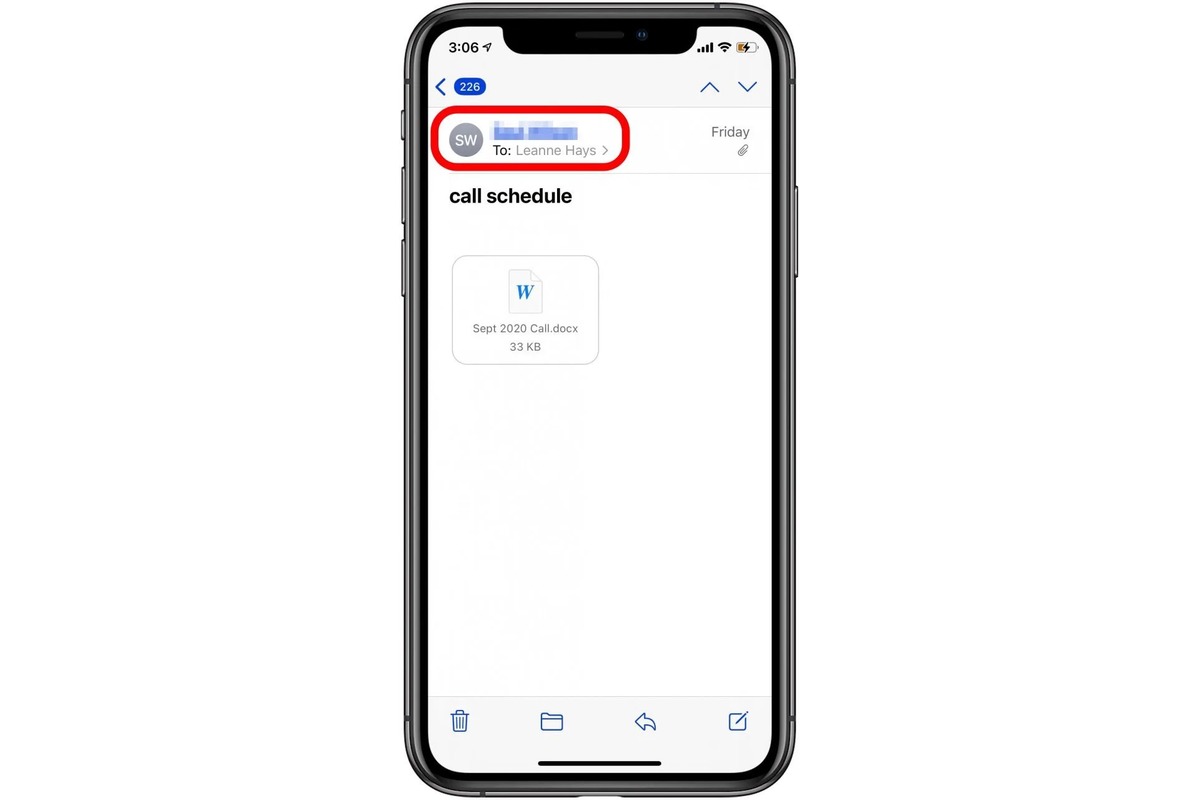
2. Locate the email from the sender you want to block and swipe left on it. This action will reveal a set of options.
3. Tap on the “More” option, represented by three dots. This will bring up a list of additional actions you can take with the email.
4. In the options menu, tap on “Block this Contact.” A confirmation prompt will appear to ensure that you want to block the sender.
5. Confirm your decision by tapping on “Block Contact” in the prompt. The sender will now be blocked, and any future emails from them will be automatically moved to the trash folder.
That’s all there is to it! With just a few simple steps, you can effectively block specific senders from cluttering up your inbox on your iPhone’s Mail app. This feature helps you maintain a clean and organized email experience, allowing you to focus on the messages that matter most.
Blocking Unwanted Emails with Third-Party Apps on iPhone
While the built-in Mail app on your iPhone offers basic email filtering capabilities, sometimes you may need more advanced tools to effectively block unwanted emails. This is where third-party apps come in handy, providing additional features and flexibility to manage and block emails on your iPhone.
There are various third-party email apps available on the App Store that offer advanced filtering options and robust spam blocking features. These apps can help you take control of your inbox and prevent unwanted emails from cluttering your mailbox.
One popular app that you can consider is “Spark.” Spark is known for its powerful email organization features, including the ability to block specific senders or domains. With Spark, you can create custom rules to automatically block certain emails or send them directly to the spam folder.
Another highly-rated app is “Newton Mail” (formerly known as CloudMagic). Newton Mail allows you to block unwanted emails by setting up filters based on specific criteria, such as sender name, subject keywords, or email domains. This app also provides customizable swipe gestures for quick actions, making it easy to block and delete unwanted emails with a single swipe.
Additionally, “Edison Mail” is another popular choice for managing and blocking unwanted emails on iPhone. This app offers a smart unsubscribe feature that helps you easily remove yourself from email lists and block future emails from those senders. It also provides advanced filtering options to automatically categorize and block spam emails.
When using third-party email apps, it’s important to carefully review the app’s features and user reviews to ensure it meets your specific needs. Look for apps that offer robust spam filtering, customizable blocking options, and a user-friendly interface.
Remember to install the chosen third-party app from the App Store and follow the app’s instructions to connect your email accounts. Once set up, you’ll have access to enhanced email blocking capabilities and enjoy a more streamlined and clutter-free inbox on your iPhone.
Managing Email Filters to Block Certain Senders on iPhone
If you find yourself receiving unwanted emails from specific senders on your iPhone, you can take advantage of the email filtering feature to block those senders and keep your inbox clean. With the ability to manage email filters on your iPhone, you can easily set up rules to automatically block certain senders based on criteria such as email address, subject line, or content.
To manage email filters on your iPhone, follow these steps:
- Open the “Settings” app on your iPhone.
- Scroll down and tap on “Mail.”
- Tap on “Blocked” under the “Threading” section.
- Tap on “Add New…” to add a new email filter.
- Enter the email address or domain of the sender you want to block.
- Choose the desired criteria for the filter, such as “From” or “Subject.”
- Tap “Save” to apply the filter and block the sender.
Once you have set up an email filter, any email matching the specified criteria will be automatically blocked and moved to your Junk or Trash folder, depending on your email provider’s settings. This ensures that you won’t have to manually delete unwanted emails or see them in your inbox.
It’s important to note that the effectiveness of email filters may vary depending on your email provider and the sophistication of the sender’s email delivery system. While most legitimate senders will respect your email filter settings, some may find ways to bypass them. In such cases, it’s recommended to mark unwanted emails as spam or report them to your email provider for further action.
To manage your email filters and keep them up to date, it’s a good idea to regularly review your blocked senders list and make necessary adjustments. This will ensure that you are effectively blocking unwanted emails while allowing important emails to reach your inbox.
In conclusion, blocking unwanted emails on your iPhone is a simple and effective way to declutter your inbox and enhance your email experience. Whether you are dealing with spam, promotional emails, or annoying newsletters, the built-in Mail app on your iPhone offers several methods to block and filter unwanted messages.
By utilizing the steps discussed in this article, you can prevent email senders from reaching your inbox, reduce distractions, and ensure that you only receive important and relevant emails. Taking control of your email communication not only saves you time and energy but also safeguards your privacy and security.
Now that you have learned how to block emails on your iPhone, you can enjoy a more streamlined and organized email experience while focusing on what matters most.
FAQs
Here are some frequently asked questions about blocking emails on an iPhone:
Q: Can I block specific email addresses on my iPhone?
A: Yes, you can block specific email addresses on your iPhone. You can do this by adding the email address to your blocked senders list in the Mail settings. This will prevent any emails from that address from appearing in your inbox.
Q: How do I block emails from a certain domain?
A: To block emails from a certain domain on your iPhone, you can create a filter in your Mail settings. This allows you to specify that any email coming from a particular domain should be automatically moved to your Junk or Trash folder.
Q: Is it possible to block all emails from unknown senders?
A: Yes, you can block all emails from unknown senders on your iPhone. In the Mail settings, you can enable the “Filter Unknown Senders” option. Once activated, any email from a sender who is not in your contacts or recent interactions will be automatically sorted into your Unknown Senders folder.
Q: Can I unblock a blocked sender on my iPhone?
A: Yes, you can unblock a sender that you previously blocked on your iPhone. Simply go to your blocked senders list in the Mail settings and remove the email address or domain from the list. Afterward, you will start receiving emails from that sender again.
Q: What happens to blocked emails on my iPhone?
A: When you block an email address or domain on your iPhone, the blocked emails typically go to your Junk or Trash folder, depending on your email settings. You can also choose to completely delete blocked emails so that they don’t take up any storage space.