
Flashing an Android phone is a common practice among tech enthusiasts and those looking to optimize their devices’ performance. This process involves installing a custom ROM or firmware onto the phone, allowing for customization, improved speed, and access to additional features. Whether you’re looking to root your phone, install a different version of Android, or troubleshoot software issues, flashing your Android phone can be a game-changer.
In this comprehensive guide, we’ll explore the steps involved in flashing an Android phone, the benefits of doing so, and some key considerations to keep in mind. We’ll also address common questions and concerns regarding the process. So, if you’re ready to take your Android phone to the next level, let’s dive in!
Inside This Article
- Exploring the Benefits of Flashing an Android Phone
- Preparing Your Android Phone for Flashing
- Methods for Flashing an Android Phone
- Conclusion
- FAQs
Exploring the Benefits of Flashing an Android Phone
Flashing an Android phone is the process of installing a new operating system or firmware onto the device. While it may sound daunting to some, it offers a range of benefits that can greatly enhance your phone’s performance and user experience. Here, we will delve into the advantages of flashing an Android phone and why you should consider doing it.
1. Improved Performance: One of the main benefits of flashing an Android phone is the potential for improved performance. By installing a custom ROM or firmware, you can optimize your phone’s resources, remove bloatware, and enhance the overall speed and responsiveness of your device.
2. Latest Features: Flashing your Android phone allows you to experience the latest features and functionalities that may not be available on the stock operating system. Custom ROMs often come with additional customization options, new UI designs, and updated security patches that can rejuvenate your phone and give it a fresh look and feel.
3. Extended Battery Life: Flashing your Android phone can also help prolong its battery life. Custom ROMs often come with power-saving features and tweaks that can optimize the device’s power consumption. By flashing a ROM that focuses on efficiency, you can potentially extend your phone’s battery life and enjoy more usage time between charges.
4. Increased Customization: If you’re someone who loves to personalize every aspect of your phone, flashing can open up a world of customization possibilities. Custom ROMs offer a wide range of themes, icon packs, fonts, and other customization options that allow you to tailor your Android phone to match your unique style and preferences.
5. Enhanced Security: Flashing an Android phone with a custom ROM can provide an added layer of security. Custom ROMs often receive timely updates and security patches, which can protect your device from potential vulnerabilities in the stock operating system. Additionally, you can have more control over app permissions and privacy settings, further safeguarding your personal information.
Before proceeding with flashing your Android phone, it’s important to note that the process may void your warranty and should be done with caution. Make sure to research and choose a reliable custom ROM or firmware that is compatible with your specific device model.
Preparing Your Android Phone for Flashing
Before you begin the process of flashing your Android phone, it is essential to properly prepare it to ensure a smooth and successful flashing experience. Here are a few crucial steps to take:
1. Back up your data: Flashing your Android phone will erase all the data stored in it. To avoid losing important files, photos, contacts, and other data, it is vital to create a backup. You can use a cloud storage service, such as Google Drive or Dropbox, or transfer the data to a computer or external storage device.
2. Charge your phone: Ensure your phone has a sufficient battery charge before starting the flashing process. A low battery level could disrupt the process or even lead to a bricked device. It is recommended to have at least a 50% charge to prevent any power-related issues.
3. Enable USB debugging: To establish a connection between your computer and Android phone during the flashing process, you need to enable USB debugging. This option can be found in the developer options menu on your phone. If you don’t see the developer options, go to Settings > About phone and tap on the build number several times until it unlocks.
4. Install necessary drivers: Ensure that you have the necessary USB drivers installed on your computer to recognize your Android phone. Most manufacturers provide the drivers on their official websites. Download and install the appropriate drivers for your device model.
5. Check for firmware compatibility: Before flashing your Android phone, make sure you are using the correct firmware that is compatible with your device model and variant. Using incompatible firmware can potentially lead to system errors or even damage your phone. Verify the firmware details from the manufacturer’s website or reputable sources.
6. Disable antivirus software: Antivirus software can sometimes interfere with the flashing process by detecting it as a potential threat. Temporarily disable or exclude the flashing software from your antivirus program to avoid any interruptions or false alarms.
By following these steps and properly preparing your Android phone, you can significantly increase the chances of a successful flashing process. Remember, flashing your phone carries certain risks, so proceed with caution and ensure you understand the process before proceeding.
Methods for Flashing an Android Phone
Flashing an Android phone refers to the process of installing a new operating system (OS) on your device. This can be done to update the existing OS, fix software issues, or even customize your phone with a different firmware. There are several methods available for flashing an Android phone, each with its own set of advantages and considerations. Let’s explore some of the popular methods below:
1. Official Firmware Updates: One of the easiest ways to flash an Android phone is by using official firmware updates. These updates are provided directly by the phone manufacturer and are designed to improve performance, security, and add new features. To flash your Android phone with an official firmware update, you’ll typically need to download the update file from the manufacturer’s website and follow the provided instructions.
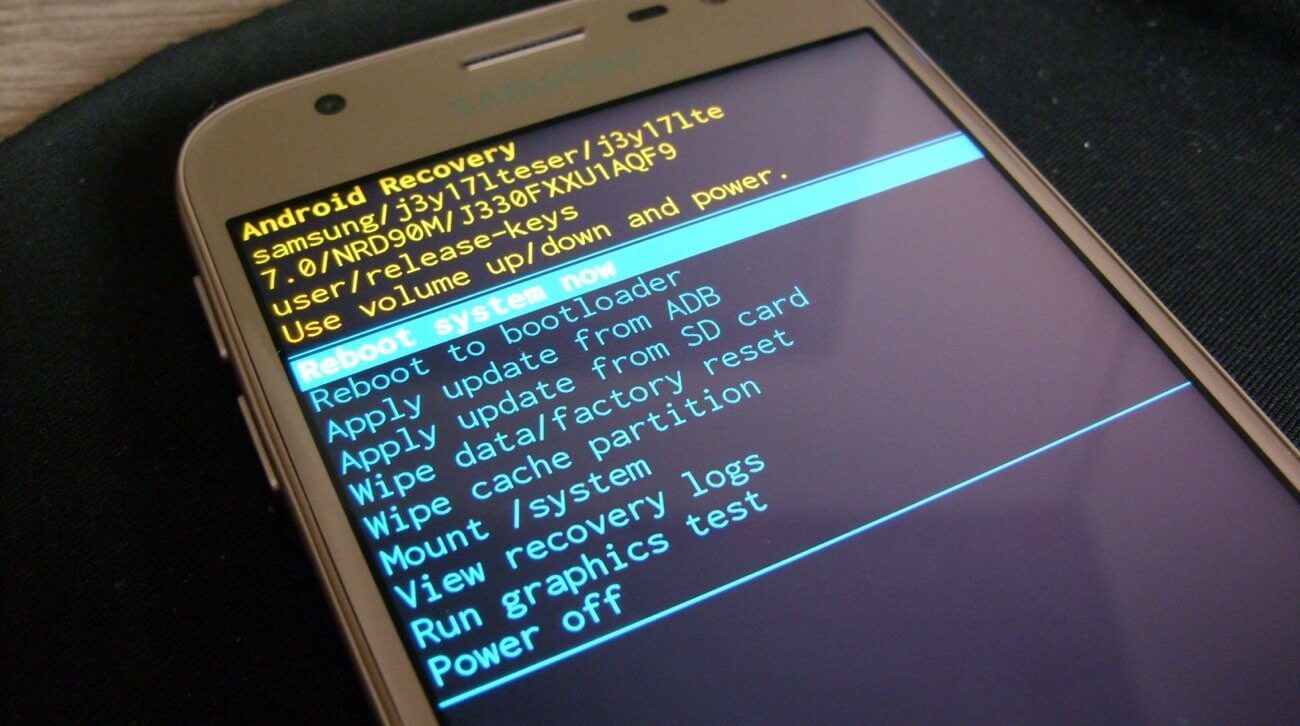
2. Custom Recovery: Another popular method for flashing an Android phone is by using a custom recovery like TWRP (Team Win Recovery Project). Custom recoveries allow you to install custom ROMs, kernels, and other modifications. To use a custom recovery, you’ll first need to unlock your phone’s bootloader. Once the bootloader is unlocked, you can flash a custom recovery using tools like Fastboot or Odin. From there, you can install custom ROMs or other modifications of your choice.
3. Third-Party Tools: There are several third-party tools available that simplify the process of flashing an Android phone. One example is Odin, which is commonly used for Samsung devices. These tools typically require you to connect your phone to a computer and follow the provided instructions to flash the desired firmware or ROM. It’s important to do thorough research and ensure that the tool you choose is reliable and compatible with your specific phone model.
4. Over-The-Air (OTA) Updates: Many Android phones receive software updates over-the-air directly from the phone manufacturer or cellular carrier. These updates can include bug fixes, security patches, and even major OS updates. To check for OTA updates, go to your phone’s Settings menu, navigate to the “System” or “Software Update” section, and select “Check for Updates.” If an update is available, follow the on-screen instructions to download and install it.
5. Rooting and Custom ROMs: Rooting your Android phone gives you administrative access and allows you to flash custom ROMs, which are modified versions of the Android OS. By installing a custom ROM, you can unlock additional features, enhance performance, and customize the look and feel of your phone. Rooting and flashing custom ROMs should be approached with caution, as it can void your warranty and potentially cause issues if not done correctly. It’s crucial to research and follow reliable tutorials and use reputable sources for custom ROMs.
6. Manufacturer-Specific Tools: Some phone manufacturers provide their own tools for flashing devices. For example, Xiaomi has the Mi Flash Tool, while Huawei has the HiSuite program. These tools are specifically designed for their respective brands and often provide a more streamlined and reliable flashing process. If your Android phone is from a specific manufacturer, check their official website or support forums for any dedicated tools or software.
Remember, before attempting to flash your Android phone using any method, it’s essential to back up your data. Flashing can potentially erase all data on your phone, so make sure to create a backup of important files, contacts, and any other data you don’t want to lose. Additionally, ensure that you are following the appropriate instructions for your specific phone model and firmware version.
Now that you are familiar with some of the methods for flashing an Android phone, you can choose the one that best suits your needs and preferences. Whether you want to update your phone to the latest OS or explore the world of custom ROMs, flashing can provide you with a new and exciting experience on your Android device.
Mobile phone technology is constantly evolving, and being able to flash an Android phone is a valuable skill to have. Whether you’re looking to upgrade your device, solve software issues, or customize your phone with a different firmware, knowing how to flash your Android phone can be a game-changer.
In this article, we have covered the basics of flashing an Android phone, including the steps involved and precautions to take. We emphasized the importance of backing up your data and following the instructions carefully to avoid any potential risks.
Remember, flashing your Android phone should only be done if you have a clear understanding of the process and are confident in your abilities. If you’re unsure, it’s best to seek professional help to avoid any mishaps.
With the knowledge you have gained from this article, you are now equipped to make informed decisions when it comes to flashing your Android phone. Stay up to date with the latest trends and innovations in the mobile phone industry, as technology continues to bring us exciting new possibilities.
FAQs
-
What is flashing an Android phone?
Flashing an Android phone refers to the process of installing a new operating system, commonly known as a firmware or ROM, onto the device. This allows users to upgrade to a newer version of Android, customize their phone’s software, or resolve issues with the current system. -
Why would I need to flash my Android phone?
There are several reasons why you may want to flash your Android phone. Some common reasons include:- Upgrading to a newer version of Android with enhanced features and security patches.
- Removing bloatware or unwanted pre-installed apps that can’t be uninstalled normally.
- Resolving software issues like frequent freezing, crashing, or boot loops.
- Customizing your phone’s software with a custom ROM to change the look and feel.
-
Is it safe to flash my Android phone?
Flashing your Android phone can have risks if not done correctly. It’s essential to follow a reliable and trusted flashing guide specific to your phone model. Failure to follow proper instructions or using incompatible firmware can result in bricking your device, rendering it unusable. Ensure you have a backup of your important data before proceeding and only attempt flashing if you are confident in your technical skills. -
How do I flash my Android phone?
Flashing an Android phone involves several steps, which may vary depending on your phone model and the desired firmware. However, the general process involves:- Unlocking the bootloader of your phone (if required).
- Downloading the appropriate firmware for your phone model.
- Using specialized software or tools to flash the firmware onto your phone.
- Following the on-screen instructions and waiting for the process to complete.
- Rebooting your phone and setting up the newly flashed firmware.
It is important to consult reliable sources and guides specific to your phone model to ensure a successful flashing process.
-
Can I revert back to the original firmware after flashing?
In most cases, it is possible to revert back to the original firmware after flashing your Android phone. Many devices provide official firmware downloads that can be used to restore the original software. However, it is crucial to note that the process may vary depending on the phone model and the specific firmware you used for flashing. It’s recommended to research and follow the appropriate steps to ensure a safe and successful firmware restoration process.