
Welcome to this comprehensive guide on how to make a podcast on iPhone! In this era of digital content, podcasts have become increasingly popular and have emerged as a powerful medium for sharing stories, knowledge, and entertainment. If you own an iPhone, you have all the tools you need right at your fingertips to create and publish your own podcast.
In this article, we will walk you through the process step by step, from planning your podcast concept to recording, editing, and finally publishing it for the world to hear. Whether you’re a seasoned podcaster or a complete beginner, this guide will provide you with all the information you need to get started on your podcasting journey.
So, grab your iPhone and let’s dive into the exciting world of podcasting, where your voice can reach millions of listeners around the globe!
Inside This Article
- Choosing a podcasting app
- Recording your podcast
- Editing and Enhancing Your Audio
- Publishing and promoting your podcast
- Conclusion
- FAQs
Choosing a podcasting app
When it comes to starting your own podcast on your iPhone, one of the first decisions you need to make is which podcasting app to use. With a wide range of options available, it’s important to choose an app that suits your needs and offers the features you require to create and distribute your podcast. Here are some factors to consider when making your decision:
User-Friendly Interface: Look for a podcasting app that has an intuitive and user-friendly interface. This will make it easier for you to navigate through the app and manage your podcasting tasks efficiently.
Recording Options: Consider the recording options offered by the app. Check if it allows you to record audio directly on your iPhone, provides different recording modes like interviews or solo recordings, and offers the ability to adjust microphone settings for optimal sound quality.
Editing Capabilities: A podcasting app with built-in editing capabilities can be invaluable. Look for features like trimming, cutting, and merging audio clips, as well as adding background music or sound effects to enhance the overall quality of your podcast.
Quality of Sound: Pay attention to the sound quality the app offers. It should have options to adjust audio levels, reduce background noise, and provide equalization controls to improve the listening experience for your audience.
Auto-Distribution: Consider whether the app offers automatic distribution to major podcasting platforms such as Apple Podcasts, Spotify, and Google Podcasts. This feature can save you time and effort by simplifying the process of getting your podcast out to a wider audience.
Analytics and Insights: Having access to analytics and insights can be essential in understanding how your podcast is performing. Look for an app that provides detailed information about your listeners, download numbers, and engagement metrics to help you improve your content over time.
Customization Options: Consider if the app allows you to customize your podcast’s branding by adding artwork, show descriptions, or episode titles. Customization options can help you create a unique and professional-looking podcast that aligns with your brand or personal style.
Support and Community: It can be beneficial to choose a podcasting app that offers excellent customer support and has an active community of podcasters. This way, you can easily get help if you encounter any issues or connect with like-minded individuals who can offer valuable insights and support.
By considering these factors and conducting research on different podcasting apps available for your iPhone, you’ll be able to make an informed decision and choose the app that best meets your podcasting needs. Remember, finding the right app is an important step towards creating a successful and engaging podcast.
Recording your podcast
Once you have decided on the content and format of your podcast, it’s time to start the recording process. Fortunately, iPhones make it incredibly easy to record high-quality audio right from your device. Here are the steps to get started:
1. Find a quiet location: Choose a quiet room or space where you won’t be disturbed. This will help ensure that your audio is clear and free from background noise.
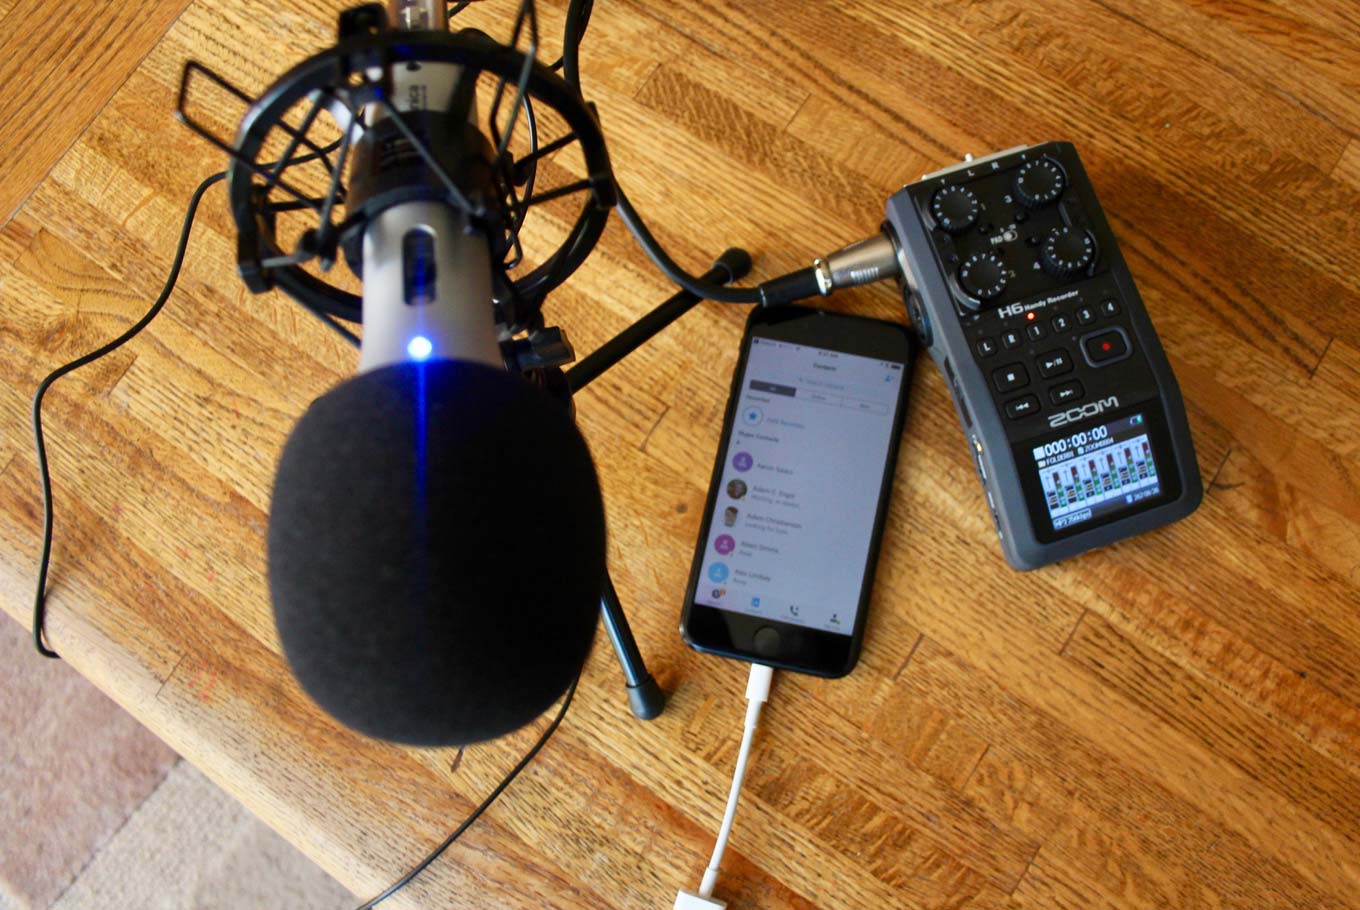
2. Use a microphone: While iPhones have built-in microphones, using an external microphone can greatly improve the audio quality of your podcast. There are various options available, from lavalier microphones to USB microphones that can be connected directly to your iPhone.
3. Launch the Voice Memos app: The Voice Memos app comes preinstalled on all iPhones and is a simple and convenient way to record audio. Locate the app on your home screen and tap to open it.
4. Position the microphone: If you are using an external microphone, make sure it is properly connected to your iPhone. Place it in a position that captures your voice clearly and comfortably.
5. Start recording: Tap the red record button in the Voice Memos app to begin recording. Speak clearly into the microphone and start your podcast episode.
6. Monitor your audio levels: Keep an eye on the audio levels displayed on the screen to ensure that your recording is neither too soft nor distorted. Adjust the microphone’s distance or the input level if necessary.
7. Pause and resume as needed: If you need to take a break or pause during your recording, simply tap the pause button within the Voice Memos app. You can resume recording by tapping the record button again.
8. End the recording: When you have finished recording your podcast episode, tap the stop button within the Voice Memos app. Your recording will be saved automatically.
9. Review and edit your recording: Before moving on to the next step, take the time to listen back to your recording. If you are satisfied with the quality and content, you can proceed to the editing stage. Otherwise, you may want to consider re-recording.
Remember, practice makes perfect, so don’t be afraid to experiment with different recording techniques and settings to find what works best for you. With your recording complete, you’re one step closer to sharing your podcast with the world.
Editing and Enhancing Your Audio
Once you have recorded your podcast, the next step is to edit and enhance the audio to make it sound professional and engaging. By following a few simple tips and using the right tools, you can transform your raw recording into a polished podcast that captivates your audience. Here are some steps to help you with the editing and enhancing process:
1. Organize Your Audio Files: Before diving into the editing process, it’s important to organize your audio files. Create a dedicated folder for your podcast episodes and label them appropriately for easy access.
2. Choose the Right Editing Software: There are several editing software options available for iPhone users, such as GarageBand, Adobe Audition, and Ferrite Recording Studio. Choose the one that suits your needs and download it from the App Store.
3. Trim the Unwanted Parts: Listen to your recording and identify any sections that are irrelevant or contain mistakes. Use the editing software to trim these unwanted parts and create a clean and concise podcast episode.
4. Adjust the Volume Levels: Ensure that the volume levels throughout your podcast episode are consistent. Use the software’s audio editing tools to adjust the volume of different sections or individual tracks if necessary.
5. Remove Background Noise: Background noise can distract listeners and make your podcast sound unprofessional. Use the software’s noise reduction features to eliminate any unwanted background sounds and improve the overall audio quality.
6. Add Music and Sound Effects: To enhance the listening experience, consider adding background music or sound effects to your podcast. You can browse through the software’s library or import your own audio files to customize the episode’s ambiance.
7. Apply EQ and Filters: Equalization (EQ) and filters can help you fine-tune the audio and make it sound more balanced and polished. Experiment with different settings to improve the clarity and overall quality of your podcast.
8. Include Intros and Outros: Create a professional feel by adding intros and outros to your podcast episodes. These can be short segments that introduce and conclude your show, leaving a lasting impression on your audience.
9. Incorporate Transitions: Smooth transitions between different segments or topics within your podcast can enhance the flow and maintain the listener’s interest. Use fade-ins, fade-outs, or crossfades to create seamless transitions.
10. Prooflisten and Make Final Adjustments: Once you complete the editing process, listen to your entire podcast episode from start to finish. Take note of any remaining issues or improvements, make the necessary adjustments, and ensure the final audio is flawless.
By following these steps and incorporating a touch of creativity, you can elevate your podcast’s audio quality and create an engaging listening experience that keeps your audience coming back for more.
Publishing and promoting your podcast
Once you have recorded and edited your podcast, it’s time to share your masterpiece with the world. Here are some steps to help you publish and promote your podcast:
1. Choose a podcast hosting platform: Before you can share your podcast, you need to host it on a platform. There are numerous podcast hosting platforms available, such as Libsyn, Podbean, and Anchor. Evaluate the features and pricing of different platforms to find the one that best suits your needs.
2. Upload your podcast episodes: After signing up for a podcast hosting platform, you will have access to an interface where you can upload your podcast episodes. Prepare your audio files and add relevant information, such as episode titles, descriptions, and artwork. This information will be displayed to listeners on podcast directories.
3. Submit your podcast to directories: To reach a wider audience, submit your podcast to popular directories like Apple Podcasts, Spotify, Google Podcasts, and Stitcher. These directories categorize podcasts and allow users to discover and subscribe to them. Follow the submission guidelines provided by each directory to ensure your podcast is approved and made available to listeners.
4. Optimize your podcast description and tags: When submitting your podcast to directories, make sure to optimize the description and tags. Use relevant keywords that accurately reflect your podcast’s content to improve its visibility in search results. Craft a concise and engaging description that entices potential listeners to click and give your podcast a try.
5. Create a website or landing page: Having a website or landing page dedicated to your podcast can further enhance your visibility and brand. You can include additional information about your episodes, show notes, and even a blog section to engage with your listeners. Ensure that your website is visually appealing and mobile-friendly to provide a seamless user experience.
6. Promote on social media: Leverage the power of social media to promote your podcast. Create accounts on platforms like Twitter, Facebook, Instagram, and LinkedIn, and consistently share updates, episode releases, behind-the-scenes content, and engaging teasers. Engage with your audience, respond to comments, and participate in relevant online communities to build your podcast’s following.
7. Collaborate with other podcasters: Partnering with other podcasters in your niche can help you reach a wider audience. Consider collaborating on crossover episodes, guest appearances, or even hosting joint events. By tapping into each other’s audiences, you can mutually benefit and grow your listener base.
8. Ask for reviews and ratings: Positive reviews and high ratings can significantly boost your podcast’s visibility and credibility. Encourage your listeners to leave reviews and ratings on podcast directories and platforms like Apple Podcasts. Ask for feedback and testimonials from your audience to showcase social proof and attract new listeners.
9. Engage with your listeners: Building a loyal community around your podcast is crucial for its long-term success. Interact with your listeners through comments, emails, social media messages, or even live Q&A sessions. Show genuine interest in their feedback, suggestions, and questions to create a sense of connection and foster listener loyalty.
10. Monitor analytics and adapt: Regularly monitor podcast analytics to gain insights into your audience’s behavior and preferences. Analyze episode performance, listener demographics, and engagement metrics. Use this information to tweak and improve your podcasting strategy, content, and promotional efforts for better results.
By following these steps, you can successfully publish and promote your podcast, reaching a wider audience and growing your podcast’s popularity.
In conclusion, creating a podcast on your iPhone is an accessible and straightforward process. With the right tools, such as a quality microphone and audio editing software, you can produce professional-quality podcasts right from the palm of your hand. The iPhone offers a range of applications specifically designed for podcasting, making it easier than ever to record, edit, and publish your content. Whether you’re a seasoned podcaster or just starting out, the convenience and versatility of the iPhone make it a popular choice for podcast creation. So grab your iPhone, unleash your creativity, and start sharing your unique voice and ideas with the world through the power of podcasting!
FAQs
1. Can I make a podcast on my iPhone?
Yes, you can make a podcast on your iPhone. Apple offers a range of built-in apps and third-party applications that allow you to easily record, edit, and publish your own podcasts directly from your iPhone.
2. What app can I use to record a podcast on my iPhone?
There are several apps available for recording podcasts on your iPhone. Some popular options include GarageBand, Anchor, and Spreaker Studio. These apps provide intuitive interfaces and powerful tools to help you record high-quality audio for your podcast.
3. Can I edit my podcast on my iPhone?
Absolutely! Many podcast editing apps are available for iPhone users. Some notable options include GarageBand, Ferrite Recording Studio, and Hindenburg Journalist. These apps offer a variety of editing features such as trimming, adding effects, adjusting levels, and more.
4. How can I publish my podcast from my iPhone?
To publish your podcast from your iPhone, you can use podcast hosting platforms like Anchor, Spreaker, or Libsyn. These platforms allow you to upload your podcast episodes, add show notes, and distribute your podcast to popular podcast directories like Apple Podcasts, Spotify, and Google Podcasts.
5. Is it possible to monetize my podcast on my iPhone?
Yes, it is possible to monetize your podcast on your iPhone. Podcast hosting platforms like Anchor offer monetization options such as sponsorships and listener donations. Additionally, you can explore partnerships with brands, affiliate marketing, and merchandise sales to generate revenue from your podcast.