
In this digital era, cell phones have become an indispensable part of our lives. With the ever-growing need for storage space, many users opt for SD cards to expand the memory capacity of their phones. If you’re wondering how to move your SD card to your phone, you’ve come to the right place! In this article, we will guide you through the process of transferring your SD card to your phone, step by step. Whether you want to move your photos, videos, or other files, we’ve got you covered. So, let’s dive into the world of SD cards and learn how to seamlessly integrate them into your mobile phone for a smoother and more efficient user experience.
Inside This Article
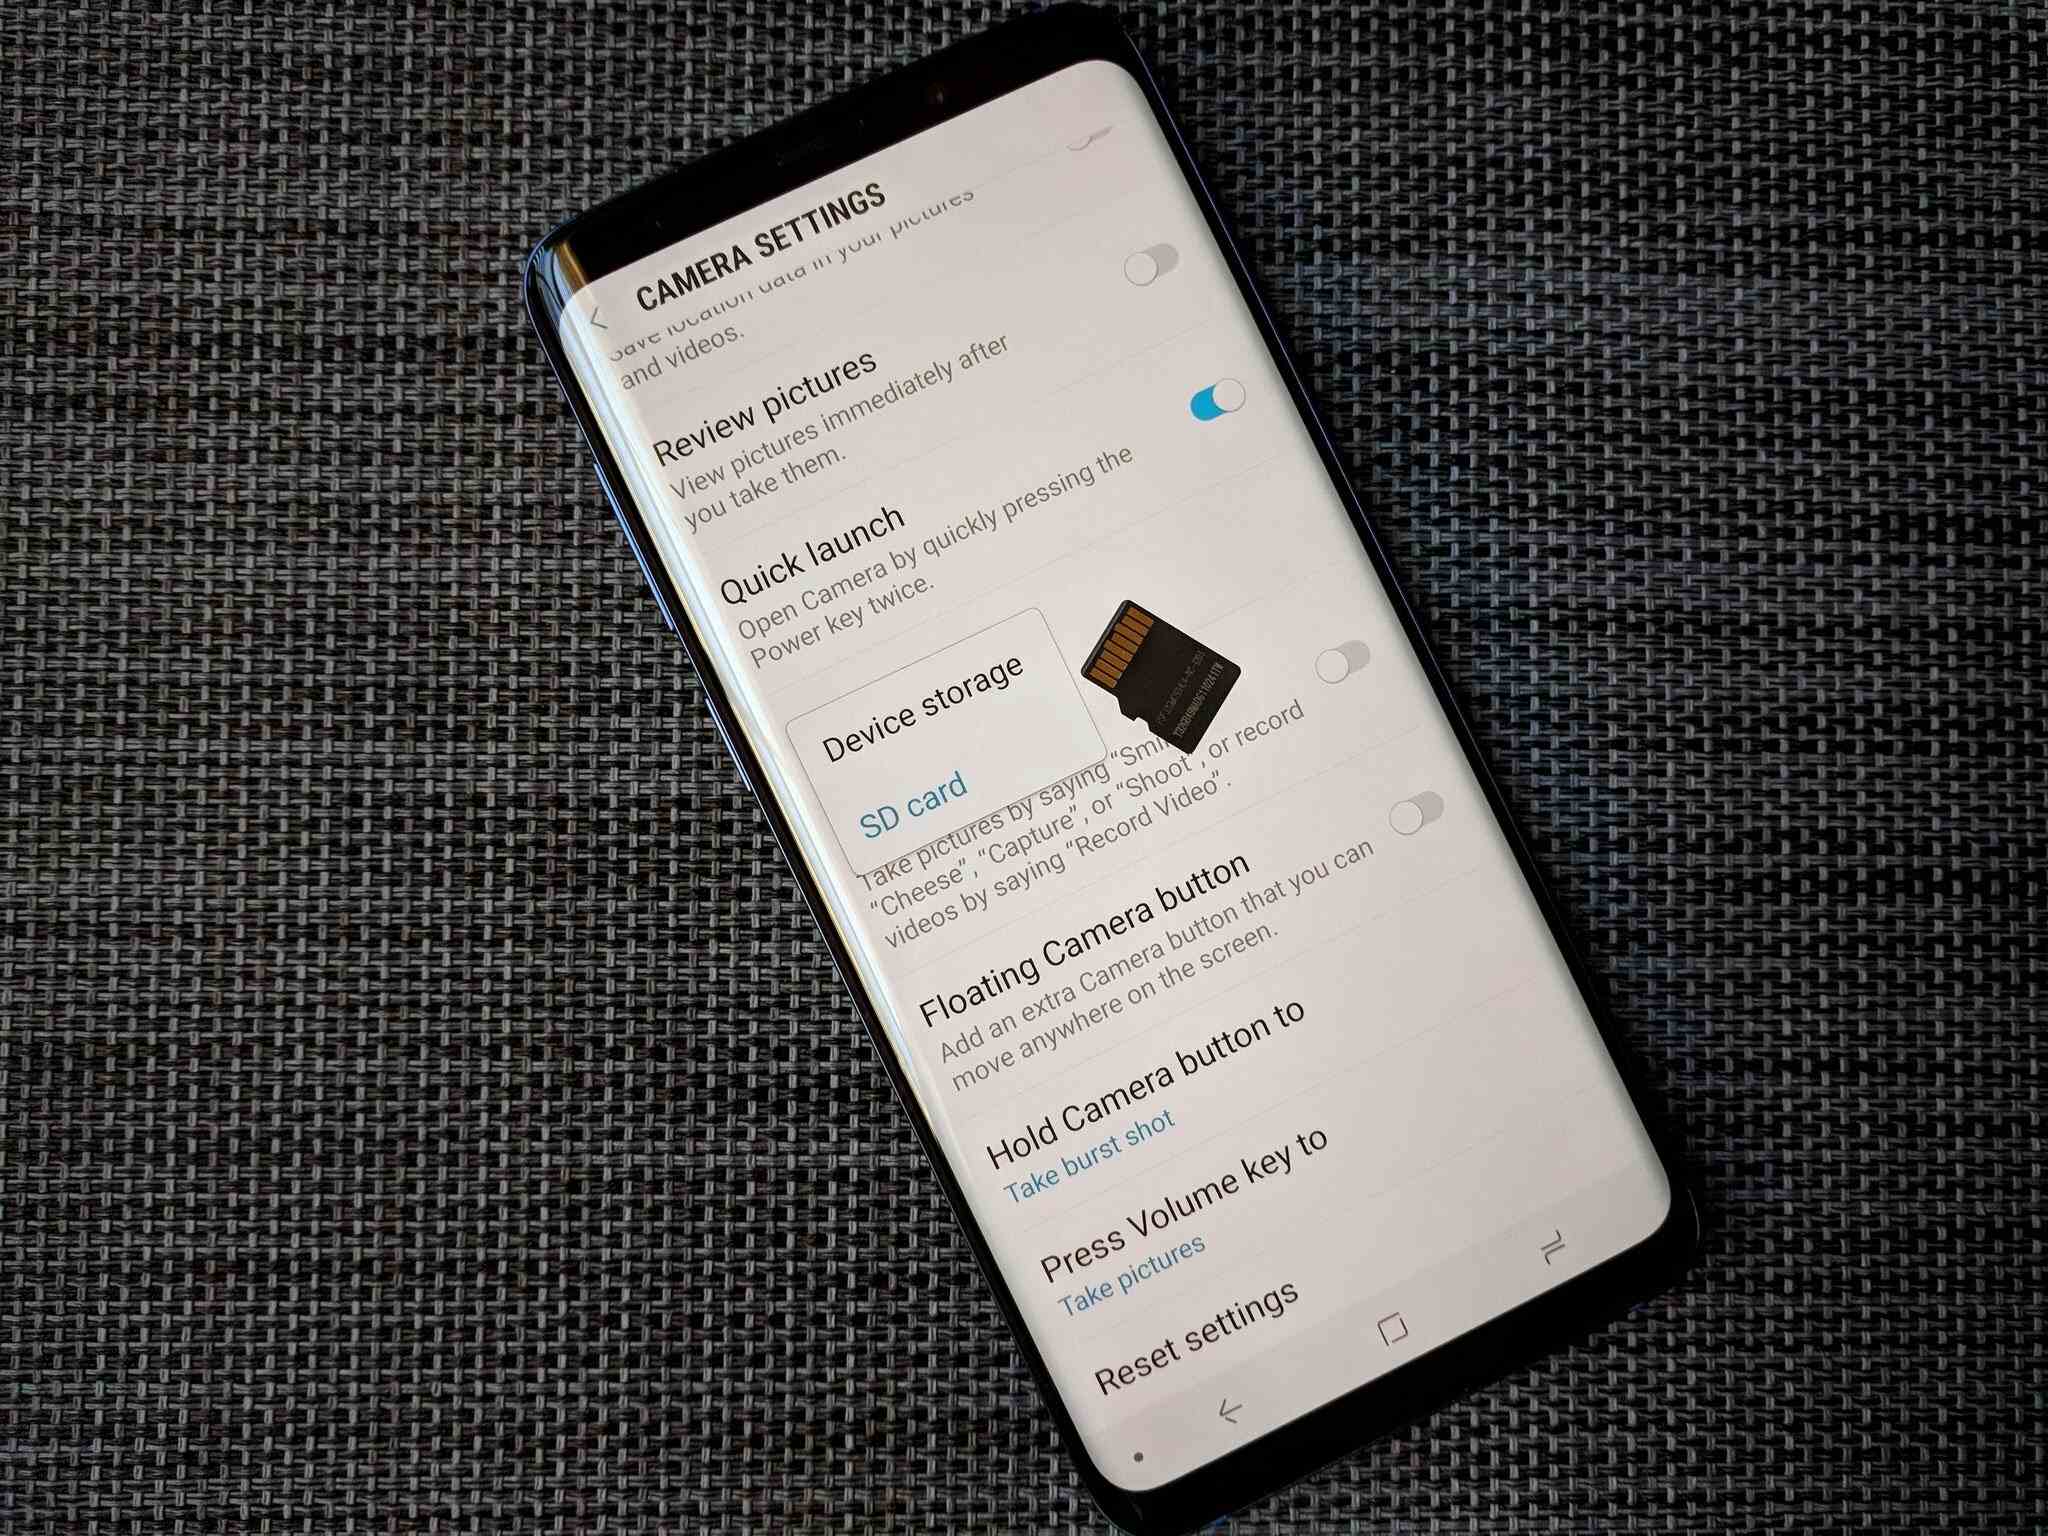
- Preparing to Move SD Card to Phone
- Method 1: Inserting the SD Card into the Phone
- Method 2: Transferring Data from SD Card to Phone
- Method 3: Formatting the SD Card for Phone Compatibility
- Conclusion
- FAQs
Preparing to Move SD Card to Phone
If you’re looking to move your SD card to your phone, there are a few things you’ll need to do beforehand to ensure a smooth transition. Follow these steps to prepare your SD card for the move:
1. Back up your SD card: Before you begin, make sure to back up all the data on your SD card. This is crucial to prevent any loss of important files. You can do this by connecting your SD card to a computer and copying the files to a safe location.
2. Check compatibility: Ensure that your phone is compatible with the type of SD card you have. Most modern smartphones support micro SD cards, but it’s always a good idea to double-check the specifications of your device to avoid any compatibility issues.
3. Remove the SD card: If your SD card is currently inserted in another device, such as a camera or tablet, safely remove it before transferring it to your phone. This will prevent any data corruption or damage to the card.
4. Power off your phone: Before inserting the SD card, power off your phone completely. This step ensures that the card is inserted and detected correctly when you power on your phone again.
5. Locate the SD card slot: Depending on the make and model of your phone, the SD card slot may be located on the side of the device or under the back cover. Refer to your phone’s user manual or manufacturer’s website to find the exact location of the SD card slot.
6. Gather necessary tools: To safely insert the SD card into your phone, you may need a SIM card removal tool or a small paperclip to open the SIM card tray. Make sure to have these tools handy before proceeding.
By following these steps and preparing your SD card properly, you’ll be ready to move it to your phone seamlessly.
Method 1: Inserting the SD Card into the Phone
If you want to move your SD card to your phone, the first method is to simply insert the SD card into the designated slot. Most smartphones and tablets have a dedicated slot for an SD card, usually located on the side of the device or underneath the back cover.
To start, power off your phone completely. This will help prevent any damage to the card or data corruption during the insertion process. Once your phone is powered off, locate the SD card slot. It’s usually labeled or indicated by a small icon.
Using a SIM card eject tool, a paperclip, or a small pin, gently insert it into the hole located on or around the SD card slot. Applying a small amount of pressure should release the tray or slot, allowing you to access it.
After the tray or slot is released, carefully remove the tray using your fingers or the eject tool. Place the SD card into the tray, making sure it fits properly and is aligned with the contacts in the slot. Be cautious not to force it into place, as this may cause damage to the card or the slot.
Once the SD card is securely inserted, push the tray back into the slot until it clicks into place. This ensures a snug fit and proper connection. Power on your device, and it should recognize the SD card. You can then access the data on the SD card through your phone’s file explorer or settings menu.
It’s important to note that some phones may require you to format the SD card before using it. If this is the case, follow the instructions provided by your phone to format the card. Formatting erases all data on the card, so make sure to back up any important files before proceeding.
With the SD card properly inserted and recognized by your phone, you can now enjoy the benefits of expanded storage and easily access your files, photos, and videos without relying solely on your device’s internal memory.
Method 2: Transferring Data from SD Card to Phone
Transferring data from your SD card to your phone can be a straightforward process, allowing you to access all your files and media directly on the device. Here are the steps to follow:
1. Insert the SD card into your phone: Locate the SIM card tray on your phone and open it using the provided tool or a small pin. Depending on the device, the tray may have separate slots for the SIM card and the SD card. Carefully insert the SD card into the designated slot.
2. Access the file manager: Once the SD card is inserted, navigate to the file manager app on your phone. This app is typically preinstalled, but you can also download a file manager from the app store if you don’t have one.
3. Locate the SD card: In the file manager, look for an option that allows you to access external storage or SD card. Tap on it to open the contents of the SD card on your device.
4. Select and copy the files: Browse through the SD card folders to find the files you want to transfer. You can select individual files or folders by long-pressing on them. Once selected, tap on the copy or move option from the file manager’s menu.
5. Choose the destination folder: After selecting the files, choose the folder on your phone where you want to transfer them. It could be the device’s internal storage or a specific folder such as “Pictures” or “Music.” Tap on the folder to open it.
6. Paste the files: In the destination folder, tap on the paste option in the file manager’s menu. The selected files will now be copied or moved from the SD card to your phone’s internal storage.
7. Wait for the transfer to complete: Depending on the size and quantity of the files, the transfer process may take a few moments. Ensure that you have enough battery and a stable connection during the transfer.
8. Confirm the transfer: Once the transfer is complete, go back to the destination folder and check if the files have been successfully transferred. You can also go to the respective apps like Gallery or Music to verify if the media files are accessible.
That’s it! You have successfully transferred data from your SD card to your phone. Now you can enjoy your files and media without the need for an external storage device.
Method 3: Formatting the SD Card for Phone Compatibility
If you have an SD card that is not compatible with your phone, you can format it to make it compatible. Formatting the SD card will erase all the data on it, so make sure to back up any important files before proceeding with the formatting process.
Formatting an SD card for phone compatibility is a relatively simple process. Here’s a step-by-step guide to help you:
- Step 1: Insert the SD Card
- Step 2: Access the Settings
- Step 3: Find the Storage Option
- Step 4: Select the SD Card
- Step 5: Format the SD Card
- Step 6: Confirm the Formatting
- Step 7: Wait for the Formatting to Complete
- Step 8: Formatting Complete
- Step 9: Start Using the SD Card
Insert the SD card into your phone’s SD card slot. You may need to power off your phone before doing so.
Go to your phone’s settings menu. The location of the settings may vary depending on the device, but it’s usually represented by a gear icon.
Look for the option related to storage or memory. It may be labeled as “Storage,” “Memory,” or “SD Card.”
Tap on the option that corresponds to the SD card. If you have multiple storage options, make sure to choose the correct one.
In the SD card settings, you should see an option to format the card. Tap on it to initiate the formatting process. Keep in mind that this will erase all the data on the SD card, so make sure to back up any important files beforehand.
You will be prompted with a warning message indicating that all data on the SD card will be deleted. Confirm your decision to proceed with the formatting process.
Depending on the size of the SD card and your phone’s processing speed, the formatting process may take a few minutes. Be patient and avoid interrupting the process.
Once the formatting process is complete, you will receive a notification or see a message indicating that the SD card has been formatted successfully.
Now that your SD card has been formatted for phone compatibility, you can start using it in your phone. You may need to restart your device for the changes to take effect.
Formatting an SD card for phone compatibility can help ensure smooth performance and compatibility between your phone and the storage device. Remember to always back up your important files before formatting, as the process will erase all the data on the SD card. Follow these steps carefully and enjoy using your SD card in your phone!
In conclusion, the process of moving an SD card to a phone is relatively straightforward and can greatly enhance the storage capacity and functionality of your mobile device. By following the steps outlined in this article, you can seamlessly transfer your data from the SD card to your phone and enjoy the convenience of having your files, photos, and apps readily accessible.
Remember, before you begin the process, it is important to back up your data and ensure compatibility between your SD card and phone. Additionally, be mindful of any security measures that may need to be taken, such as encrypting sensitive files or protecting your device with a passcode.
So, don’t let limited storage space hinder your mobile experience. Get started now and maximize the potential of your phone by moving your SD card to your device.
FAQs
1. Can I move an SD card from one phone to another?
Yes, you can easily move an SD card from one phone to another. Just make sure both phones have SD card slots or support external storage. However, keep in mind that the file system might be different on each phone, so some files or data may not be compatible or accessible on the new device.
2. How do I move my SD card to my phone?
To move the SD card to your phone, follow these steps:
– Turn off your phone.
– Locate the SD card slot on your phone, usually found on the side or back of the device.
– Use a SIM card removal tool or a paper clip to gently eject the SD card tray or slot cover.
– Insert the SD card into the slot, making sure it fits securely.
– Close the SD card tray or slot cover.
– Turn on your phone and wait for it to recognize the SD card.
– You may need to format the SD card if it’s a new or different card than the one previously used in your phone.
– To format the SD card, go to the device settings, navigate to Storage or Memory, and select Format SD card.
3. Can I transfer apps to my SD card?
Yes, you can transfer certain apps to your SD card, depending on your phone’s operating system and software version. Not all apps are eligible for transfer, as some require to be installed on the internal storage for proper functioning. To check if an app can be moved to the SD card, go to your phone’s settings, navigate to Apps or Application Manager, select the desired app, and check if there is an option to “Move to SD card”.
4. What should I do before removing the SD card from my phone?
Before removing the SD card from your phone, it is important to take certain precautions:
– Back up your data: Ensure you have a recent backup of all the files, photos, videos, or documents stored on the SD card. You can either transfer them to your computer or upload them to a cloud storage service for safekeeping.
– Unmount the SD card: Safely eject or unmount the SD card from your phone before physically removing it. This will prevent data corruption or loss.
– Power off your phone: Turn off your phone completely before removing the SD card to avoid any damage or potential data loss.
5. What should I do if my phone doesn’t recognize the moved SD card?
If your phone doesn’t recognize the moved SD card, try the following steps:
– Restart your phone: Sometimes a simple restart can resolve recognition issues.
– Check the SD card connection: Ensure that the SD card is properly inserted into the slot and is securely placed.
– Verify compatibility: Make sure the SD card is compatible with your phone and supports the required file system and storage capacity. Some older devices may have limitations on the maximum size of the SD card they can recognize.
– Format the SD card: If the SD card was previously used on a different phone or has storage compatibility issues, formatting it can help establish a connection with your current device. However, formatting will delete all data on the card, so make sure to back it up first.
– Test the SD card on another device: If the problem persists, try inserting the SD card into a different phone or a computer’s card reader to check if it functions correctly. This will help determine if the issue lies with the SD card or the phone itself.