
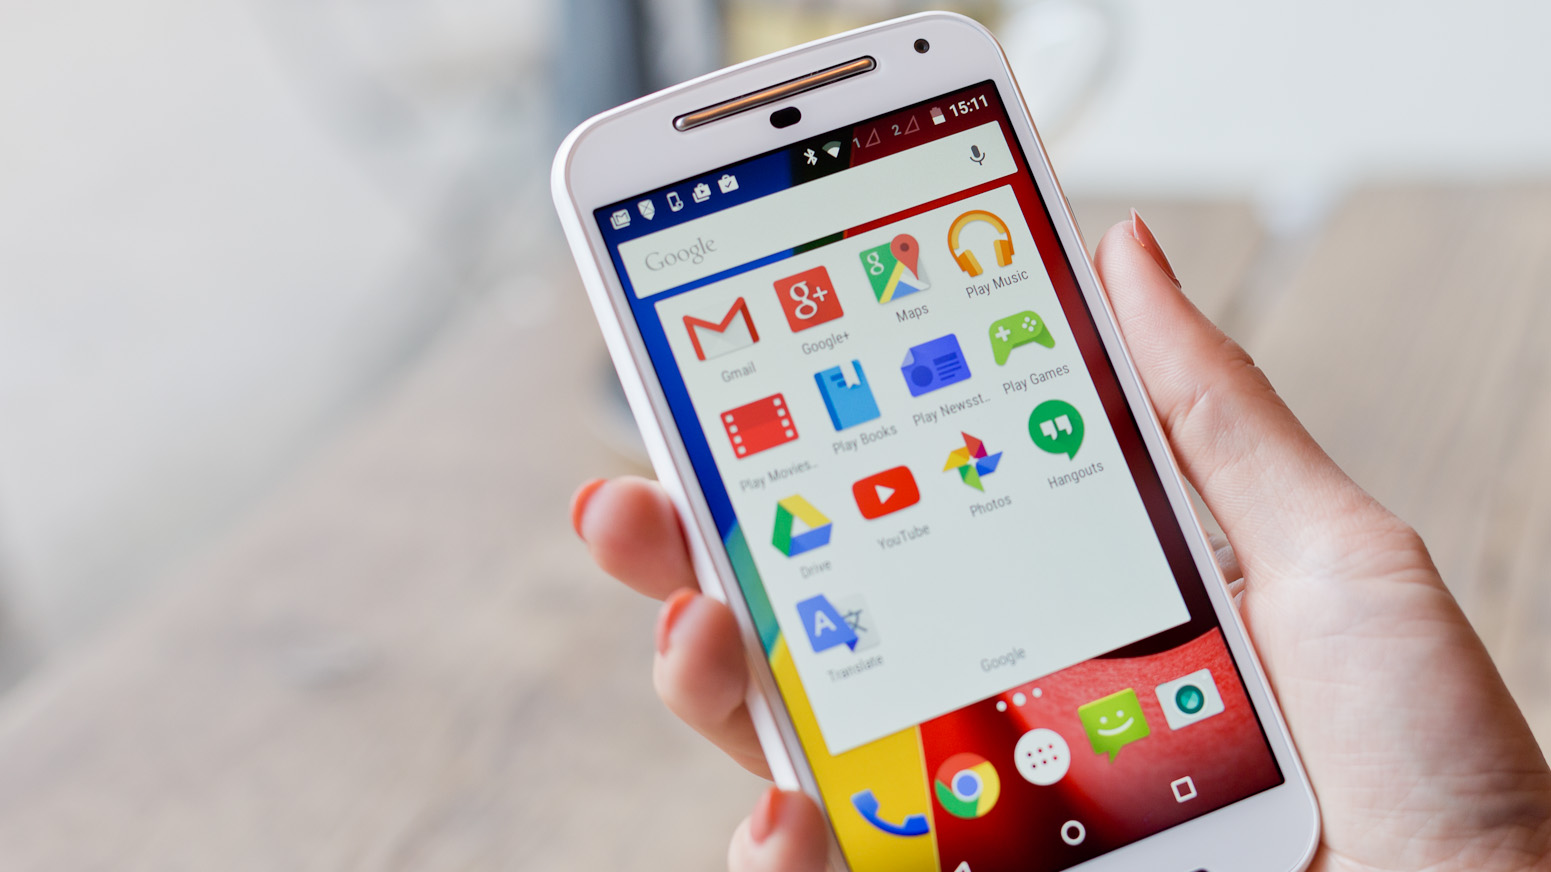
In a world of visual communication, being able to save and download images is essential. Whether you want to keep memorable photos, share inspiring visuals with friends, or use images for creative projects, knowing how to save Google Images on your Android phone is incredibly useful. With the vast collection of images available on Google, you can find pictures for any topic or interest.
In this article, we will guide you through the steps to save Google Images on your Android phone. We will provide detailed instructions, tips, and even address some common issues that you might encounter along the way. So, grab your Android phone, get ready to explore the world of beautiful imagery, and learn the art of saving Google Images in just a few simple steps!
Inside This Article
- Overview
- Method 1: Saving Google Images Directly
- Method 2: Using the Share Option
- Method 3: Saving Images from Google Chrome
- Method 4: Using a Third-Party App
- Conclusion
- FAQs
Overview
When it comes to saving Google images on your Android phone, there are multiple methods you can follow. Whether you want to save an image directly from the Google Images app, use the share option, save images from Google Chrome, or even utilize third-party apps, we’ve got you covered. In this article, we will walk you through step-by-step instructions for each method, ensuring that you can easily save any Google image you come across.
Don’t worry if you’re not a tech-savvy person. These methods are user-friendly and require no advanced technical knowledge. So, let’s dive in and explore the different ways to save Google images on your Android phone.
Before we begin, keep in mind that the process might vary slightly depending on your phone’s make and model. However, the basic steps should remain the same. So, without further ado, let’s get started with Method 1: Saving Google Images Directly.
Method 1: Saving Google Images Directly
If you want to save Google Images directly to your Android phone, follow these simple steps:
-
Open the Google Images app on your Android phone.
-
Search for the image you want to save by entering relevant keywords in the search bar.
-
Tap on the image you want to save to view it in full screen.
-
Once you have the image in full screen view, you will see a download icon, usually located at the bottom of the screen.
-
Tap on the download icon, and the image will be saved to your device’s storage.
By following these steps, you can easily and directly save Google Images to your Android phone without the need for any additional apps or tools.
Method 2: Using the Share Option
Step 1: Open the Google Images app.
Step 2: Search for the image you want to save.
Step 3: Tap and hold on the image to bring up the options menu.
Step 4: Select the “Share Image” option.
Step 5: Choose the app or method to save the image to your device.
One of the easiest ways to save Google Images on your Android phone is by using the Share option. This method allows you to quickly and conveniently save images to your device with just a few taps.
To start, open the Google Images app on your Android phone. If you don’t have the app, you can download it from the Google Play Store.
Once you have the app open, use the search bar at the top of the screen to enter a keyword or phrase related to the image you want to save. Google Images will display a variety of images based on your search query.
When you’ve found the image you want to save, tap and hold on the image. This will bring up the options menu with various actions you can take.
In the options menu, select the “Share Image” option. This will open a window with a list of apps and methods you can use to save the image to your device.
Choose the app or method you prefer to save the image. Depending on the apps you have installed on your device, you may see options like “Save to Gallery”, “Save to Downloads”, or other similar options.
Once you’ve selected the app or method, the image will be saved to your device. You can then access the saved image through the respective app or location where it was saved.
By using the Share option in the Google Images app, you can quickly and easily save images to your Android phone without the need for additional steps or third-party apps. It’s a straightforward method that allows you to save your favorite images with ease.
Method 3: Saving Images from Google Chrome
Step 1: Open Google Chrome on your Android phone.
Step 2: Search for and open the Google Images website.
Step 3: Find the image you want to save and tap on it to view in full screen.
Step 4: Tap and hold on the image until the options menu appears.
Step 5: Select the “Save Image” or “Download Image” option.
When it comes to saving images from Google Chrome on your Android phone, you have a straightforward and convenient method at your disposal. By following a few simple steps, you can easily save any image you find on the web and have it stored on your device for future use.
The first step is to open Google Chrome on your Android phone. If you don’t have the Chrome browser installed, you can easily download it from the Google Play Store. Once you have it installed, locate the app icon on your home screen or app drawer and tap on it to open.
With Google Chrome open, you will need to navigate to the Google Images website. Tap on the address bar at the top of the browser window and type in “images.google.com” or “www.google.com/imghp” to access the image search feature. Press enter or tap on the search icon to proceed.
Now that you are on the Google Images website, use the search bar at the top of the page to enter your search query and find the image you want to save. You can either type in specific keywords or use the camera icon to search using an image URL or by uploading a picture from your device’s gallery.
Once you have found the image you want to save, tap on it to view it in full screen. This will open the image in a new tab or window, allowing you to get a closer look at it and assess if it is the right one for your needs.
Next, you will need to tap and hold on the image for a few seconds until the options menu appears. This menu will give you various options to interact with the image, such as sharing, copying, or saving it.
From the options menu, select the “Save Image” or “Download Image” option. The wording may vary slightly depending on the version of Chrome you are using, but the purpose remains the same – to save the image to your device.
After selecting the save or download option, Chrome will save the image directly to your device’s gallery or designated download folder, depending on your settings. You can access the saved image by opening the gallery app or using a file manager app to navigate to the download folder.
That’s it! You have successfully saved an image from Google Chrome on your Android phone. You can now use the image for personal use, set it as your wallpaper, share it with others, or edit it with a photo editing app of your choice.
Remember to respect copyright laws and only save images that you have the right to use. Also, keep in mind that some websites may have restrictions on saving their images, so it’s always a good practice to check if the image is free to use or requires permission from the owner.
Now that you know this method, you can easily save images from Google Chrome on your Android phone and expand your collection of pictures and visual content.
Method 4: Using a Third-Party App
When it comes to saving Google Images on your Android phone, using a third-party app can provide you with additional features and functionalities. Follow these steps to save images through a third-party app:
-
Step 1: Install and open a third-party app for saving images, such as Download Manager or Image Downloader. These apps are readily available on the Google Play Store.
-
Step 2: Open the Google Images app or website on your Android phone.
-
Step 3: Find the image you want to save and tap on it to view it in full screen. Take your time to admire the image before moving on to the next step.
-
Step 4: Tap on the share button, which is usually represented by a square with an upward arrow. This will bring up a menu with various sharing options.
-
Step 5: Select the third-party app you have installed for saving images from the share options. This will open the chosen app and allow you to save the image directly to your device.
-
Step 6: Follow the prompts provided by the third-party app to complete the image saving process. These prompts may include specifying the save location, renaming the file, or selecting the image format.
By using a third-party app, you can have more control over the image-saving process, as well as access to additional features like batch downloading or organizing your saved images in different folders. Remember to choose a reliable and trusted app from the Google Play Store to ensure a smooth and secure experience.
Now that you know how to save Google Images on your Android phone using various methods, you can easily download and enjoy your favorite images. Whether you prefer the convenience of using the Google Images app, the flexibility of the share option, or the advanced capabilities of a third-party app, these methods will ensure that you have your desired images saved right on your device.
Conclusion
Understanding how to save Google Images on your Android phone is a valuable skill that can enhance your mobile browsing experience. By following the step-by-step methods discussed in this article, you can easily download and store images from Google to your device.
Whether you want to save beautiful wallpapers, inspirational quotes, or reference images for a project, having the ability to save Google Images on your Android phone allows you to access them anytime, even when you’re offline. Remember to respect copyright laws and usage rights when using downloaded images for personal or commercial purposes.
So, the next time you come across an image on Google that you want to keep, simply follow the instructions provided in this article to save it to your Android phone. Enjoy organizing your image library and adding a personal touch to your device!
FAQs
1. How can I save Google Images on my Android phone?
To save Google Images on your Android phone, follow these steps:
- Open the Google Images website or the Google app on your Android phone.
- Enter your search query and tap on the “Images” tab.
- Browse through the search results and tap on the image you want to save.
- Once the image opens in full-screen mode, tap and hold on it.
- A pop-up menu will appear, offering various options. Tap on “Save image” or “Download image” to save it to your device.
2. Where are the saved Google Images stored on my Android phone?
The saved Google Images are typically stored in the “Downloads” folder on your Android phone. You can usually find this folder by opening the app drawer and looking for the “Files” or “Downloads” app. Alternatively, you can also use a file manager app to navigate to the “Downloads” folder.
3. Can I change the default saving location for Google Images on my Android phone?
Yes, you can change the default saving location for Google Images on your Android phone. Follow these steps:
- Open the “Settings” app on your Android phone.
- Scroll down and tap on “Storage” or “Storage & USB” (the name may vary depending on your device).
- Tap on “Downloads” or “Default storage location”.
- Select the folder where you want to save your downloaded images.
- Tap “OK” or “Apply” to save the changes.
4. Are there any apps that can help me save Google Images on my Android phone?
Yes, there are several apps available on the Google Play Store that can help you save Google Images on your Android phone. Some popular options include “Image Downloader”, “Save Images”, and “Download All Images”. These apps provide a convenient way to download and manage images from various sources, including Google Images.
5. Are there any legal or copyright issues when saving Google Images on my Android phone?
It is important to remember that copyright laws apply to images found on the internet, including those from Google Images. While it is generally acceptable to save images for personal use, using them for commercial purposes or without permission from the copyright holder may infringe on their rights. It is recommended to check the copyright status or look for images with Creative Commons licenses that allow for specific usage rights.