
Scanning documents has become an essential feature for smartphones and tablets, giving us the convenience of digitizing our paperwork on the go. If you’re an iPhone or iPad user, you’re in luck because these devices come equipped with powerful scanning capabilities.
In this article, we will explore how to scan documents on your iPhone or iPad, making it easy for you to go paperless and organize your files digitally. With just a few simple steps, you can turn your iOS device into a portable scanner, eliminating the need for bulky physical documents and allowing for seamless sharing and storage.
Whether you need to scan receipts, business cards, contracts, or any other type of document, we’ve got you covered. Discover the various scanning methods available, as well as tips and tricks to get the best results. Let’s dive in and unlock the full potential of your iPhone or iPad as a document scanner!
Inside This Article
- Using the Notes app
- Using a third-party scanning app
- Using the Files app
- Using the built-in camera
- Conclusion
- FAQs
Using the Notes app
If you’re looking for a quick and easy way to scan documents on your iPhone or iPad, the built-in Notes app is a great option. It allows you to conveniently capture, store, and share documents with just a few taps.
To get started, open the Notes app on your device and create a new note or open an existing one. Once you have the note open, tap the “+” button at the bottom of the screen and select “Scan Documents” from the menu that appears.
Position your device over the document you want to scan, making sure that the entire document is within the frame. The Notes app will automatically detect the edges of the document and capture the image.
You have the option to manually adjust the corners of the document using the handles that appear around the edges. This can be helpful if the auto-capture didn’t perfectly align the document.
After capturing the document, you can add more pages to the scan by tapping the “+” button again and repeating the process. The scanned pages will all be merged into a single document within the note.
Once you are satisfied with the scan, you can save it by tapping “Save” at the bottom right corner of the screen. The scanned document will be saved within the note and can be accessed at any time.
Furthermore, Notes app provides additional features like highlighting, annotating, cropping, and even adding a signature to the scanned documents. Simply tap on the scanned document within the note and select the desired editing option from the toolbar at the bottom.
If you need to share the scanned document, you can do so by tapping the share button located at the top right corner of the screen. You’ll have the option to share the scan via email, messaging apps, or even save it to cloud storage services like iCloud or Google Drive.
Using the Notes app to scan documents on your iPhone or iPad is not only convenient but also ensures you don’t need to install any additional apps. It’s a fantastic built-in feature that helps you manage your documents on the go.
Using a third-party scanning app
If you want more advanced scanning features and options on your iPhone or iPad, using a third-party scanning app is a great option. These apps are specifically designed to enhance document scanning and offer a range of helpful features. Here is a step-by-step guide on how to use a third-party scanning app:
- Open the App Store on your iPhone or iPad and search for a scanning app. There are several popular options available, such as CamScanner, Adobe Scan, and Scanbot.
- Once you’ve found the app you want to use, tap on it to download and install it on your device.
- Open the scanning app and grant it the necessary permissions to access your device’s camera and files.
- Place the document you want to scan on a flat surface with good lighting. Ensure that the document is visible and aligned properly.
- In the scanning app, tap on the camera icon or the “Scan” button to activate the camera mode.
- Position your iPhone or iPad camera over the document, making sure it is fully within the frame.
- Wait for the app to automatically detect the document and capture a clear image. Some apps have a manual capture option that allows you to adjust the image’s focus or brightness.
- If needed, tweak the scanned image using the editing tools provided by the app. You can crop, rotate, adjust the colors, or apply filters to enhance the document’s readability.
- Once you are satisfied with the scanned image, tap on the “Save” or “Done” button to save it to your device.
- You can now rename the scanned document, choose a storage location, and categorize it within the scanning app’s organizational structure.
Using a third-party scanning app gives you more control over the scanning process and provides additional features like OCR (Optical Character Recognition) for converting scanned documents into editable text, cloud storage integration for easy access and sharing, and advanced editing tools. These apps are ideal for professionals, students, or anyone who frequently needs to scan and manage documents on their iPhone or iPad.
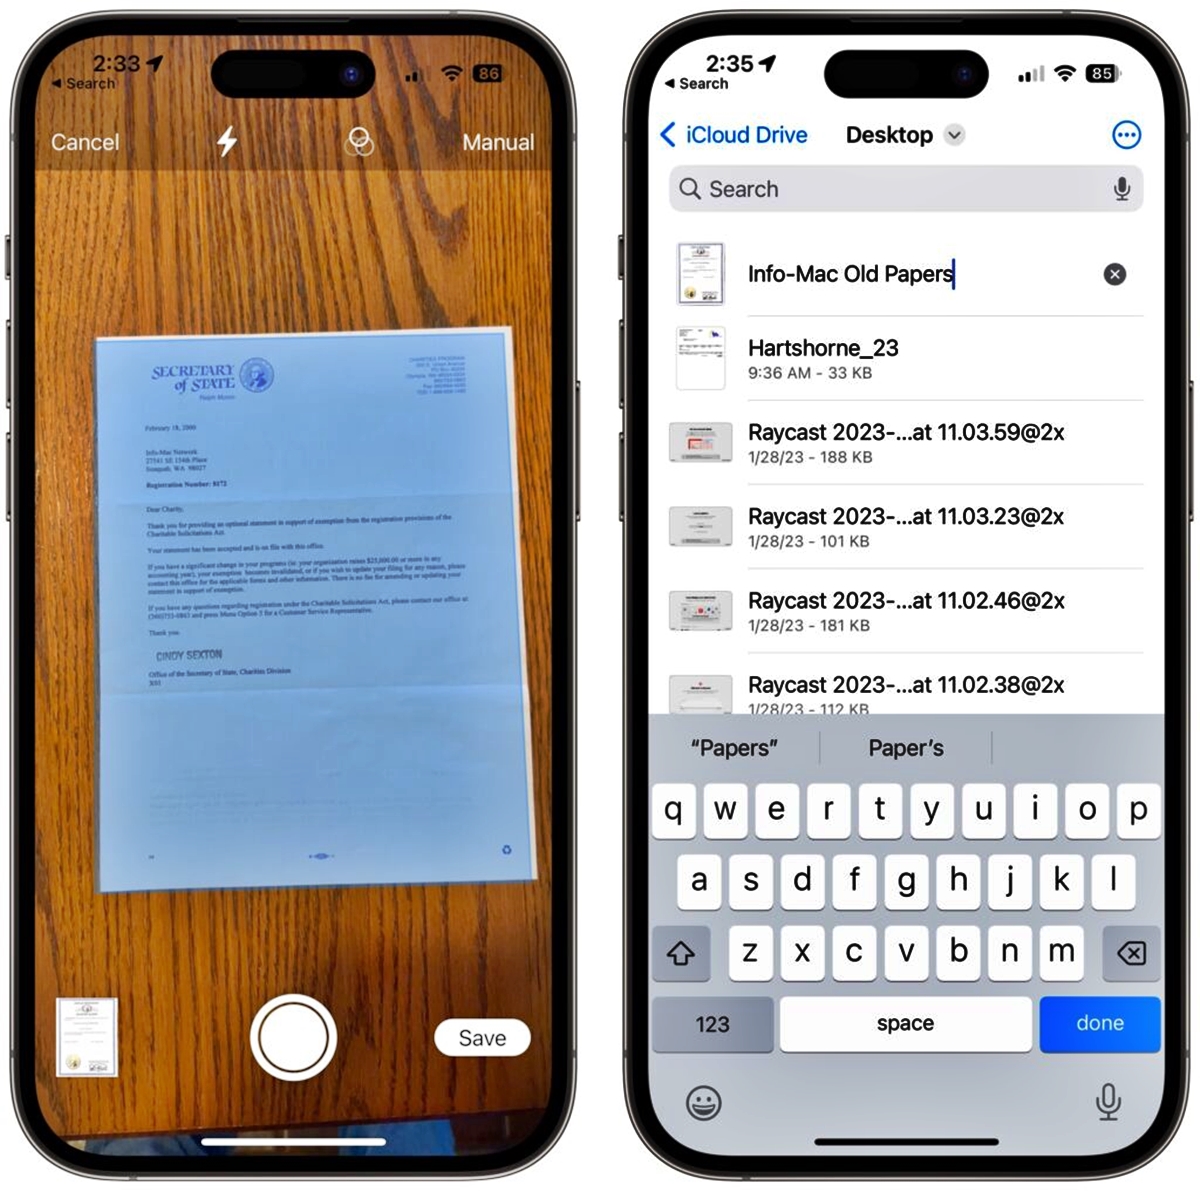
Using the Files app
If you’re an iPhone or iPad user and you want to scan documents right from your device without downloading any additional apps, the Files app is here to save the day. This built-in file manager app can also serve as a handy scanning tool. Here’s how you can use the Files app to scan documents:
1. To begin, open the Files app on your iPhone or iPad. It’s represented by a blue folder icon and usually found on the home screen.
2. In the Files app, navigate to the location where you want to save your scanned document. You can choose between saving it to iCloud Drive or to a specific folder on your device.
3. Once you’re in the desired location, tap on the “+” button located at the top-right corner of the screen. This will bring up a menu of options.
4. From the menu, select the “Scan Documents” option. This will activate the scanning mode within the Files app.
5. Now, position your iPhone or iPad’s camera above the document you want to scan. Make sure the entire document is in view and aligned with the frame.
6. When you’re ready, tap on the shutter button to capture the scan. You can also tap the “Auto” option to allow the app to automatically detect and capture the document when it’s perfectly aligned.
7. After capturing the scan, you’ll see a preview of it on the screen. You have the option to re-adjust the corners or rotate the scan if necessary. Tap on the “Keep Scan” button to accept the scan.
8. The scanned document will now be saved to the selected location in the Files app. You can view and access it anytime by opening the Files app and navigating to the appropriate folder.
Using the Files app to scan documents is a convenient option if you prefer to utilize the built-in tools and avoid installing additional apps. It’s a straightforward process that allows you to store your scanned documents in an organized manner within the Files app.
Using the built-in camera
If you don’t want to use any third-party scanning apps or the Notes app, you can simply use the built-in camera on your iPhone or iPad to scan documents. The built-in camera offers a convenient and easy way to capture documents and turn them into digital files.
To use the built-in camera for scanning documents, follow these simple steps:
- Open the Camera app: Locate the Camera app on your device’s home screen and tap on it to open it.
- Position the document: Position the document you want to scan in a well-lit area. Make sure there is enough light to capture a clear image.
- Focus the camera: Tap on the screen to focus the camera on the document. This will ensure that the scanned image is sharp and readable.
- Take the photo: Once the document is properly positioned and in focus, tap the capture button to take the photo.
- Review the photo: After taking the photo, you’ll be able to review it. If the image is clear and legible, you can proceed to the next step. If not, you can retake the photo until you’re satisfied with the quality.
- Save and share: Once you’re happy with the scanned document, you can save it to your device’s Photos app or share it via email, messaging apps, or cloud storage services.
The built-in camera on your iPhone or iPad provides a quick and easy way to scan documents on the go. Whether you need to digitize receipts, contracts, or important notes, using the built-in camera can help you transform physical documents into digital files.
It’s important to note that while the built-in camera can be convenient for basic scanning needs, it may not provide advanced features like document cropping, text recognition, or automatic image adjustments. If you require more advanced scanning capabilities, you may want to consider using a dedicated scanning app or the Notes app which offers additional functionality.
Overall, using the built-in camera to scan documents on your iPhone or iPad is a simple and accessible method that comes in handy when you need to capture important information on the go.
Conclusion
Scanning documents on your iPhone or iPad has never been easier. With the advanced technology in these devices, you can now quickly and conveniently scan important papers, receipts, or any other document you need to digitize. Whether you’re a student, working professional, or just someone who likes to stay organized, the built-in scanning capabilities of iOS devices provide a seamless and efficient way to go paperless.
By following the steps outlined in this article, you can make the most out of your iPhone or iPad’s scanning features. From adjusting the scan settings, capturing high-quality images, to generating PDFs and sharing them with others, you have a powerful tool at your fingertips.
So, say goodbye to bulky scanners and hello to the convenience of mobile document scanning. Embrace the digital age and simplify your life by using your iPhone or iPad to scan documents with ease.
FAQs
1. Can I scan documents on my iPhone or iPad?
Yes, you can scan documents on your iPhone or iPad. Both devices have a built-in scanning feature that allows you to capture high-quality scans of physical documents using the device’s camera.
2. How do I access the scanning feature on my iPhone or iPad?
To access the scanning feature on your iPhone or iPad, simply open the Notes app and create a new note or open an existing one. Tap on the “+” (plus) button to add a new element to the note, and then select the “Scan Documents” option. This will activate the device’s camera in scanning mode.
3. Can I scan multiple pages into a single document?
Absolutely! The scanning feature on your iPhone or iPad allows you to scan multiple pages and save them as a single document. After scanning the first page, you can tap on the “+” (plus) button again to add more pages to the document. Once you have finished scanning all the pages, you can save the document and rename it if desired.
4. Can I edit the scanned documents after capturing them?
Yes, you can edit the scanned documents after capturing them on your iPhone or iPad. Once you have scanned a document, you can tap on it to open it in the Notes app. From there, you can use the editing tools to crop, rotate, or adjust the scanned document as needed.
5. Can I share the scanned documents from my iPhone or iPad?
Certainly! After scanning and editing a document, you can easily share it from your iPhone or iPad. In the Notes app, tap on the scanned document to open it, and then tap on the share icon (represented by a square with an arrow pointing upward). This will allow you to choose from various sharing options, such as email, messaging, or saving to cloud storage services.