
Are you running out of storage space on your iPhone due to the sheer volume of photos stored on it? Don’t worry, there’s a simple solution! By transferring your iPhone photos to a flash drive, you can free up valuable storage space on your phone and ensure that your precious memories are safely backed up. In this article, we will guide you through the step-by-step process of transferring your iPhone photos to a flash drive, allowing you to conveniently access and manage your photos on any device. Whether you want to create space on your iPhone or you simply prefer the convenience and versatility of having your photos stored on a flash drive, we’ve got you covered. Let’s dive in and discover how easy it is to transfer iPhone photos to a flash drive!
Inside This Article
- Methods to Transfer iPhone Photos to Flash Drive
- Using a Computer and iTunes
- Using a Third-Party App
- Using iCloud Photo Library
- Using a Lightning to USB Adapter
- Conclusion
- FAQs
Methods to Transfer iPhone Photos to Flash Drive
Transferring photos from your iPhone to a flash drive is a convenient way to free up space on your device or create a backup of your precious memories. Fortunately, there are several methods you can use to accomplish this task. In this article, we will explore four different methods that you can use to transfer your iPhone photos to a flash drive. Let’s dive in!
1. Using a Computer and iTunes
One of the most common methods to transfer iPhone photos to a flash drive is by using a computer and iTunes. Here’s how:
- Connect your iPhone to your computer using a USB cable.
- Open iTunes on your computer and select your iPhone.
- Go to the “Photos” tab and enable the “Sync Photos” option.
- Choose the folder or album you want to transfer and click on “Apply” to start the sync.
- Once the sync is complete, disconnect your iPhone and connect your flash drive to your computer.
- Copy and paste the synced photos from your computer to the flash drive.
2. Using a Third-Party App
If you prefer a more straightforward method, you can use a third-party app to transfer your iPhone photos to a flash drive. Follow these steps:
- Install a file manager app on your iPhone, such as Documents by Readdle.
- Connect your flash drive to your computer and format it to FAT32 or exFAT.
- Open the file manager app on your iPhone and navigate to the Photos section.
- Select the photos you want to transfer and tap on the “Share” button.
- Choose the “Save to Files” option and select your flash drive as the destination.
- Wait for the transfer to complete and verify that the photos are successfully saved on the flash drive.
3. Using iCloud Photo Library
If you have iCloud Photo Library enabled, you can easily access your iPhone photos from any device with an internet connection. Here’s how to transfer photos to a flash drive using iCloud:
- Make sure iCloud Photo Library is turned on in your iPhone settings.
- Connect your iPhone to Wi-Fi and wait for the photos to sync with iCloud.
- On your computer, go to iCloud.com and sign in with your Apple ID.
- Select the photos you want to transfer and click on the download button.
- Connect your flash drive to your computer and copy the downloaded photos to the flash drive.
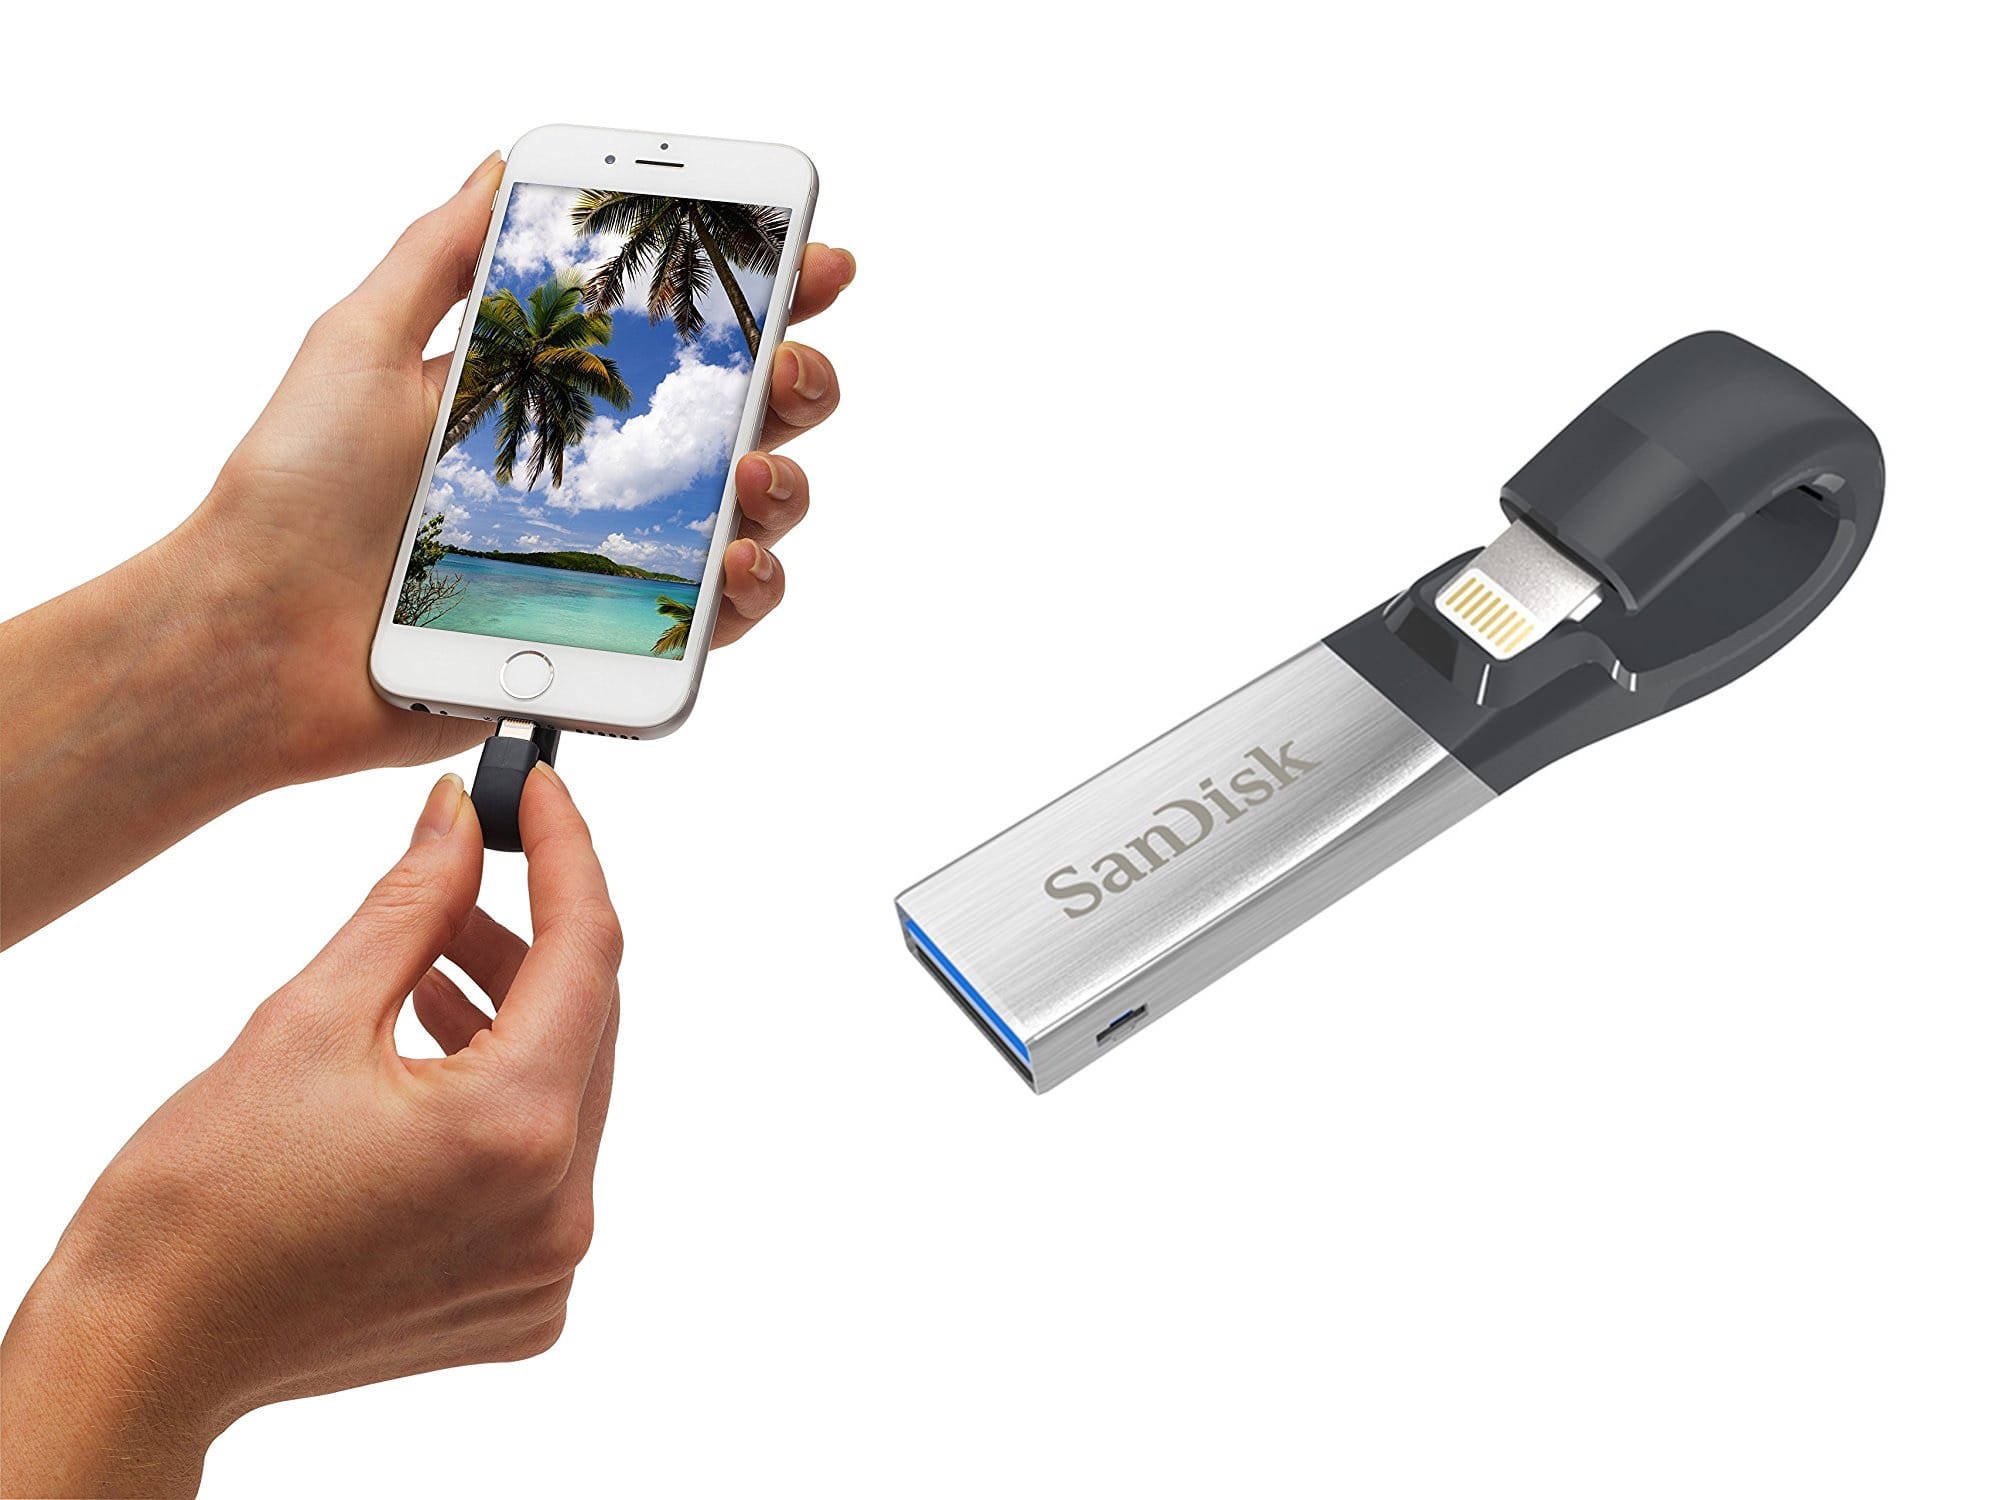
4. Using a Lightning to USB Adapter
If you prefer a direct and simple method, you can use a Lightning to USB adapter to connect your iPhone directly to a flash drive. Here’s how:
- Get a Lightning to USB adapter that is compatible with your iPhone model.
- Connect the adapter to your iPhone and plug the flash drive into the USB port.
- Open the default Files app on your iPhone and navigate to the Photos section.
- Select the photos you want to transfer and tap on the “Share” button.
- Choose the option to “Save to Files” and select the flash drive as the destination.
- Wait for the transfer to complete and ensure that the photos are successfully saved on the flash drive.
By following one of these methods, you can easily transfer your iPhone photos to a flash drive and keep them safe or make room for more memories. Choose the method that suits your needs best and enjoy the freedom of storing your precious photos on a flash drive!
Using a Computer and iTunes
If you’re looking to transfer your iPhone photos to a flash drive, one of the most common and straightforward methods is to use a computer with iTunes installed. iTunes is Apple’s official multimedia management software, and it provides a convenient way to sync and transfer files between your iPhone and your computer.
Here’s a step-by-step guide to transferring iPhone photos to a flash drive using a computer and iTunes:
- Connect your iPhone to the computer using a USB cable.
- Open iTunes on your computer. If it doesn’t open automatically, you can manually launch the application.
- Click on the device icon that appears in the iTunes interface. This will open the Summary page for your iPhone.
- Select “Photos” from the left-hand sidebar in iTunes.
- Enable the option to “Sync Photos” by checking the box next to it.
- Choose the folder or album you want to sync with your iPhone. You can select specific albums or opt to sync your entire photo library.
- Once you’ve made your selection, click on the “Apply” or “Sync” button to initiate the syncing process.
- Wait for iTunes to transfer the photos from your iPhone to your computer. This process may take a few moments, depending on the size of your photo library.
- Once the photos are successfully synced to your computer, disconnect your iPhone from the USB cable.
- Connect your flash drive to the computer using a USB port.
- Locate the folder on your computer where the synced photos are stored.
- Copy and paste the desired photos from the computer folder to the flash drive. You can select multiple photos by holding down the Ctrl key (or Command key on Mac) while clicking on the photos.
- Once the photos are successfully transferred to the flash drive, safely eject the flash drive from your computer.
By following these steps, you can easily transfer your iPhone photos to a flash drive using a computer and iTunes. This method allows you to have a backup of your photos and free up storage space on your iPhone.
Note: Make sure you have enough storage space on your computer and flash drive to accommodate the photos you want to transfer. Additionally, keep in mind that syncing your photos using iTunes will replace the existing photos on your iPhone with the ones selected for syncing. If you prefer to keep all your photos on your iPhone intact, consider using one of the alternative methods below.
Using a Third-Party App
If you prefer a more straightforward and user-friendly approach to transfer iPhone photos to a flash drive, using a third-party app is a great option. These apps are specifically designed to make the process of transferring files, including photos, from your iPhone to an external storage device simple and efficient.
There are several excellent third-party apps available on the App Store that offer advanced features and a seamless transfer experience. One such app is “iMazing,” which is highly regarded for its ability to transfer files between iOS devices and computers. To use a third-party app like iMazing to transfer your iPhone photos to a flash drive, you can follow these steps:
- First, download and install the iMazing app from the App Store onto your iPhone.
- Connect your iPhone to your computer using a USB cable.
- Launch the iMazing app on your iPhone and follow the on-screen instructions to establish a connection between your iPhone and the app on your computer.
- Once the connection is established, select the “Photos” option from the app’s interface.
- Choose the photos you want to transfer to the flash drive by selecting them individually or using the “Select All” option.
- Next, click on the “Export to Folder” or “Export to Device” option, depending on whether you want to transfer the photos directly to the flash drive or save them on your computer first.
- Specify the destination folder or select the flash drive as the target location for the transfer.
- Click on the “Transfer” button to initiate the transfer process.
- Wait for the transfer to complete, and once done, disconnect your iPhone from the computer.
By using a third-party app like iMazing, you can easily transfer your iPhone photos to a flash drive without hassle. These apps often provide additional features such as batch selection, file organization, and even direct transfer to cloud storage platforms like Google Drive or Dropbox.
It’s worth noting that while most third-party apps require a purchase or offer in-app purchases for their premium features, they often come with free trial periods or lite versions that allow you to test their functionality before committing to a purchase. Be sure to explore different apps and read user reviews to find the one that suits your needs best.
Using iCloud Photo Library
If you’re looking for a convenient and hassle-free way to transfer your iPhone photos to a flash drive, using iCloud Photo Library can be a great option. iCloud Photo Library allows you to store your photos and videos securely in the cloud and access them from any device, including your computer. Here’s how you can use iCloud Photo Library to transfer your iPhone photos to a flash drive:
-
Enable iCloud Photo Library on your iPhone by going to Settings, tapping on your name, selecting iCloud, and then photos. Turn on the toggle for iCloud Photo Library.
-
Ensure that your iPhone is connected to a stable Wi-Fi network. iCloud Photo Library requires a reliable internet connection to sync your photos across devices.
-
Open a web browser on your computer and visit iCloud.com.
-
Sign in to iCloud using your Apple ID and password.
-
Click on “Photos” to access your iCloud Photo Library.
-
You will now see all the photos and albums synced to your iCloud account. You can select individual photos or multiple photos by holding the Shift or Command key (for Mac) or Ctrl key (for Windows) and clicking on the desired photos.
-
Once you have selected the photos you want to transfer, click on the “Download” button. This will start downloading the selected photos to your computer.
-
Connect your flash drive to your computer using a USB port.
-
Open the file explorer on your computer and navigate to the folder where the iCloud photos were downloaded.
-
Copy and paste or drag and drop the downloaded photos from your computer to the flash drive.
Once the transfer is complete, safely remove the flash drive from your computer. Now, you can plug the flash drive into any device and access your iPhone photos without needing an internet connection.
Using iCloud Photo Library to transfer iPhone photos to a flash drive offers a seamless and efficient way to free up space on your iPhone and keep your precious memories safe. It also allows you to access your photos from any device, giving you the flexibility to share or view them whenever and wherever you want.
Using a Lightning to USB Adapter
If you’re looking for a convenient and straightforward method to transfer your iPhone photos to a flash drive, using a Lightning to USB Adapter is an excellent option. This adapter allows you to connect your iPhone directly to a USB flash drive, making the transfer process quick and easy.
To get started, you’ll need a Lightning to USB Adapter, which you can purchase from an electronics store or online retailer. Once you have the adapter, follow these steps:
- Connect the Lightning to USB Adapter to your iPhone’s Lightning port.
- Connect your USB flash drive to the USB port on the adapter.
- On your iPhone, a prompt may appear asking for your permission to access the connected device. Tap “Allow” to proceed.
- Open the “Files” app on your iPhone. This app allows you to manage your files, including photos and documents.
- Navigate to the “On My iPhone” section or the location where your photos are stored.
- Select the photos you want to transfer to the flash drive. You can either tap on individual photos or use the select feature to choose multiple photos.
- Tap on the share icon (usually depicted as a square with an arrow pointing upward).
- From the list of options, choose “Save to Files.”
- Select the USB flash drive from the list of locations.
- Tap “Add” to begin the transfer process.
Depending on the number and size of the photos you’re transferring, the process may take a little time. Once the transfer is complete, you can safely disconnect the Lightning to USB Adapter and the flash drive from your iPhone.
Using a Lightning to USB Adapter provides a direct and simple way to transfer your iPhone photos to a flash drive without the need for a computer or any additional software. It’s especially useful when you’re on the go and want to free up space on your iPhone.
Remember to backup your photos regularly to prevent any accidental loss or damage. A flash drive offers a reliable storage option, allowing you to keep your cherished memories safe and easily accessible.
Conclusion
In conclusion, transferring iPhone photos to a flash drive is a convenient and secure way to backup and store your precious memories. With the right tools and techniques, you can easily transfer your photos without relying on cloud services or filling up your device’s storage.
Whether you prefer using a lightning to USB adapter, a wireless transfer app, or a computer, each method offers its own advantages and allows for a seamless transfer process. Remember to choose a method that suits your needs and preferences, and always ensure that you have enough storage on your flash drive to accommodate your photos.
By following the step-by-step instructions outlined in this article, you can now confidently transfer your iPhone photos to a flash drive, freeing up space on your device and having a reliable backup for your cherished memories. So, go ahead and start organizing and protecting your photo library with ease!
FAQs
Q: Can I transfer photos from my iPhone to a flash drive?
A: Yes, you can transfer photos from your iPhone to a flash drive. There are several methods you can use to accomplish this. Keep reading to find out more!
Q: What do I need to transfer iPhone photos to a flash drive?
A: To transfer iPhone photos to a flash drive, you will need an iPhone, a lightning to USB adapter or a compatible flash drive with a lightning port, and a USB flash drive with enough storage capacity to accommodate your photos.
Q: How do I transfer iPhone photos to a flash drive using a lightning to USB adapter?
A: To transfer iPhone photos to a flash drive using a lightning to USB adapter, follow these steps:
- Connect your iPhone to the lightning to USB adapter.
- Insert the USB flash drive into the USB port of the adapter.
- Open the Files app on your iPhone.
- Navigate to the location of the photos you want to transfer.
- Select the photos you want to transfer by tapping on them.
- Tap on the Share icon or the three-dot menu icon, then choose “Save to Files”.
- Select the USB flash drive as the destination folder and tap “Save”.
- Wait for the transfer to complete.
Q: Can I transfer iPhone photos to a flash drive without a computer?
A: Yes, you can transfer iPhone photos to a flash drive without a computer if you have a lightning to USB adapter and a flash drive with a lightning port. Simply follow the steps mentioned above for transferring photos using a lightning to USB adapter.
Q: Is there an alternative way to transfer iPhone photos to a flash drive?
A: Yes, there are alternative ways to transfer iPhone photos to a flash drive. One popular method is to use a wireless flash drive that can be accessed through a dedicated app on your iPhone. These wireless flash drives usually connect to your iPhone via Wi-Fi and allow you to transfer photos without the need for cables or adapters.