
If you own a wireless laptop, you’ve likely experienced the convenience and freedom it offers in terms of mobility. Being able to connect to the internet without the hassle of cables or wires allows you to work, browse, and communicate from anywhere within the range of a Wi-Fi network. However, if you’re new to the world of wireless connectivity, you may be unsure of how to connect your laptop to the internet. In this article, we’ll guide you through the process of connecting a wireless laptop, step by step. Whether you’re setting up a new laptop, troubleshooting an existing connection, or simply looking to optimize your wireless experience, we’ve got you covered! By the end of this article, you’ll have a clear understanding of how to connect your wireless laptop and enjoy seamless internet access.
Inside This Article
- Step 1: Ensure Wireless Adapter is Enabled
- Step 2: Locate the Wi-Fi Network
- Step 3: Connect to the Wi-Fi Network
- Step 4: Enter Wi-Fi Network Password
- Conclusion
- FAQs
Step 1: Ensure Wireless Adapter is Enabled
Before you can connect your wireless laptop to a Wi-Fi network, you need to make sure that the wireless adapter on your laptop is enabled. The wireless adapter is a hardware component that allows your laptop to communicate with Wi-Fi networks.
To check if the wireless adapter is enabled on your laptop, you can follow these steps:
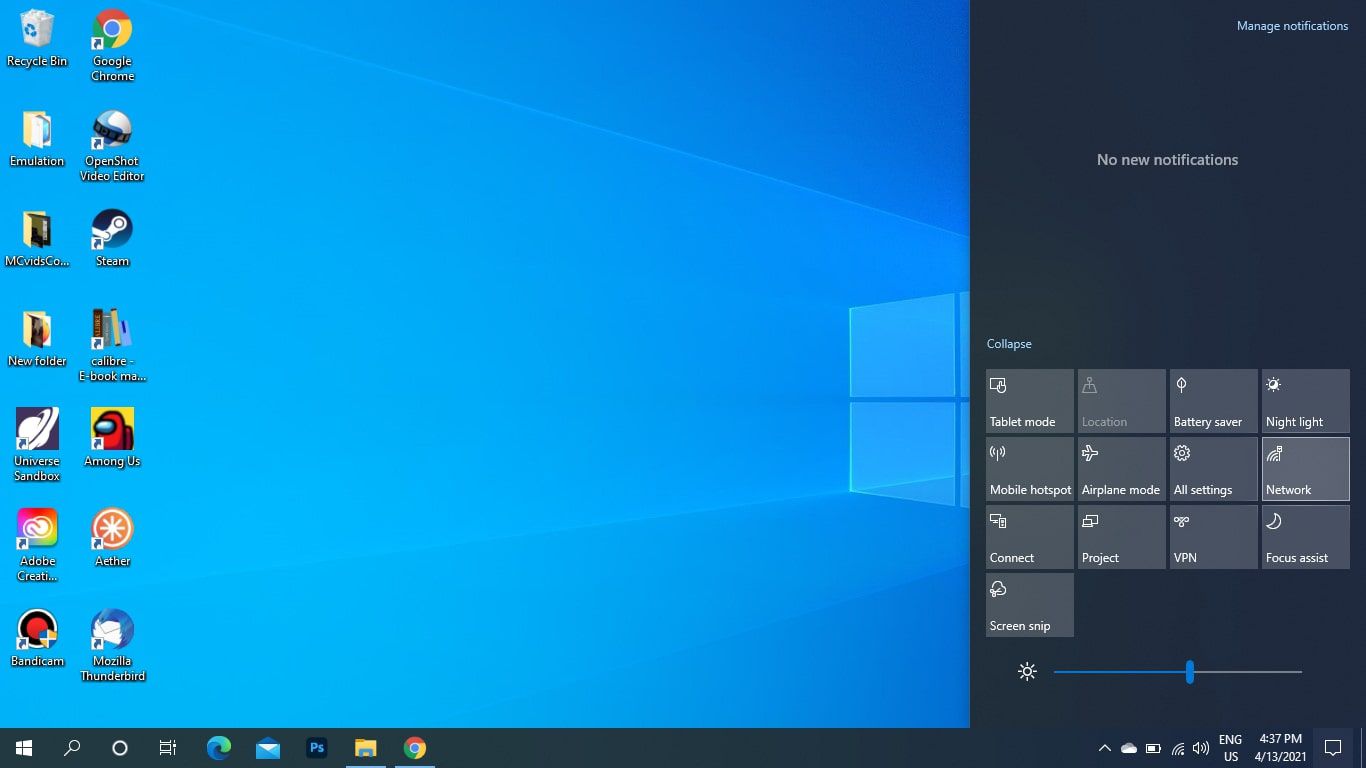
- Right-click on the network icon in the system tray, which is usually located in the bottom right corner of the screen.
- From the context menu that appears, select “Open Network and Internet Settings”.
- In the Network and Internet settings window, click on “Change Adapter Options”.
- This will open the Network Connections window, where you can see a list of network adapters installed on your laptop.
- Look for a wireless adapter in the list. It is usually labeled as “Wireless Network Connection” or something similar.
- Right-click on the wireless adapter and select “Enable” if it is currently disabled. If it is already enabled, you can skip this step.
Enabling the wireless adapter will allow your laptop to scan for Wi-Fi networks and connect to them. If the wireless adapter is disabled, your laptop won’t be able to detect any Wi-Fi networks.
Once you have enabled the wireless adapter, you can proceed to the next step of connecting to a Wi-Fi network.
Step 2: Locate the Wi-Fi Network
After ensuring that your wireless adapter is enabled, the next step in connecting a wireless laptop is to locate the Wi-Fi network you want to connect to. This network could be your home network, a public Wi-Fi hotspot, or any other available network.
Here are a few steps you can follow to locate the Wi-Fi network on your laptop:
1. Open the Network Settings: First, you need to open the network settings on your laptop. This can usually be done by clicking on the network icon in the system tray or by going into the Control Panel and selecting the “Network and Internet” settings.
2. Scan for Available Networks: Once you are in the network settings, you will need to scan for available Wi-Fi networks. Click on the “Scan for Networks” or a similar button to initiate the scan. This will display a list of all the Wi-Fi networks within range of your laptop.
3. View Available Networks: After the scan is complete, you will see a list of available Wi-Fi networks. This list may include both secured networks that require a password and unsecured networks that are open for anyone to connect to.
4. Check Signal Strength: Take note of the signal strength of each network listed. This is usually represented by bars or a percentage value. A stronger signal indicates that the Wi-Fi network is closer and likely to provide a better connection.
5. Identify Your Network: Look for the Wi-Fi network that you want to connect to. If you are trying to connect to your home network, it may have a familiar name or be labeled with the name of your Internet Service Provider (ISP). For public Wi-Fi networks, you may need to look for specific names or signs displayed in the area.
6. Connect to the Network: Once you have identified the Wi-Fi network you want to connect to, click on it to select it. Then, click on the “Connect” button (or a similar option) to establish a connection to the network.
7. Wait for Connection: After clicking on the “Connect” button, your laptop will attempt to connect to the selected Wi-Fi network. This may take a few seconds or longer, depending on the network. Once the connection is established, you should see a confirmation message or an indication that you are connected to the network.
By following these steps, you will be able to locate and connect to a Wi-Fi network on your wireless laptop. Now you can enjoy the convenience and freedom of wireless internet access wherever you go!
Step 3: Connect to the Wi-Fi Network
After you have successfully located the Wi-Fi network you want to connect to, it’s time to take the next step and establish the connection. Follow these simple instructions to connect your wireless laptop:
1. On your laptop, click on the Wi-Fi icon located in the system tray or the taskbar. This will open a list of available Wi-Fi networks in your area.
2. From the list, select the Wi-Fi network you want to connect to. Ensure that the network you select is the correct one and not a nearby network with a similar name.
3. If the selected network is secured, a prompt will appear asking for the network password. This password is usually provided by the network administrator or is found on the label of the Wi-Fi router. Enter the password in the designated field and click “Connect.”
4. Wait for a few moments while your laptop establishes the connection to the Wi-Fi network. You may see a spinning wheel or a loading icon indicating that the connection process is in progress.
5. Once the connection is established, your laptop will show a confirmation message or the Wi-Fi icon in the system tray will change to show that it is connected to the network.
6. To ensure a successful connection, try accessing a website or performing an action that requires an internet connection, such as checking your email or browsing the web.
7. If you are unable to connect, double-check that you entered the correct password and that the Wi-Fi network is functioning properly. You can also try restarting your laptop and repeating the connection process.
Connecting your wireless laptop to a Wi-Fi network is a straightforward process that allows you to enjoy the convenience and mobility of wireless internet access. Once connected, you can browse the web, stream media, and communicate effortlessly online.
Step 4: Enter Wi-Fi Network Password
After successfully connecting to the desired Wi-Fi network, the next step is to enter the Wi-Fi network password. This is essential to ensure the security and privacy of your wireless connection. Follow these simple steps to enter the Wi-Fi network password:
1. Once you have selected the Wi-Fi network you want to connect to, your laptop will prompt you to enter the password. Look for a dialog box or prompt on the screen that asks for the password.
2. If you are connecting to a password-protected Wi-Fi network, you will need to input the correct password to gain access. Check with the network administrator or the owner of the Wi-Fi network if you are unsure of the password.
3. Carefully enter the password using your laptop’s keyboard. Take note of any uppercase or lowercase letters, as well as any special characters or numbers that may be part of the password. It is important to enter the password correctly to establish a successful connection.
4. Double-check the password before hitting the “Enter” or “Connect” button. Make sure there are no typos or mistakes in the password entry. Even a single incorrect character can prevent you from connecting to the Wi-Fi network.
5. Once you are confident that the password is entered correctly, click on the “Enter” or “Connect” button, depending on the prompt displayed on your laptop screen.
6. Your laptop will validate the password and attempt to connect to the Wi-Fi network. If the password is correct, you will be granted access to the network, and you can start enjoying a wireless internet connection.
It is important to note that the Wi-Fi password may be case-sensitive, so be mindful of uppercase and lowercase letters when entering it. Also, make sure to keep your Wi-Fi network password secure and avoid sharing it with unauthorized individuals.
By following these steps, you can easily enter the Wi-Fi network password and establish a secure and reliable wireless connection on your laptop. Enjoy the convenience and freedom of wireless internet access!
Conclusion
Connecting a wireless laptop is a simple and convenient way to access the internet and stay connected on the go. By following the steps outlined in this article, you can easily set up a wireless connection and enjoy the benefits of wireless browsing, streaming, and communication.
Remember to ensure that your laptop has a wireless network adapter and that it is enabled. Locate and connect to a nearby Wi-Fi network by selecting it from the available networks list. Enter the correct password if prompted and wait for the connection to be established. Once connected, you can enjoy uninterrupted internet access and take advantage of all the features and functionalities your laptop has to offer.
So, don’t let cables hold you back. Connect your wireless laptop and experience the freedom and flexibility of staying online wherever you are.
FAQs
Q: How do I connect my wireless laptop to the internet?
A: Connecting your wireless laptop to the internet is a fairly simple process. First, ensure that your laptop has a built-in wireless network adapter or that you have a compatible external adapter. Next, locate the Wi-Fi icon in the system tray of your laptop (usually in the bottom right corner of the screen). Click on it to view a list of available networks. Select the desired network, enter the password if prompted, and click “Connect.” Your laptop should now be connected to the internet wirelessly.
Q: What if I can’t find any Wi-Fi networks to connect to?
A: If you are unable to find any Wi-Fi networks to connect to, there are a few troubleshooting steps you can try. First, make sure that your wireless network is turned on and broadcasting. You can usually find a physical switch or button on your laptop to toggle the Wi-Fi on and off. Additionally, check that you are within range of a Wi-Fi network. If you are in a public place, such as a café or library, ask the staff for the network name and password. If all else fails, try restarting your laptop or contacting your internet service provider for further assistance.
Q: How can I improve the Wi-Fi signal on my laptop?
A: If you are experiencing a weak Wi-Fi signal on your laptop, there are a few things you can do to improve it. First, make sure that your laptop is within range of the wireless router. Walls and other objects can interfere with the signal, so try moving closer to the router if possible. You can also try adjusting the router’s antennas for optimal signal strength. Another option is to use a Wi-Fi range extender or a mesh Wi-Fi system to expand the coverage in your home or office. Finally, ensure that your laptop’s wireless network adapter drivers are up to date, as outdated drivers can affect signal quality.
Q: Can I connect my laptop to the internet using a mobile hotspot?
A: Yes, you can connect your laptop to the internet using a mobile hotspot. First, ensure that your laptop has a Wi-Fi adapter. Then, enable the hotspot feature on your mobile phone or device and connect your laptop to the Wi-Fi network created by the hotspot. This allows your laptop to use your mobile data connection to access the internet. Keep in mind that using a mobile hotspot may consume your data plan, so be mindful of your data usage while connected.
Q: How do I troubleshoot wireless connectivity issues on my laptop?
A: If you are experiencing wireless connectivity issues on your laptop, there are a few troubleshooting steps you can try. First, restart both your laptop and the wireless router. Sometimes a simple reboot can resolve connectivity issues. Next, check that your laptop’s Wi-Fi adapter is turned on and functioning properly. You can do this by going into the device manager and ensuring that the adapter is not disabled. Additionally, make sure that you are within range of the wireless router and that there are no physical obstacles blocking the signal. If the issue persists, try updating the drivers for your wireless network adapter or contacting your internet service provider for further assistance.