
Windows 11 has brought a fresh and exciting update to the world of operating systems, with its sleek design and enhanced features. However, you may find that some of your favorite applications or hardware devices are not compatible with this new version. If you are facing compatibility issues or simply prefer the familiarity and stability of Windows 10, you may be wondering if it is possible to downgrade from Windows 11 to Windows 10 without losing your valuable data.
The good news is that it is indeed possible to revert back to Windows 10 while preserving all your files, settings, and applications. In this article, we will guide you through the process of downgrading from Windows 11 to Windows 10, ensuring a smooth transition without any data loss. Whether you are experiencing compatibility problems or simply prefer the previous version, we’ve got you covered. So, let’s dive in and discover how you can downgrade from Windows 11 to Windows 10.
Inside This Article
- Step 1: Create a Backup
- Step 2: Download Windows 10 Installation Media
- Step 3: Boot from the Installation Media
- Step 4: Install Windows 10
- Step 5: Restore Your Data
- Conclusion
- FAQs
Step 1: Create a Backup
Before you proceed with downgrading Windows 11 to Windows 10, it is crucial to create a backup of your important data to ensure that no files are lost during the process. Creating a backup will give you peace of mind and safeguard your valuable information.
To create a backup, you have several options. One popular method is to use an external hard drive or a cloud storage service. Simply connect your external drive or sign up for a cloud storage account, and then copy and paste the files you want to preserve into the designated storage location.
Another option is to use the built-in Windows Backup feature, which allows you to create a complete system image. This image includes not just your personal files, but also the Windows operating system and installed programs. To access this feature, go to the Control Panel, navigate to the “Backup and Restore” section, and follow the prompts to create a system image.
Additionally, it is recommended to make a list of the applications you currently have installed, as well as any license keys or product activation details you may need to reinstall them later. This will ensure a smooth transition when restoring your system.
Remember, the key here is to be thorough and comprehensive when creating your backup. Take the time to double-check that all essential files and settings are included, as this will make the downgrade process much smoother and reduce the risk of data loss.
Step 2: Download Windows 10 Installation Media
Now that you have prepared your computer for the downgrade process, the next step is to download the Windows 10 installation media. This media will be used to reinstall Windows 10 on your computer.
To download the Windows 10 installation media, follow these steps:
- Visit the official Microsoft website or use a trusted source to download the Windows 10 ISO file. Make sure to choose the correct version and edition of Windows 10 that matches your current system.
- Once you have selected the desired Windows 10 version, click on the download button to initiate the download process. The ISO file can be quite large, so ensure that you have a stable internet connection and enough storage space on your computer.
- After the download is complete, navigate to the location where the ISO file is saved on your computer.
- Now, you will need to create a bootable USB drive or DVD using the downloaded ISO file. There are various tools available online, such as Rufus or the Windows USB/DVD Download Tool, that can help you create the bootable media. Follow the instructions provided by the tool of your choice to create the bootable media.
- Once you have successfully created the bootable Windows 10 installation media, you are ready to proceed to the next step of the downgrade process.
It is important to note that downloading the Windows 10 installation media from trusted sources ensures you have access to a legitimate and virus-free copy of the operating system. Avoid downloading from unknown or unauthorized websites to protect the security and integrity of your computer.
With the Windows 10 installation media in hand, you are now equipped to move forward with the downgrade process and restore Windows 10 on your computer.
Step 3: Boot from the Installation Media
After creating the Windows 10 installation media, you are now ready to proceed with the downgrade process. The next step is to boot your computer from the installation media.
To do this, you need to restart your computer and access the BIOS or UEFI settings. The exact method may vary depending on your computer’s manufacturer, but in most cases, you can access the BIOS by pressing a specific key during the startup process. Common keys include F2, F10, or Delete.
Once you are in the BIOS or UEFI settings, navigate to the “Boot” or “Boot Order” section. Here, you need to change the boot priority so that the installation media is set as the primary boot option. This will ensure that your computer boots from the Windows 10 installation media instead of the current operating system.
Save the changes and exit the BIOS or UEFI settings. Your computer will restart, and if everything is set up correctly, it should now boot from the Windows 10 installation media.
During the boot process, you may be prompted to press any key to boot from the installation media. Make sure to do so before the prompt times out.
Once the installation media is successfully booted, you will be presented with the Windows 10 installation screen. At this point, you can proceed with the downgrade process and reinstall Windows 10 on your computer.
It is important to note that booting from the installation media will overwrite the current operating system, so make sure you have backed up any important data and settings before proceeding.
Step 4: Install Windows 10
After successfully creating the Windows 10 installation media, you are now ready to install Windows 10 on your computer. Follow the steps below to proceed with the installation process:
1. Insert the Windows 10 installation media (USB drive or DVD) into your computer.
2. Restart your computer and boot from the installation media. To do this, you may need to change the boot order in your computer’s BIOS settings. Typically, you can access the BIOS settings by pressing a specific key (such as F2 or Del) during the boot-up process. Consult your computer’s manual or manufacturer’s website for detailed instructions on accessing the BIOS settings.
3. Once your computer boots from the installation media, you will see the Windows 10 setup screen. Select your language preferences and click “Next” to continue.
4. On the next screen, click on “Install Now” to start the installation process.
5. You will be prompted to enter the Windows 10 product key. If you have a valid Windows 10 product key, enter it and click “Next”. If you don’t have a product key, you can click on “I don’t have a product key” and select the edition of Windows 10 you want to install. You can activate Windows 10 later using a valid product key.
6. Accept the license terms and click “Next”.
7. On the next screen, choose the installation type. If you want to perform a clean installation and remove all the files on your computer, select “Custom: Install Windows only (advanced)”. If you want to keep your personal files and apps, select “Upgrade: Install Windows and keep files, settings, and applications”.
8. Select the drive where you want to install Windows 10 and click “Next”. If you are performing a clean installation, make sure to select the correct drive and back up any important files before proceeding.
9. The installation process will begin, and your computer may restart multiple times during the process. Follow the on-screen instructions to complete the installation.
10. Once the installation is complete, you will be prompted to set up Windows 10. Follow the on-screen instructions to personalize your settings, create a user account, and complete the initial setup.
After completing these steps, you will have successfully installed Windows 10 on your computer. Now you can proceed to the next step to restore your data and settings.
Step 5: Restore Your Data
After successfully downgrading to Windows 10, it’s time to restore your data and settings. Here are some steps to help you with the process:
1. Connect external storage: Begin by connecting the external storage device, such as a USB drive or external hard drive, where you have previously backed up your data.
2. Access the backup: Open the file explorer and locate the backup files on the external storage device. If you have used a backup software, follow the steps provided by the software to access your backup files.
3. Copy files: Select the files and folders you want to restore and copy them to the appropriate locations on your newly downgraded Windows 10 system. These could include documents, photos, music, videos, and any other files you wish to retrieve.
4. Restore settings: Apart from restoring your personal files, you may also need to reconfigure certain settings. Take note of any custom settings, such as desktop backgrounds, folder preferences, or application settings, and adjust them accordingly on your Windows 10 system.
5. Install necessary software: If you had any software or applications installed on your Windows 11 system that are not pre-installed on Windows 10, make sure to reinstall them. You can either use installation files you have saved or download the latest versions from the respective sources.
6. Verify data integrity: Once you have restored your data and settings, double-check the integrity of your files. Open a few documents, play some media files, and ensure everything is working as expected.
7. Secure your system: Lastly, remember to secure your downgraded Windows 10 system by installing necessary security updates, activating a reliable antivirus solution, and enabling firewall protection. This will help keep your system safe from potential threats.
By following these steps, you can successfully restore your data and settings after downgrading from Windows 11 to Windows 10. Always make sure to keep regular backups of your important files to ensure their safety and ease of restoration.
Conclusion
In conclusion, downgrading from Windows 11 to Windows 10 is a feasible option for users who find compatibility issues or simply prefer the previous version. While the process may seem daunting at first, following the steps outlined in this guide can help you downgrade smoothly and efficiently. Remember to back up your data before proceeding and carefully follow the instructions to avoid any data loss or other complications.
By downgrading to Windows 10, you can regain access to applications and features that might not be available or optimized on Windows 11. It’s important to note that downgrading will restore your previous OS version, but it may not address all compatibility issues or software conflicts that may have occurred during the upgrade. Therefore, it’s always recommended to check for updated drivers and software compatibility with Windows 10 after the downgrade.
Overall, whether you choose to stick with Windows 11 or downgrade to Windows 10, it’s important to find the operating system that best suits your needs and preferences. Stay informed about updates, troubleshoot any issues that arise, and make the most out of your computing experience.
FAQs
Q: Is it possible to downgrade from Windows 11 to Windows 10 without losing any data?
A: Yes, it is possible to downgrade from Windows 11 to Windows 10 without losing any data. However, it is recommended to back up your data before proceeding with the downgrade process, just to be on the safe side.
Q: What are the reasons someone might want to downgrade from Windows 11 to Windows 10?
A: There could be several reasons. Some users may find Windows 10 more familiar and comfortable to use, while others may encounter compatibility issues with certain software or hardware devices on Windows 11. Additionally, performance issues or difficulties adjusting to the new interface could be factors in the decision to downgrade.
Q: Can I downgrade from Windows 11 to Windows 10 for free?
A: Yes, you can downgrade from Windows 11 to Windows 10 for free if you meet the eligibility requirements. Microsoft allows users who have upgraded to Windows 11 from a valid Windows 10 license to freely downgrade within 10 days of the upgrade. After the 10-day window, a valid Windows 10 license may be required for the downgrade.
Q: What is the process for downgrading from Windows 11 to Windows 10?
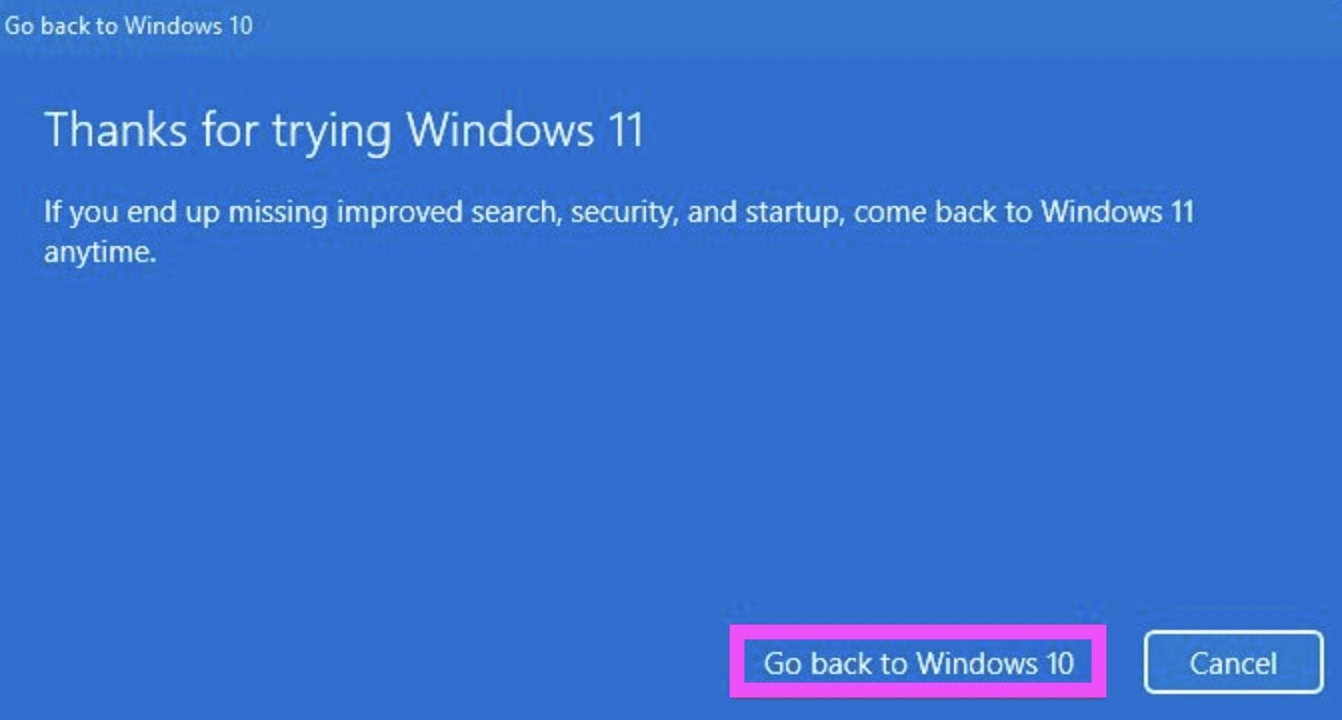
A: To downgrade from Windows 11 to Windows 10, you will need to access the Windows Recovery Environment (WinRE) by restarting your computer and pressing a specific key combination during startup. From there, you can choose the option to “Go back to Windows 10.” You may need to follow additional prompts and provide your Windows 10 installation media or product key, depending on your situation.
Q: Are there any risks associated with downgrading from Windows 11 to Windows 10?
A: While the process itself is relatively safe, there are a few risks to consider. Firstly, there is a chance of data loss if you do not back up your files beforehand. Additionally, downgrading could potentially introduce compatibility issues between your system and Windows 10, especially if you were experiencing issues with Windows 11. It is recommended to thoroughly research and understand the implications before proceeding with the downgrade.