
Welcome to our comprehensive guide on how to enable your wireless adapter! In today’s technologically advanced world, the ability to connect wirelessly is crucial, whether you’re using a laptop, tablet, or smartphone. Your wireless adapter allows you to connect to Wi-Fi networks, giving you access to the internet, cloud services, and various network resources.
In this article, we will walk you through the steps to enable your wireless adapter on different devices and operating systems. Whether you’re using Windows, macOS, iOS, or Android, we’ve got you covered. We’ll also provide troubleshooting tips for common issues you may encounter along the way.
So, if you’re ready to unleash the power of wireless connectivity and get your devices connected to the internet, let’s dive in and learn how to enable your wireless adapter!
Inside This Article
- Overview
- Step 1: Check for wireless adapter
- Step 2: Enable wireless adapter through Device Manager
- Step 3: Enable wireless adapter through Network Connections
- Step 4: Update wireless adapter drivers
- Conclusion
- FAQs
Overview
Enabling your wireless adapter is essential for connecting to Wi-Fi networks and enjoying the convenience of wireless internet. Whether you’re using a laptop, desktop, or mobile device, having a functioning wireless adapter is crucial for a seamless online experience. This article will guide you through the steps to enable your wireless adapter and ensure you’re ready to connect to the world wide web.
There are multiple methods to enable your wireless adapter, and we’ll explore each one in this article. You can check for the wireless adapter’s presence on your device, enable it through Device Manager or Network Connections, and even update the drivers to ensure optimal performance. By following these steps, you’ll be well on your way to staying connected and enjoying the benefits of the digital age.
Before we dive into the details, it’s important to note that the exact steps and options may vary slightly depending on your operating system and device. However, the overall process remains similar across different platforms, so you’ll still find valuable guidance regardless of the specific configuration you’re using.
Step 1: Check for wireless adapter
Before you can enable your wireless adapter, you need to ensure that your device actually has a wireless adapter. It’s not uncommon for some devices, especially desktop computers, to not come equipped with built-in wireless adapters. Here’s how you can check:
1. Look for a physical switch or button on your device that turns the wireless on or off. Many laptops have a dedicated switch or button that you can toggle to enable or disable wireless connectivity.
2. If you don’t see a physical switch, check the sides or back of your device for a small slot that could house a wireless card. Some devices allow you to install a separate wireless card to enable wireless connectivity.
3. If you’re using a desktop computer, check the back panel for an antenna or antenna ports. These indicate the presence of a wireless adapter.
4. Check the device specifications or user manual. Look for information about wireless connectivity or network adapters. This will confirm whether your device is equipped with a wireless adapter.
If you’ve confirmed that your device has a wireless adapter, you’re ready to move on to the next step and enable it. If not, you may need to consider purchasing an external wireless adapter or using an Ethernet connection for internet access.
Step 2: Enable wireless adapter through Device Manager
If you’re facing issues with your wireless adapter and it’s disabled, you can enable it through the Device Manager on your Windows computer. The Device Manager is a convenient and powerful tool that allows you to manage and control various hardware devices connected to your system. To enable your wireless adapter, follow these simple steps:
1. Press the Windows key + R on your keyboard to open the Run dialog box. Type “devmgmt.msc” and hit Enter. This will open the Device Manager.
2. In the Device Manager, locate the “Network adapters” category and click on the arrow next to it to expand the list of network adapters installed on your computer.
3. Look for your wireless adapter in the list. It might be named differently depending on the make and model of your adapter, but it often includes “Wireless”, “Wi-Fi”, or the brand name of the adapter.
4. Right-click on your wireless adapter and select “Enable” from the context menu. This will enable your wireless adapter and allow it to connect to available Wi-Fi networks.
5. After enabling the wireless adapter, it may take a few moments for it to fully initialize. Once the adapter is enabled and connected, you should see the Wi-Fi icon in the system tray or taskbar, indicating that you are now connected to a network.
Enabling your wireless adapter through the Device Manager is a straightforward solution that can resolve issues related to disabled wireless adapters. If you’re still experiencing connectivity problems, you may need to update the drivers for your wireless adapter or troubleshoot your network settings further.
Remember to keep your wireless adapter drivers up to date to ensure optimal performance and compatibility with the latest networks. Updating your drivers can often provide bug fixes and enhancements that can improve the connection stability and speed of your wireless adapter.
Now that you know how to enable your wireless adapter through the Device Manager, you can easily troubleshoot and resolve any connectivity issues you may encounter.
Step 3: Enable wireless adapter through Network Connections
Enabling a wireless adapter through Network Connections is another method to quickly get your wireless connectivity up and running. Follow these steps:
1. On your computer, go to the Start menu and open the Control Panel.
2. In the Control Panel, locate and click on the “Network and Internet” category.
3. From the “Network and Internet” options, click on “Network and Sharing Center.”
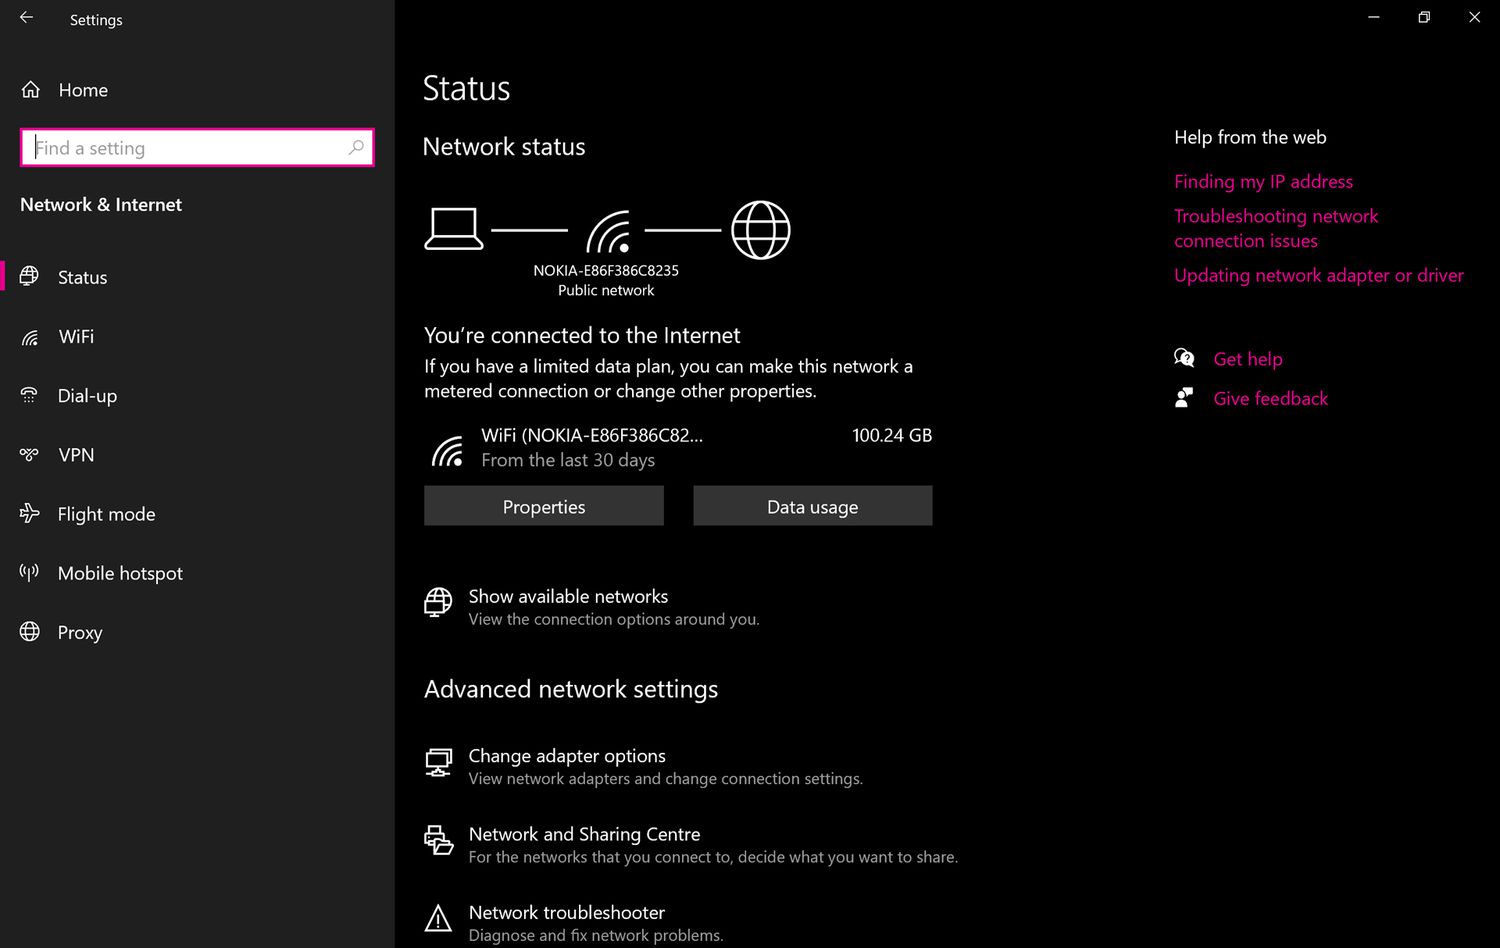
4. In the Network and Sharing Center, click on “Change adapter settings” on the left-hand side of the window.
5. This will open the Network Connections window, where you can see all the network adapters installed on your computer.
6. Look for the wireless adapter from the list. It is usually labeled as “Wireless Network Connection” or “Wi-Fi.”
7. Right-click on the wireless adapter and select “Enable” from the dropdown menu. This will enable the wireless adapter on your computer.
8. After enabling the wireless adapter, you will see the adapter icon with a signal strength indicator in the Windows taskbar.
9. You can now connect to a wireless network by clicking on the network icon in the taskbar and selecting a network from the available options.
10. If you still can’t see any available networks, try restarting your computer or troubleshooting your wireless connection.
Enabling your wireless adapter through Network Connections is a straightforward process that can help you regain your wireless connectivity quickly. Make sure to follow these steps carefully, and you’ll be back online in no time!
Step 4: Update wireless adapter drivers
Updating the drivers for your wireless adapter is essential to ensure optimal performance and compatibility with the latest technologies. Outdated drivers can often lead to connectivity issues and poor network performance. Follow the steps below to update your wireless adapter drivers:
- Identify the make and model of your wireless adapter. You can do this by checking the device information in the Device Manager or referring to the documentation provided with your computer or wireless adapter.
- Visit the manufacturer’s website. Once you have the make and model information, go to the official website of the wireless adapter manufacturer. Look for the support or downloads section of the website.
- Search for the latest drivers. Use the search function on the manufacturer’s website to find the most recent drivers for your wireless adapter. Make sure to select the correct version that matches your operating system.
- Download and install the drivers. Once you have located the correct drivers, download them to your computer. Most manufacturers provide easy-to-follow installation instructions along with the driver file. Follow the instructions carefully to ensure a successful installation.
- Restart your computer. After the installation is complete, it is recommended to restart your computer to apply the driver updates effectively.
- Test the wireless adapter. Once your computer restarts, check if the wireless adapter is working properly. Ensure that you can connect to the internet and that the connection is stable.
Updating your wireless adapter drivers can often resolve connectivity issues and improve network performance. It is advisable to periodically check for driver updates and install them to ensure a smooth and seamless wireless experience.
Conclusion
In conclusion, enabling your wireless adapter is a straightforward process that allows you to connect to the internet wirelessly and enjoy the convenience of a wireless network. Whether you are using a laptop, tablet, or smartphone, being able to access the internet without the need for ethernet cables can greatly enhance your productivity and entertainment options.
By following the steps outlined in this article, you can easily enable your wireless adapter and start enjoying the benefits of a wireless connection. Remember to check that your device is equipped with a wireless adapter, ensure that it is enabled in the device settings, and troubleshoot any potential issues that may arise.
So go ahead, enable your wireless adapter, and experience the freedom and flexibility of a wireless connection!
FAQs
FAQ 1: Why is my wireless adapter not working?
There can be several reasons why your wireless adapter is not working. It could be due to driver issues, network interference, incorrect settings, or a faulty adapter. Make sure to check your drivers, reset your network settings, and ensure that the adapter is properly connected to your device.
FAQ 2: How do I enable my wireless adapter?
To enable your wireless adapter, follow these steps:
1. Go to the Control Panel on your computer.
2. Click on Network and Internet.
3. Select Network and Sharing Center.
4. Click on Change adapter settings.
5. Right-click on your wireless adapter and select Enable.
FAQ 3: How do I update the drivers for my wireless adapter?
To update the drivers for your wireless adapter, you can follow these steps:
1. Open the Device Manager on your computer.
2. Expand the Network adapters category.
3. Right-click on your wireless adapter and select Update driver.
4. Choose to search automatically for updated driver software.
5. If a new driver is found, follow the prompts to install it.
FAQ 4: Can I use a USB wireless adapter for my desktop computer?
Yes, you can use a USB wireless adapter for your desktop computer. USB wireless adapters are a convenient way to add Wi-Fi capability to a desktop computer that does not have built-in Wi-Fi. Simply plug the USB adapter into an available USB port on your desktop, install the necessary drivers, and you will be able to connect to wireless networks.
FAQ 5: How do I troubleshoot my wireless adapter?
If you are experiencing issues with your wireless adapter, here are some troubleshooting steps you can try:
1. Restart your computer and router.
2. Check if other devices can connect to the Wi-Fi network.
3. Disable and enable the wireless adapter.
4. Update the drivers for the wireless adapter.
5. Reset the network settings on your computer.
6. Try connecting to a different Wi-Fi network to see if the issue persists.