
Are you struggling to connect to a wireless network on your laptop? One possible solution may be to turn on the wireless capability. Wireless capability allows your laptop to connect to Wi-Fi networks, giving you access to the internet without the need for physical cables.
In this article, we will guide you through the steps to turn on wireless capability in your laptop. Whether you have a Windows or Mac laptop, we’ll cover the necessary steps to get you connected and online in no time. So, if you’re ready to enjoy the freedom of wireless internet, let’s dive in and learn how to enable the wireless capability on your laptop.
Inside This Article
- Understanding Wireless Capability
- Checking Wireless Capability Status
- Turning On Wireless Capability Using Function Keys
- Enabling Wireless Capability in Device Settings
- Conclusion
- FAQs
Understanding Wireless Capability
Before we dive into how to turn on the wireless capability in a laptop, let’s first understand what wireless capability is. In simple terms, wireless capability refers to the ability of a device, such as a laptop, to connect to a wireless network, allowing you to access the internet without the need for a physical connection.
Wireless capability is made possible through the use of a wireless network adapter, also known as a Wi-Fi adapter. This adapter enables your laptop to send and receive wireless signals, allowing you to connect to Wi-Fi hotspots or your home network.
Having wireless capability in your laptop allows you to work or browse the internet from anywhere within the range of a wireless network, providing flexibility and convenience. It eliminates the need for tangled wires and allows you to connect multiple devices simultaneously.
When your laptop has wireless capability, you can easily connect to public Wi-Fi networks in cafes, airports, and other locations. Furthermore, you can create your own Wi-Fi hotspot using your laptop’s wireless capability, which can be very useful when you’re on the go and need to connect another device to the internet.
Now that you have a better understanding of what wireless capability is, let’s proceed to the next section to learn how to check the wireless capability status on your laptop.
Checking Wireless Capability Status
Before proceeding to turn on the wireless capability in your laptop, it is essential to check the current status of your wireless capability. This will help ensure that you have a clear understanding of whether it is turned on or off.
Here’s how you can check the wireless capability status:
- Look for the wireless icon in the system tray, typically located in the bottom-right corner of the taskbar. The icon usually resembles a series of vertical bars or waves.
- If the wireless icon is visible, it indicates that your laptop has wireless capability. You can hover your cursor over the icon to view additional details, such as the network you are connected to or the signal strength.
- If the wireless icon is not visible in the system tray, it means that your laptop may not have wireless capability or that it is currently turned off.
- In such cases, you can also check the wireless capability status by going to the Network and Internet settings on your laptop. To access these settings, click on the Start menu and navigate to the Settings option. From there, select Network & Internet.
- Within the Network & Internet settings, look for the Wi-Fi or Wireless section. This section will display the status of your wireless capability, indicating whether it is turned on or off.
By checking the wireless capability status, you can determine the next steps to take in order to turn on wireless capability if it is currently turned off. This will ensure that you can connect to Wi-Fi networks and enjoy the benefits of wireless connectivity on your laptop.
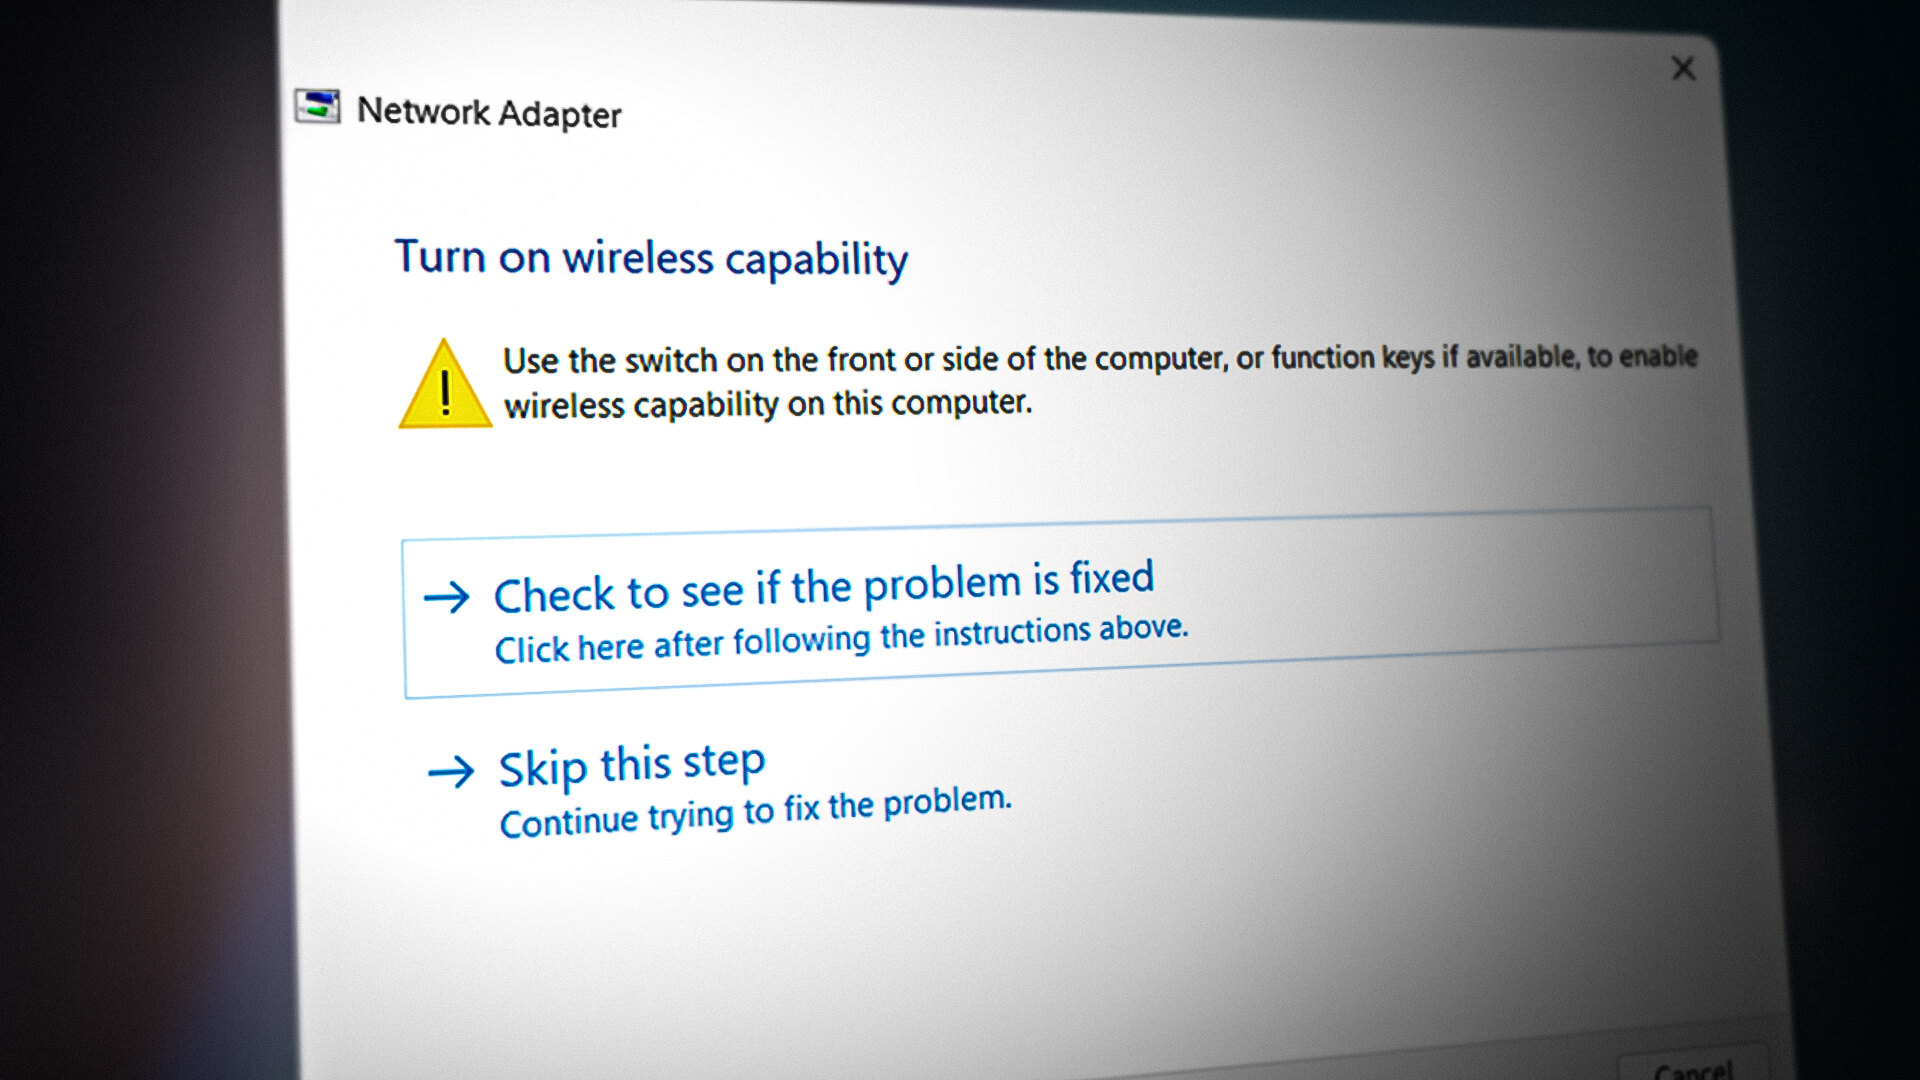
Turning On Wireless Capability Using Function Keys
Another common way to turn on the wireless capability on your laptop is by using the function keys. Function keys, usually located at the top row of your keyboard, have icons or symbols representing different functionalities.
Here is a step-by-step guide on how to turn on wireless capability using function keys:
- Look for the function key that has a wireless symbol or an antenna icon. It is usually labeled as “Fn” or “Function.”
- Press and hold the Fn key along with the corresponding function key that controls your laptop’s wireless capability. Typically, it is the F2, F3, F10, or F12 key, but it may vary depending on the make and model of your laptop.
- While holding down the Fn key, press the designated wireless function key once. This action should activate the wireless capability on your laptop.
- Wait for a few seconds for your laptop to establish a wireless connection. You can check the wireless status icon on your taskbar or the wireless indicator light on your laptop to confirm if the wireless capability is now turned on.
Note: If pressing the combination of the Fn key and the designated wireless function key does not turn on the wireless capability, it is possible that your laptop does not have this feature. In such cases, you can try other methods, as described earlier, to enable wireless capability.
Remember that the specific function key combination may vary based on your laptop’s manufacturer and model. Referring to your laptop’s user manual or searching for the specific key combination online can provide you with more accurate instructions.
Enabling Wireless Capability in Device Settings
If you have checked the hardware switches and function keys on your laptop and still cannot find a way to turn on the wireless capability, you may need to enable it through the device settings. Here’s how you can do it:
- Open the Start Menu: Click on the Windows logo on the bottom left corner of your screen to open the Start Menu.
- Go to Settings: In the Start Menu, click on the gear icon to open the Settings menu.
- Access Network & Internet Settings: In the Settings menu, click on “Network & Internet” to access the network settings.
- Choose Wi-Fi: In the Network & Internet settings, click on the “Wi-Fi” option on the left-hand side of the window.
- Enable Wireless Capability: In the Wi-Fi settings, you should see a toggle switch to enable or disable the wireless capability. Make sure the toggle switch is set to the “On” position to enable wireless connectivity.
Once you have followed these steps and enabled the wireless capability in the device settings, your laptop should be able to connect to wireless networks. It’s important to note that the exact steps may vary slightly depending on the version of Windows or the operating system you are using.
Enabling wireless capability in the device settings is a handy solution if you are unable to find a physical switch or function key on your laptop. It gives you easy access to enable or disable the wireless feature without the need for external switches or buttons.
Now that you know how to enable wireless capability through the device settings, you can stay connected and enjoy the convenience of wireless internet on your laptop.
Conclusion
In conclusion, turning on the wireless capability in your laptop is a simple task that can be done with just a few clicks. By following the steps outlined in this article, you can easily enable the wireless feature and enjoy a seamless internet connection without the need for any additional cables or wires.
Having wireless capability in your laptop allows you to connect to Wi-Fi networks wherever they are available, providing you with the freedom to browse the internet, stream videos, and communicate with others without being tied down by physical connections.
Remember to always double-check the hardware switch or function key in your laptop to ensure that the wireless capability is enabled. If you encounter any issues or difficulties, consult the user manual or contact the manufacturer’s support for further guidance.
With wireless capability enabled, you can fully unlock the potential of your laptop and make the most of the countless online opportunities and resources that are available to you at any time.
FAQs
Q: What is wireless capability in a laptop?
A: Wireless capability in a laptop allows you to connect to Wi-Fi networks and access the internet without the need for a physical Ethernet cable.
Q: How do I know if my laptop has wireless capability?
A: Most modern laptops come equipped with built-in wireless capability. You can check if your laptop has wireless capability by looking for a wireless symbol or an antenna icon on the laptop’s keyboard, top panel, or side panel. Additionally, you can navigate to the “Network Connections” or “Wireless” settings in your laptop’s control panel to see if a wireless adapter is listed.
Q: How do I turn on the wireless capability in my laptop?
A: Turning on wireless capability in a laptop can vary depending on the model, but generally, you can follow these steps:
1. Look for a physical switch or a key combination (Fn key + a function key with a wireless symbol) on your laptop’s keyboard that enables or disables wireless capability. This switch or key combination might be labeled as “Wireless,” “Wi-Fi,” or have an antenna icon.
2. If there is no physical switch or key combination, you can enable wireless capability through your laptop’s operating system. In Windows, click on the Wi-Fi or network icon in the system tray and select the “Wi-Fi” option to turn it on. On macOS, click on the Wi-Fi icon in the menu bar and choose “Turn Wi-Fi On.”
Q: Why is my wireless capability not turning on?
A: There could be several reasons why your laptop’s wireless capability is not turning on:
– Make sure that your laptop has a wireless adapter installed. If not, you may need to purchase and install a compatible wireless adapter.
– Check if the wireless switch or key combination on your laptop is in the “on” position.
– Restart your laptop and try turning on the wireless capability again.
– Update the drivers for your wireless adapter by visiting the manufacturer’s website.
– If none of the above solutions work, there may be a hardware issue with your laptop’s wireless capabilities, in which case, contacting the manufacturer or a computer technician would be advisable.
Q: Can I add wireless capability to a laptop that doesn’t have it?
A: Yes, it is possible to add wireless capability to a laptop that doesn’t have it. You can do so by purchasing and installing an external USB Wi-Fi adapter, also known as a wireless dongle. These USB adapters can be plugged into one of the laptop’s USB ports and provide wireless connectivity.