Start here: Procreate

All topics →

This tag collects guides for using the Procreate app on an iPad, aimed at anyone from beginners learning the basics to more experienced digital artists looking for specific fixes. The articles here focus on practical, step-by-step solutions for common drawing, design, and editing tasks within the app.

The tutorials break down into a few clear themes. One major group covers core drawing and editing techniques, you’ll find help with smoothing lines, making a perfect circle, mirroring your drawing, and using symmetry. Another set of articles deals with color and layers, including how to pick or change color, use the eyedropper, invert colors, merge layers, and make a layer transparent. A third theme is working with text and images: you can learn to curve text, edit text, cut out or crop an image, and trace an image directly in Procreate.

Specific topics include saving your work, making a sticker, adding a grid, and even renaming a stack. For those wondering about cost, there is also an article on how much Procreate costs on the iPad. Whether you need to resize an image, turn on grayscale, or get new brushes, these articles help you perform each action without extra fuss.
Coloring, Shading and Rendering in Procreate

Setting up your canvas and layers for procreate shading rendering Master procreate shading rendering by first ensuring your Layers panel is set up correctly, because the state of it determines...

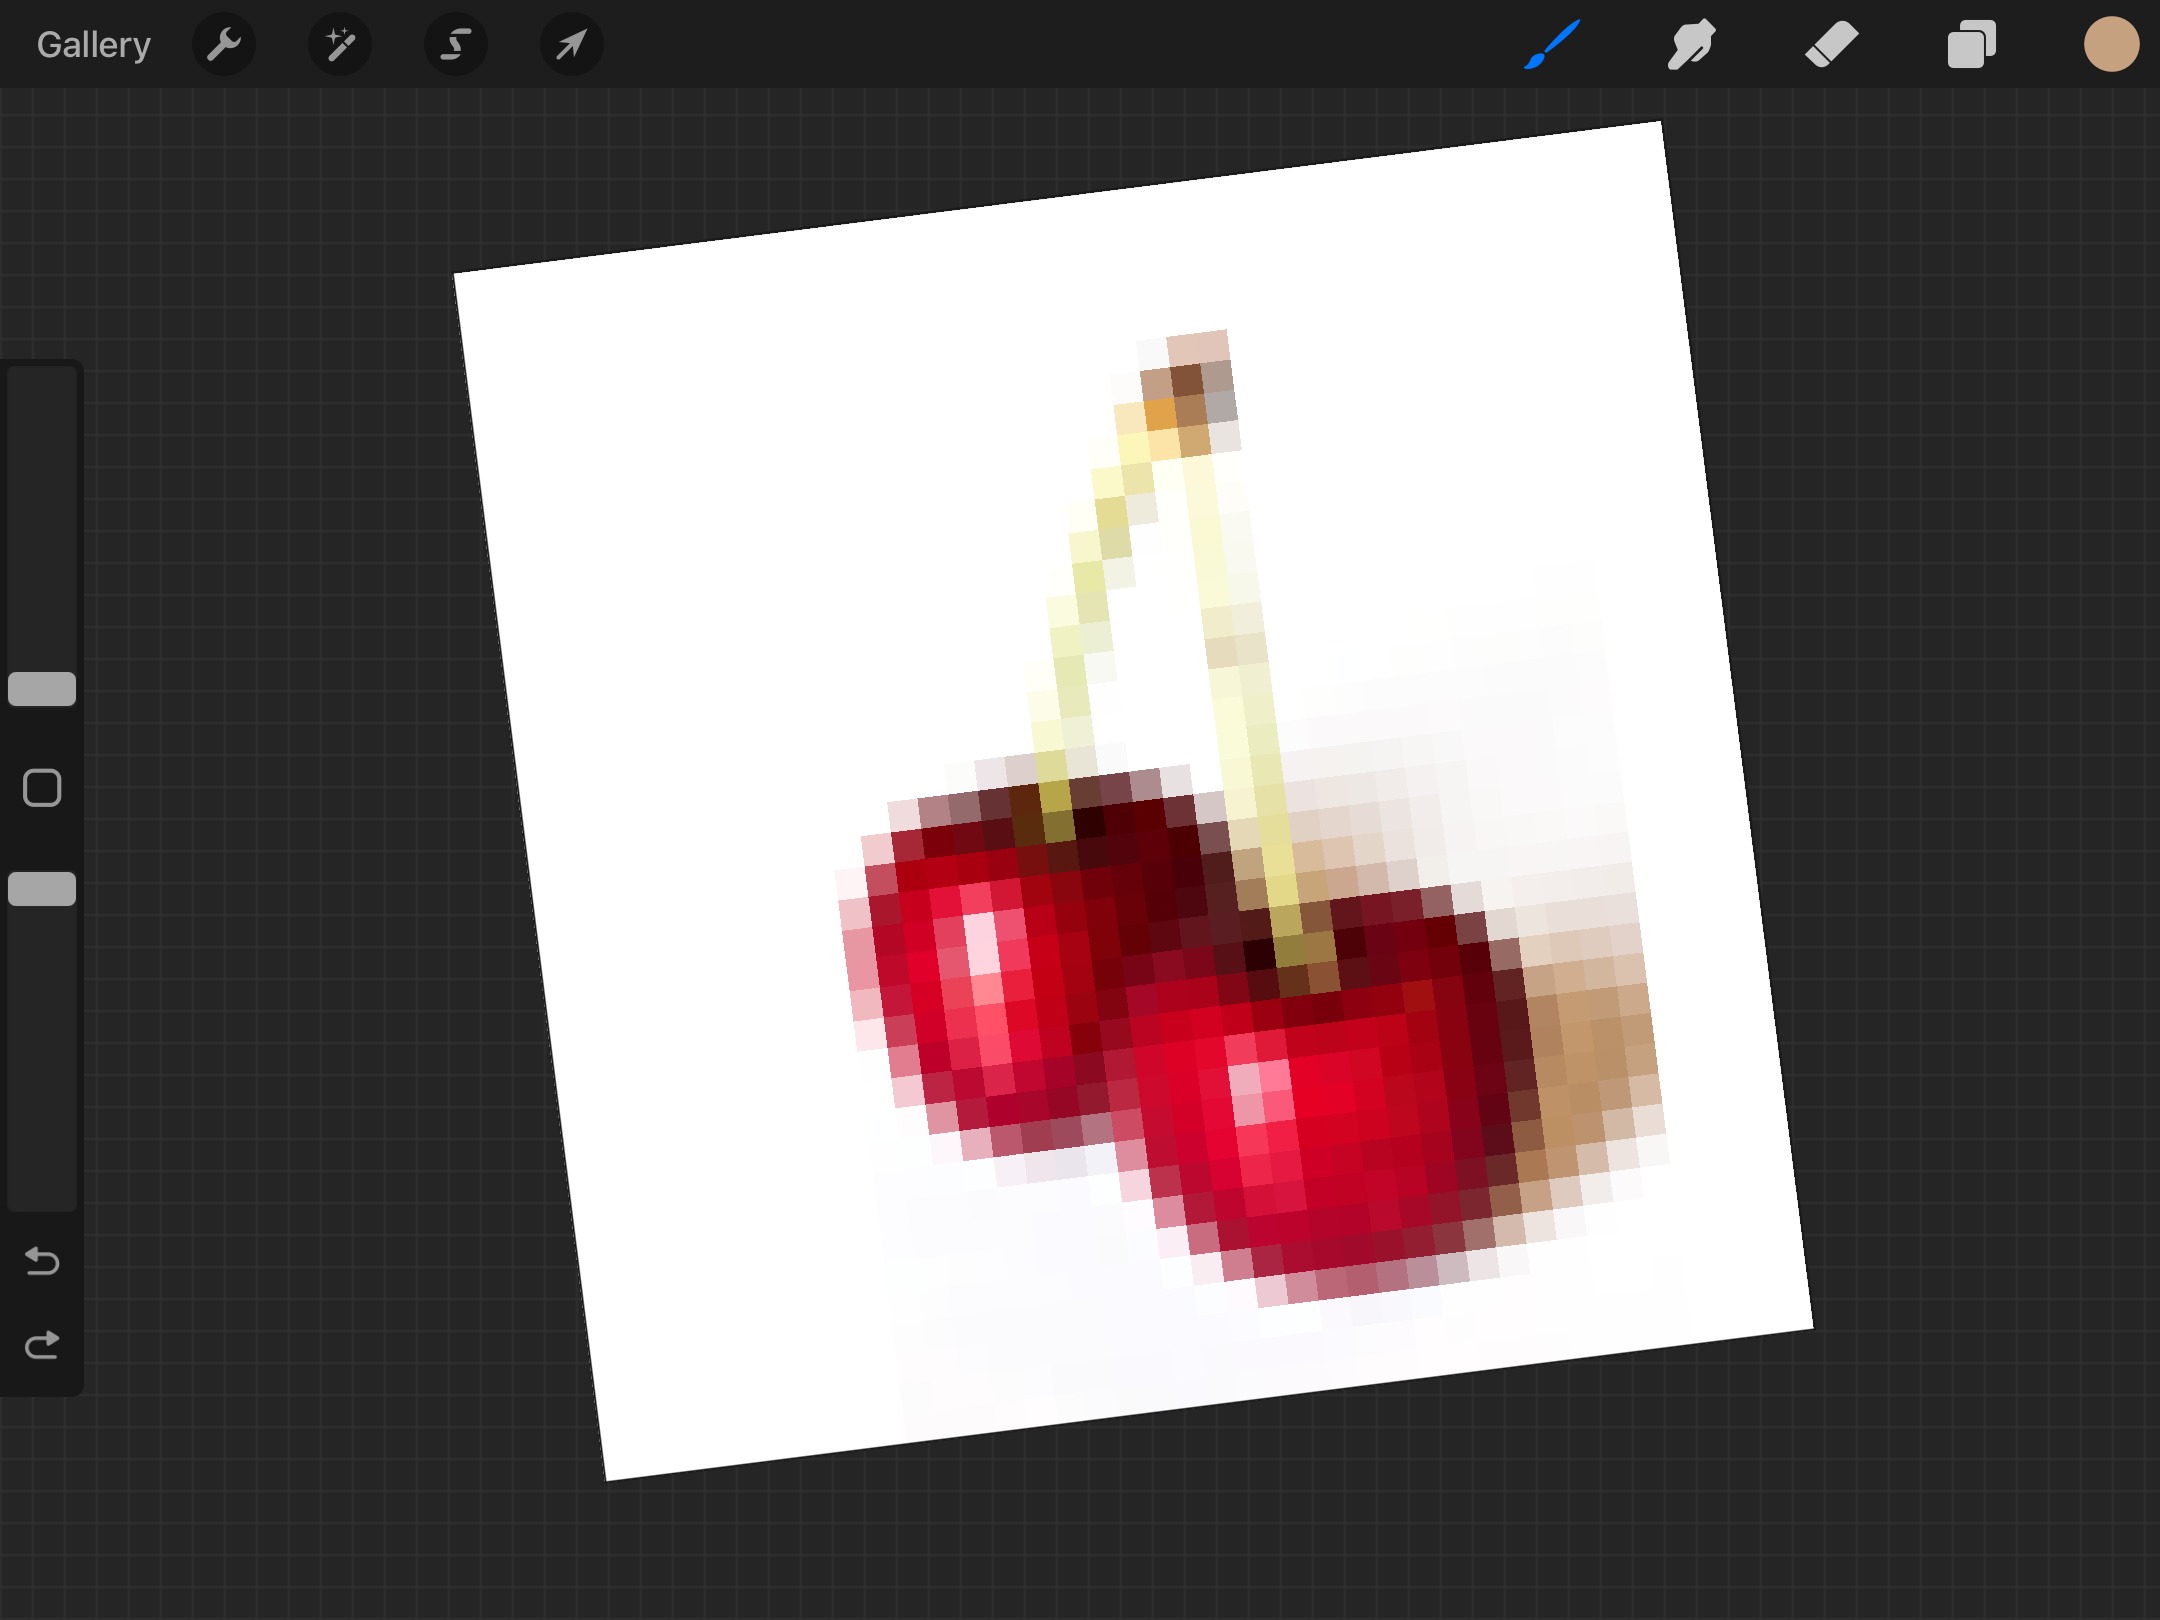
How To Pixelate In Procreate

To pixelate in Procreate, use the Glitch adjustment's Artifact option for a direct, blocky effect, or transform your artwork with Nearest Neighbor interpolation for sharp, retro-style pixelation. Both methods let...

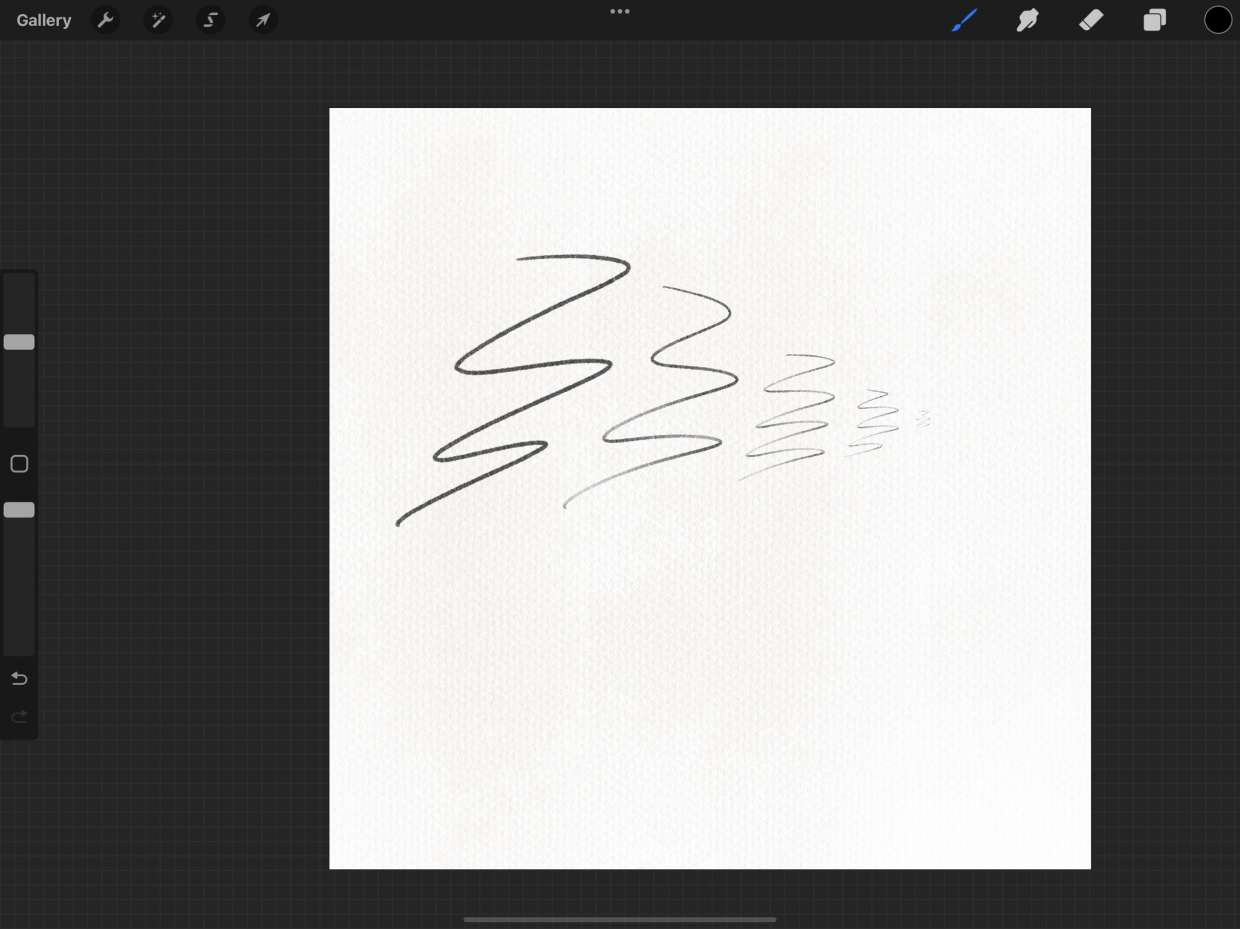
How To Make Lines Thicker In Procreate

To make lines thicker in Procreate, use the upper slider on the left sidebar to increase the brush size while you draw. This is the primary documented method to make...

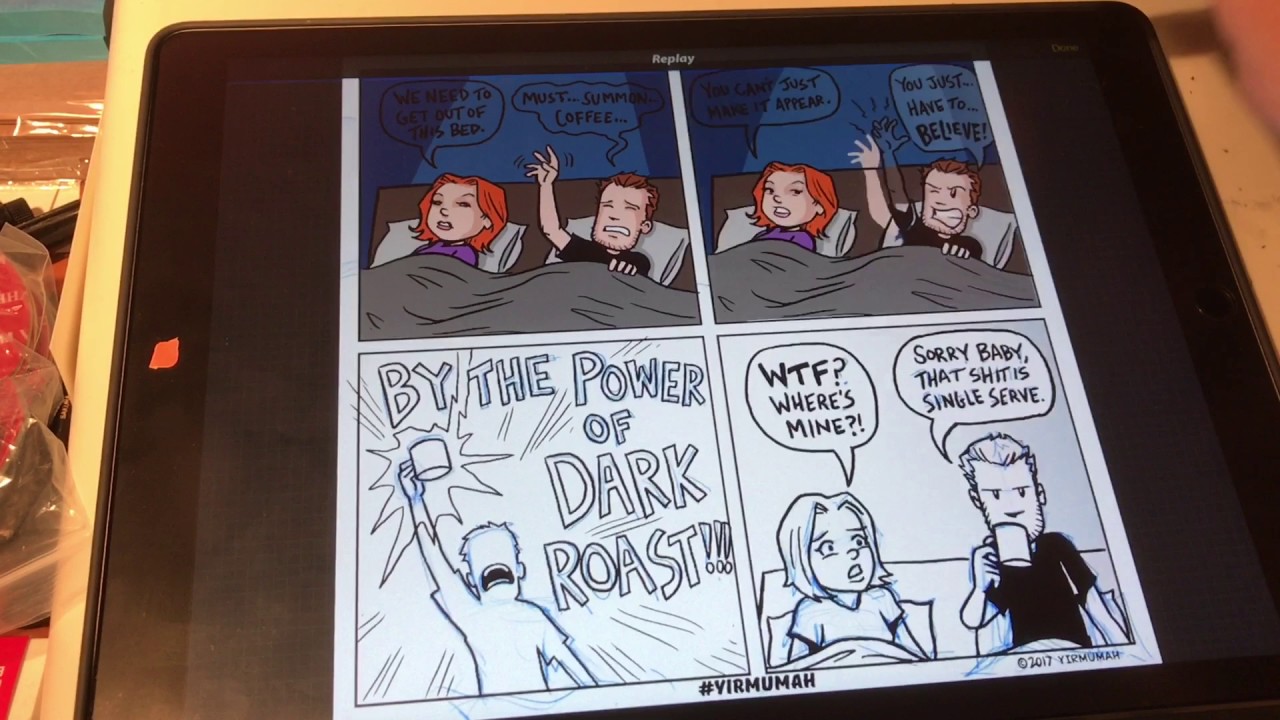
How To Make Comic Panels In Procreate

To make comic panels in Procreate, you draw a rough rectangle and hold your stroke to snap it into a perfect shape using QuickShape, then create white gutters between panels...

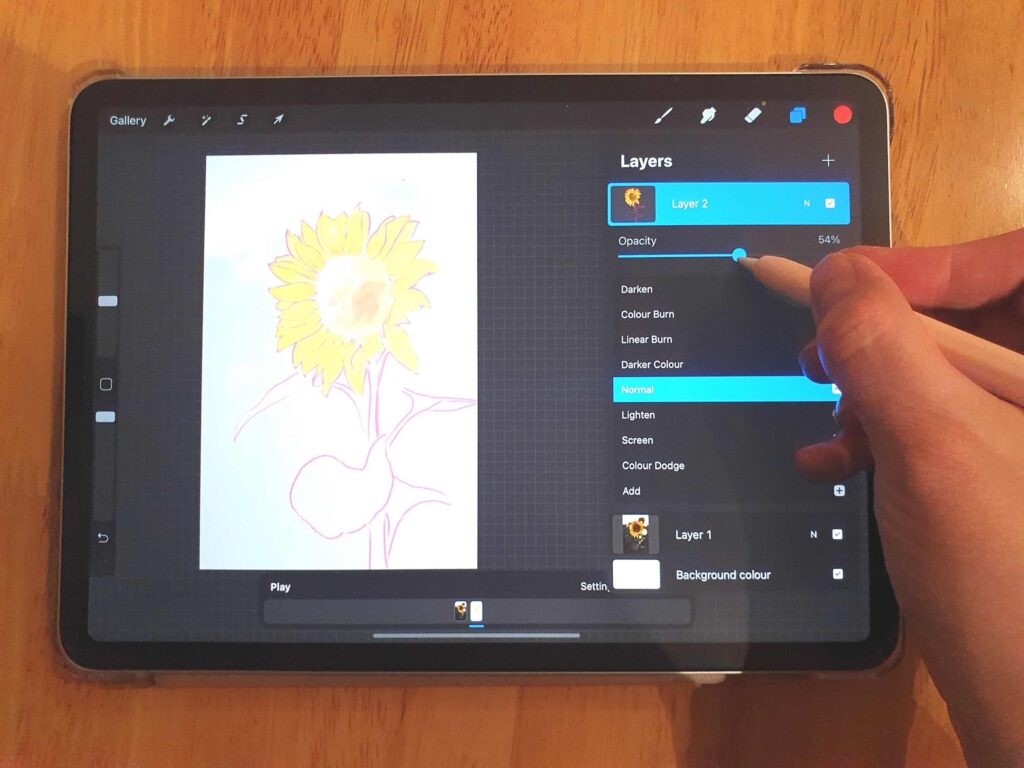
How To Turn Down Opacity On Procreate

To turn down opacity on Procreate, you can adjust a layer's transparency using the Layers panel or the Adjustments menu on iPad, and the same controls are available on iPhone...

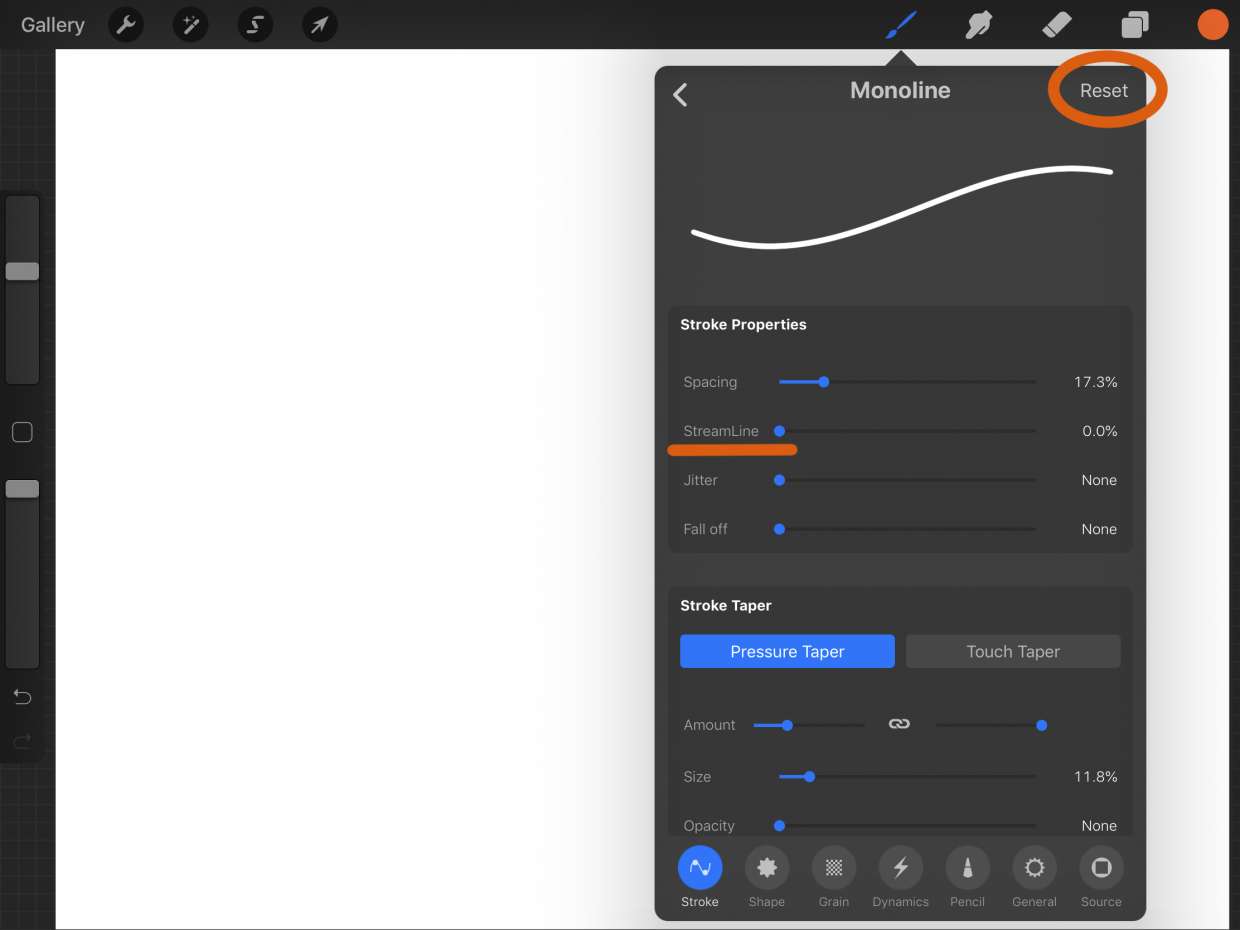
How To Reset Procreate

To reset Procreate when it misbehaves, you should quit and relaunch the app or restart your iPad, because Procreate does not have a dedicated reset button or factory reset menu....

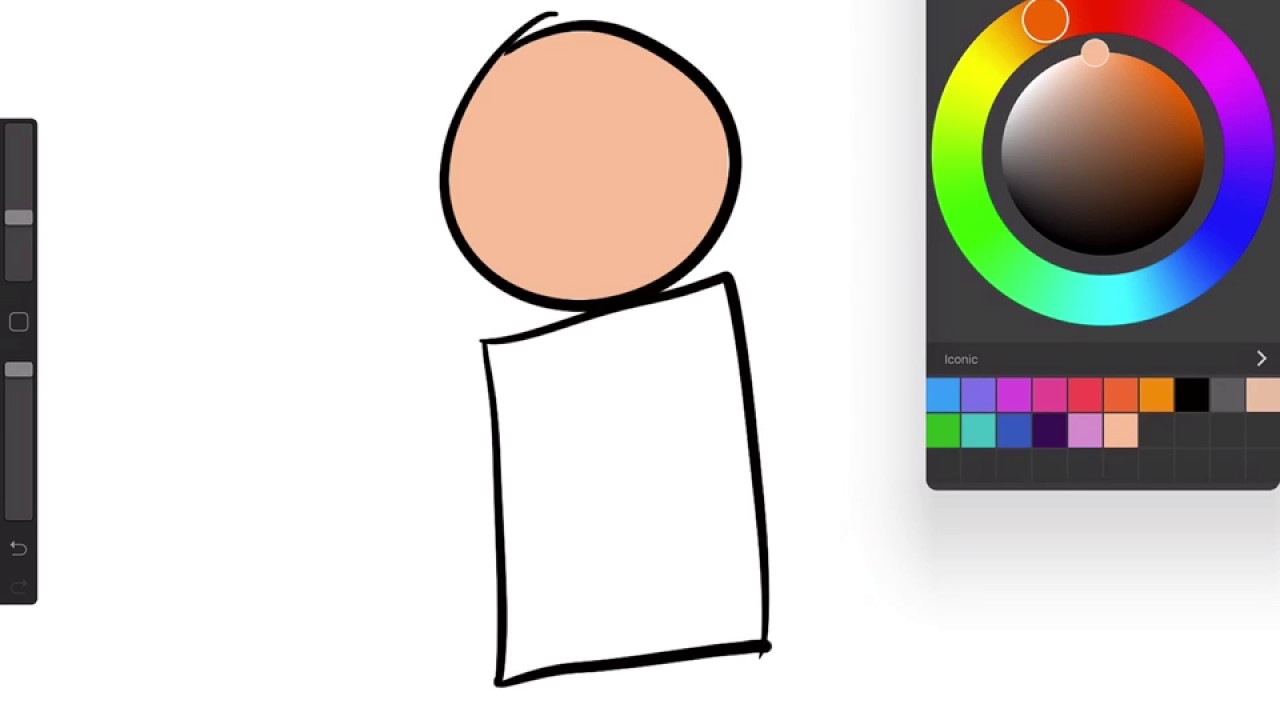
How To Use Bucket Tool In Procreate

ColorDrop in Procreate is the feature that works like a bucket tool, letting you fill areas with solid color by dragging your active color onto the canvas. It is not...

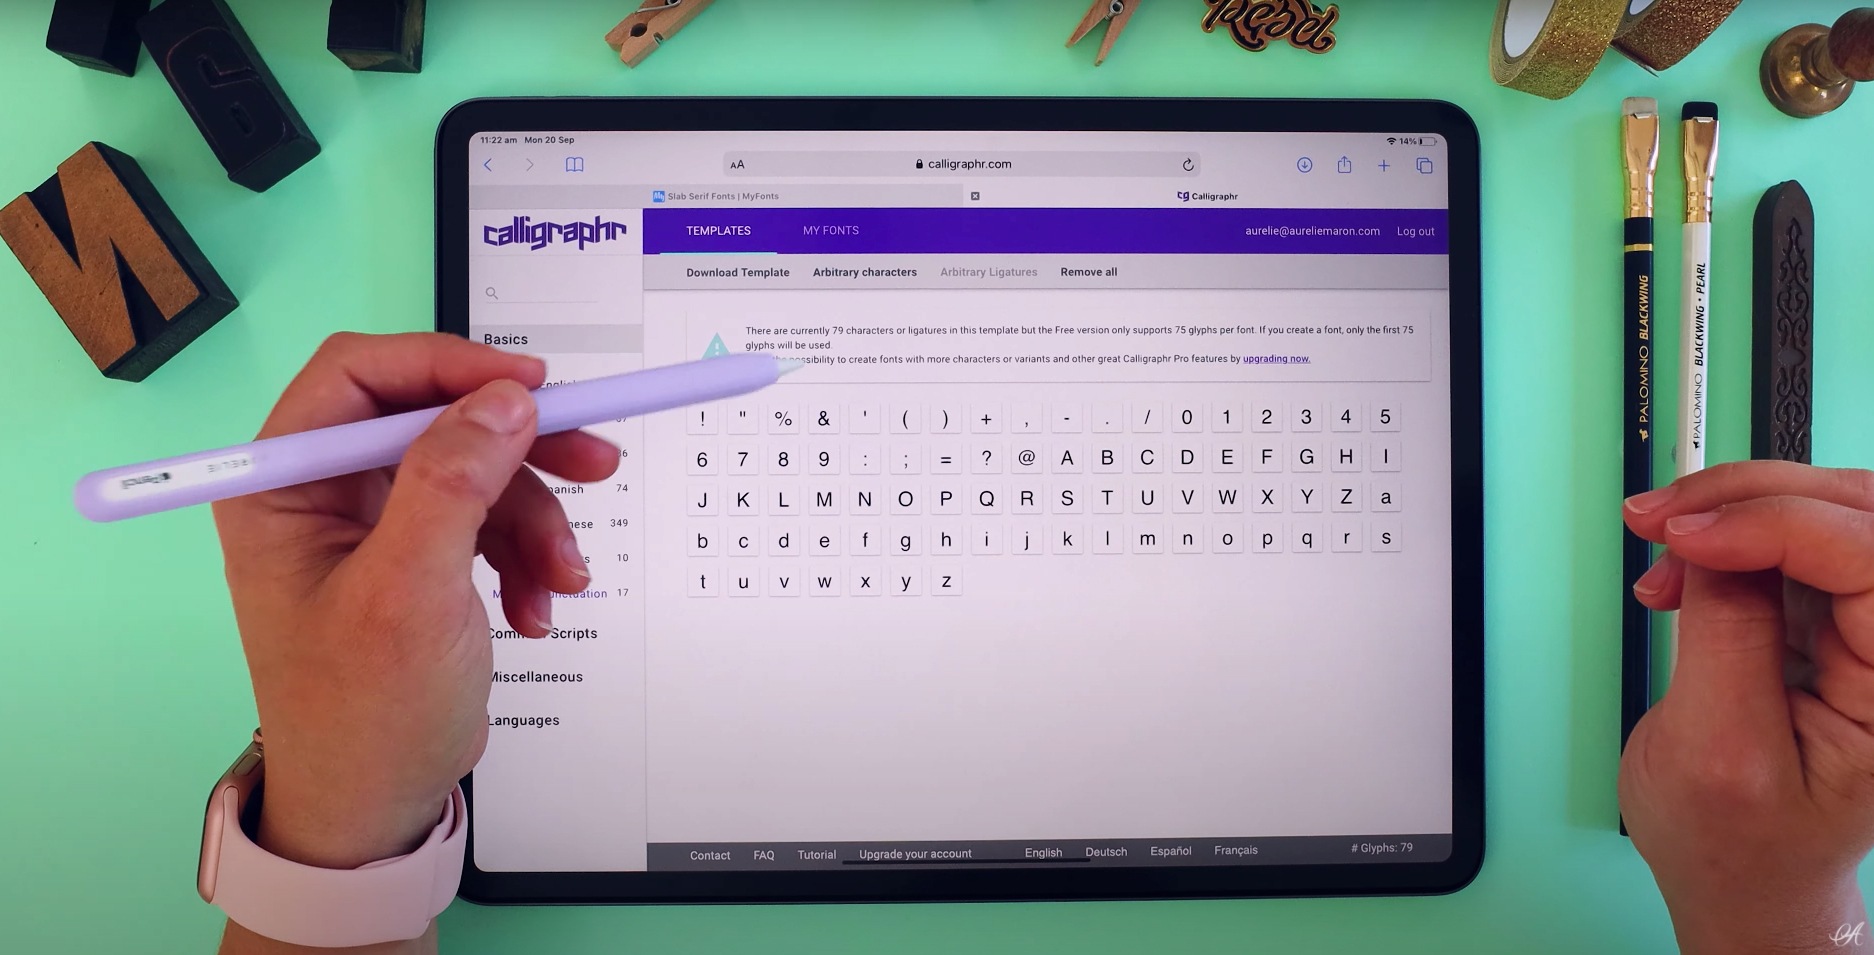
How To Create A Font In Procreate

You cannot create a font in Procreate because Procreate is a drawing tool, not a font editor. You can design the letterforms inside the app, but you need external software...

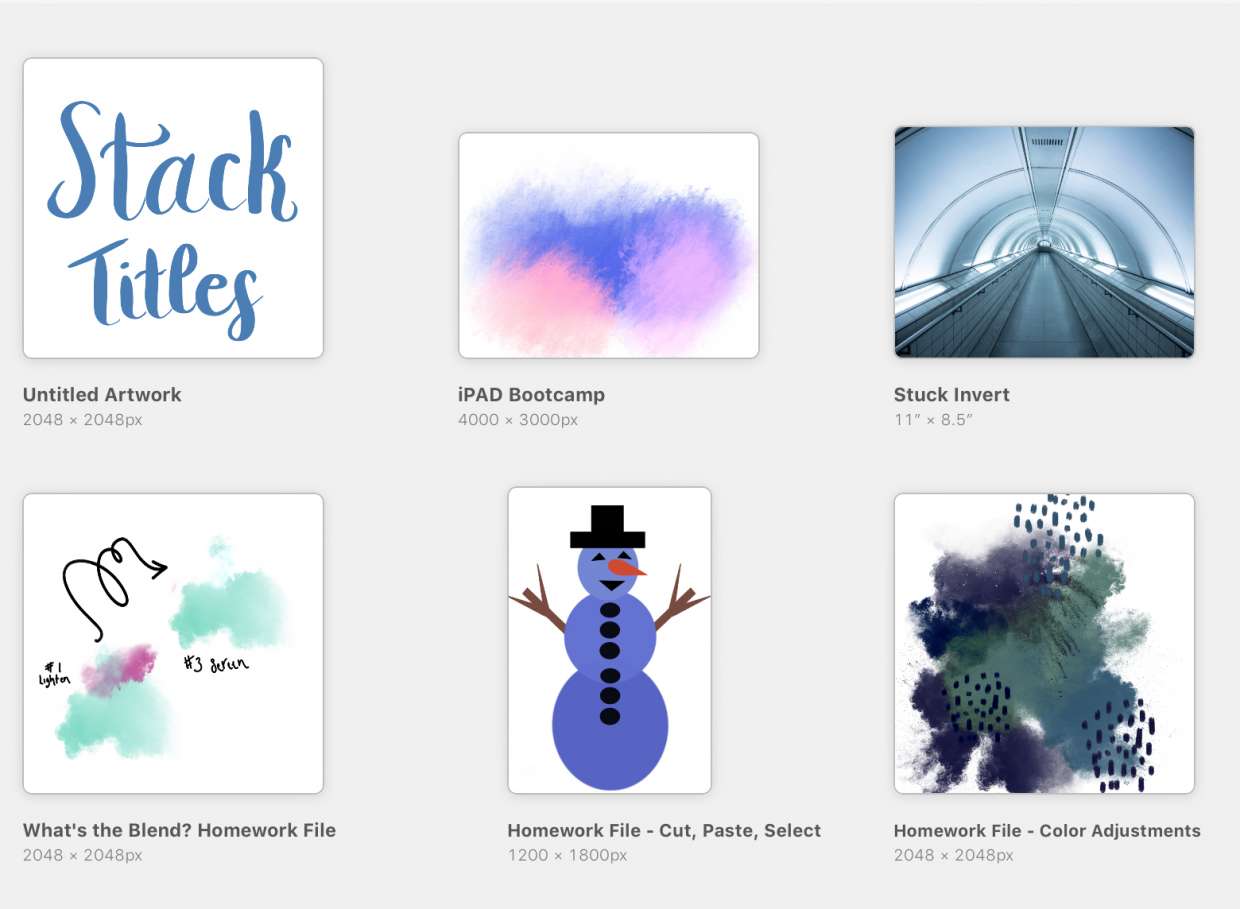
How To Name Art In Procreate

To name art in Procreate, tap the title under the artwork thumbnail in the Gallery, type a new name, and press Return. Alternatively, open the piece, go to Actions →...

How To Rename A Brush In Procreate

To rename a brush in Procreate, tap and hold the brush in the Brush Library, select Rename from the menu, type the new name, and tap Done. This is the...

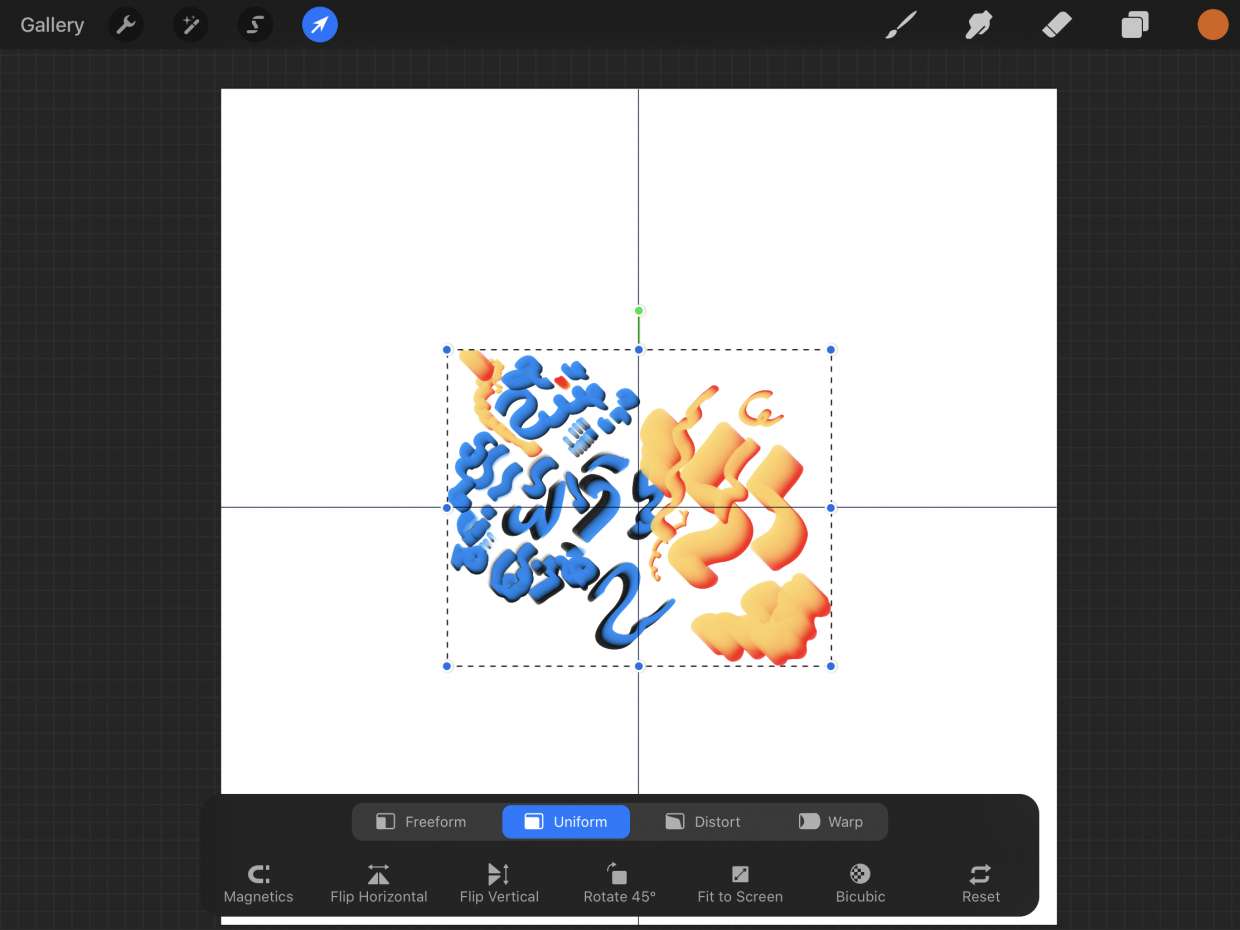
How To Center Something In Procreate

To center something in Procreate, use the Transform tool's Snapping feature to align a layer or object to the exact middle of the canvas. This is the primary method for...

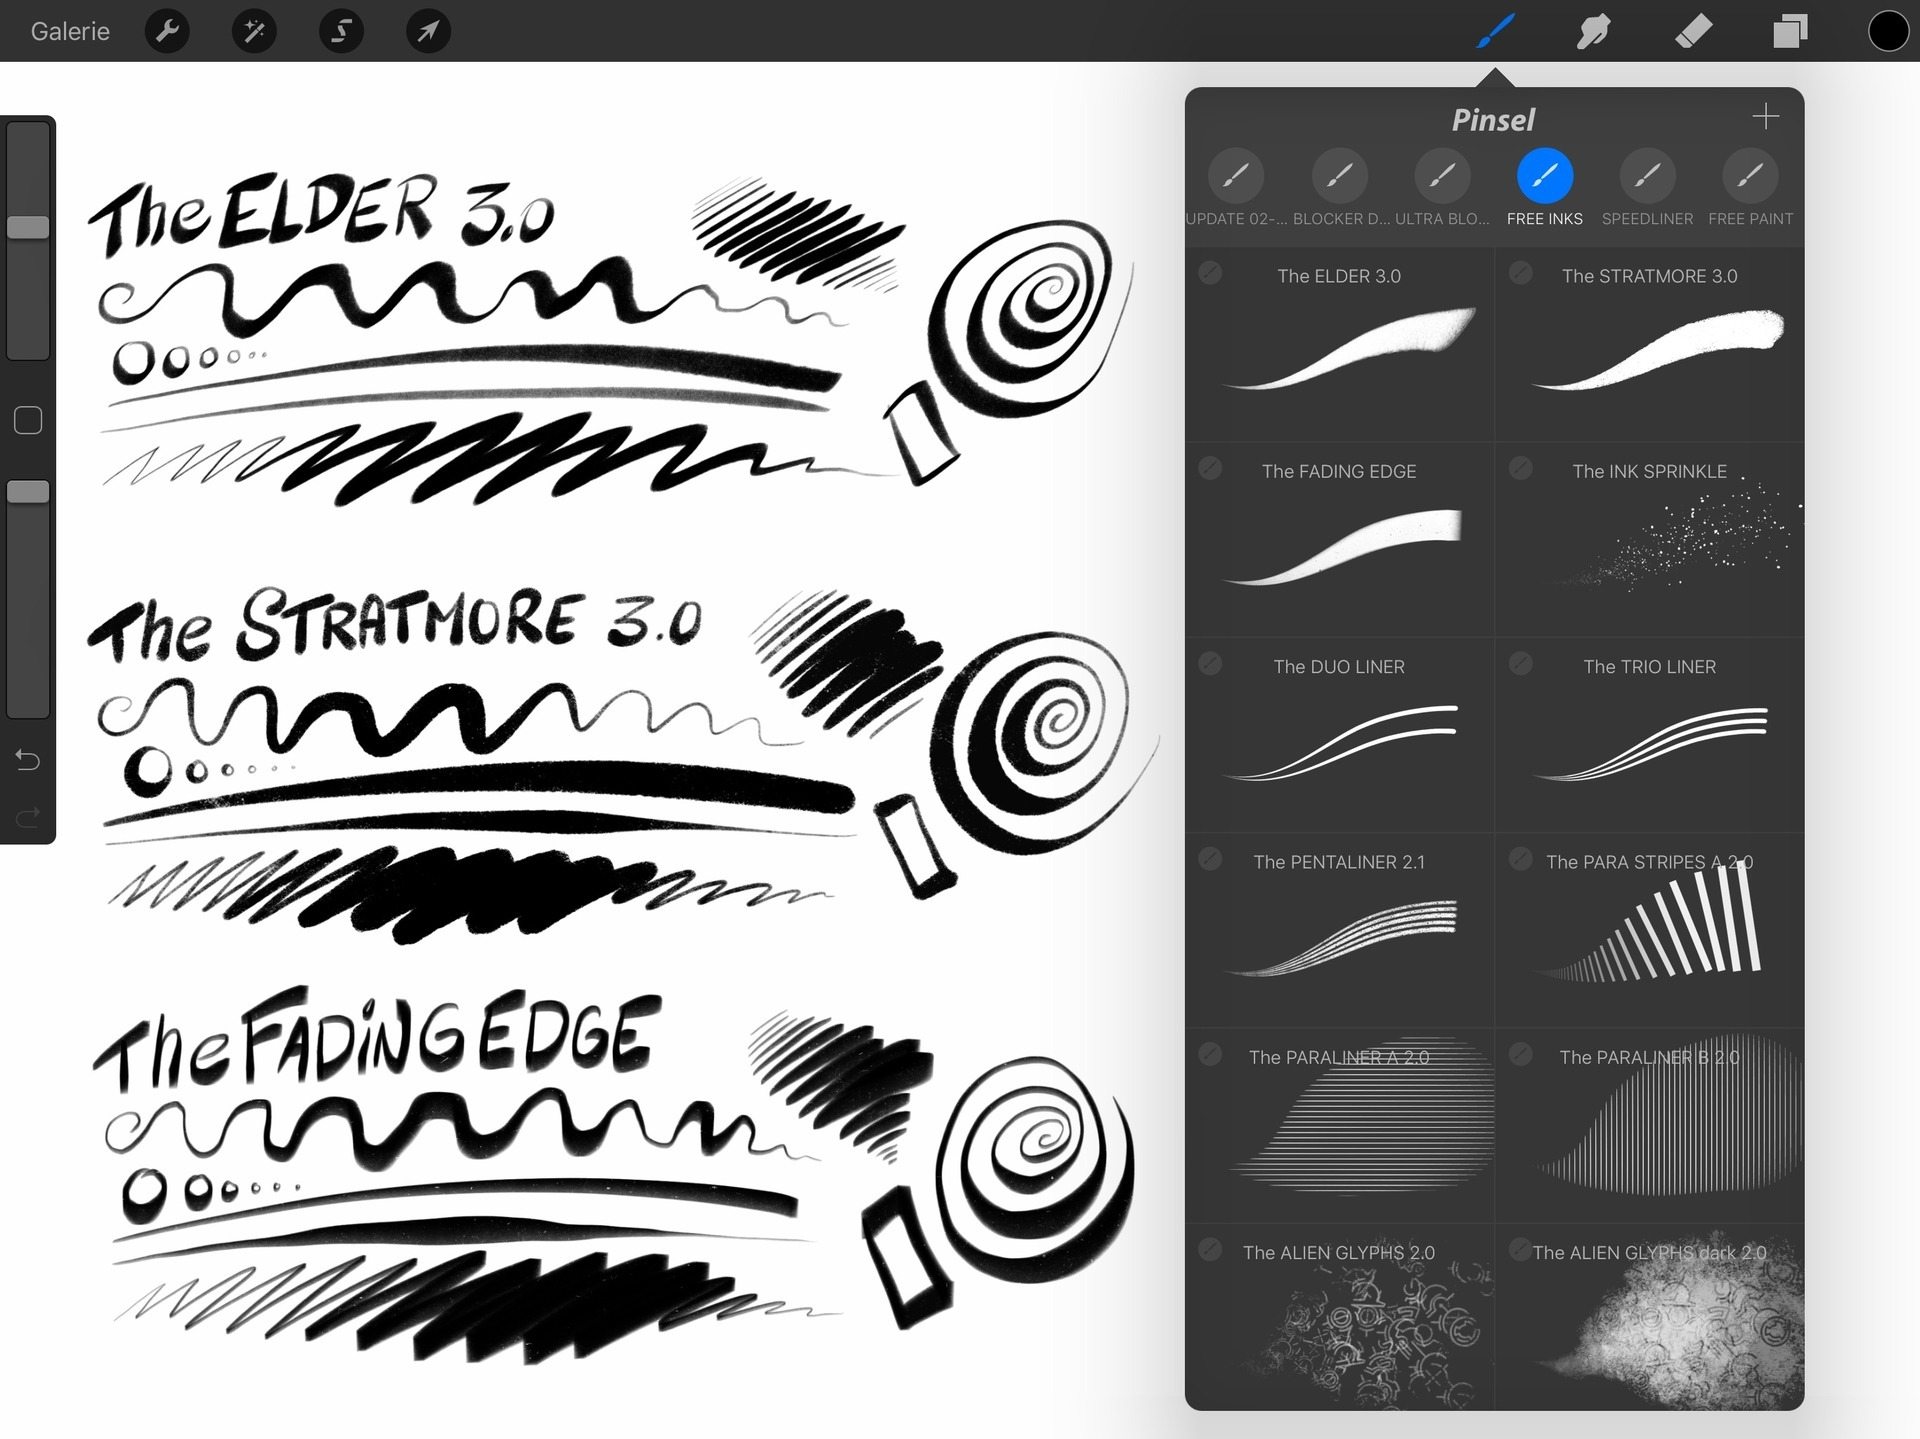
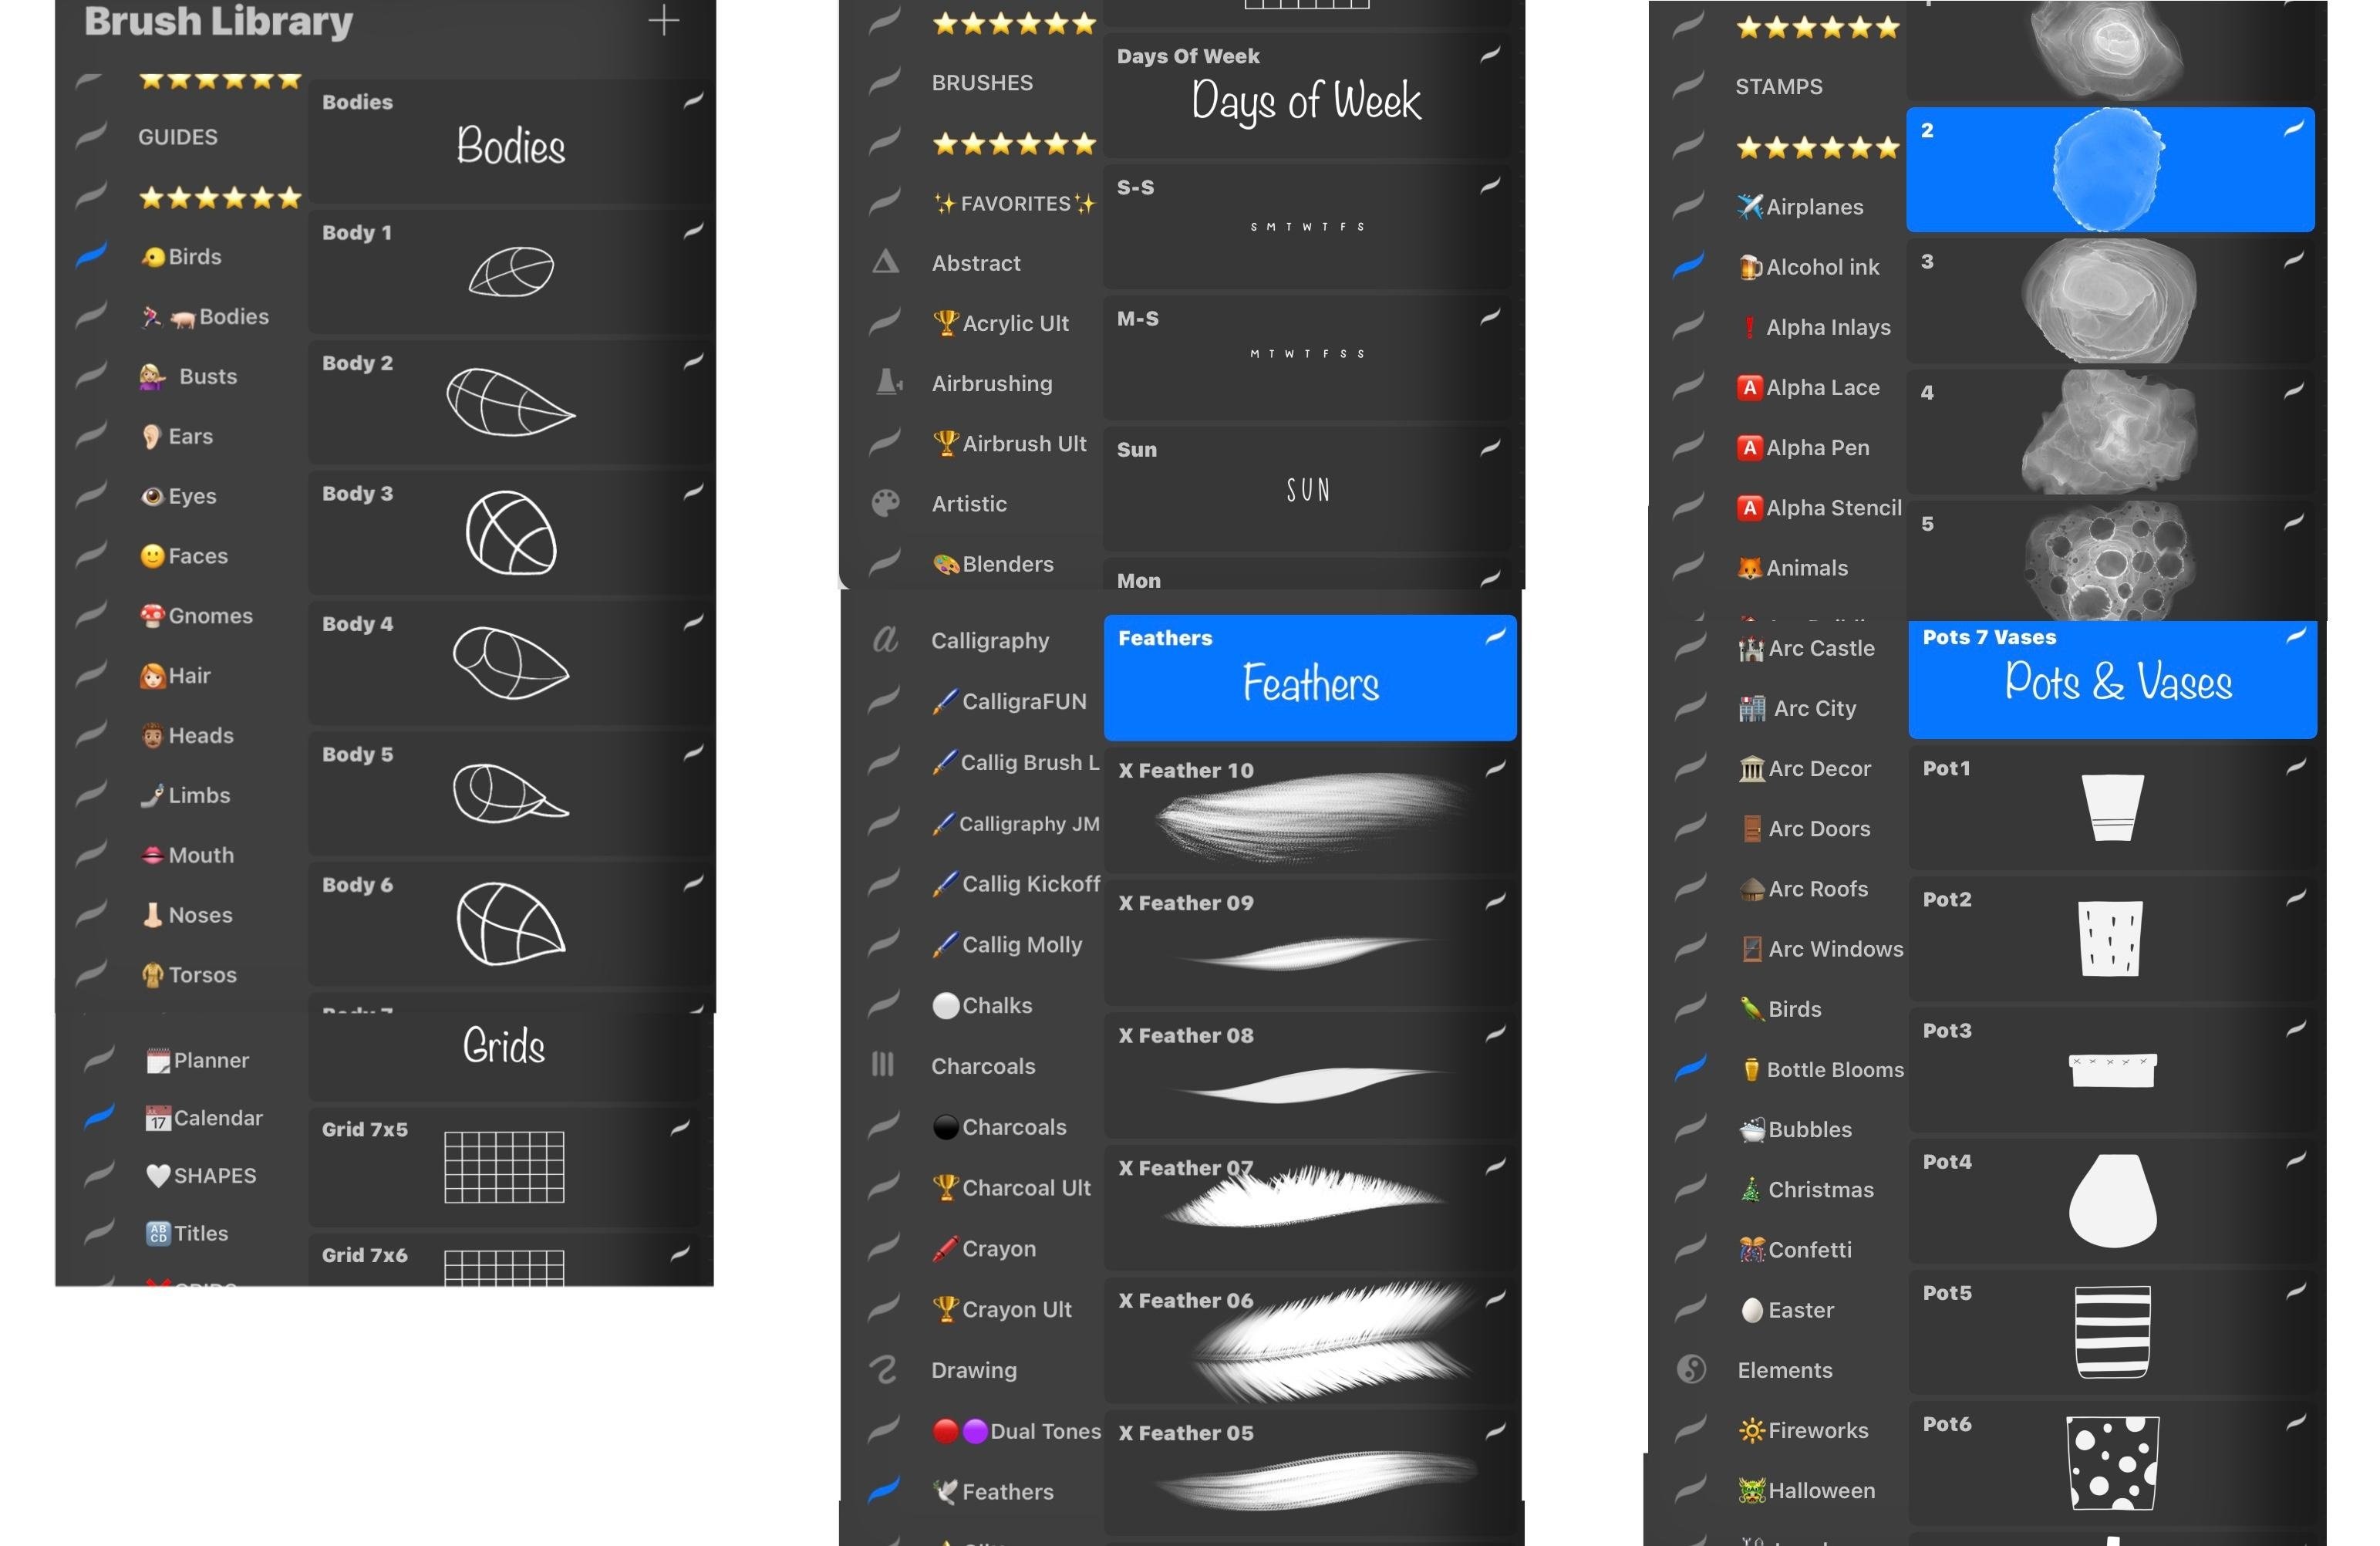
How To Organize Brushes In Procreate

To organize brushes in Procreate on iPad, use the official drag-and-drop method inside the Brush Library or create custom brush sets by managing folders in the Files app. These are...