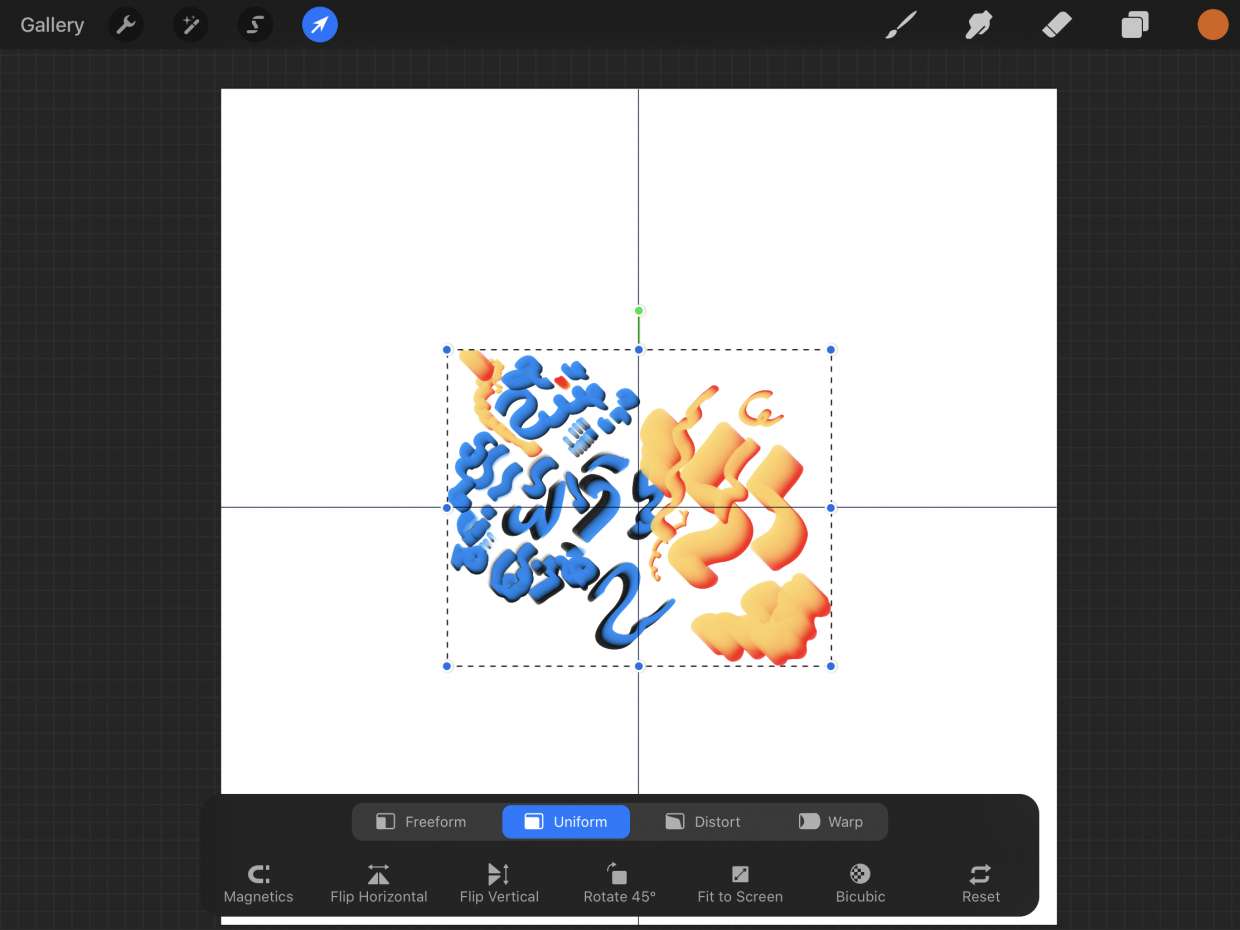
To center something in Procreate, use the Transform tool's Snapping feature to align a layer or object to the exact middle of the canvas. This is the primary method for centering in the Procreate digital art app, and it works by dragging your content until yellow guidelines appear, indicating perfect horizontal and vertical alignment.
How to center something in procreate with snapping
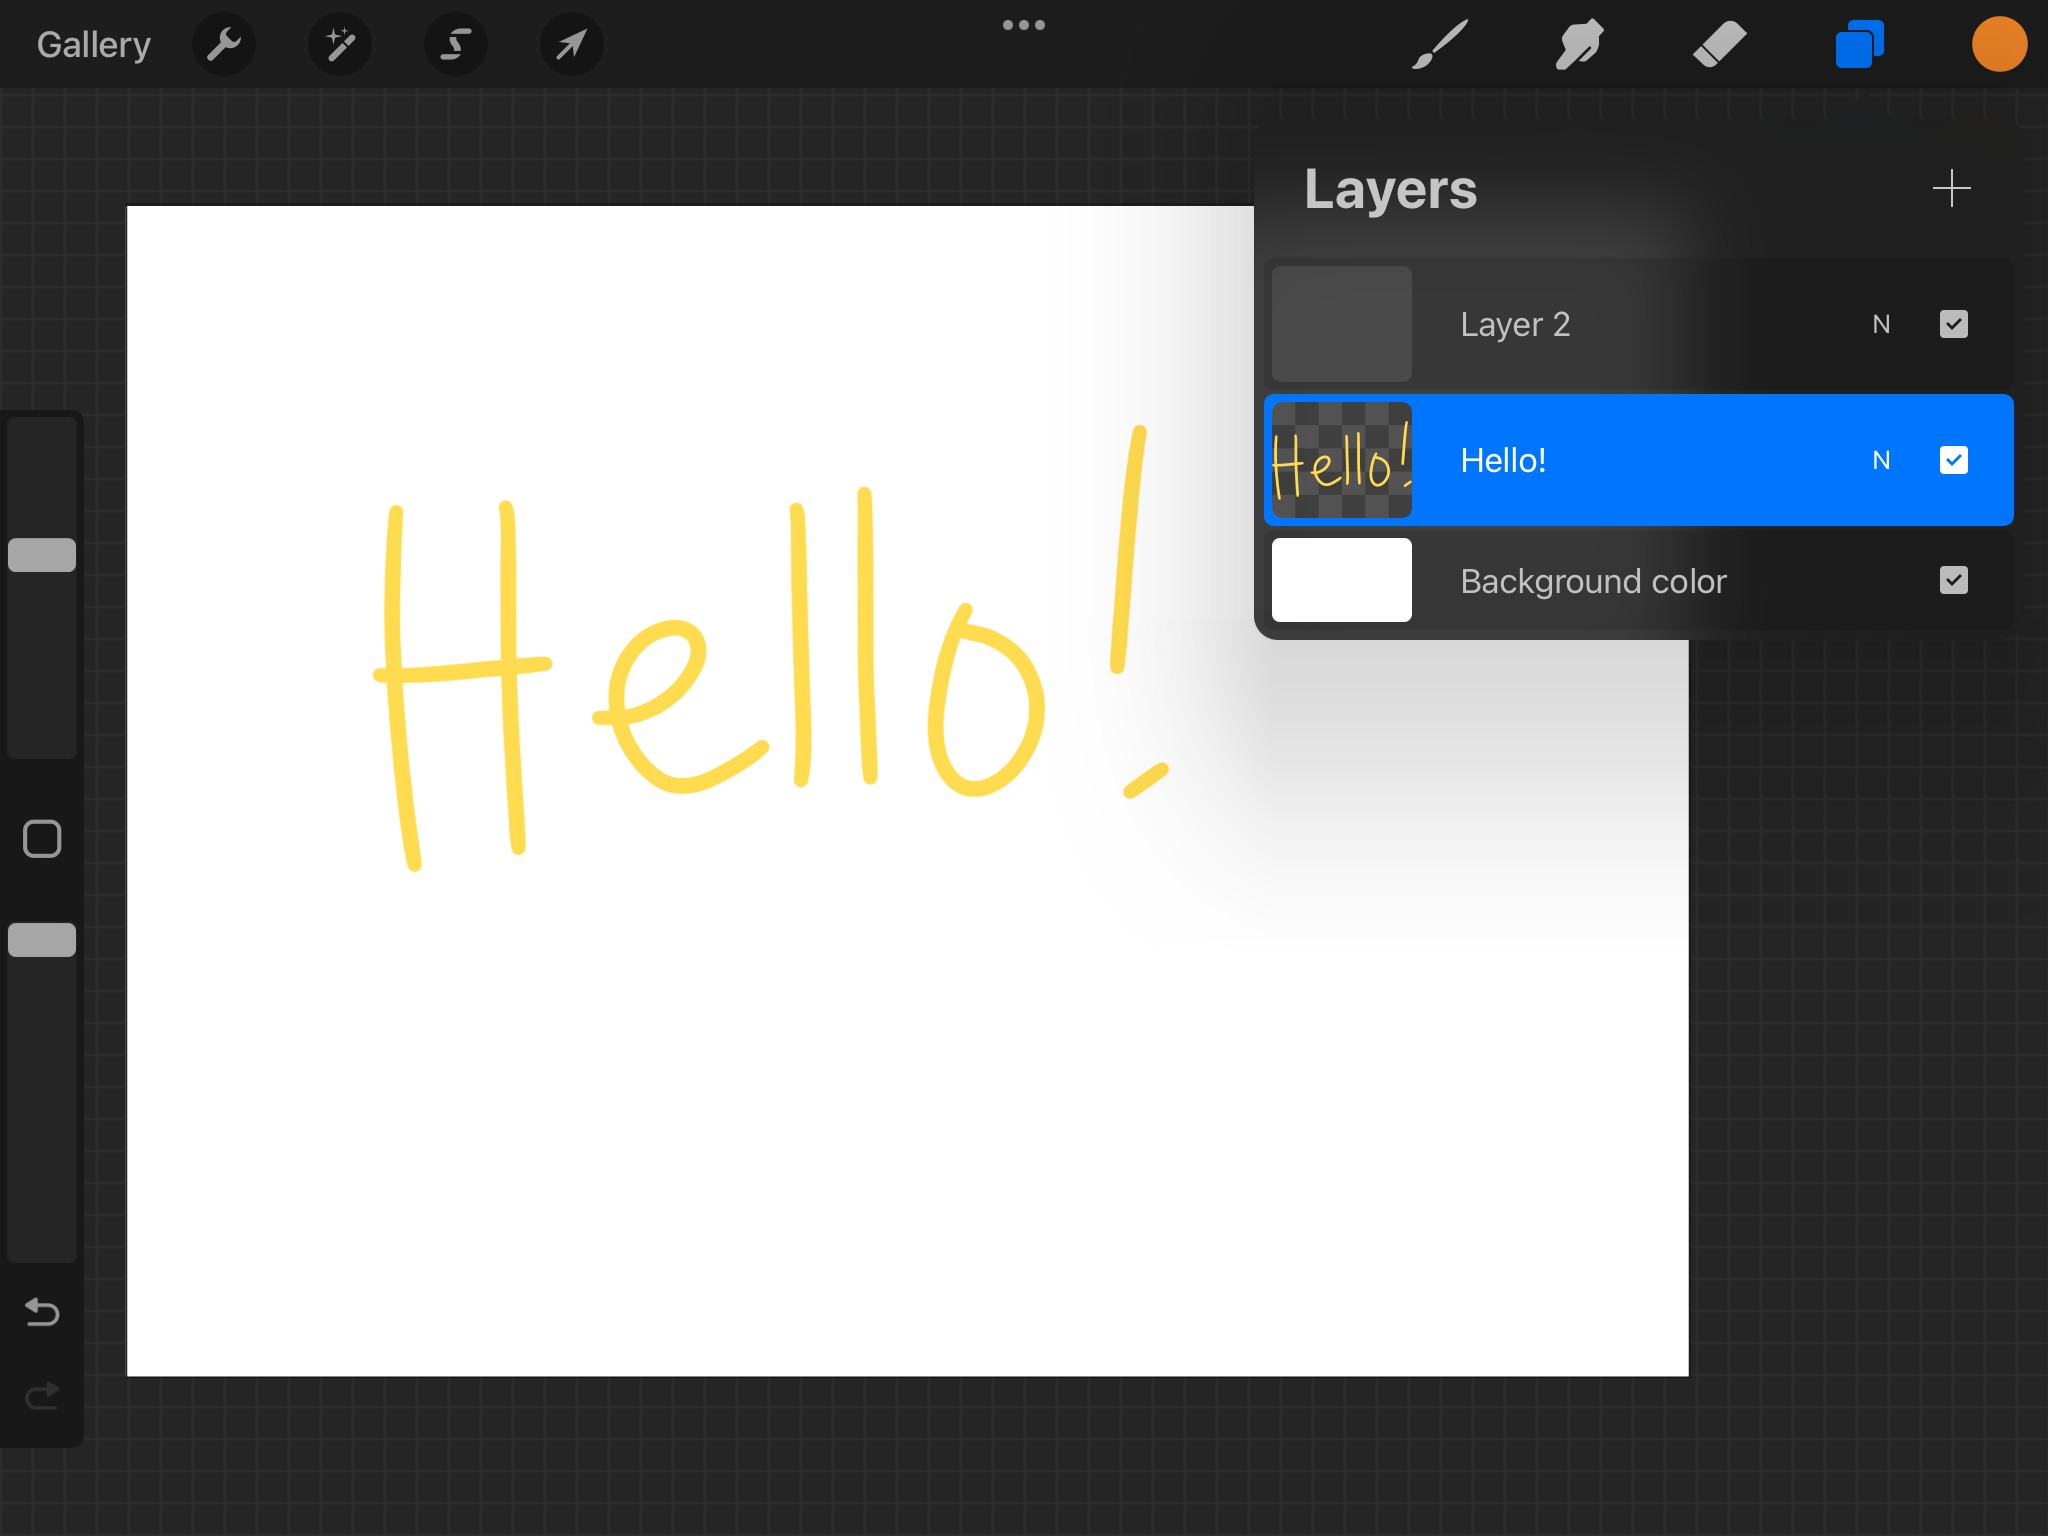
- Select the layer containing the object you want to center. If you only want to center a specific part of a layer, use the Selection tool (the S icon) to make a selection first.
- Tap the arrow icon in the top toolbar to activate the Transform tool.
- In the Transform toolbar at the bottom of the screen, tap the Snapping button (which looks like a magnet icon).
- Toggle the Snapping switch on.
- Drag the object on the canvas. As you move it, blue and yellow guidelines will appear. Yellow guidelines specifically indicate alignment with the canvas axes and central points.
- Keep dragging until both a horizontal and a vertical yellow guideline cross through the center of your object. Release the object to snap it into place.
- To commit the transformation, tap the Transform icon again or select another tool.
Alternatively, you can use the Alignment Tool by selecting objects, tapping 'Transform', then choosing 'Align'.
Fine-tuning your alignment
For pixel-perfect adjustments after snapping, tap anywhere outside the bounding box to nudge the selection in that direction in small, incremental steps. You can also control how aggressively snapping works by adjusting the Snapping settings. The Distance slider controls the pixel distance an object needs to be from a guide before it snaps; a higher value makes the object "jump" from further away. The Velocity slider controls the speed at which content moves before activating snapping guides; setting it to Max Velocity activates all available guides unless you move the object quickly. The Snapping settings also include Magnetics, which helps lock the transformation of content to a chosen axis. Remember that the Transform tool offers modes like Freeform, Uniform, Distort, and Warp, but centering works the same in any mode while Snapping is active. You can also use the Magnetic feature from the Actions menu to automatically align text to nearby objects or guidelines.
Centering text in procreate
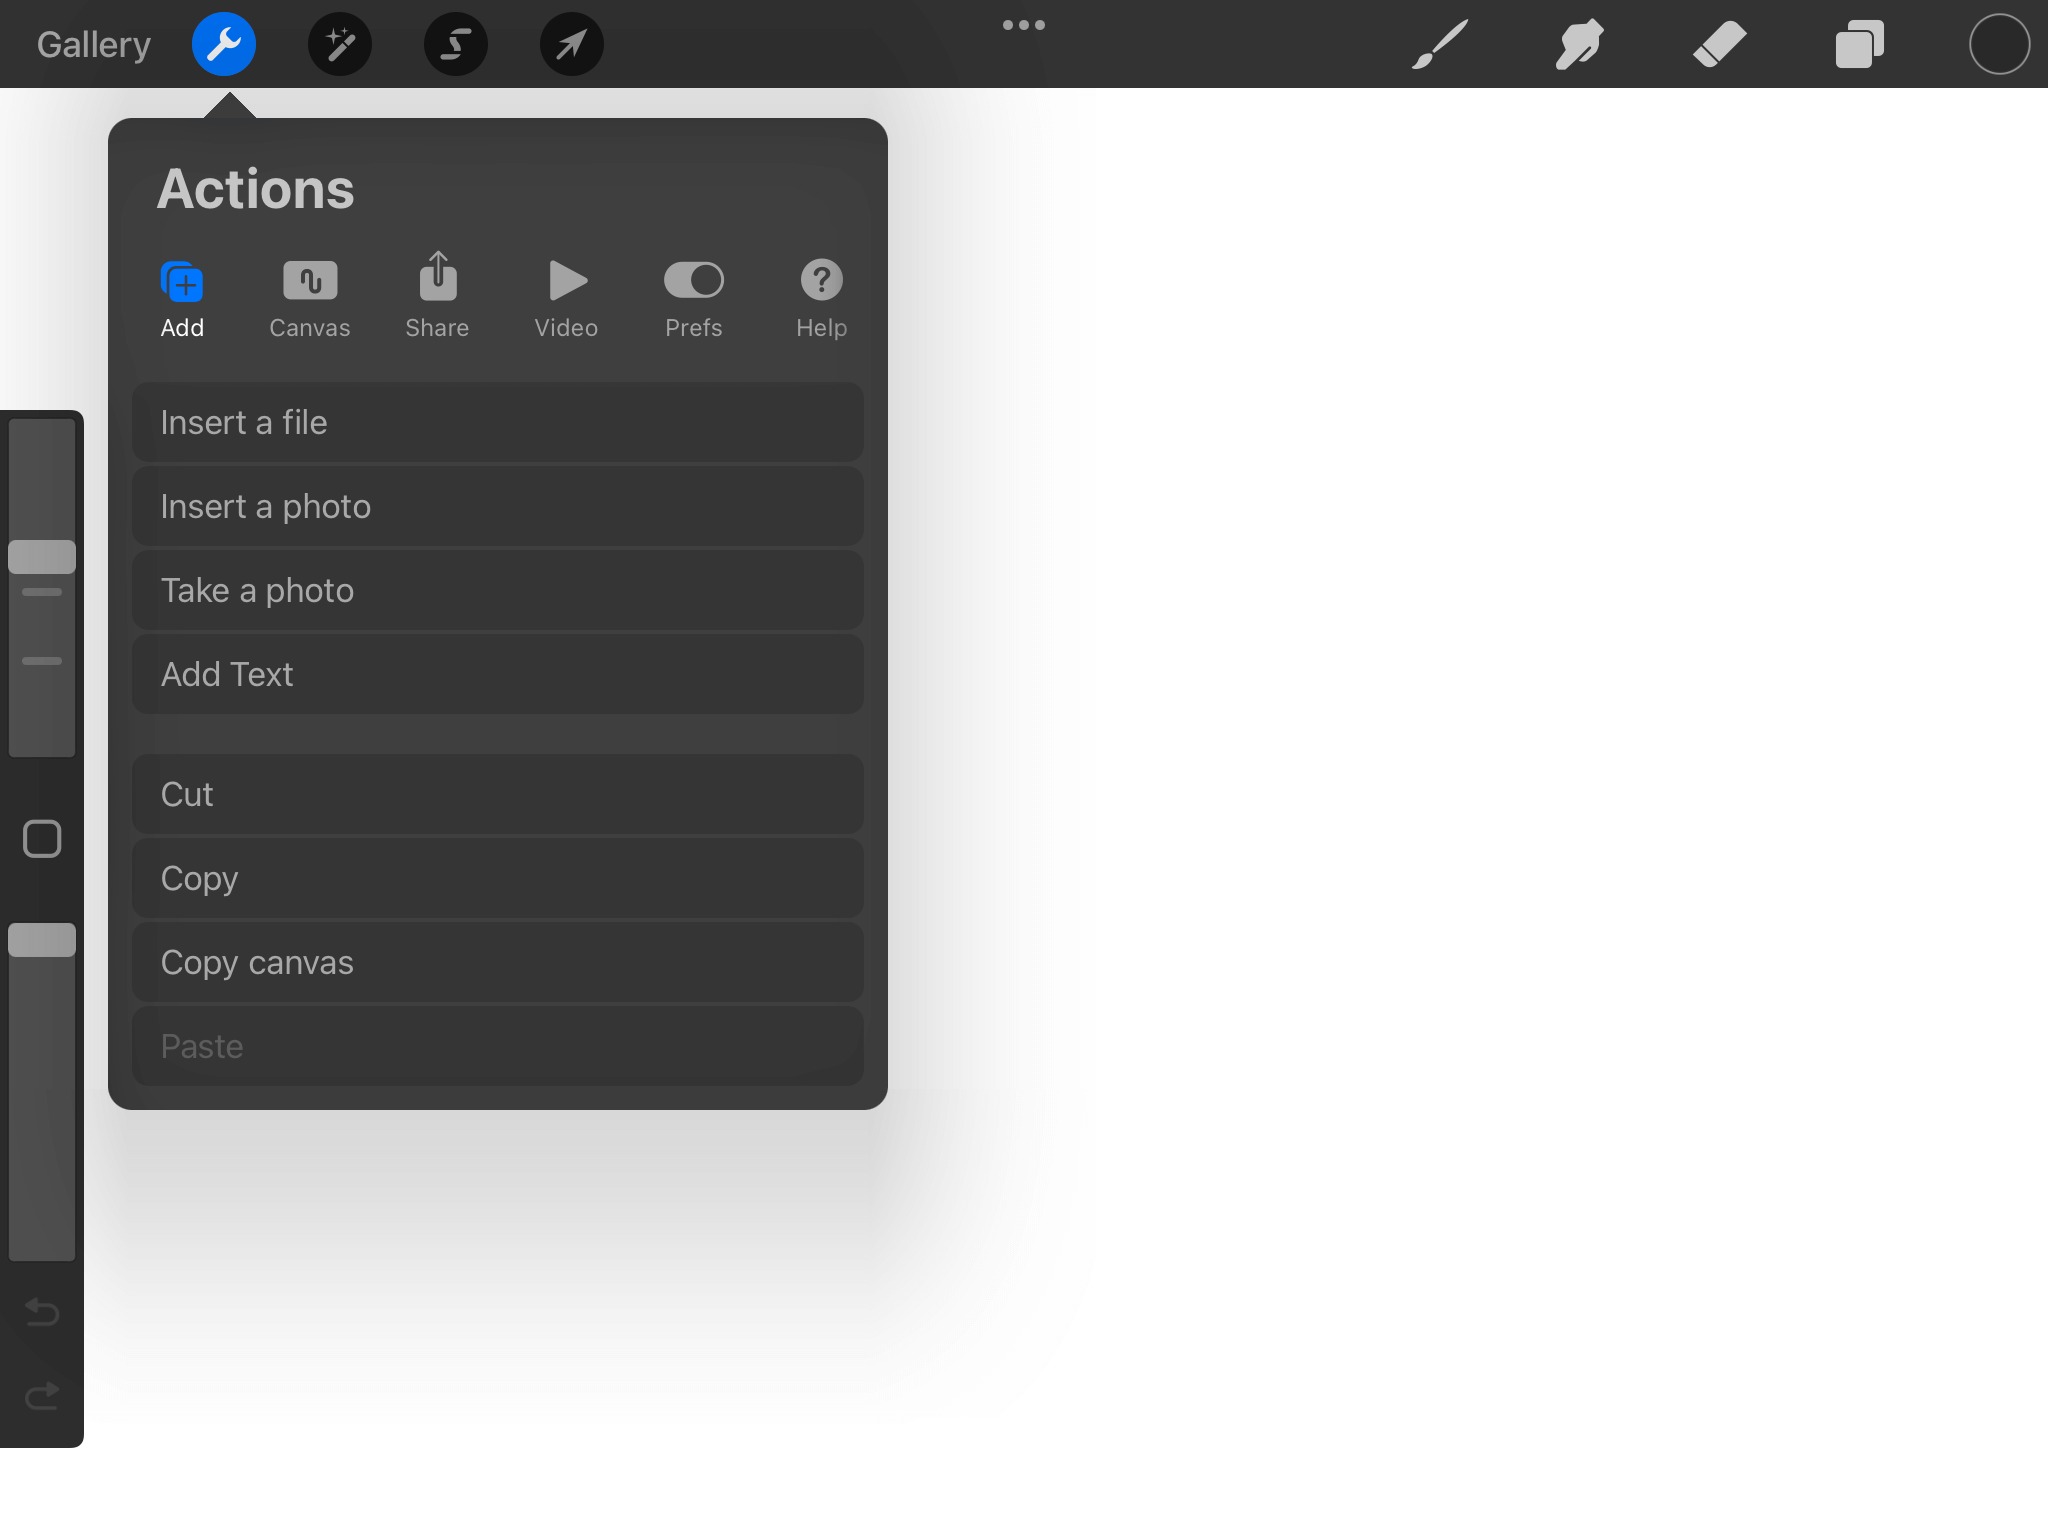
Text layers are centered exactly like any other object: select the text layer, activate the Transform tool, enable Snapping, and drag until the yellow center guidelines appear. For centering text within its own bounding box, select the text layer, tap the Text tool, and choose the center alignment option from the text options menu. If the text still appears slightly off-center, adjust the character spacing (kerning) by selecting the text layer, tapping the Actions menu (wrench icon), and using the Spacing adjustment slider.
Using the grid as a visual guide
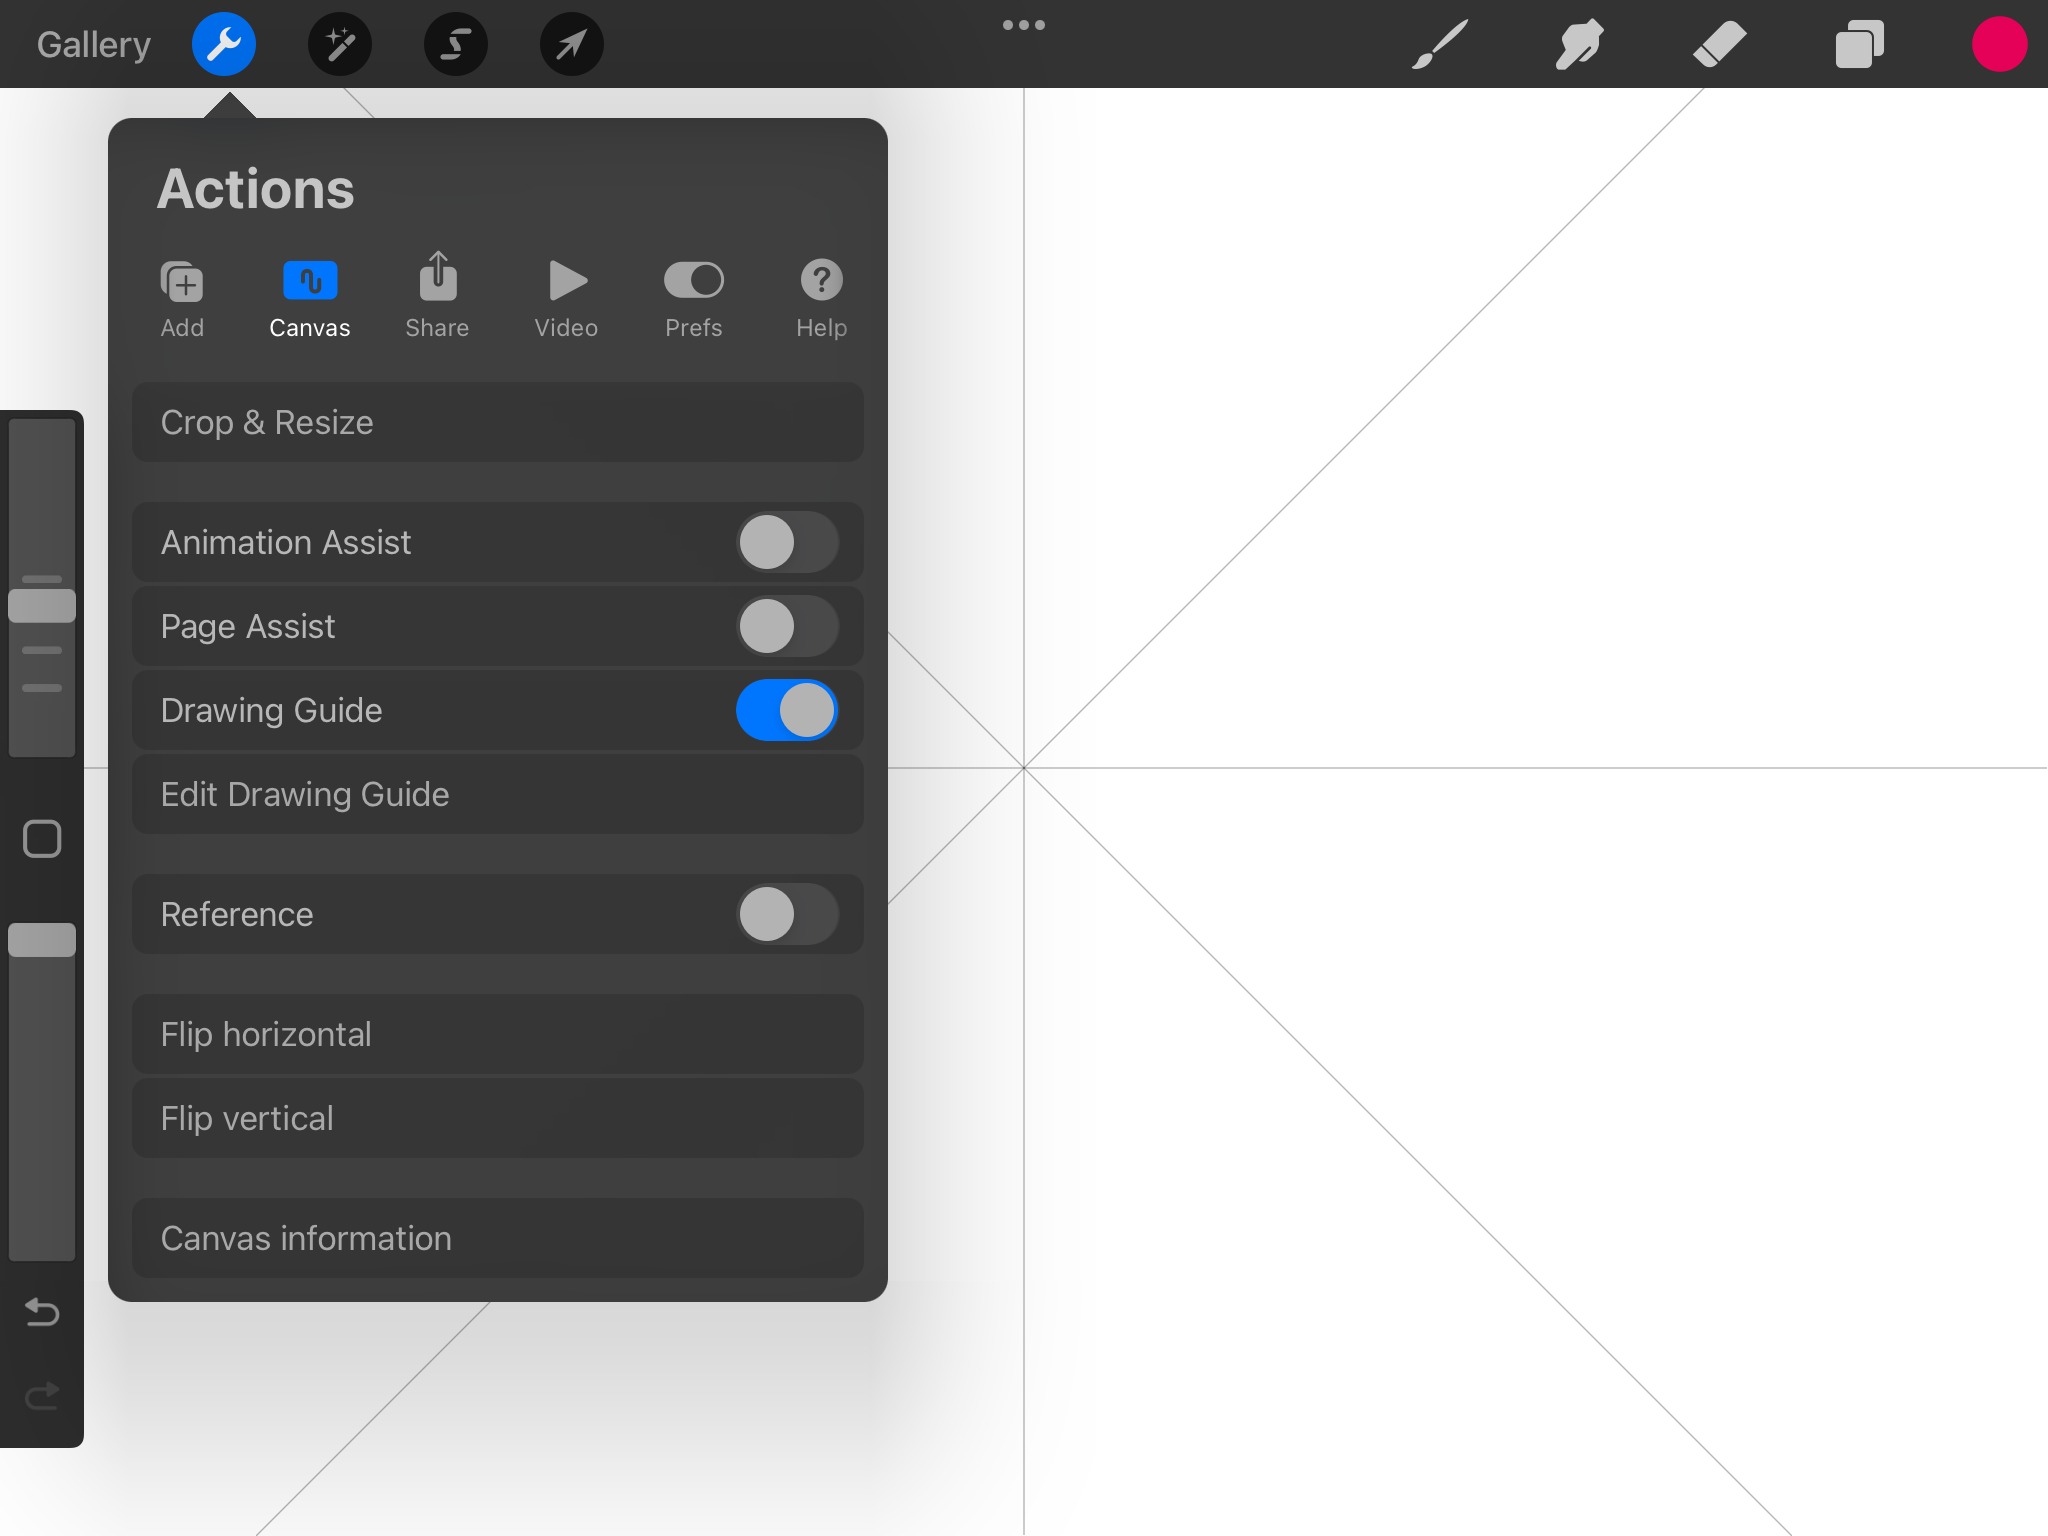
When Snapping is turned off, or when you want an additional reference, enable the Drawing Guide and 2D Grid. Tap the Actions menu (wrench icon), choose Canvas, and toggle on the Drawing Guide. Tap Edit Drawing Guide, then enable the Grid option and adjust the grid size and opacity to your preference. The grid lines will serve as a visual guide to help you manually center your object by eye. For additional visual centering markers, enable Guides and Rulers options in the Canvas menu.
Troubleshooting common centering issues
- Objects not snapping: Ensure the Snapping toggle is turned on in the Transform toolbar. Also check the Distance and Velocity sliders; if Distance is set too low, the object may not snap until it is extremely close to the center.
- Overlapping elements blocking alignment: Rearrange your layers so the element you want to center is not hidden behind another object. Move the layer to the top of the stack if necessary.
- Correct layer not selected: Verify that the desired layer is highlighted in the Layers panel before activating the Transform tool. If you have a selection active, the Transform tool will only affect the selected area.
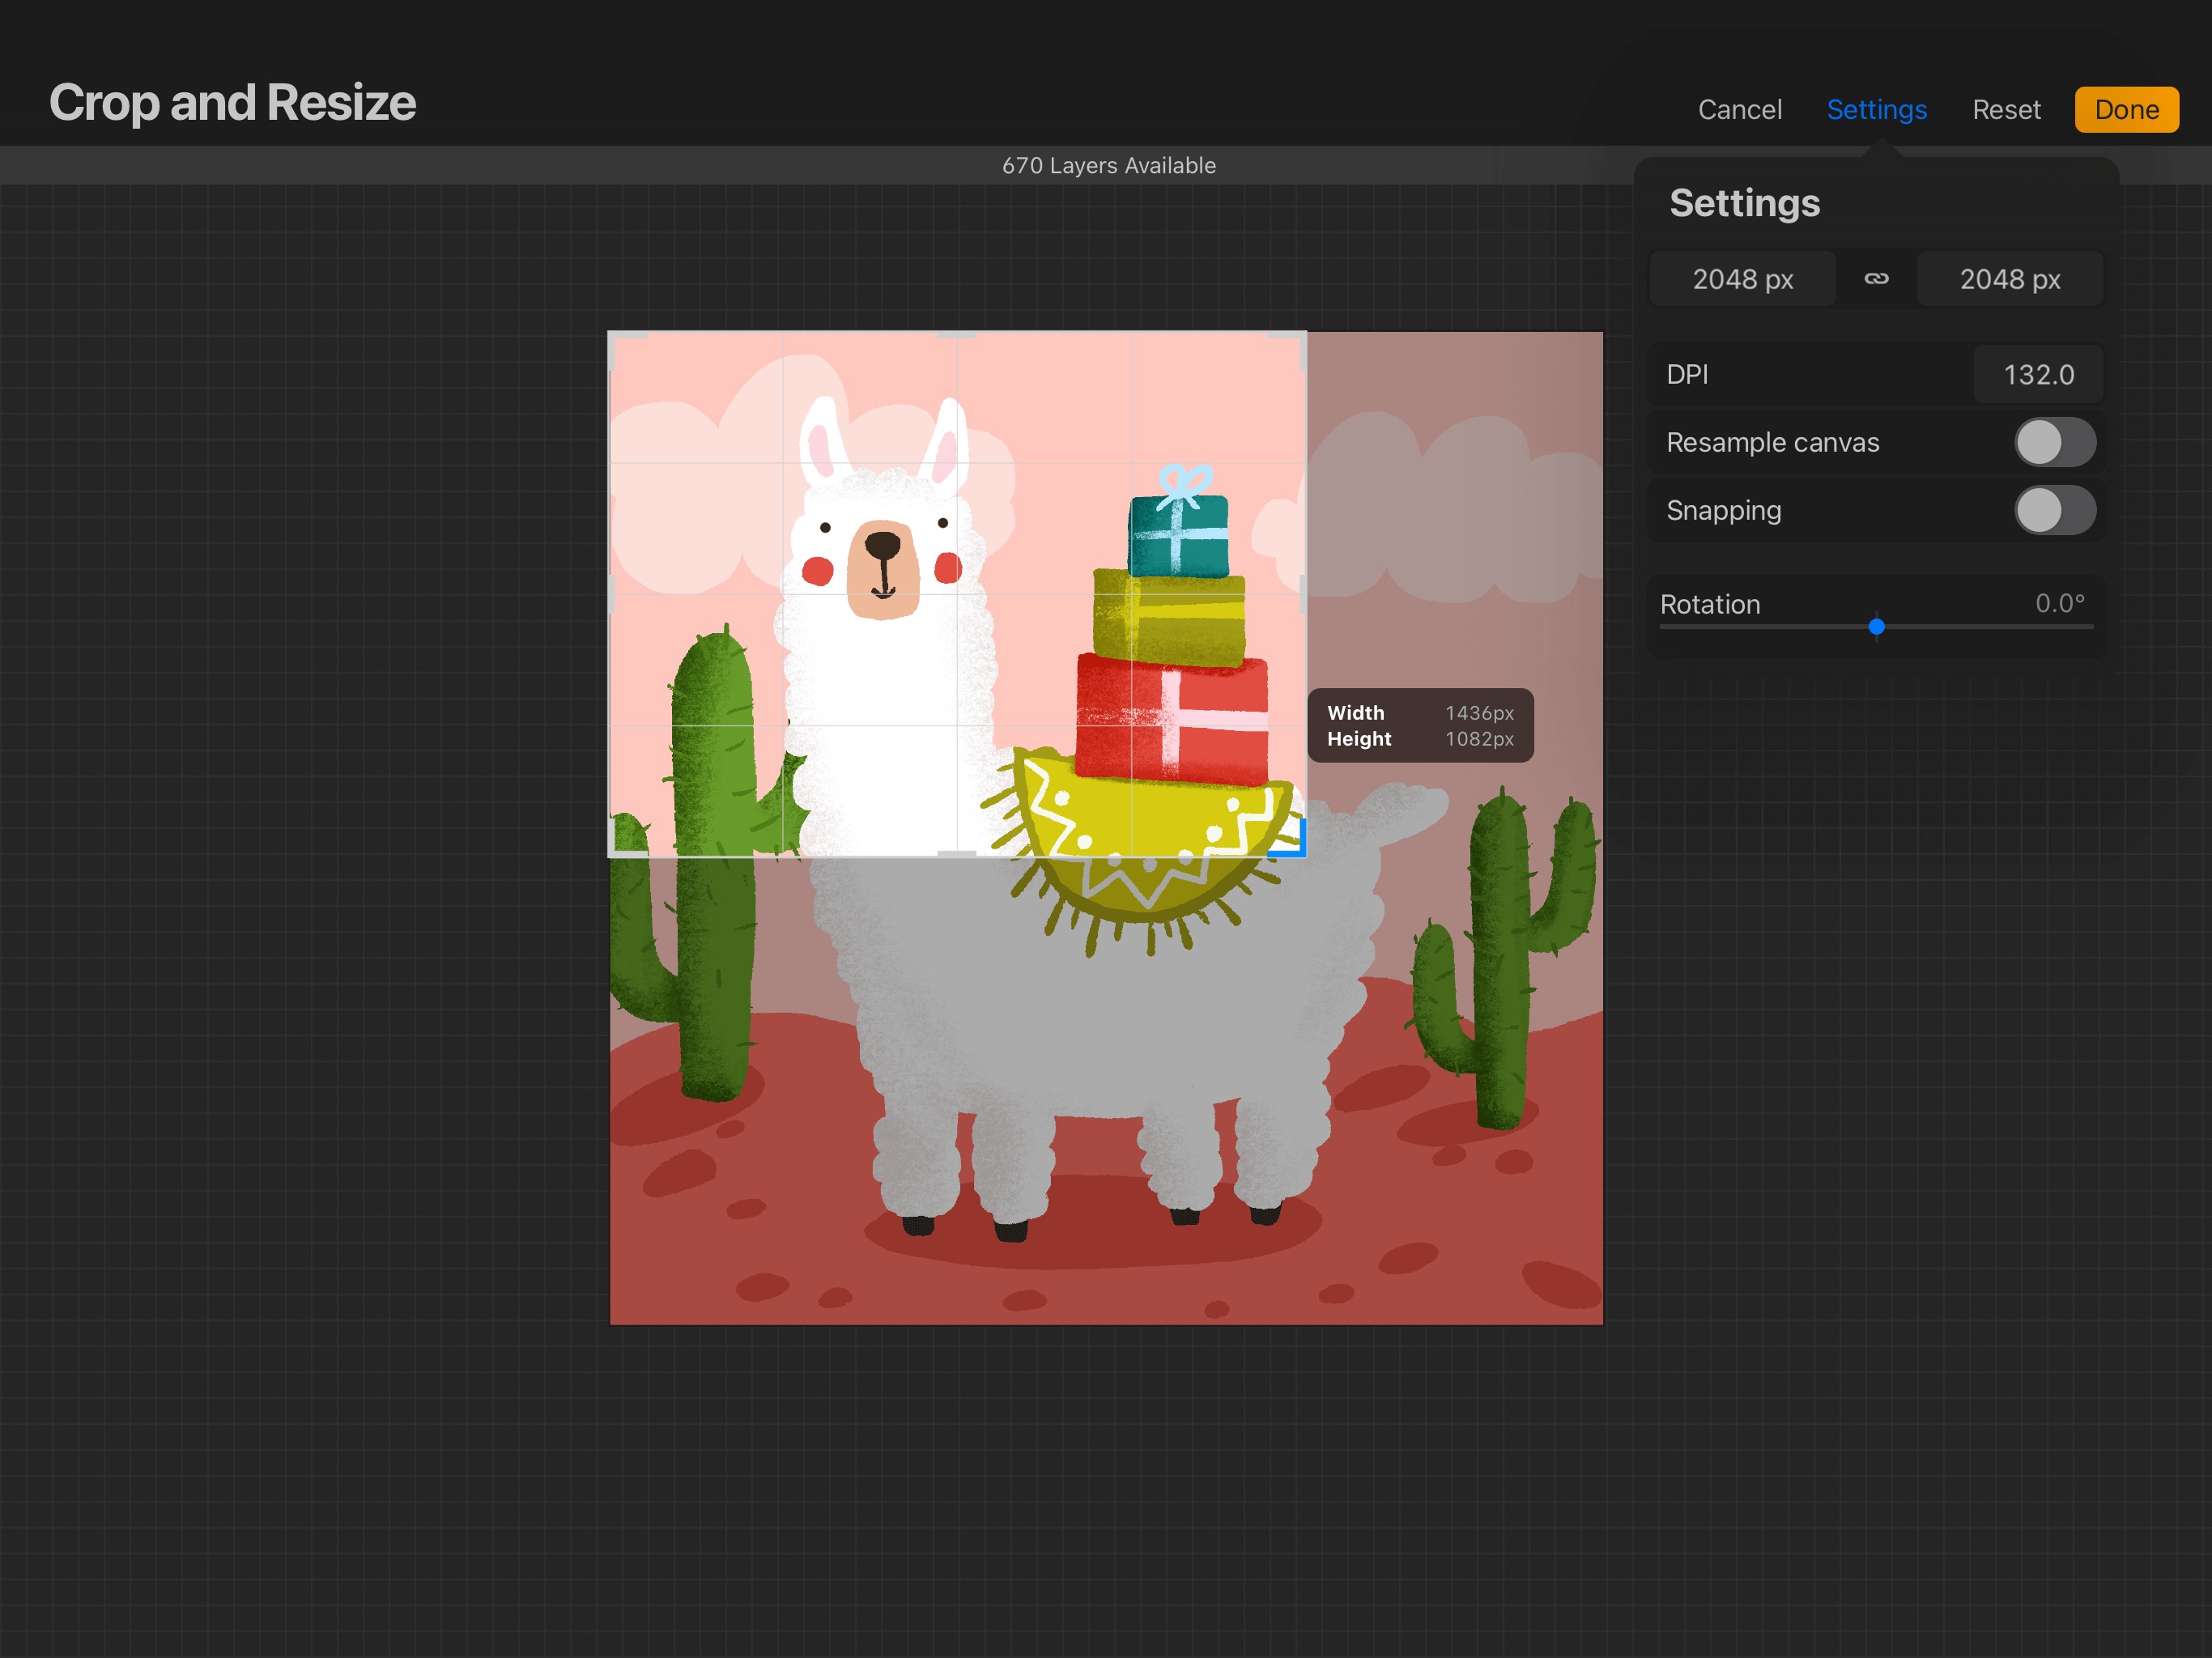
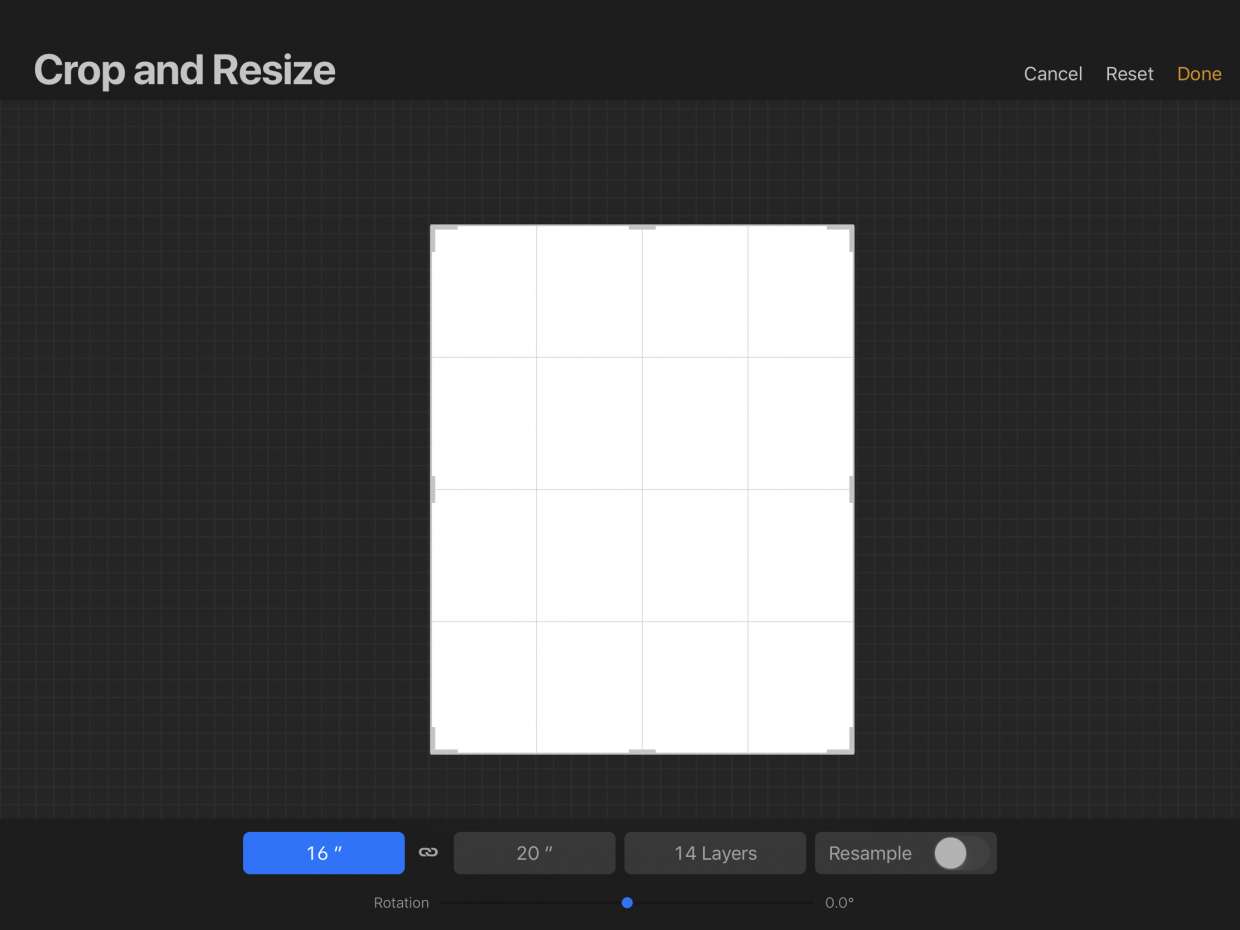
- Canvas too small: If centering seems limited, try adjusting the canvas size to a larger dimension.
Frequently Asked Questions
Can I center multiple layers at once?
Yes. Select all the layers you want to center by tapping each one in the Layers panel (or using the Select Multiple gesture), then activate the Transform tool with Snapping enabled. Drag any one of the selected objects, and the yellow center guidelines will align the entire group to the center of the canvas.
Is there a single "Align to Center" button in Procreate?
No. Procreate does not have a dedicated "Align to Center" button like some other software. The Snapping feature with its yellow center guidelines effectively provides this functionality through visual guides.
How do I center an object horizontally only?
Enable Snapping and drag the object until only the vertical yellow guideline appears (indicating horizontal center). Release the object to lock its horizontal position, then adjust the vertical position manually if needed. You can also center an element based on a specific reference point by tapping a reference point in 'Align & Distribute' options.
What if I want to center an object relative to another object, not the canvas?
Procreate does not have a native feature to center one object relative to another. A workaround is to group both objects into a folder layer, then center the folder using Snapping, which will center the combined group on the canvas. For vertical centering only, use the 'Align vertical centers' option.
Related reading: Coloring, Shading and Rendering in Procreate, How To Move Something In Procreate, and How To Crop An Image On Procreate.