
Welcome to the world of Procreate, the renowned digital art app that has revolutionized the way artists create and express themselves. With its vast array of brushes and endless creative possibilities, Procreate has become a go-to tool for artists, illustrators, and designers worldwide. However, with such a vast selection of brushes at your disposal, it’s easy for things to become disorganized and overwhelming. In this article, we will explore some effective tips and techniques on how to organize brushes in Procreate, helping you streamline your workflow, save time, and unleash your creativity without the hassle of searching for the right brush. Whether you’re a seasoned Procreate user or just starting out, this guide will provide you with the knowledge and tools to keep your brushes neat, tidy, and readily accessible for your next masterpiece.
Inside This Article
- Ways to Organize Brushes in Procreate
- Creating Custom Brush Sets
- Using Favorites for Quick Access
- Grouping Brushes by Style or Type
- Utilizing Labels and Tags for Easy Sorting
- Conclusion
- FAQs
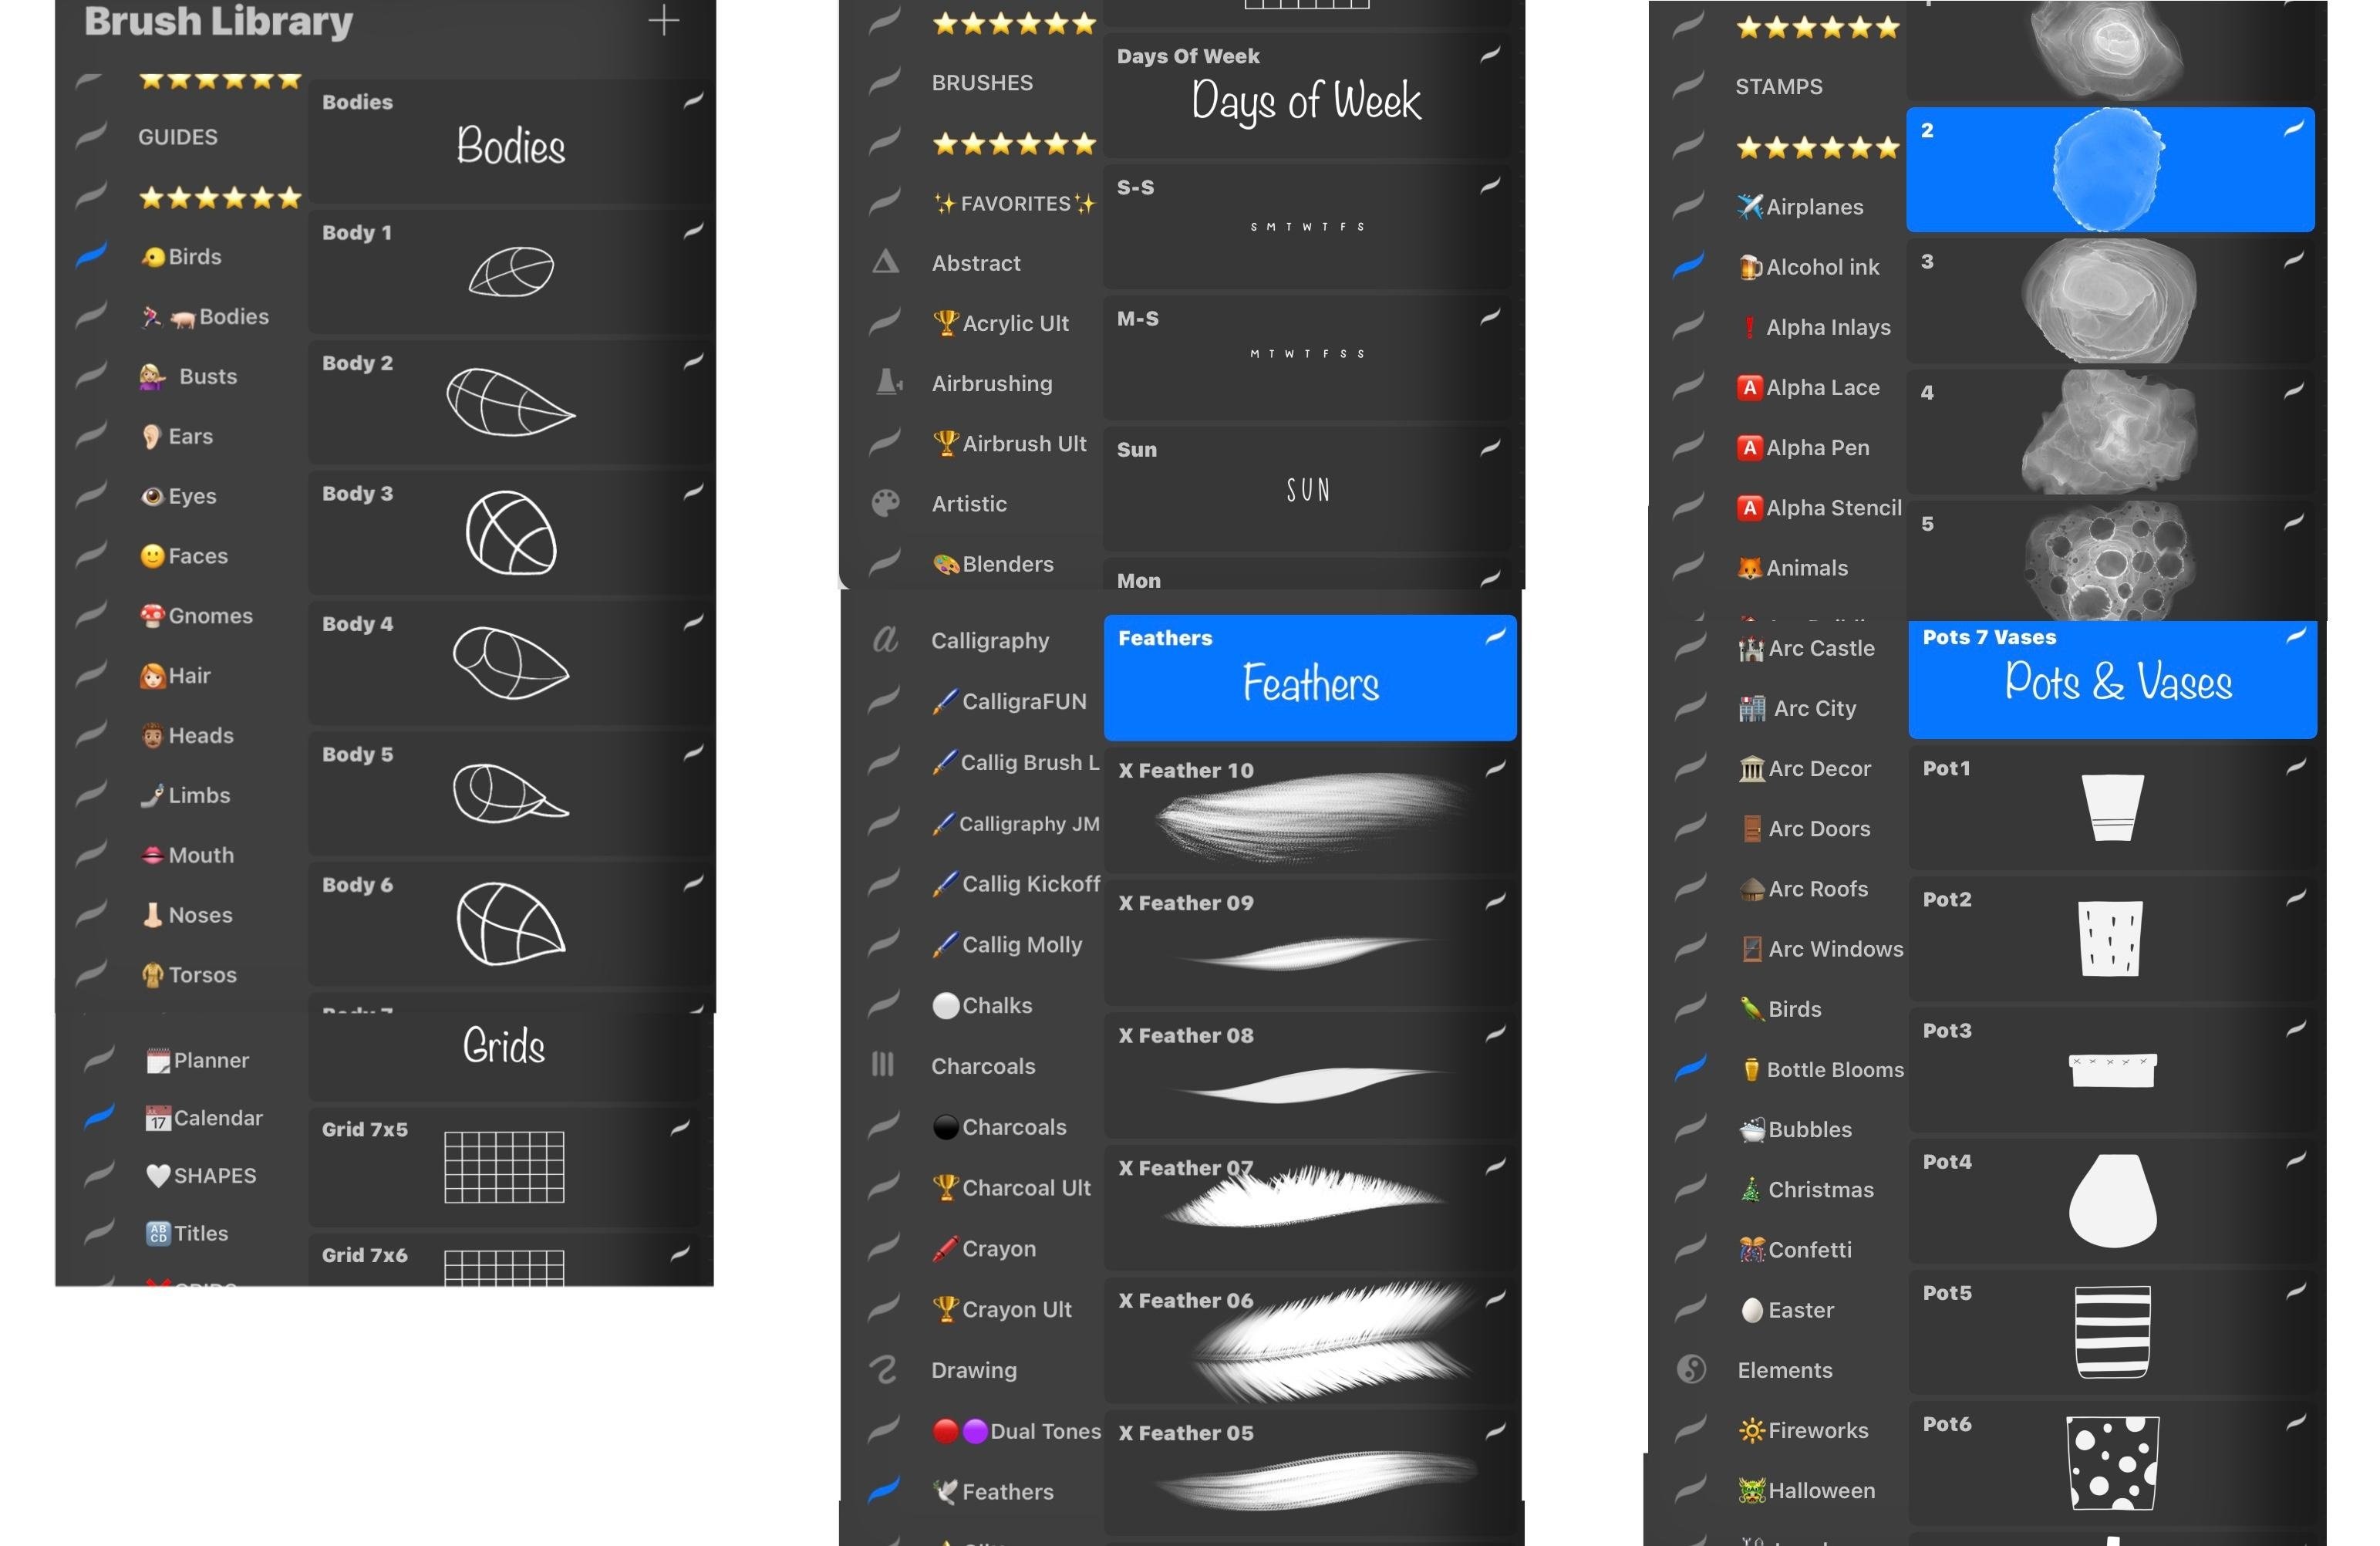
Ways to Organize Brushes in Procreate
Procreate is a powerful digital art application that offers a wide variety of brushes to unlock your creativity. However, with so many brushes available, it can become challenging to find the right brush at the right time. To keep your brushes organized and easily accessible, here are several effective ways to organize brushes in Procreate:
1. Creating Custom Brush Sets: One of the best ways to organize your brushes is by creating custom brush sets. You can group similar brushes together based on their style, function, or theme. For example, you can create a brush set for watercolor brushes, another set for inking brushes, and so on. This allows you to quickly access the brush set you need for a particular project without having to search through a long list of brushes.
2. Using Favorites for Quick Access: Another helpful feature in Procreate is the ability to mark brushes as favorites. Simply tap the heart icon next to a brush to add it to your favorites. This creates a separate section where you can easily find and access your most frequently used brushes. By using favorites, you can avoid scrolling through the entire brush library and quickly access the brushes you use the most.
3. Grouping Brushes by Style or Type: To further streamline your brush organization, consider grouping your brushes by style or type. For example, you can create folders for different artistic styles such as realistic, cartoon, or textured brushes. Alternatively, you can group brushes based on their function, such as brushes for sketching, shading, or blending. This categorization allows you to quickly locate the brushes that best suit your current artistic needs.
4. Utilizing Labels and Tags for Easy Sorting: Procreate also allows you to add labels or tags to your brushes, making it easier to sort and categorize them. You can create custom labels or use pre-existing ones like “Grunge,” “Calligraphy,” or “Charcoal.” By giving your brushes descriptive labels, you can quickly identify and search for specific brushes that match your desired artistic style or technique.
By implementing these effective ways to organize your brushes in Procreate, you can improve your workflow, save time, and focus more on your artistic creations. Whether you prefer creating custom brush sets, using favorites, grouping brushes, or utilizing labels and tags, find the method that works best for you and take advantage of Procreate’s organizational features to enhance your digital art experience.
Creating Custom Brush Sets
In Procreate, one of the most helpful features is the ability to create custom brush sets. This allows you to organize your brushes based on different criteria, making it easier to find the right brush for your project. Here’s how you can create custom brush sets in Procreate:
1. Open the Procreate app and go to the Brushes panel. This is where you can access all your brushes.
2. Tap on the “+” button at the top right corner of the Brushes panel. This will create a new Brush Set.
3. Name your new Brush Set. You can choose a name that reflects the style or purpose of the brushes you will be adding to the set.
4. Once you’ve named the Brush Set, you can start adding brushes to it. To do this, simply tap and hold on a brush thumbnail in the Brushes panel, then drag it into the newly created Brush Set.
5. Continue adding brushes to your custom Brush Set by repeating step 4. You can add as many brushes as you like, organizing them according to your preferences.
6. To switch between Brush Sets, tap on the Brush Set thumbnail at the top of the Brushes panel. This will display all the Brush Sets you have created, allowing you to easily access the brushes within each set.
Creating custom brush sets in Procreate gives you the flexibility to sort and access your brushes in a way that makes sense to you. Whether you want to group brushes by style, texture, or any other criteria, custom brush sets allow for efficient organization and easy retrieval of your favorite brushes.
Using Favorites for Quick Access
One of the most convenient ways to organize your brushes in Procreate is by using the Favorites feature. This allows you to quickly access your most frequently used brushes without having to scroll through a long list.
To add a brush to your Favorites, simply select the brush from your brush library and tap on the “Favorite” icon, usually represented by a heart or a star. Once added, the brush will appear in the Favorites tab, easily accessible whenever you need it.
Using Favorites not only saves you time but also helps you stay focused on your artwork. By having your go-to brushes readily available, you can quickly switch between brushes without interrupting your creative flow.
To manage your Favorites, you can reorder them by tapping and holding on a brush, then dragging it to the desired position. You can also remove brushes from Favorites by tapping on the “Favorite” icon again.
Additionally, you can create multiple sets of Favorites based on your specific needs. For example, you can have one set of Favorites for sketching, another for inking, and a separate set for blending. This allows you to tailor your favorite brushes to different stages of your artistic process.
When using the Favorites feature, it’s important to periodically review and update your selection. As you experiment with new brushes or refine your artistic style, you may find that certain brushes become more essential to your workflow. By regularly curating your Favorites, you can ensure that you always have the most relevant and efficient brushes at your fingertips.
Grouping Brushes by Style or Type
If you have a wide range of brushes in Procreate and finding a specific brush quickly becomes a challenge, grouping brushes by style or type can be a game-changer. This organizational method allows you to keep related brushes together, making it easy to navigate through your collection and find the right brush for your artwork.
To start grouping brushes by style or type, you can create custom folders within Procreate. Simply open Procreate and go to the Brush Library. Click on the “+” icon to create a new folder. Give your folder a name that represents the style or type of brushes you want to group together.
For example, if you have a variety of texture brushes, you can create a folder called “Textures” and move all the relevant brushes into that folder. Similarly, you can create folders for specific styles like “Watercolor Brushes,” “Inking Brushes,” or “Calligraphy Brushes.”
Once you have created the folders, you can easily drag and drop brushes into their respective folders. This allows you to visually organize your brushes in a way that makes sense to you. You can also rearrange the order of the folders and brushes by simply dragging them into the desired position.
Grouping brushes by style or type not only helps you find the brushes you need quickly but also provides a sense of structure and organization to keep your digital art workspace tidy.
Furthermore, the ability to group brushes also allows you to apply changes or settings to multiple brushes at once. For example, if you want to adjust the size or opacity of all your texture brushes, you can select the entire folder and make the changes collectively, saving you time and effort.
Remember to regularly review and update your brush organization as you acquire new brushes or refine your personal style. By keeping your brush library organized, you’ll have a more efficient workflow and be able to focus more on creating stunning digital art.
Utilizing Labels and Tags for Easy Sorting
One powerful feature in Procreate that can greatly assist in organizing your brushes is the ability to utilize labels and tags. Labels and tags can help streamline your workflow and make it easier to find the brush you need for a specific project. Let’s explore how you can use this feature effectively.
To begin, open Procreate and navigate to the brush library. Select the brush or brushes you want to label or tag by tapping and holding on the brush thumbnail. This will activate the options menu. From the menu, select “Edit” and then choose “Add Label” or “Add Tag.”
Labels and tags serve slightly different purposes. Labels can be used to categorize brushes based on specific criteria, such as texture, style, or functionality. For example, you may want to label brushes as “Watercolor,” “Calligraphy,” or “Texture Brushes.” Tags, on the other hand, can be used to add keywords or descriptors to brushes, making them easier to search for later. You might tag brushes with terms like “grunge,” “sketch,” or “floral.”
Once you have added labels or tags to your brushes, you can easily filter and search for them in the brush library. To filter brushes by label, tap the filter icon in the top right corner of the library and select the desired label from the list. The library will show only the brushes that have been assigned that particular label. To search for brushes by tag, simply tap the search bar in the brush library and type in the desired tag keyword. Procreate will display all brushes that have been tagged with that keyword.
You can also create custom sets or groups based on labels or tags, further organizing your brushes. To create a custom set, open the brush library, tap the “+” icon at the top right corner, and choose “New Set.” Give your set a name, and then tap and hold on the brushes you want to add to the set. Select “Add to Set” from the options menu and choose the set you just created. This way, you can have a dedicated set for specific labels or tags, and easily access them when needed.
Utilizing labels and tags effectively allows you to keep your brush library well-organized and easily searchable. Whether you need to find a specific brush style, category, or keyword, Procreate’s labeling and tagging feature provides a convenient way to quickly navigate through your brushes and find exactly what you’re looking for.
Conclusion
In conclusion, organizing brushes in Procreate is a crucial step to streamline your digital art workflow. By categorizing and labeling your brushes, you can easily locate the right tools for your project, saving valuable time and effort.
Remember to regularly review and update your brush collection to ensure that it remains organized and relevant to your artistic needs. With a well-organized brush library, you can focus more on creating stunning artwork and less on searching for the right brush.
So, take some time to dive into the brush settings of Procreate and create a system that works best for you. Experiment with different organization methods and find what suits your artistic style and workflow. With a little effort and organization, you’ll be able to unleash the full potential of Procreate and truly elevate your digital artwork.
FAQs
1. How do I organize brushes in Procreate?
To organize brushes in Procreate, you can create custom sets or folders to group related brushes together. Simply tap on the brush icon located on the top toolbar, then tap on the ” + ” button to create a new set or folder. You can then drag and drop brushes into the desired set or folder, making it easier to navigate and find the brushes you need.
2. Can I rename brush sets in Procreate?
Yes, you can easily rename brush sets in Procreate. Simply tap on the brush icon on the top toolbar, swipe left on the set you want to rename, and tap on the “Rename” option that appears. You can then enter a new name and tap “Done” to save the changes.
3. How can I delete unwanted brush sets in Procreate?
To delete unwanted brush sets in Procreate, tap on the brush icon on the top toolbar, swipe left on the set you want to delete, and tap on the “Delete” option. A confirmation dialogue will appear, and you can tap “Delete” again to confirm and permanently remove the brush set.
4. Is it possible to import custom brushes into Procreate?
Absolutely! Procreate allows you to import custom brushes easily. You can download brush files in .brush format from various websites or create your own brushes using Procreate Brush Studio. To import a custom brush, tap on the brush icon on the top toolbar, tap on the “+” button, and choose the “Import” option. Locate the brush file on your device and tap on it to import it into Procreate.
5. Can I organize brushes into subfolders in Procreate?
Currently, Procreate does not support subfolders for organizing brushes. However, you can create custom sets or folders to group related brushes together. Within each set or folder, you can further arrange the brushes in a specific order by tapping on the “Edit” button and then dragging and dropping the brushes into the desired positions.