This tag collects guides for using the Procreate app on an iPad, aimed at anyone from beginners learning the basics to more experienced digital artists looking for specific fixes. The articles here focus on practical, step-by-step solutions for common drawing, design, and editing tasks within the app.

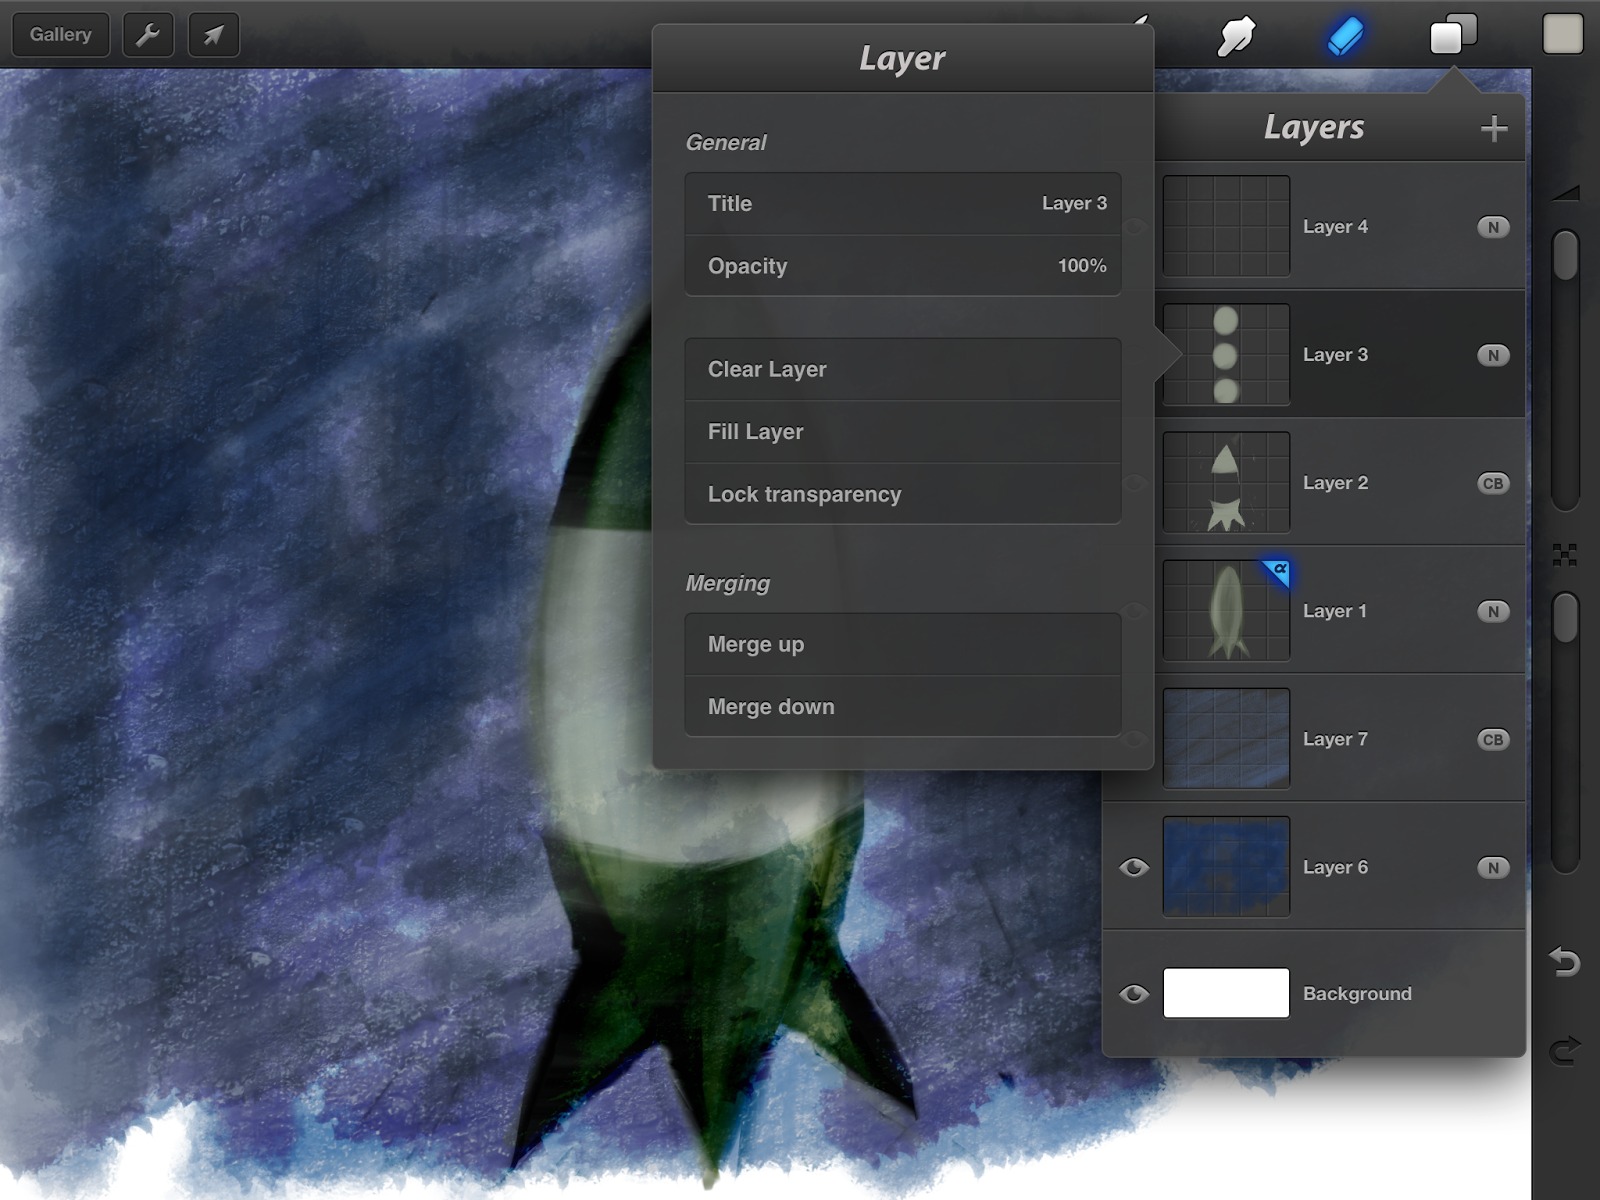
The tutorials break down into a few clear themes. One major group covers core drawing and editing techniques, you’ll find help with smoothing lines, making a perfect circle, mirroring your drawing, and using symmetry. Another set of articles deals with color and layers, including how to pick or change color, use the eyedropper, invert colors, merge layers, and make a layer transparent. A third theme is working with text and images: you can learn to curve text, edit text, cut out or crop an image, and trace an image directly in Procreate.

Specific topics include saving your work, making a sticker, adding a grid, and even renaming a stack. For those wondering about cost, there is also an article on how much Procreate costs on the iPad. Whether you need to resize an image, turn on grayscale, or get new brushes, these articles help you perform each action without extra fuss.
How To Restore Procreate Drawings

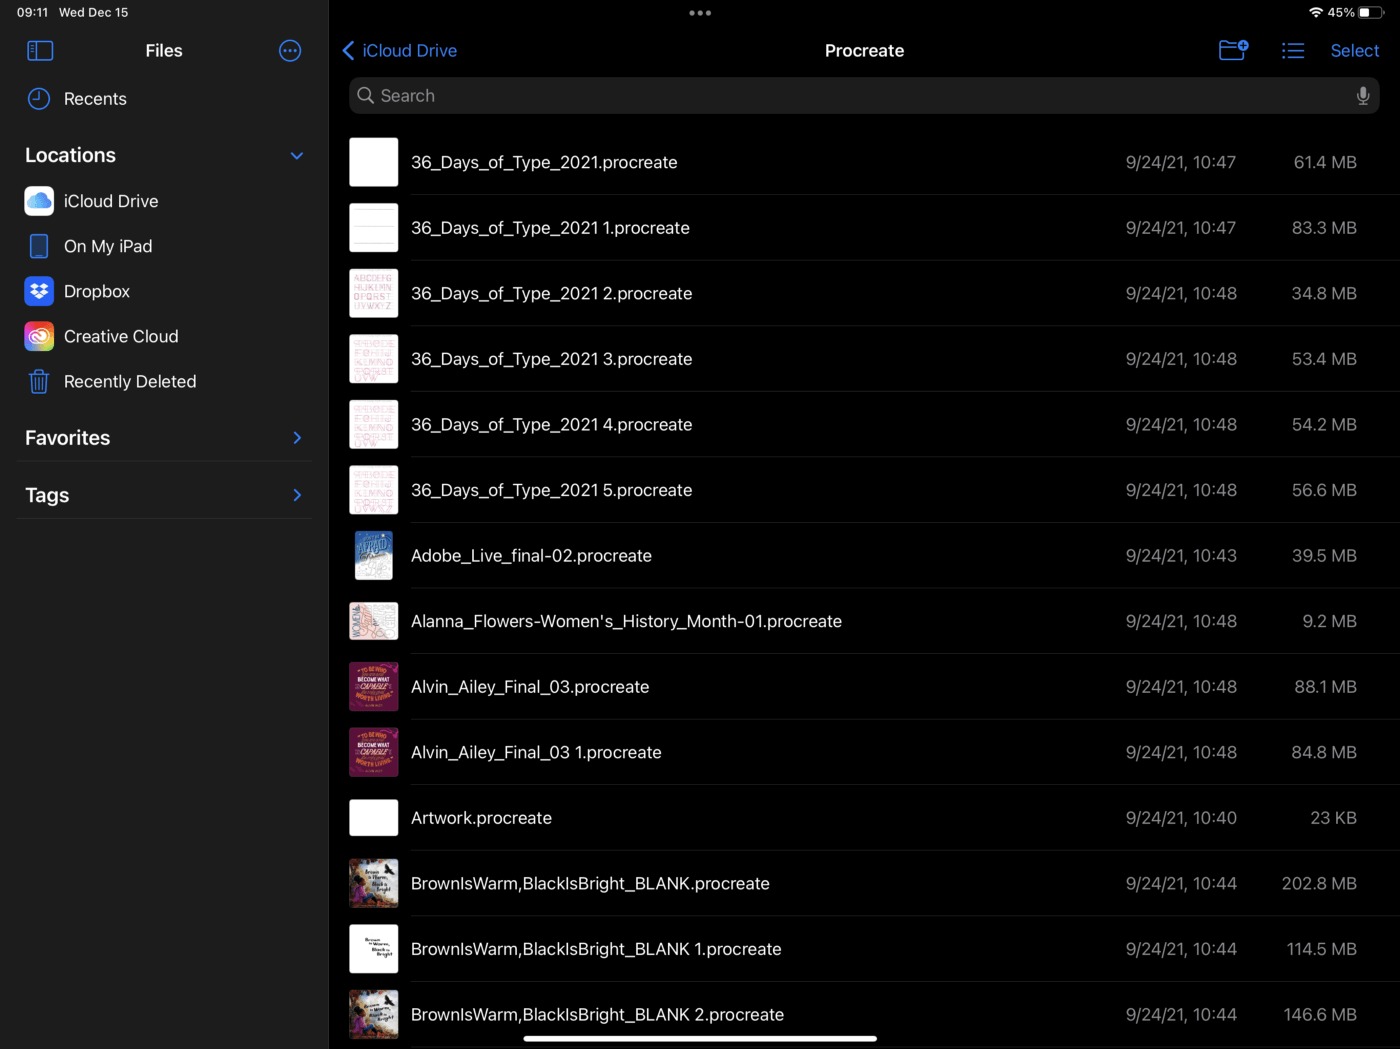
To restore Procreate drawings, you must have a pre-existing backup, because Procreate has no built-in recovery folder or undo option for deleted artwork. The only reliable way to restore Procreate...

How To Undo Stack In Procreate

To undo in Procreate, tap the canvas with two fingers. This reverses your last drawing action, not a Gallery stack, Procreate does not have a separate "undo stack" feature. What...

Why Is My Procreate Color Wheel Dull

Your Procreate color wheel looks dull because the canvas is using a CMYK color profile instead of an RGB profile. CMYK is designed for print and produces muted, less vibrant...

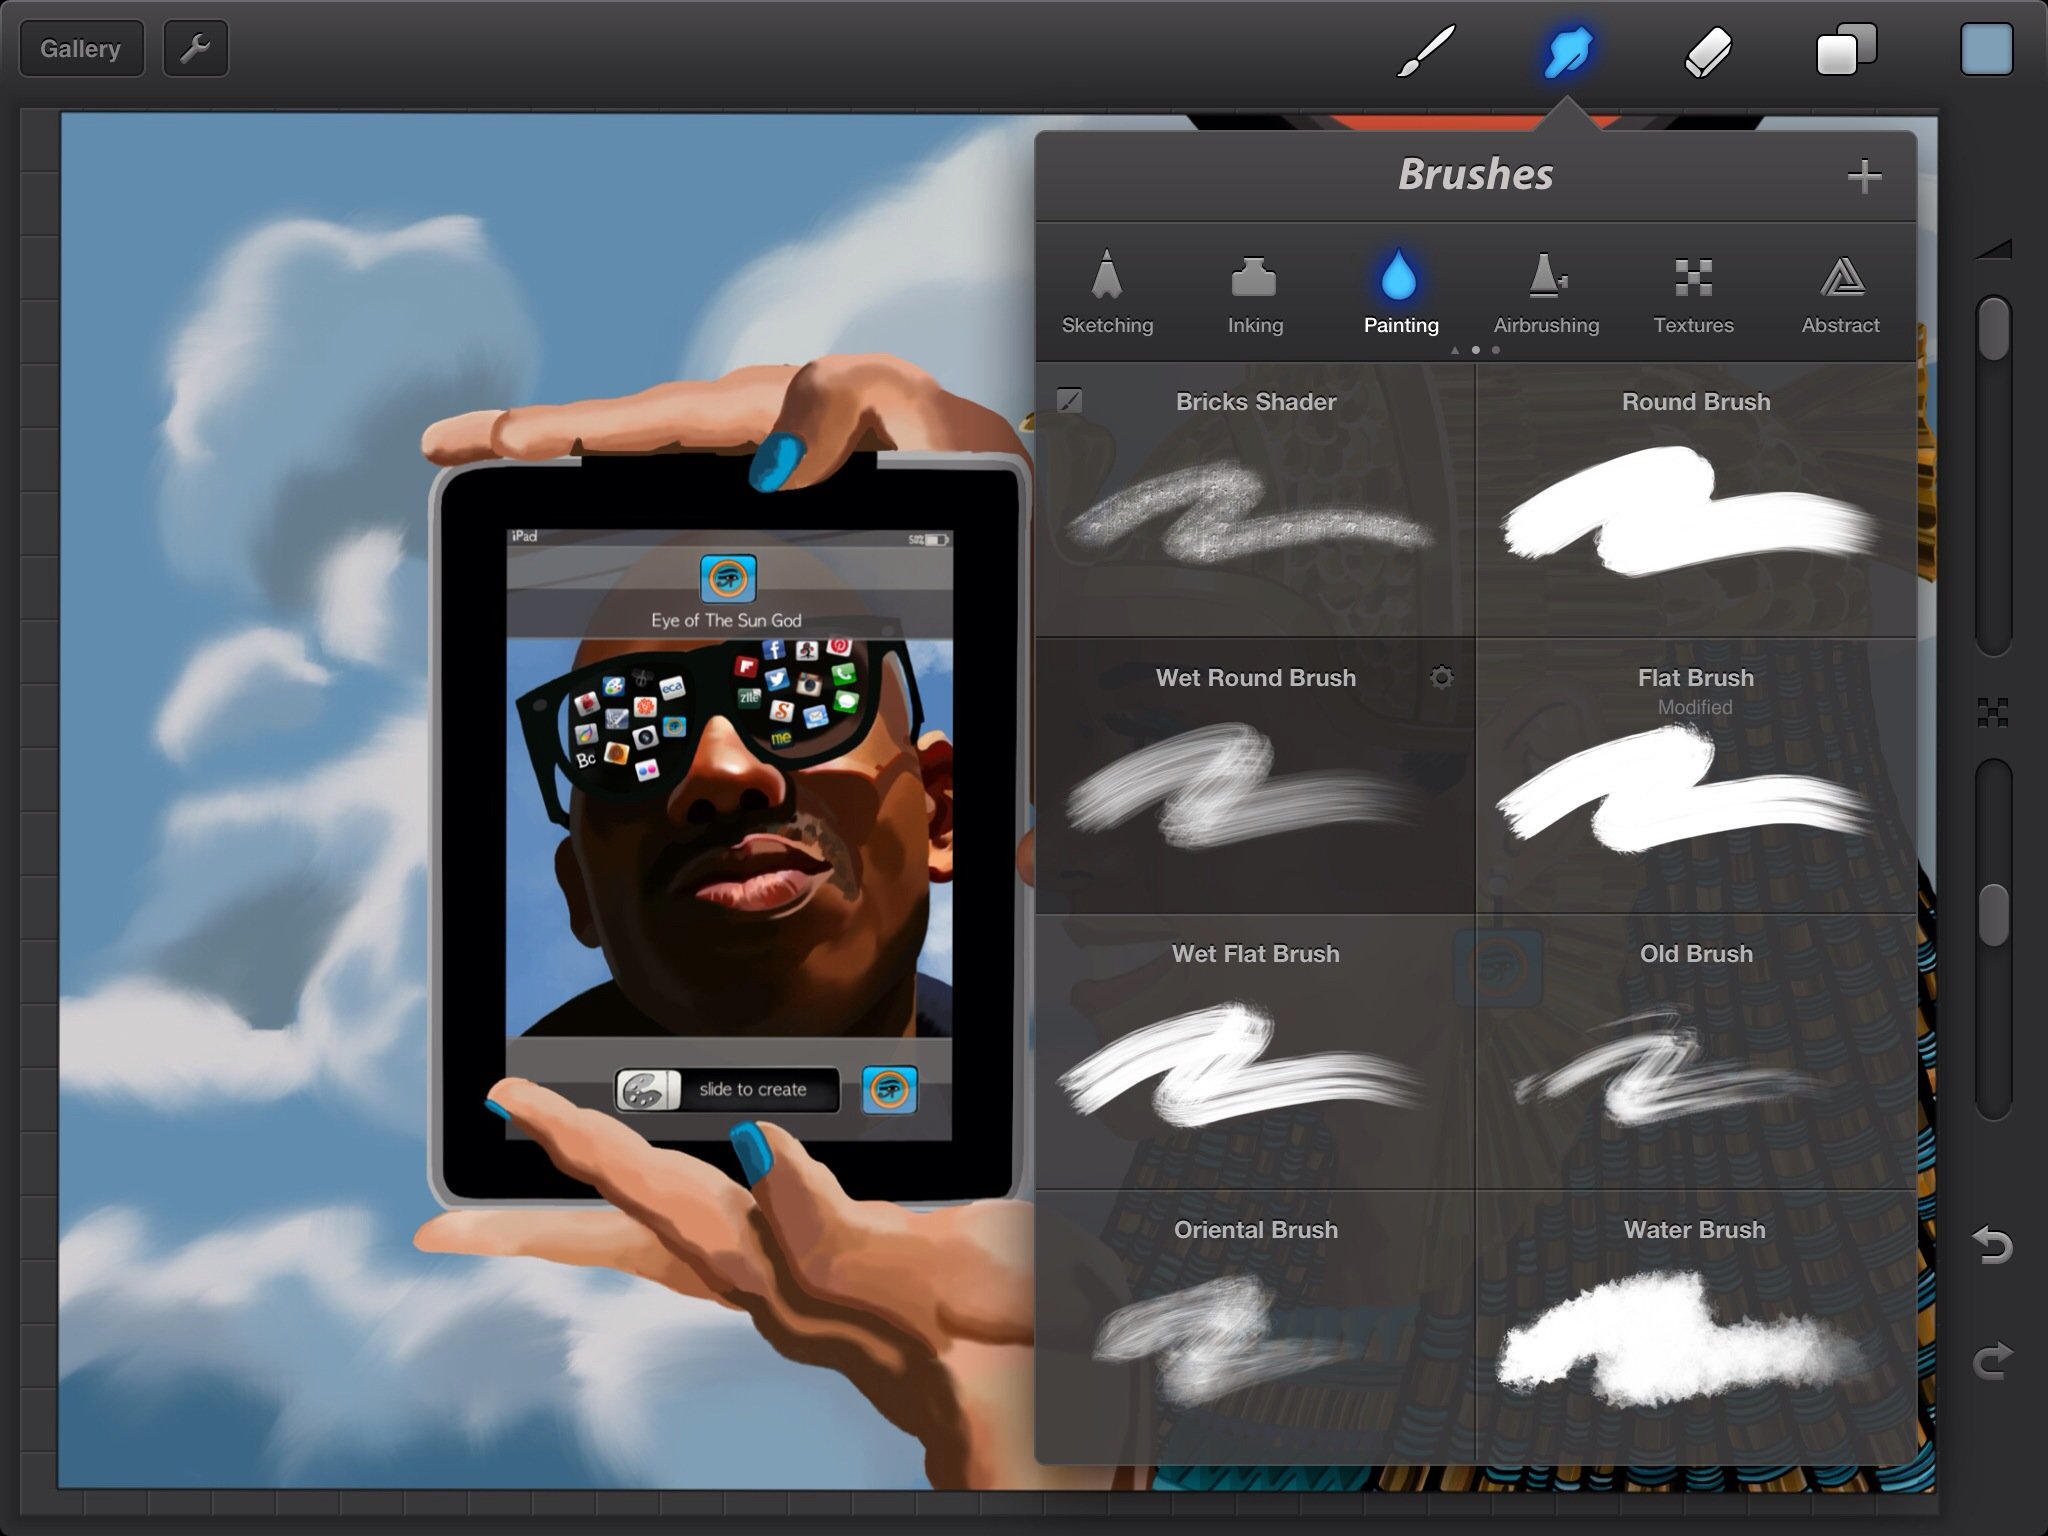
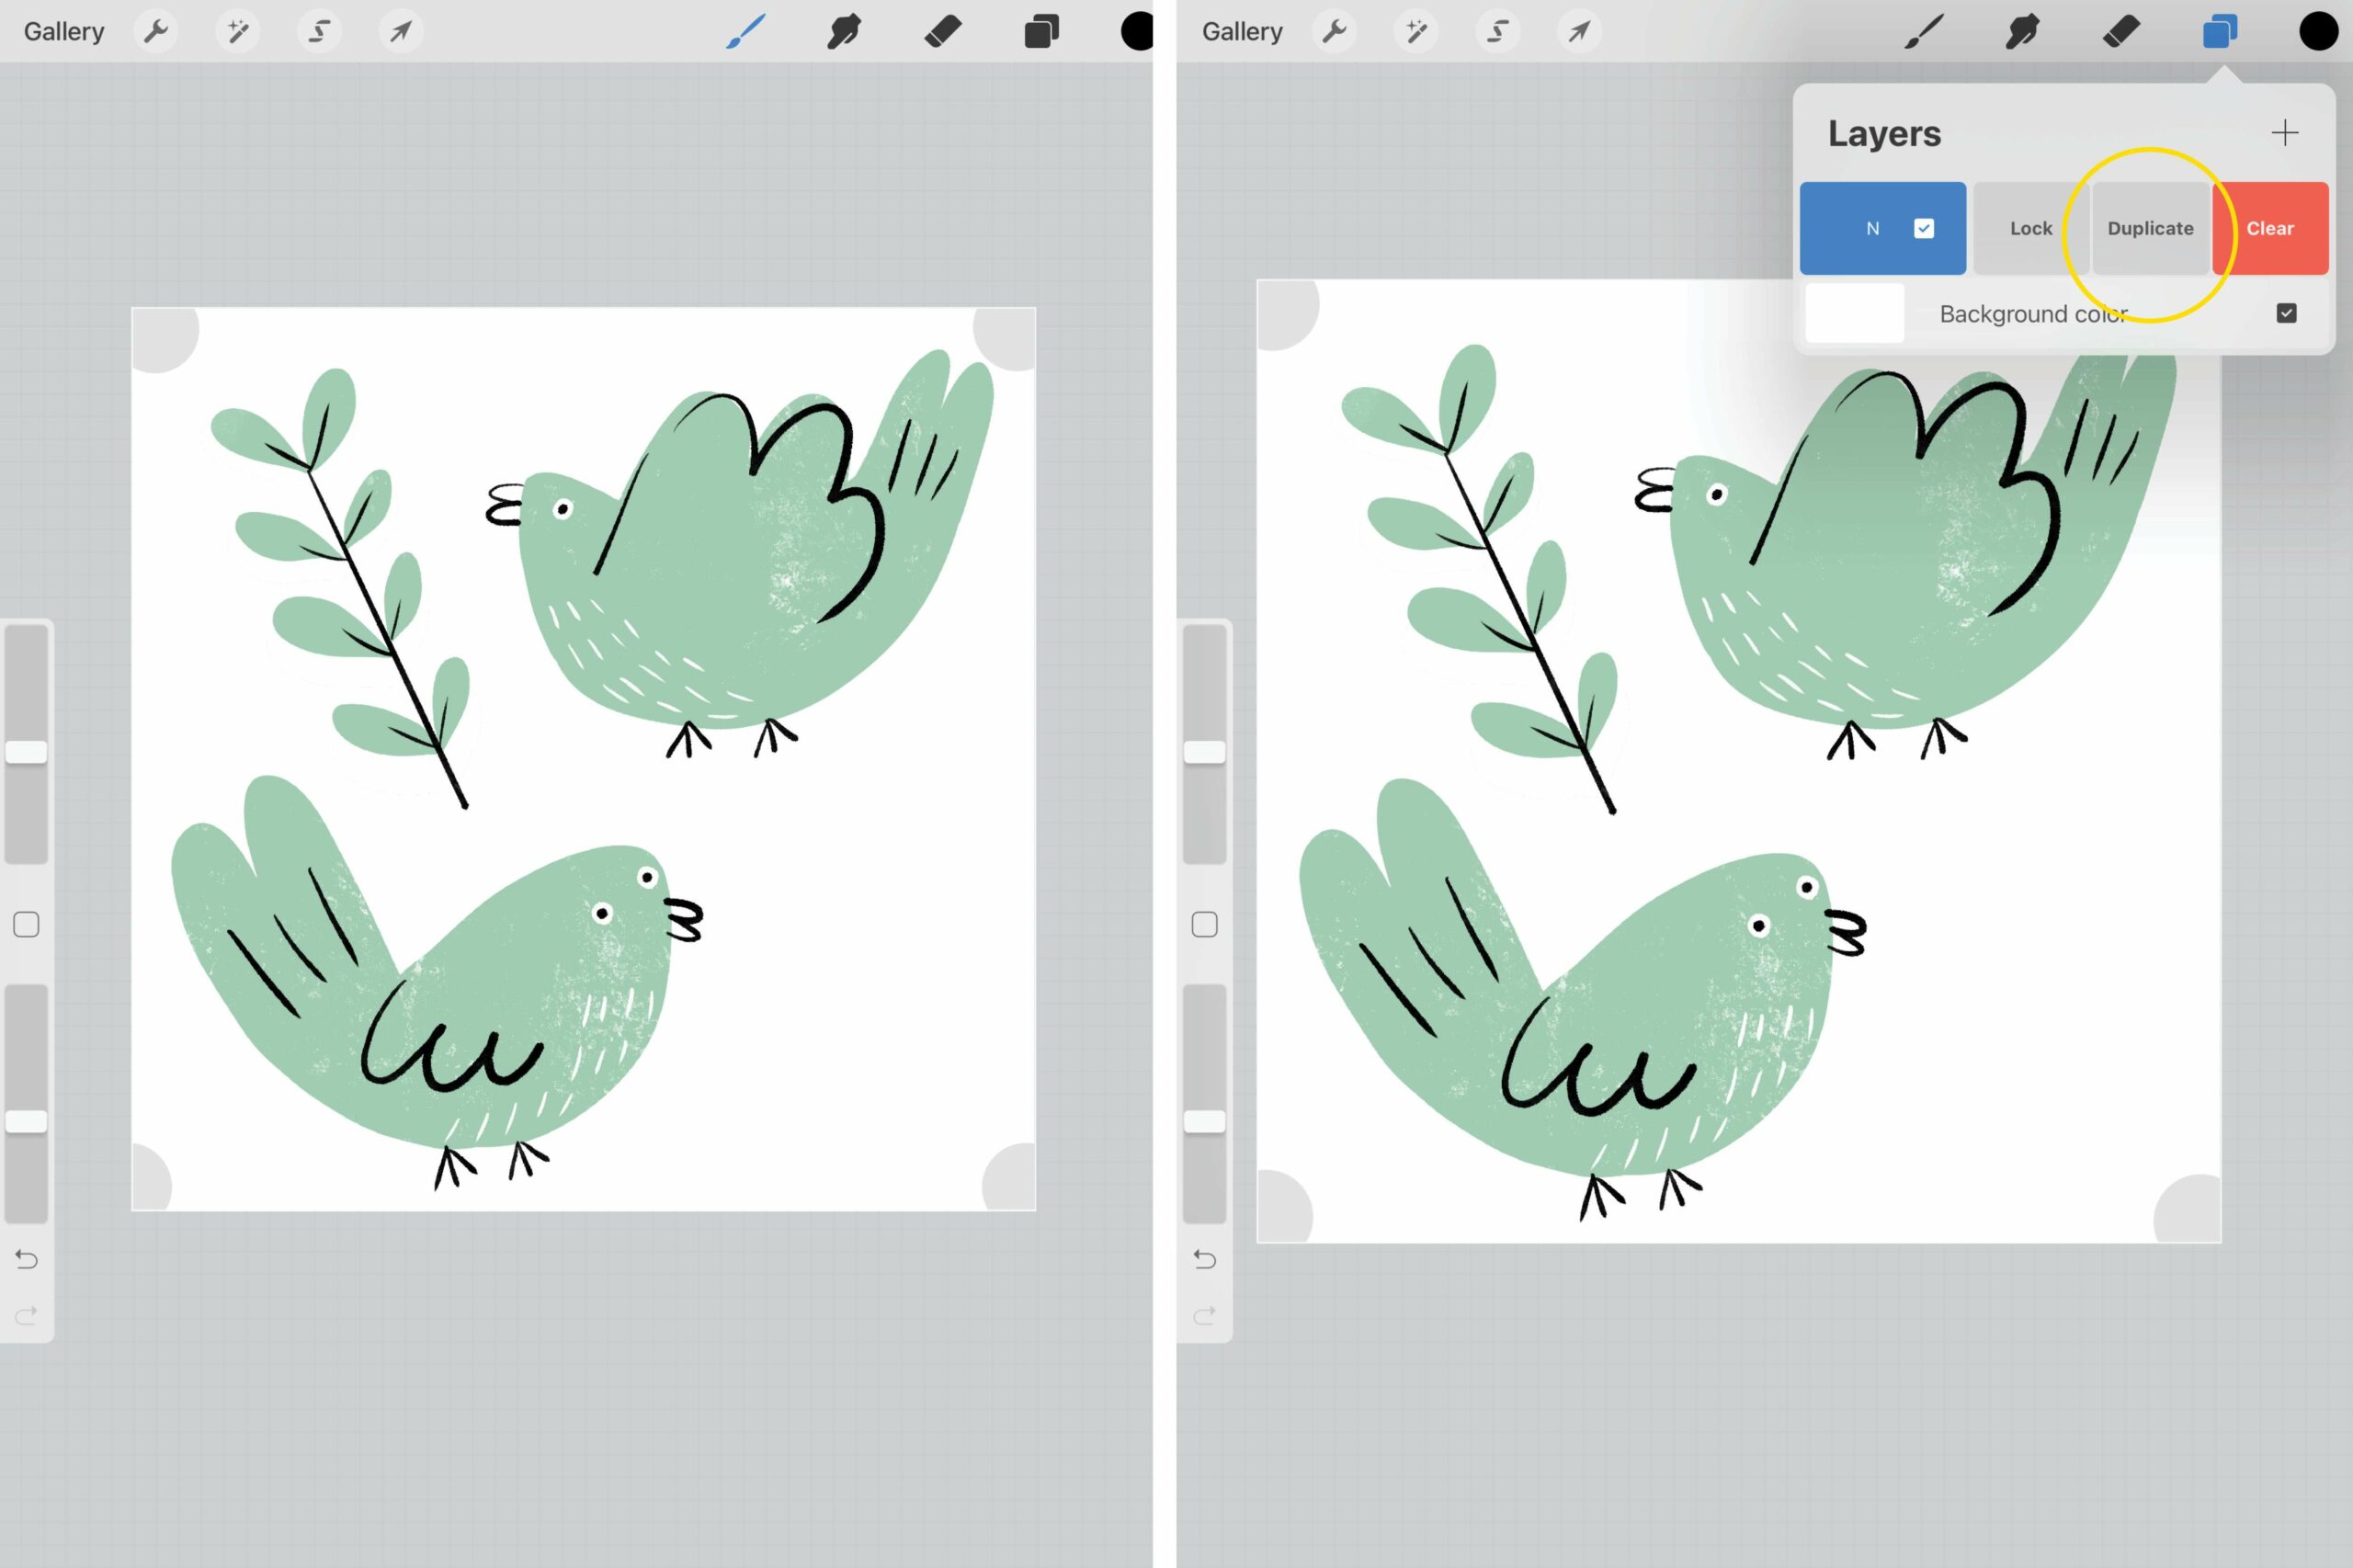
How To Duplicate Brush In Procreate

The fastest built-in way to duplicate a brush in Procreate is to swipe left on the brush in the Brush Library and tap Duplicate. You can also tap and hold...

How To Make Folder In Procreate

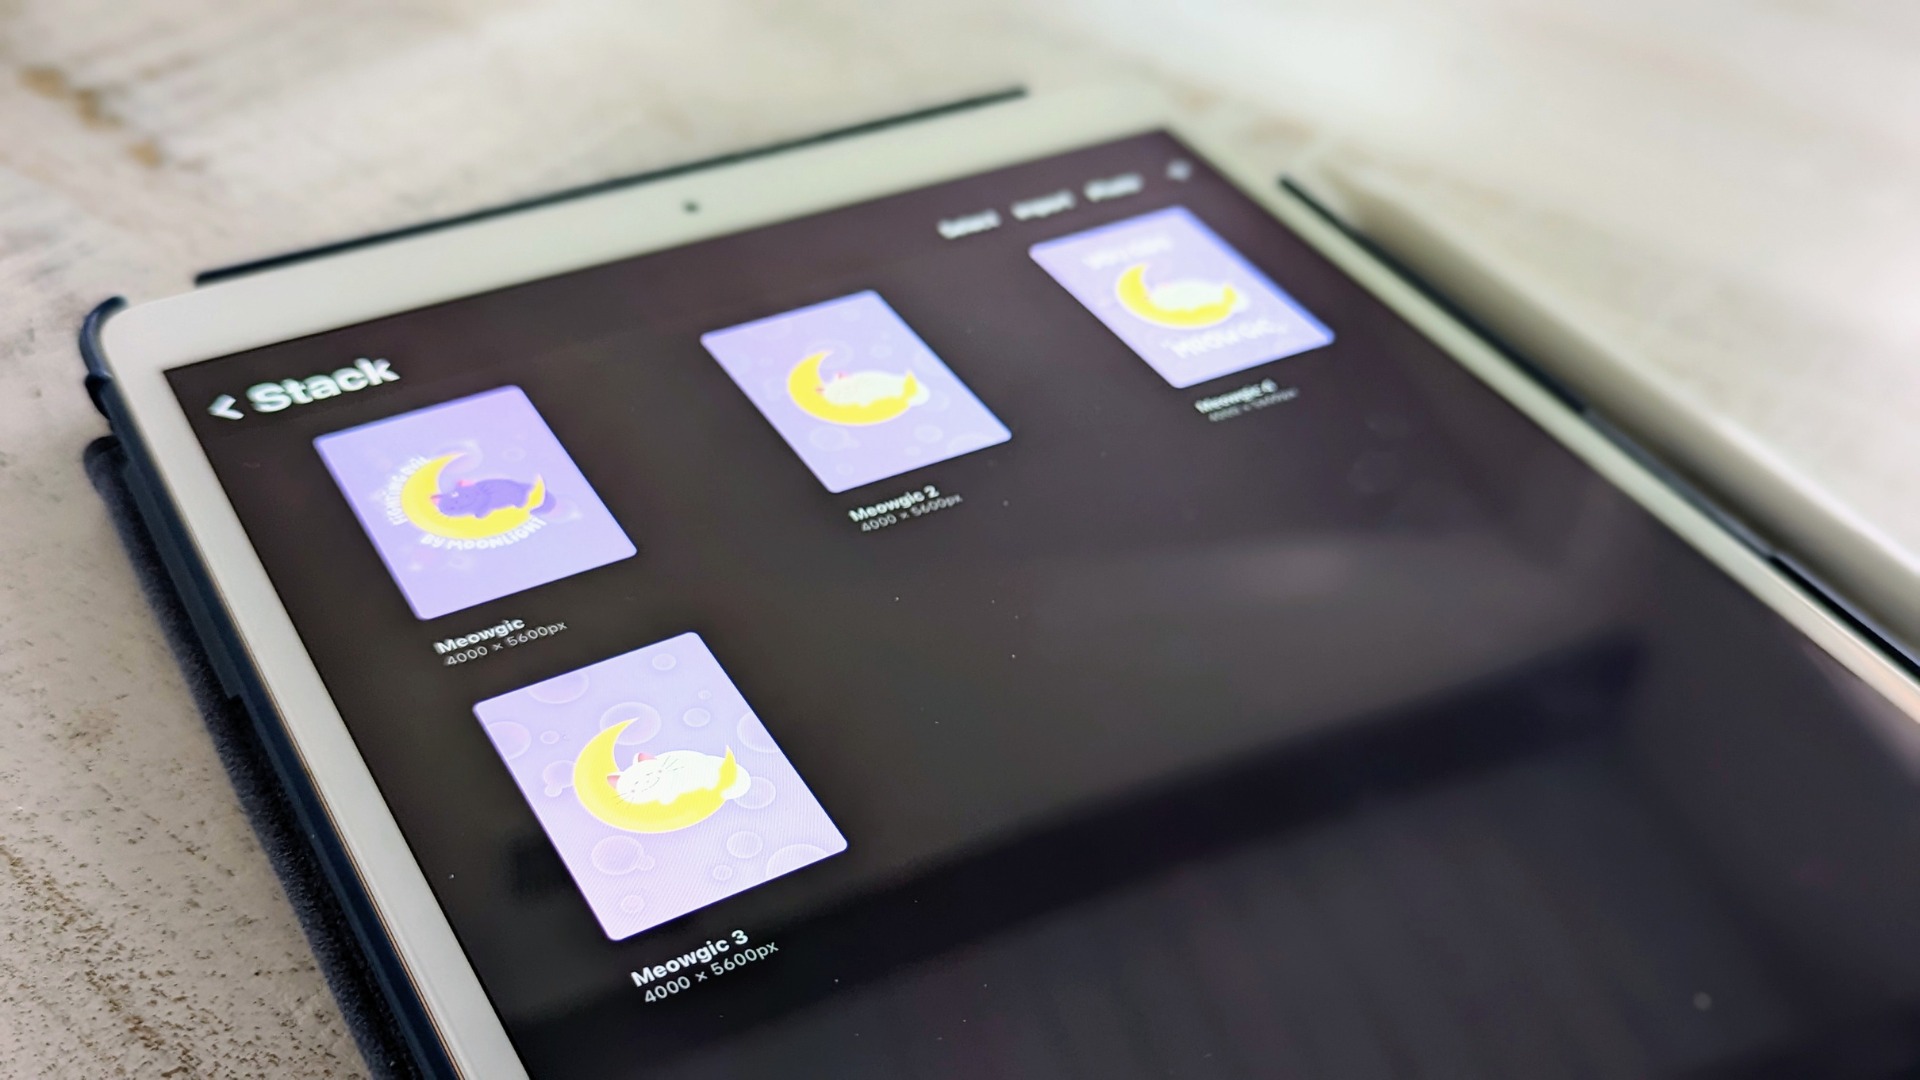
To make a folder in Procreate, you create a Stack, which is Procreate's term for a folder that groups artwork thumbnails in the Gallery view. Unlike folders inside a canvas,...

How To Turn Off Color On Procreate

To turn off color on Procreate, use the Hue, Saturation, Brightness adjustment and move the Saturation slider to 0%. This removes all color from your artwork, creating a clean grayscale...

How To Render On Procreate

To render on Procreate, you control how glazed or blended your brushstrokes appear by using the Rendering setting inside Brush Studio, and you build up depth and shading by adjusting...

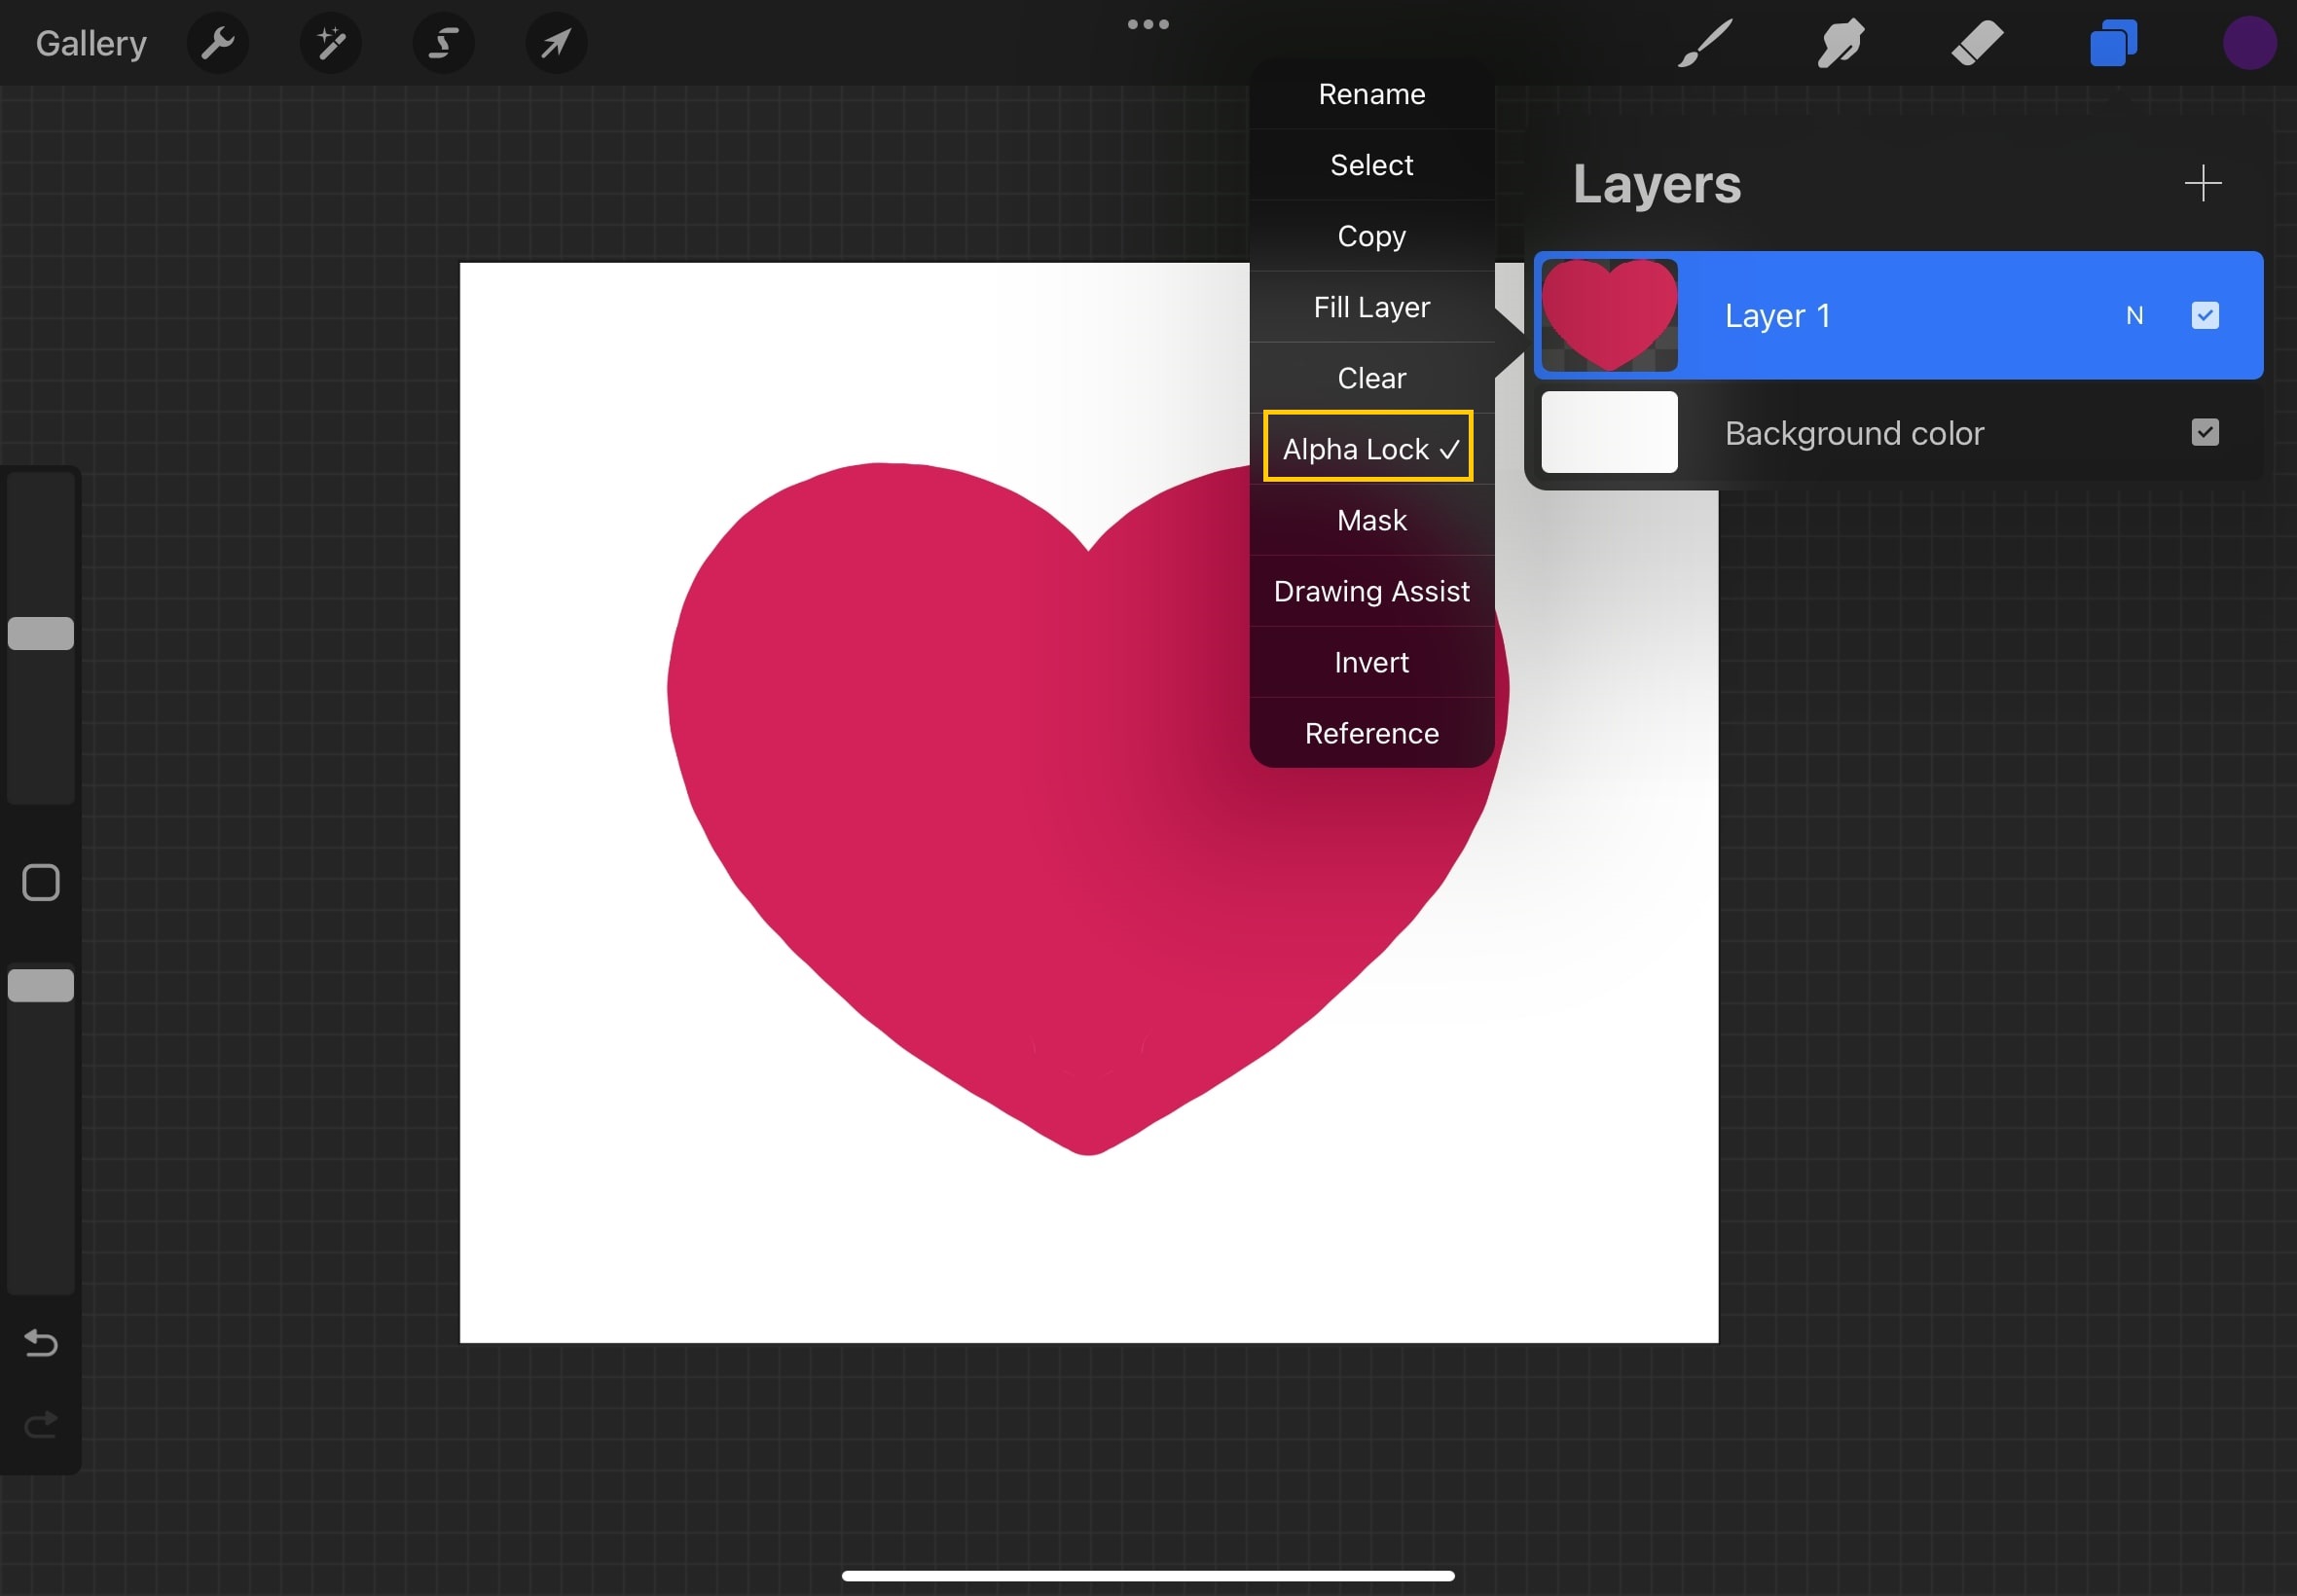
How To Alpha Lock In Procreate

To alpha lock in Procreate, activate the feature on a layer so you can only paint or edit within the existing opaque pixels, leaving transparent areas untouched. This lets you...

How To Clone In Procreate

Procreate is a powerful digital art and illustration app that has gained immense popularity among artists and designers. One of the standout features of Procreate is its ability to clone...

How To Change Line Color In Procreate

To change line color in Procreate for lines you have already drawn, use Alpha Lock, the Recolor tool, the Selection tool with Color Fill, or an Adjustment layer. These four...

How To Flip A Layer In Procreate

To flip a layer in Procreate, select the layer you want to mirror, then tap the Transform tool (the arrow icon) and choose Flip Horizontal or Flip Vertical. This two-step...

How To Add Reference Photo In Procreate

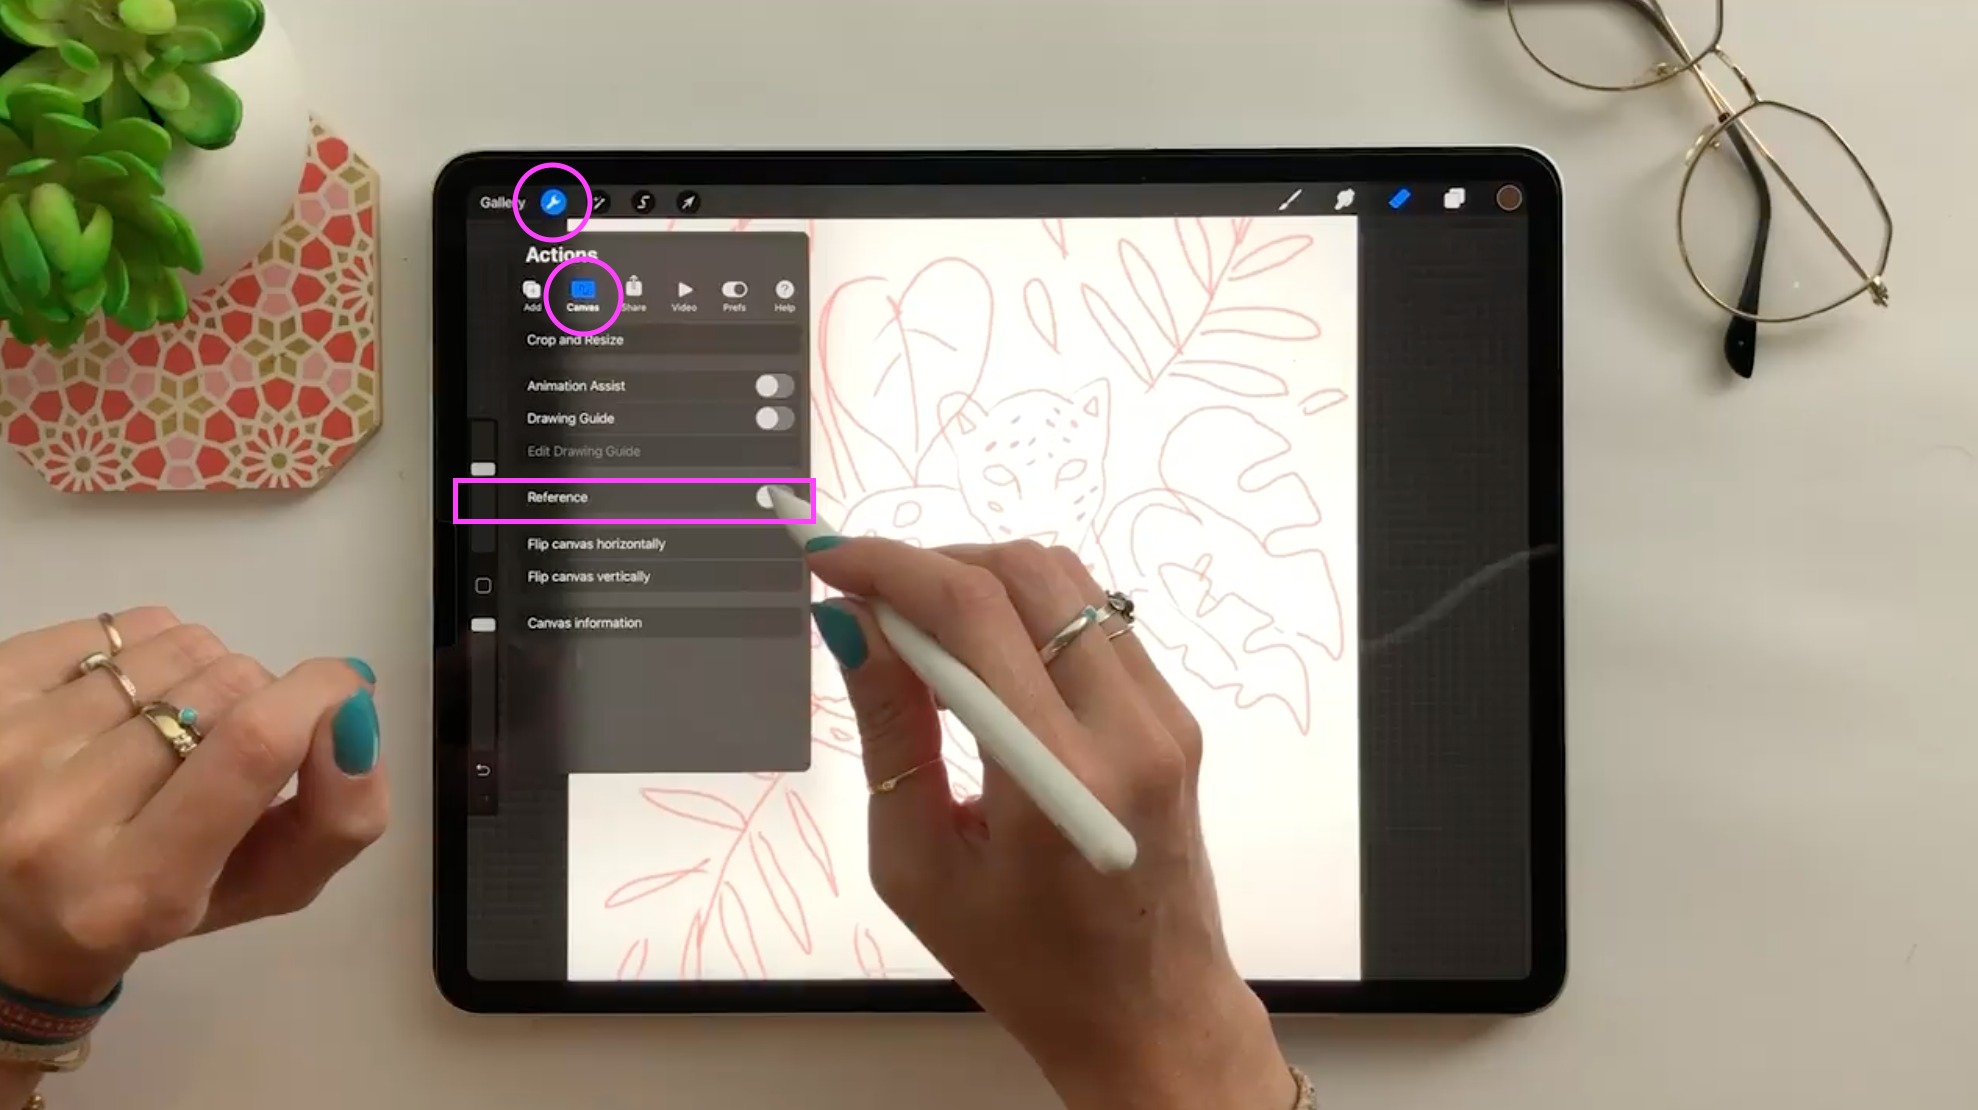
To add a reference photo in Procreate, open any canvas, tap the Actions (wrench icon), then Canvas, and turn on the Reference toggle. In the Reference Companion that appears, tap...