
Procreate is an immensely popular digital illustration app that has gained a massive following among artists and designers. Whether you’re a beginner or a seasoned professional, Procreate offers a wide range of powerful features and tools to unleash your creativity. One such feature is the ability to create and customize brushes, allowing you to achieve unique and tailored effects in your artwork.
However, if you’ve ever used Procreate, you might have encountered a situation where you need to rename a brush. Renaming brushes can help you keep your workflow organized and make it easier to find the brush you need. In this article, we will guide you through the process of renaming a brush in Procreate, providing you with the steps and tips to ensure a seamless experience. So, let’s get started and learn how to rename a brush in Procreate!
Inside This Article
- Renaming a Brush in Procreate
- Accessing the Brush Library
- Finding the Brush to Rename
- Renaming the Brush
- Saving the Renamed Brush
- Conclusion
- FAQs
Renaming a Brush in Procreate
If you’re using Procreate, the popular digital painting and illustration app, you may find yourself wanting to give your brushes more personalized names. Renaming a brush can help you stay organized and easily identify the brushes you use frequently. In this article, we’ll guide you through the steps to rename a brush in Procreate.
1. Accessing the Brush Library
The first step in renaming a brush is accessing the Brush Library. To do this, open Procreate and select the brush icon located in the top toolbar. This will open the Brush Library panel where all your brushes are stored.
2. Finding the Brush to Rename
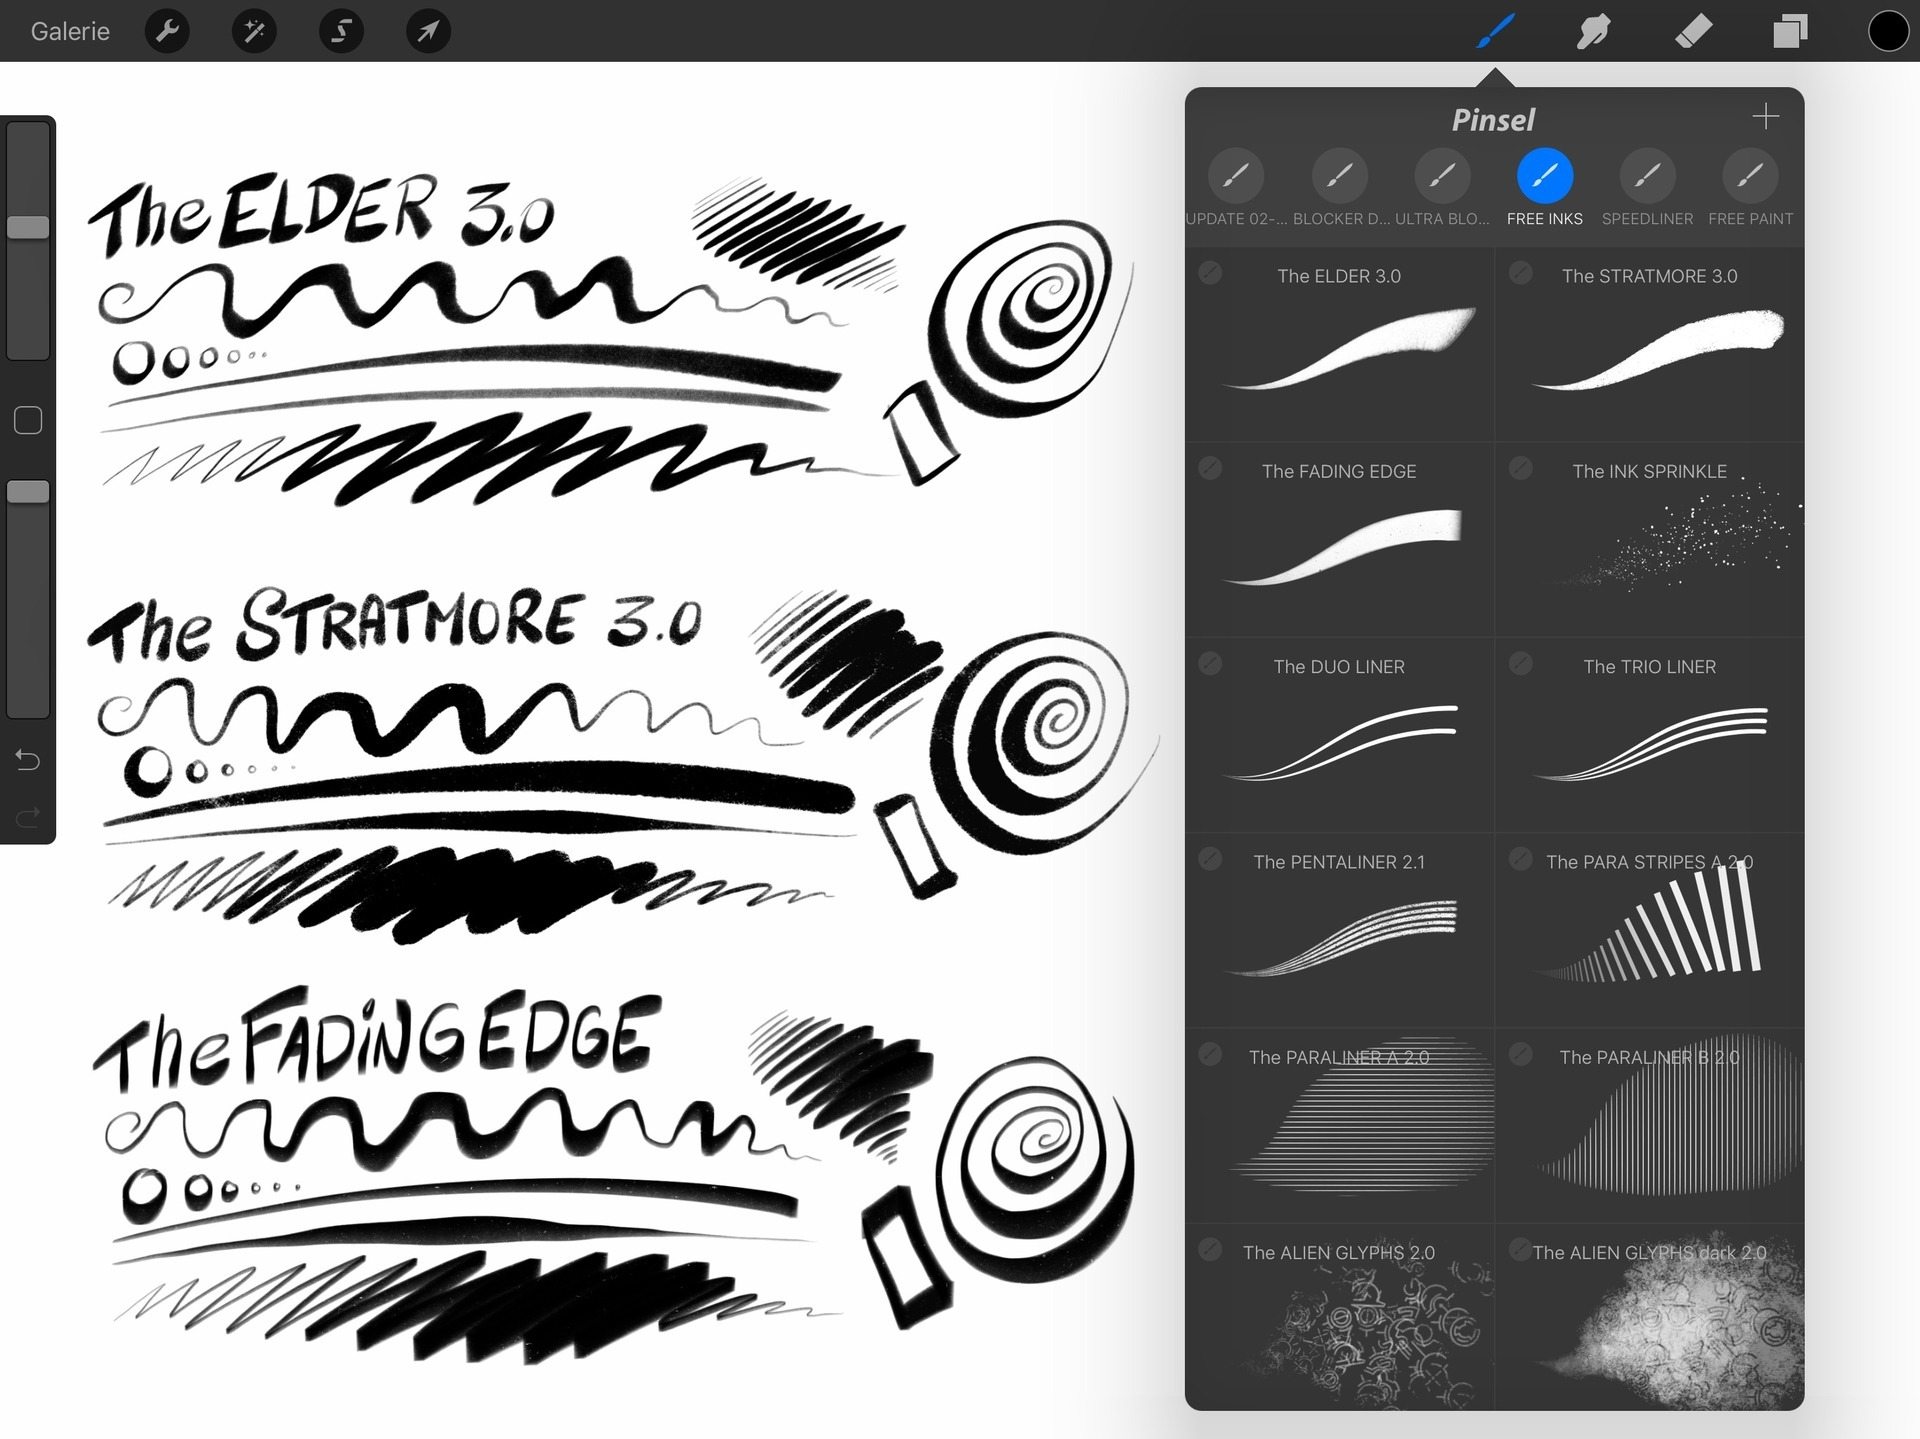
Once you’re in the Brush Library, you’ll see the various categories of brushes available. Scroll through the categories and locate the brush you want to rename. You can easily identify the brush by its thumbnail image and name.
3. Renaming the Brush
To rename the brush, tap and hold on the brush name until a contextual menu appears. From the menu, select “Rename”. This will open a text input field where you can enter the new name for the brush.
Once you’ve entered the new name, tap “Done” or simply tap outside the text input field to save the changes. The brush will now be renamed with the new name you’ve provided.
4. Saving the Renamed Brush
Procreate automatically saves the changes made to the brush name. This means that once you’ve renamed a brush, the new name will be displayed in the Brush Library and will be used whenever you select that brush to use in your artwork.
It’s important to note that renaming a brush in Procreate is a straightforward process and can be done at any time. So don’t hesitate to make your brush collection more organized and personalized by giving them unique and memorable names.
Remember, keeping your brushes organized can help improve your workflow and make your digital art experience more enjoyable.
Accessing the Brush Library
One of the first steps in renaming a brush in Procreate is accessing the Brush Library. The Brush Library contains all the brushes available in the app, and it’s where you can find the brush you want to rename. To access the Brush Library, open Procreate on your device and tap on the brush icon in the top right corner of the screen.
Once you tap on the brush icon, the Brush Library will appear, displaying a wide range of brush options. These brushes are categorized into different sections such as “Favorites,” “Sketching,” “Inking,” “Painting,” and more. You can scroll through the sections to explore the various brushes available.
If you already have a specific brush in mind that you want to rename, you can use the search feature within the Brush Library. Simply tap on the search icon and type in the name or keywords related to the brush you’re looking for. This will help you quickly locate the brush in question.
Now that you know how to access the Brush Library in Procreate, let’s move on to the next step – finding the brush you want to rename.
Finding the Brush to Rename
Once you have accessed the Brush Library in Procreate, the next step is to locate the specific brush that you want to rename. Here is how you can do it:
1. Scroll through the various brush sets available in the Brush Library, organized by category and type. Take your time to explore and find the brush that you wish to rename.
2. If you have a large collection of brushes, you can use the search bar at the top of the Brush Library to quickly locate the brush you want. Simply type in the name or a keyword associated with the brush, and Procreate will display all the brushes matching your search query.
3. Additionally, Procreate offers the option to create custom sets to organize your brushes better. If you have already organized your brushes into custom sets, navigate to the specific set where the brush is located to make it easier to find.
4. Take advantage of the preview feature in Procreate by tapping on a brush thumbnail. This allows you to see a larger, more detailed view of the brushstroke created by the selected brush. Utilize this feature to quickly identify the brush you wish to rename based on its appearance.
5. If you still cannot locate the brush you want to rename, ensure that you haven’t accidentally deleted or hidden it. Check the “Deleted” and “Hidden” folders in the Brush Library to verify if the brush is there. If it is, you can restore it to its original location or move it to another folder for easier access.
By following these steps, you will be able to find the specific brush in Procreate that you want to rename. Once you have located the brush, you can proceed to the next step and rename it according to your preference.
Renaming the Brush
To rename a brush in Procreate, follow these simple steps:
1. Tap on the brush you want to rename from the Brush Library. This will open up the Brush Studio for that specific brush.
2. Once in the Brush Studio, tap on the name of the brush at the top of the screen. The current name of the brush will be highlighted, indicating that it is ready to be edited.
3. Use your keyboard to type in the new name for the brush. You can be as creative or descriptive as you want with the new name.
4. After you have entered the new name, simply tap anywhere outside the text field to apply the changes. The brush will now be renamed with the new name you just entered.
5. Finally, tap on the “Done” button at the top right corner of the screen to exit the Brush Studio and save the renamed brush.
Note: Renaming a brush does not affect its appearance or settings. It only changes the name by which the brush is identified in the Brush Library.
By following these steps, you can easily rename brushes in Procreate and organize them according to your preference or workflow. Whether you want to give your brushes more meaningful names or categorize them in a way that makes sense to you, Procreate makes it simple to customize your brushes.
Saving the Renamed Brush
Once you have successfully renamed your brush in Procreate, it is important to save the changes to ensure the new name is preserved for future use. Saving the renamed brush is a simple and straightforward process:
1. After you have renamed the brush, tap on the “Done” button located at the top right corner of the screen. This will exit the brush editing mode and return you to the brush library.
2. In the brush library, you will see the updated name for the brush you renamed. The new name will be displayed under the brush preview.
3. To save the renamed brush, swipe to the left on the brush to reveal the options menu. Tap on the “Duplicate” option.
4. Procreate will create a duplicate brush with the new name and add it to your brush library. The original brush with the old name will still be present, allowing you to switch between the two if desired.
5. If you no longer need the original brush with the old name, you can swipe left on it again and tap on the “Delete” option to remove it from your brush library.
Remember, saving the renamed brush ensures that you can easily locate and use it in your future artworks. By following these steps, you can take full control of organizing and customizing your brush collection in Procreate.
In conclusion, being able to rename a brush in Procreate can be a helpful feature that allows users to personalize their workflow and keep their brushes organized. With just a few simple steps, you can easily give your brushes new names that are easier to remember and differentiate. Whether you’re a professional artist, illustrator, or just enjoy using Procreate for fun, being able to rename your brushes can enhance your creative process and make your experience with the app more enjoyable.
FAQs
1. Can I rename a brush in Procreate?
Yes, you can rename a brush in Procreate. Procreate offers you the flexibility to customize the names of your brushes to make them more personal or organized.
2. How do I rename a brush in Procreate?
To rename a brush in Procreate, follow these steps:
- Open Procreate.
- Tap the Brush icon.
- Select the brush you want to rename.
- Tap the brush name at the top of the Brush Library.
- Enter the new name for the brush using the on-screen keyboard.
- Tap Done to save the new brush name.
3. Can I change the name of a Procreate default brush?
Unfortunately, you cannot change the names of default brushes in Procreate. The default brush names are predetermined by the app and cannot be edited.
4. Is it possible to revert to the default name after renaming a brush?
No, once you rename a brush in Procreate, there is no built-in function to revert to the default name. It is recommended to make note of the original name before renaming a brush if you think you may want to revert to it in the future.
5. Can I rename multiple brushes at once in Procreate?
Currently, Procreate does not offer a feature to rename multiple brushes simultaneously. Each brush must be renamed individually following the steps mentioned earlier.