
Welcome to the world of iPhone 13, the latest addition to Apple’s renowned line of smartphones. With its sleek design, powerful performance, and cutting-edge features, the iPhone 13 promises to elevate your mobile experience to new heights. But before you start exploring all that this incredible device has to offer, you need to go through the setup process to ensure that it is personalized to your preferences and ready for use. In this article, we will guide you through the step-by-step process of setting up your iPhone 13. From activating your device to configuring essential settings and transferring data from your old phone, we’ve got you covered. So, let’s dive in and get your iPhone 13 up and running in no time!
Inside This Article
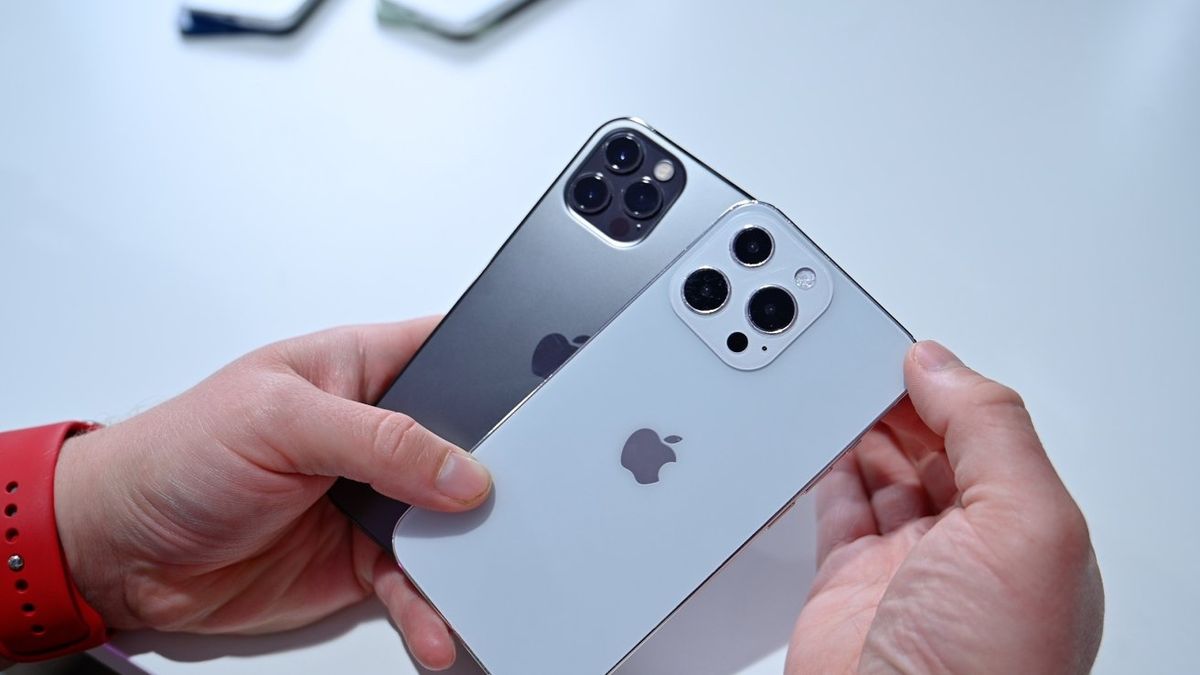
- Getting Started – Unboxing the iPhone 13 – Inserting the SIM card – Charging the device – Powering on the iPhone 13
- Setting Up the Basics
- Transferring Data – Migrating data from an old iPhone – Restoring from an iCloud backup – Transferring data using Quick Start – Manually transferring data with a computer
- Personalizing Your iPhone
- Conclusion
- FAQs
Getting Started – Unboxing the iPhone 13 – Inserting the SIM card – Charging the device – Powering on the iPhone 13
Welcome to the world of the iPhone 13! In this guide, we will take you through the essential steps of setting up your new device. Let’s begin with unboxing your iPhone 13.
When you first receive your iPhone 13, carefully remove the packaging, taking note of any accessories that come with it. Once the box is opened, you’ll lay eyes on your sleek and modern iPhone 13, waiting to be unleashed.
The next step is to insert the SIM card, which is necessary for making calls, sending texts, and accessing cellular data. Look for the SIM card tray on the side of your iPhone 13. To open the tray, you can use the SIM card ejection tool, or in a pinch, a paperclip or a thin pin will do. Gently push the tool or pin into the small hole on the tray, and it will pop out. Place your SIM card into the tray, aligning it with the designated slot, then carefully push the tray back into the iPhone 13.
Now that the SIM card is in place, let’s move on to charging your device. Locate the charging port at the bottom of your iPhone 13. Take the Lightning cable included in the box and plug one end into the charging port. The other end of the cable can be connected to a power source, such as a wall adapter or a USB port on your computer. Once connected, you will see the battery icon appear on the screen, indicating that your iPhone 13 is charging.
After your iPhone 13 has been charged for a while, you might be itching to turn it on and start exploring its features. To power on your iPhone 13, press and hold the side button on the right-hand side of the device until the Apple logo appears on the screen. Congratulations! Your iPhone 13 is now powered on and ready to be set up.
Remember, as with any electronic device, it’s always a good idea to thoroughly read the user manual provided by Apple to ensure you have a complete understanding of your iPhone 13’s features and functions. Enjoy your new iPhone 13 and the incredible experience it brings!
Setting Up the Basics
When you first get your shiny new iPhone 13, there are a few basic setup steps you need to complete before diving into all the amazing features. This article will guide you through the initial setup process, including language and region selection, connecting to a Wi-Fi network, enabling or disabling location services, and creating or signing in to an Apple ID.
Language and Region Selection
The first step in setting up your iPhone 13 is selecting the language and region preferences. The iPhone supports a wide range of languages, so choose the one that suits you best. Additionally, you can select your region, which helps customize various features such as date and time formats, currency, and more.
Connecting to a Wi-Fi Network
To take full advantage of the internet features and services on your iPhone 13, you’ll need to connect to a Wi-Fi network. Go to the “Settings” app and tap on “Wi-Fi. From there, you can view a list of available networks and choose the one you want to connect to. If the network is password-protected, enter the password to establish the connection.
Enabling or Disabling Location Services
Location services play a crucial role in various apps and features on your iPhone 13, such as maps, weather, and location-based reminders. You have the option to enable or disable location services during the initial setup process. If you choose to enable it, your iPhone will use GPS, Bluetooth, and nearby Wi-Fi networks to determine your location for enhanced functionality. However, if you prefer not to share your location, you can disable this feature and limit its usage.
Creating or Signing in to an Apple ID
An Apple ID is essential for accessing various services and features on your iPhone 13, including the App Store, iCloud, Apple Music, and more. During the setup process, you’ll have the option to create a new Apple ID if you don’t have one already. If you already have an Apple ID, you can sign in using your existing credentials to seamlessly sync your data and access your purchased content across different devices.
By following these steps to set up the basics on your iPhone 13, you’ll be ready to dive into the world of advanced features and exciting possibilities that your new device has to offer.
Transferring Data – Migrating data from an old iPhone – Restoring from an iCloud backup – Transferring data using Quick Start – Manually transferring data with a computer
When setting up a new iPhone 13, one of the most important steps is transferring your data from your old iPhone to the new device. There are several methods to accomplish this, depending on your preferences and circumstances. Let’s explore the different options available.
Migrating data from an old iPhone
If you have your old iPhone with you, migrating data directly from your old device to the new iPhone 13 is a convenient option. To do this, ensure that both iPhones are powered on and in close proximity to each other. Follow the on-screen instructions on your new iPhone 13 to initiate the migration process. This method allows for a seamless transfer of data, including apps, settings, photos, contacts, and more.
Restoring from an iCloud backup
If you’ve been regularly backing up your old iPhone to iCloud, restoring from an iCloud backup is a quick and efficient way to transfer your data to the new iPhone 13. During the initial setup process, choose the option to restore from an iCloud backup. Sign in to your iCloud account and select the most recent backup that contains the data you want to transfer. The restoration process may take some time, but it ensures that your new iPhone will have the same apps, settings, and data as your old device.
Transferring data using Quick Start
If you have both your old iPhone and the new iPhone 13 running iOS 12.4 or later, you can use Quick Start to transfer data wirelessly. Simply place both devices next to each other, and a prompt will appear on your new iPhone 13 asking if you want to set up a new device. Follow the on-screen instructions to establish a wireless connection between the two devices. Quick Start will transfer your settings, Apple ID, and other data seamlessly.
Manually transferring data with a computer
For those who prefer a more hands-on approach, you can manually transfer data from your old iPhone to the new iPhone 13 using a computer. Connect your old iPhone to the computer and launch iTunes or Finder. Create a backup of your old iPhone by selecting the option to back up to the computer. Once the backup is complete, connect your new iPhone 13 to the computer and follow the on-screen instructions to set it up. During this process, choose the option to restore from the backup you created earlier.
Transferring data from your old iPhone to the new iPhone 13 is a crucial step in setting up your device. Whether you prefer a wireless transfer using iCloud or Quick Start, or a manual transfer using a computer, make sure to choose the method that suits your needs and preferences. With a smooth data transfer, you can seamlessly continue using your new iPhone 13 with all your important information and settings intact.
Personalizing Your iPhone
When you first get your iPhone 13, it’s important to personalize it to your liking. There are several features and settings that allow you to make your iPhone unique and tailored to your needs. In this section, we will explore how to set a passcode or utilize Face ID, customize the Home Screen layout, manage notifications and enable Do Not Disturb, and configure privacy and security settings.
Setting a Passcode or Using Face ID
Securing your iPhone is crucial to protect your personal information. You have two options: setting a passcode or utilizing Face ID. To set a passcode, navigate to “Settings,” then “Face ID & Passcode” or “Touch ID & Passcode” depending on your iPhone model. From there, you can create a passcode of your choice, whether it’s a four-digit numeric code, a custom alphanumeric code, or even a six-digit numeric code.
If your iPhone is equipped with Face ID technology, you can set it up by going to “Settings,” then “Face ID & Passcode.” Follow the prompts to enroll your face and use it to unlock your iPhone, make secure purchases, and authenticate various apps and services. Face ID provides an added layer of convenience and security.
Customizing the Home Screen Layout
The Home Screen is where you access all your apps and features, so why not make it your own? With iOS 14 and later, you can now add Widgets to your Home Screen, allowing you to personalize it further. Press and hold on an empty area of the Home Screen to enter “Jiggle mode.” Tap the “+” symbol in the top left corner to add a Widget. Select the Widget you want and customize its size and placement on the Home Screen. You can also customize your App Library, which organizes your apps automatically, making it easier to find the one you need.
Managing Notifications and Do Not Disturb
A flood of notifications can be distracting, so it’s essential to manage them effectively. To customize your notification settings, go to “Settings,” then “Notifications.” From there, you can choose how each app delivers notifications, whether it’s through banners, alerts, or in the Notification Center. You can also enable or disable Lock Screen notifications and choose whether or not notifications appear in the App Library.
Additionally, you can use the Do Not Disturb feature to limit interruptions during specific times or events. Swipe down from the top right corner of the screen to access Control Center and tap the crescent moon icon to enable Do Not Disturb. You can also schedule Do Not Disturb to automatically turn on during certain hours or when connected to specific Wi-Fi networks.
Configuring Privacy and Security Settings
Protecting your privacy and securing your data is paramount on any device. To configure privacy settings on your iPhone 13, head to “Settings,” then “Privacy.” From here, you can control which apps have access to your location, photos, microphone, and more. It’s important to review these settings regularly to ensure your privacy preferences are up to date.
In terms of security, you can enable features such as Two-Factor Authentication (2FA) and Find My iPhone. These features provide additional layers of protection for your device and help safeguard your personal information.
Personalizing your iPhone not only makes it feel like yours but also enhances your overall user experience. By setting a passcode or utilizing Face ID, customizing the Home Screen layout, managing notifications and enabling Do Not Disturb, and configuring privacy and security settings, you can make your iPhone 13 truly yours while keeping your information secure.
Conclusion
Setting up an iPhone 13 can seem like a daunting task, but with the step-by-step instructions provided in this guide, you’ll be up and running in no time. From initial activation to personalizing your device and transferring data, we’ve covered all the essential steps to ensure a smooth and hassle-free setup process.
iPhone 13’s advanced features and cutting-edge technology make it an incredible device to own. Whether you’re a long-time iPhone user or switching from another platform, the setup process remains relatively straightforward.
Remember to take your time and follow each step carefully. Don’t hesitate to explore and customize the device to suit your preferences. With its powerful performance, stunning display, and exceptional camera capabilities, the iPhone 13 is sure to enhance your digital experience.
So, go ahead and embark on your journey with your brand new iPhone 13. Enjoy the seamless functionality, top-notch performance, and incredible features that this device has to offer!
FAQs
1. How do I set up my iPhone 13 for the first time?
The iPhone 13 can be easily set up in just a few simple steps. First, ensure that your device is charged. Power it on by pressing and holding the side button. Follow the on-screen instructions to select your preferred language, connect to a Wi-Fi network, and set up Face ID or Touch ID. Next, sign in with your Apple ID or create a new one if you don’t have an existing account. Finally, choose to restore from a previous backup or set up your iPhone as new. Once completed, your new iPhone 13 will be ready to use!
2. How do I transfer data from my old iPhone to the iPhone 13?
Transferring data from your old iPhone to the new iPhone 13 is a breeze, thanks to the Quick Start feature. Start by placing your old iPhone next to your new iPhone 13. Make sure Bluetooth is enabled on both devices. When prompted, enter your existing Apple ID password on your old iPhone and then follow the on-screen instructions on your new iPhone 13. This will transfer your data, including photos, contacts, messages, and apps, from your old iPhone to the new one. You can also choose to restore from an iCloud or iTunes backup if you prefer.
3. How do I customize the settings on my iPhone 13?
Personalizing the settings on your iPhone 13 is a great way to make it uniquely yours. To customize your device, go to the Settings app. From there, you can adjust various options such as Display & Brightness, Sounds & Haptics, Wallpaper, and more. You can also customize notifications for each app, set up shortcuts using Siri, and tweak privacy and security settings to your preference. Exploring the settings menu will give you access to a wide range of options for customizing your iPhone 13 to suit your needs.
4. How do I optimize battery life on my iPhone 13?
To optimize battery life on your iPhone 13, there are a few simple steps you can take. First, adjust the brightness of your screen by going to Settings > Display & Brightness. Lowering the brightness or enabling auto-brightness can help conserve battery power. Additionally, disable unnecessary features such as Background App Refresh or Location Services for apps that don’t require them. Managing push email settings and using Wi-Fi instead of cellular data whenever possible can also extend battery life. Lastly, consider enabling Low Power Mode when your battery is running low to further conserve power.
5. What is the best way to protect my iPhone 13?
Protecting your iPhone 13 is essential to keep it in pristine condition. One of the best ways to protect your device is by using a sturdy case or cover that provides both shock absorption and scratch resistance. Additionally, consider applying a tempered glass screen protector to safeguard the display against accidental drops and scratches. It is also recommended to avoid exposing your iPhone 13 to extreme temperatures and keeping it away from moisture. Regularly cleaning your device with a soft microfiber cloth can also help maintain its appearance.