
So, you've got your hands on the shiny new iPhone 11, and you're ready to dive into the world of Apple's latest and greatest smartphone. Setting up your new device is an exciting and essential first step to unleashing its full potential. In this article, we'll guide you through the process of setting up your iPhone 11 from start to finish. From activating your SIM card to customizing your settings, we've got you covered. Let's embark on this journey together and ensure that you make the most out of your iPhone 11 right from the get-go. So, without further ado, let's dive into the exciting world of iPhone 11 setup!
Inside This Article
- Getting Started- Unboxing the iPhone 11- Powering on the Device- Setting up Language and Region
- Connecting to Wi-Fi: Selecting a Wi-Fi Network, Entering Wi-Fi Password, Connecting to Wi-Fi
- Setting Up Face ID- Enabling Face ID- Setting Up Face ID- Testing Face ID
- Creating an Apple ID- Accessing the Apple ID Creation Page- Filling in Personal Information- Verifying Email and Completing Setup
- Conclusion
- FAQs
Getting Started- Unboxing the iPhone 11- Powering on the Device- Setting up Language and Region
Congratulations on your new iPhone 11! Unboxing this sleek device is an exciting experience. As you remove the lid, you’ll find the iPhone 11 nestled snugly in its packaging, exuding a sense of anticipation and sophistication. Carefully lift the iPhone 11 from its protective casing, and you’ll immediately notice its premium build and elegant design.
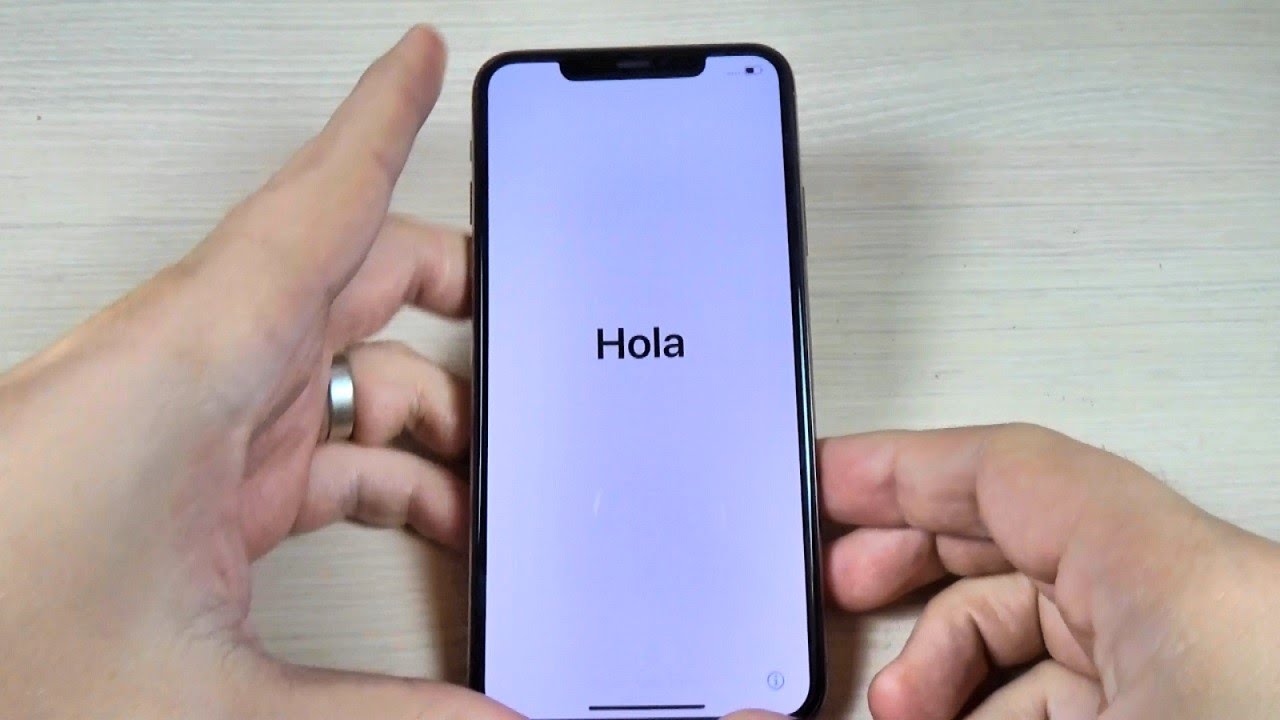
Now, let’s power on your iPhone 11. Simply press and hold the side button until the Apple logo appears on the screen. This initiates the device’s startup process, indicating that your iPhone 11 is coming to life for the first time. As the screen illuminates with the iconic Apple logo, you’ll feel the thrill of embarking on a new technological journey.
After powering on your iPhone 11, the setup process begins by prompting you to select your preferred language and region. This step ensures that your iPhone 11 is tailored to your linguistic and geographical preferences, enhancing your overall user experience. Choose your desired language and region from the options presented on the screen, and your iPhone 11 will adapt to provide a personalized interface.
Connecting to Wi-Fi: Selecting a Wi-Fi Network, Entering Wi-Fi Password, Connecting to Wi-Fi
Once your iPhone 11 is powered on and you’ve completed the initial setup, the next step is to connect to a Wi-Fi network. This is crucial for accessing the internet, downloading apps, and enjoying various online services.
First, navigate to the “Settings” app on your iPhone 11. Here, you’ll find the “Wi-Fi” option. Tap on it to view a list of available Wi-Fi networks in your vicinity. Select your preferred network from the list by tapping on its name.
After selecting the network, you may be prompted to enter the Wi-Fi password. This password is typically provided by the network administrator or is printed on the Wi-Fi router. Once you’ve entered the password, tap “Join” to initiate the connection process.
Upon successful entry of the password, your iPhone 11 will attempt to connect to the selected Wi-Fi network. Once connected, the Wi-Fi icon will appear in the status bar, indicating that your device is now linked to the internet via the chosen network.
Setting Up Face ID- Enabling Face ID- Setting Up Face ID- Testing Face ID
Setting up Face ID on your iPhone 11 is a breeze, and it offers a convenient and secure way to unlock your device, authenticate purchases, and access sensitive information. Here’s a step-by-step guide to get you started with this cutting-edge feature.
Enabling Face ID is the first step in the process. To do this, navigate to the “Settings” app on your iPhone 11 and select “Face ID & Passcode.” You will be prompted to enter your passcode to access this section. Once there, you can enable Face ID by toggling the switch next to “Face ID” to the “on” position. This initiates the setup process for this innovative facial recognition technology.
Setting up Face ID involves capturing a detailed scan of your face to create a biometric profile. To begin, tap “Set Up Face ID” and position your face within the frame displayed on the screen. Ensure that your face is clearly visible and centered within the outline. The device will then instruct you to move your head in a circular motion, allowing it to capture your facial features from different angles. Once the initial scan is complete, you will be prompted to repeat this process to ensure a comprehensive and accurate profile is created.
Testing Face ID is the final step to confirm that the setup process was successful. After completing the initial setup, you can test Face ID by locking your device and then waking it by tapping the screen or pressing the side button. When the “Face ID” icon animates at the top of the screen, simply glance at your iPhone 11. If the facial recognition is successful, the device will unlock, granting you seamless access to its features and functions.
Creating an Apple ID- Accessing the Apple ID Creation Page- Filling in Personal Information- Verifying Email and Completing Setup
Creating an Apple ID is an essential step to unlock the full potential of your iPhone 11. To start, open the “Settings” app on your iPhone. Scroll down and tap “Sign in to your iPhone.” If you don’t have an Apple ID, select “Don’t have an Apple ID or forgot it?” and then tap “Create Apple ID.” This will take you to the Apple ID creation page where you can begin the process of setting up your account.
Once you’re on the Apple ID creation page, you’ll be prompted to fill in your personal information. This includes your first and last name, email address, date of birth, and a password. It’s important to use a secure password to protect your account. After filling in the necessary fields, tap “Next” to proceed to the next step.
After entering your personal information, Apple will send a verification email to the address you provided. Check your email inbox for a message from Apple and click on the verification link to complete the setup. This step is crucial for verifying the ownership of the email address associated with your Apple ID. Once you’ve verified your email, your Apple ID setup is complete, and you can start enjoying all the features and services available to Apple users.
Conclusion
Setting up your iPhone 11 is a seamless process that ensures you get the most out of your device from the get-go. By following the steps outlined in this guide, you can personalize your iPhone 11 to suit your preferences, maximize its features, and safeguard your data. Whether it’s configuring Face ID, setting up Apple Pay, or customizing your home screen, the iPhone 11 offers a plethora of possibilities to explore. As you embark on your iPhone 11 journey, remember that the device is designed to adapt to your lifestyle, and with each setting and customization, it becomes uniquely yours. Embrace the experience, and revel in the convenience and innovation that the iPhone 11 brings to your fingertips.
FAQs
Q: What do I need to set up my iPhone 11 for the first time?
A: To set up your iPhone 11, you will need a Wi-Fi connection, an Apple ID, and your SIM card if you plan to use cellular services.
Q: Can I transfer data from my old iPhone to the new iPhone 11?
A: Yes, you can transfer data from your old iPhone to your new iPhone 11 using the Quick Start feature, iCloud, or iTunes.
Q: Do I need to create an Apple ID to set up my iPhone 11?
A: Yes, you will need an Apple ID to set up your iPhone 11. If you don’t have one, you can create it during the setup process.
Q: What is the Face ID setup process for the iPhone 11?
A: During the setup process, you will be prompted to enroll your face for Face ID. This involves positioning your face within the frame and moving your head in a circular motion.
Q: Can I customize the settings during the iPhone 11 setup?
A: Yes, you can customize various settings such as language, region, accessibility features, and privacy settings during the iPhone 11 setup process to tailor the device to your preferences.