
Sure, here's the introduction in HTML format:
html
Are you excited about getting your hands on the latest iPhone 13? One of the key features that users eagerly look forward to setting up is iMessage. This powerful messaging platform allows seamless communication with other Apple device users. In this article, we’ll guide you through the simple steps to turn on iMessages on your new iPhone 13. Whether you’re new to the iPhone ecosystem or upgrading from an older model, setting up iMessage is essential for staying connected with friends and family. Let’s dive into the process and get your iMessages up and running in no time!
Inside This Article
- Setting Up iMessages on iPhone 13
- Enabling iMessages
- Verifying iMessages Activation
- Troubleshooting iMessages Issues
- Conclusion
- FAQs
Setting Up iMessages on iPhone 13
Setting up iMessages on your new iPhone 13 is a breeze, allowing you to seamlessly send and receive messages with other Apple users. Whether you’re communicating with friends, family, or colleagues, iMessages provides a convenient and feature-rich platform for staying connected. Below, we’ll guide you through the simple steps to enable iMessages on your iPhone 13, ensuring that you can start enjoying this powerful messaging service in no time.
Before diving into the setup process, it’s important to ensure that your iPhone 13 is connected to a stable Wi-Fi network or has an active cellular data connection. This is essential for the initial activation and ongoing use of iMessages, as it relies on internet connectivity to transmit messages and media content.
Once you’ve confirmed your device’s internet connection, navigate to the “Settings” app on your iPhone 13. Scroll down and tap on “Messages” to access the iMessages settings. Here, you’ll find a range of options to customize your messaging experience, including the ability to enable iMessages and configure additional preferences.
Upon entering the “Messages” settings, you’ll see a toggle switch next to “iMessage.” Simply slide this switch to the right to enable iMessages on your iPhone 13. As the toggle transitions to the “on” position, your device will begin the activation process, which typically takes only a few seconds to complete.
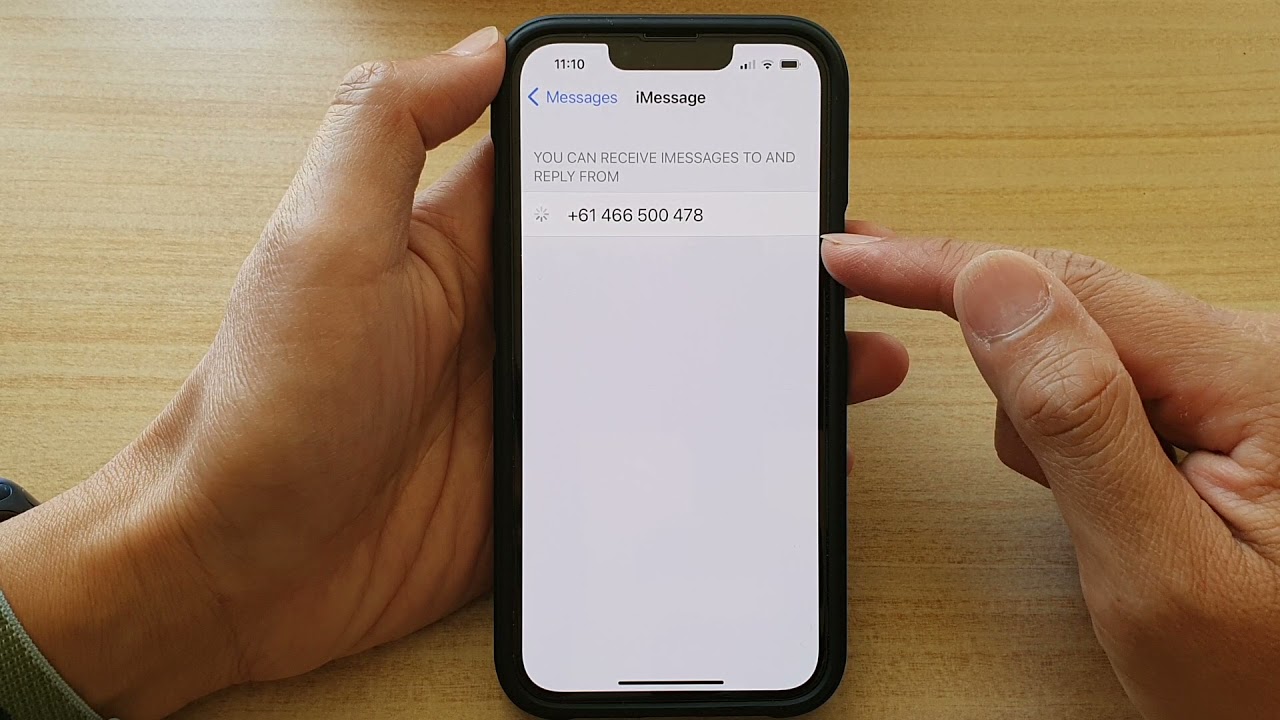
Once iMessages is successfully enabled, you’ll notice the appearance of a new set of options below the toggle switch. These settings allow you to manage your iMessages account, including your Apple ID, phone number, and email addresses associated with the service. You can also choose how to be reached by iMessage, whether through your phone number or email address.
With iMessages now activated on your iPhone 13, you’re ready to start enjoying the benefits of seamless communication with fellow Apple users. Whether you’re exchanging text messages, photos, videos, or engaging in group chats, iMessages provides a rich and versatile platform for staying connected with your contacts.
Enabling iMessages
Enabling iMessages on your iPhone 13 allows you to send and receive messages, photos, videos, and more using your data connection or Wi-Fi, rather than traditional SMS or MMS services. To enable iMessages, follow these simple steps:
1. Open the “Settings” app on your iPhone 13. The app icon looks like a gear and can typically be found on your home screen.
2. Scroll down and tap on “Messages.” This will open the settings for your messaging app.
3. Toggle the switch next to “iMessage” to the right. When the switch turns green, iMessage is enabled, and your iPhone 13 is ready to send and receive iMessages.
4. If prompted, enter your Apple ID and password. This step is necessary to link your iMessages to your Apple ID and enable seamless synchronization across your Apple devices.
Verifying iMessages Activation
Once you’ve enabled iMessages on your iPhone 13, it’s essential to verify that the activation was successful. Verifying the activation ensures that you can seamlessly use this messaging service to connect with other Apple device users.
To confirm iMessages activation, open the Messages app and compose a new message. Ensure that the recipient’s contact details are associated with an iMessage-compatible device, such as another iPhone, iPad, or Mac. When composing the message, the send button should display a blue color, indicating that the message will be sent via iMessage.
If the send button appears green, it means that the message will be sent as a standard SMS or MMS. In this case, you may need to recheck the iMessages settings and your recipient’s contact information to ensure that iMessages can be utilized for communication.
Another method to verify iMessages activation is to check the “Send & Receive” settings within the Messages app. Navigate to Settings > Messages > Send & Receive and ensure that your Apple ID is selected for iMessage usage. Additionally, confirm that your phone number and email addresses are correctly listed under “You can be reached by iMessage at.”
Troubleshooting iMessages Issues
If you encounter issues with iMessages on your iPhone 13, there are several troubleshooting steps you can take to resolve them.
1. Check Internet Connection: Ensure that your iPhone has a stable internet connection, either through Wi-Fi or cellular data, as iMessages require an internet connection to function properly.
2. Restart iMessages: Sometimes, simply turning off iMessages and then turning it back on can resolve minor glitches. Go to Settings > Messages and toggle the iMessage switch off and then on again.
3. Update iOS: Outdated software can sometimes cause iMessages issues. Check if there’s a new iOS update available by going to Settings > General > Software Update.
4. Check Date and Time Settings: Incorrect date and time settings can affect iMessages. Go to Settings > General > Date & Time and ensure that “Set Automatically” is enabled.
5. Reset Network Settings: If you’re still experiencing issues, resetting your network settings can help. Go to Settings > General > Reset > Reset Network Settings.
6. Contact Apple Support: If none of the above steps resolve the iMessages issues, it’s advisable to reach out to Apple Support for further assistance and troubleshooting.
Conclusion
Turning on iMessages on your iPhone 13 is a simple process that allows you to enjoy seamless messaging with other Apple device users. By following the easy steps outlined in this guide, you can ensure that your iMessages are activated, enabling you to send texts, photos, videos, and more using the iMessage platform. With iMessage, you can benefit from end-to-end encryption, fun features like Animoji and Memoji, and the ability to send messages over Wi-Fi or cellular data. Embracing the convenience and security of iMessage on your iPhone 13 can enhance your communication experience and keep you connected with friends, family, and colleagues in an effortless and enjoyable way.
Absolutely! Here's the FAQ section for the article:
html
FAQs
Q: How do I turn on iMessages on my iPhone 13?
A: To turn on iMessages on your iPhone 13, go to Settings, scroll down and tap Messages, then toggle the iMessage switch to the “on” position.
Q: Can I use iMessage on non-Apple devices?
A: No, iMessage is exclusively for Apple devices such as iPhone, iPad, and Mac.
Q: Does iMessage use data?
A: Yes, iMessage uses data to send messages, but if you’re connected to Wi-Fi, it won’t use your cellular data.
Q: Can I send iMessages to Android users?
A: No, iMessage is not compatible with Android devices. You can only send iMessages to other Apple users.
Q: Can I customize iMessage settings on my iPhone 13?
A: Yes, you can customize iMessage settings such as read receipts, message effects, and more in the Messages section of your iPhone settings.