
Discord, a popular platform for gamers and communities, has become a hub for social interaction and collaboration. With the increasing use of mobile devices for accessing Discord, the demand for mobile-friendly bots has surged. In this article, we will delve into the exciting realm of creating bots on Discord mobile. Whether you're a seasoned developer or a curious enthusiast, the process of crafting a bot for Discord mobile holds immense potential for enhancing your server's functionality and engagement.
As mobile usage continues to dominate the digital landscape, the need for mobile-compatible bots has become paramount. By exploring the intricacies of bot creation on Discord mobile, you will gain valuable insights into leveraging this dynamic platform to its fullest potential. From conceptualization to implementation, this guide will equip you with the knowledge and tools needed to bring your bot to life on Discord mobile. So, let's embark on this journey together and unlock the possibilities of bot creation in the mobile realm.
Inside This Article
- Step 1: Downloading the Discord Mobile App
- Step 2: Creating a New Server
- Step 3: Adding a Bot to the Server
- Step 4: Setting Up the Bot
- Step 5: Customizing the Bot
- Conclusion
- FAQs
Step 1: Downloading the Discord Mobile App
If you're eager to create a bot on Discord using your mobile device, the first step is to download the Discord mobile app. Discord is a popular platform for communication and community building, and its mobile app allows you to access its features on the go. Whether you're an iOS or Android user, the Discord app is readily available for download on the App Store and Google Play Store, respectively.
Accessing the App Store or Google Play Store
To begin, unlock your mobile device and navigate to the App Store if you're using an iPhone or the Google Play Store if you're using an Android device. Once there, tap on the search bar and enter "Discord" to initiate the search for the app.
Downloading the Discord App
After locating the Discord app in the store, tap on the "Download" or "Install" button, depending on your device's platform. The app will then begin to download and install onto your device. Ensure that you have a stable internet connection to expedite the process.
Creating an Account or Logging In
Once the installation is complete, launch the Discord app by tapping on its icon. If you already have a Discord account, simply log in using your credentials. If you're new to Discord, you'll have the option to create a new account by providing a username, email address, and password.
Exploring the Interface
Upon logging in, take a moment to familiarize yourself with the Discord mobile app's interface. You'll find various channels, servers, and a user-friendly navigation system that allows you to seamlessly interact with others and manage your server.
By following these steps, you'll successfully download the Discord mobile app and gain access to a vibrant community of users, setting the stage for the subsequent steps in creating your very own bot on Discord.
Remember, the Discord mobile app empowers you to stay connected and engaged with your community, even when you're away from your computer. So, let's dive into the next steps and bring your bot to life on Discord's mobile platform!
Step 2: Creating a New Server
Embarking on the journey to create a bot on Discord using your mobile device involves the pivotal step of establishing a new server. This foundational process sets the stage for your bot's integration and interaction within a designated community. Here's a comprehensive guide to creating a new server on the Discord mobile app.
Navigating to the Server Creation Interface
Upon launching the Discord mobile app, you'll encounter a streamlined interface that facilitates effortless navigation. To initiate the server creation process, tap on the three horizontal lines located at the top-left corner of the screen. This action will unveil a menu, where you should select the "Create a Server" option.
Customizing Your Server
As you embark on the server creation journey, you'll be prompted to personalize your server by choosing a unique name and selecting an appealing icon to represent it visually. This step allows you to infuse your server with character and distinctiveness, setting the tone for the community it will host.
Selecting a Region
Discord offers a range of server regions to optimize performance and connectivity for your community members. You'll have the opportunity to select a region that aligns with the geographical distribution of your audience, ensuring a seamless and responsive communication experience for all participants.
Establishing Community Guidelines
Creating a welcoming and inclusive environment is paramount when founding a new server. Take the opportunity to establish clear and concise community guidelines that outline the expected code of conduct and behavior within your server. This proactive approach fosters a positive and respectful atmosphere for all members.
Inviting Friends and Members
After customizing your server and setting the ground rules, you can extend invitations to friends and potential community members. By sharing the server's invite link, you can expand your server's reach and cultivate a vibrant community that aligns with your interests and objectives.
Embracing the Potential of a New Server
With your new server established, you've laid the groundwork for a thriving community where your bot will play a pivotal role. This foundational step sets the stage for the seamless integration and engagement of your bot within the vibrant ecosystem of your Discord server.
By following these steps, you'll successfully create a new server on the Discord mobile app, paving the way for the integration of your bot and the cultivation of a dynamic and engaging community. Now, let's delve into the next steps and bring your bot to life within this newly established server.
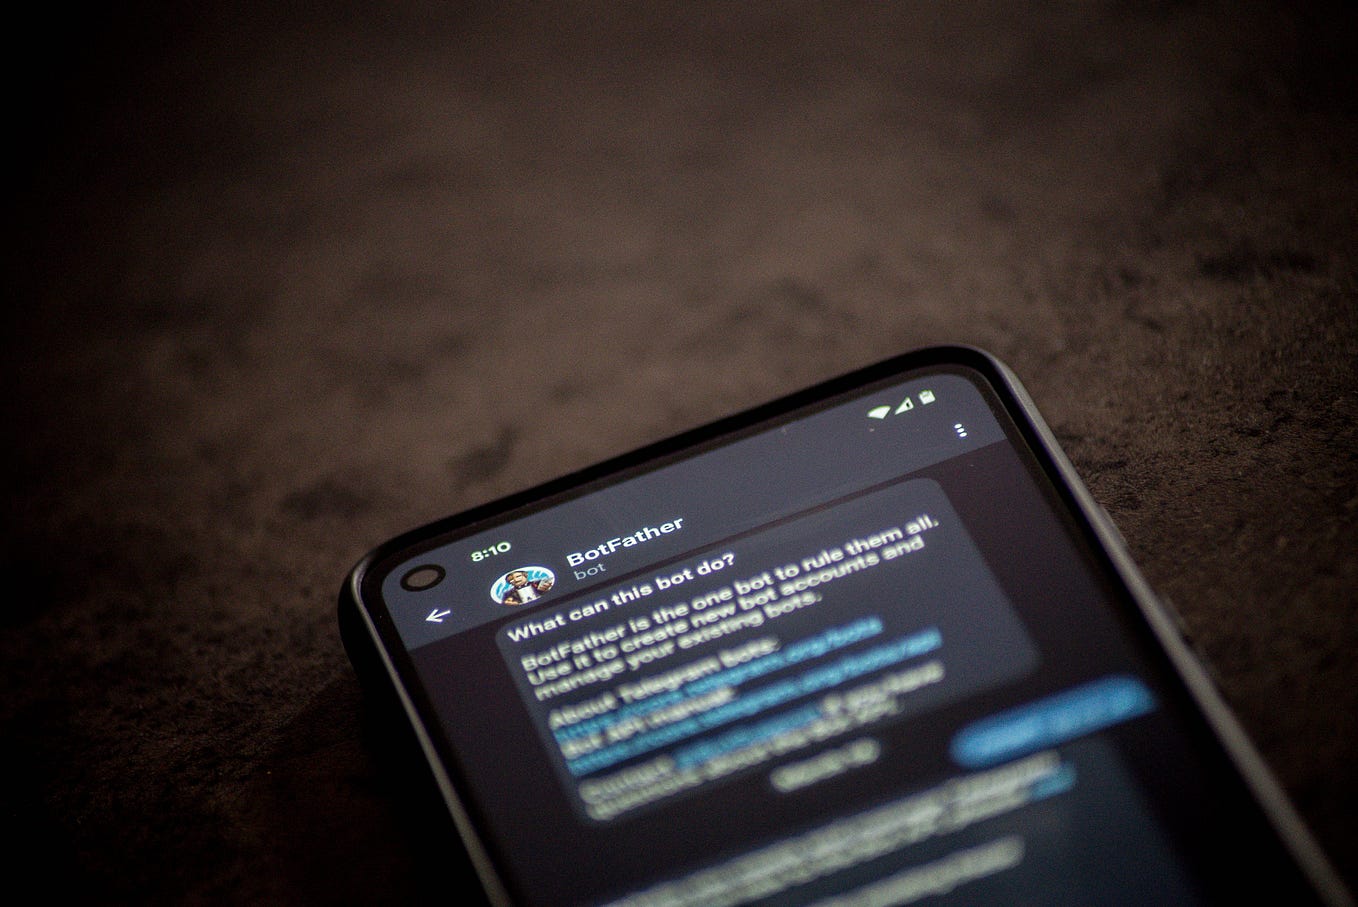
Step 3: Adding a Bot to the Server
Now that you've successfully set up your server on the Discord mobile app, it's time to introduce a bot to enrich the interactive experience within your community. Adding a bot to your server opens up a world of possibilities, from automating tasks to enhancing engagement through fun and useful features. Here's a detailed exploration of the process to seamlessly integrate a bot into your Discord server using your mobile device.
Exploring Bot Directories
Before diving into the bot addition process, it's beneficial to explore reputable bot directories such as top.gg or Discord Bot List. These platforms offer a diverse array of bots catering to various functionalities, ranging from moderation and entertainment to utility and customization. By browsing these directories, you can discover bots that align with your server's objectives and community dynamics.
Selecting a Bot
Once you've identified a bot that resonates with your server's needs, navigate to the bot's page on the respective directory. Take the time to review the bot's features, user reviews, and overall rating to gauge its suitability for your server. Look for bots with active development and responsive support channels to ensure a seamless integration process and ongoing maintenance.
Authorizing the Bot
After selecting a bot, you'll initiate the integration process by authorizing the bot to join your server. This involves granting the necessary permissions for the bot to interact with the server's channels, members, and other relevant functionalities. The bot's page on the directory will typically feature an "Invite" or "Add to Server" button, which, when tapped, will prompt you to select the desired server for the bot's integration.
Configuring Bot Permissions
Upon selecting your server for the bot's integration, you'll encounter a permissions interface that allows you to specify the bot's capabilities within the server. Depending on the bot's functionalities, you can grant permissions such as message management, member moderation, and channel administration. It's essential to carefully review and tailor the permissions to align with your server's requirements while maintaining a secure and controlled environment.
Welcoming the Bot
With the bot successfully authorized and configured, it will promptly join your server, ready to contribute to the community's interactive landscape. Take a moment to extend a warm welcome to the bot, acknowledging its presence and introducing it to your server members. This inclusive gesture sets the tone for the bot's integration and encourages community members to explore its capabilities.
By following these steps, you'll seamlessly add a bot to your Discord server using the mobile app, unlocking a myriad of possibilities to enhance engagement, streamline operations, and foster a dynamic and interactive community. With the bot's integration complete, you're poised to embark on the next steps of setting up and customizing the bot to align with your server's unique identity and objectives.
Step 4: Setting Up the Bot
With the bot successfully integrated into your Discord server, the next crucial step is to embark on the process of setting up the bot to unleash its full potential within your community. Setting up the bot involves configuring its functionalities, managing permissions, and fine-tuning its behavior to align with your server's unique dynamics and objectives. Here's a comprehensive exploration of the steps involved in setting up the bot on the Discord mobile app, empowering you to harness its capabilities effectively.
Accessing Bot Configuration
Upon the bot's integration, navigate to the server settings within the Discord mobile app to access the bot configuration interface. This interface provides a centralized hub for managing the bot's roles, permissions, and specific settings tailored to optimize its performance within the server.
Assigning Roles and Permissions
One of the pivotal aspects of setting up the bot involves assigning designated roles and permissions that govern its interactions within the server. By defining specific roles for the bot, you can streamline its functionalities and establish clear boundaries for its engagement with different channels and members. Tailoring permissions ensures that the bot operates within the predefined scope, contributing to a harmonious and controlled community environment.
Configuring Bot Commands and Triggers
Many bots offer a diverse array of commands and triggers that empower users to interact with them seamlessly. As part of the setup process, explore the bot's command documentation to familiarize yourself with its capabilities and customize the available commands to align with your server's preferences. This step allows you to tailor the bot's interactions, creating a personalized and engaging experience for your community members.
Integrating Bot Modules and Features
Depending on the bot's functionalities, you may have the opportunity to integrate specific modules and features that enhance its utility within the server. Whether it's moderation tools, entertainment features, or utility modules, configuring and activating these components enriches the bot's contribution to the community, elevating the overall interactive experience.
Testing and Iterating
As you proceed with setting up the bot, it's essential to engage in thorough testing to ensure its seamless integration and optimal performance. Experiment with different commands, observe the bot's responses, and gather feedback from server members to refine its configuration iteratively. This iterative approach allows you to fine-tune the bot's settings, ensuring that it aligns with the server's evolving needs and fosters a dynamic and engaging community environment.
By meticulously navigating through the process of setting up the bot on the Discord mobile app, you'll harness its capabilities to enrich the interactive landscape of your server. The strategic configuration and customization of the bot pave the way for a vibrant and engaging community experience, where the bot seamlessly integrates into the fabric of your server, contributing to its vitality and dynamism. Now, let's delve into the next steps of customizing the bot to further elevate its impact within your Discord community.
Step 5: Customizing the Bot
As you embark on the journey of customizing your bot on the Discord mobile app, you step into a realm of creativity and personalization, where the bot's identity and interactions align seamlessly with your server's unique dynamics and community culture. Customization empowers you to infuse the bot with distinct characteristics, tailor its responses, and elevate its engagement potential, fostering a cohesive and immersive experience for your server members.
Personalizing Bot Responses
One of the key aspects of customization involves personalizing the bot's responses to align with your server's tone and communication style. Whether your community exudes a casual and lighthearted vibe or maintains a formal and structured atmosphere, customizing the bot's responses allows you to imbue it with a personality that resonates with your members. Consider crafting custom responses for frequently used commands, welcoming new members, or delivering server-specific information, infusing the bot with a touch of authenticity and relevance.
Tailoring Bot Commands
Customizing the bot's commands enables you to curate a tailored set of interactions that cater to your server's specific interests and activities. Whether it's introducing unique commands for mini-games, trivia quizzes, or server-specific utilities, tailoring the bot's commands fosters an engaging and interactive environment. By aligning the commands with your community's preferences, you enhance the bot's utility and its ability to seamlessly integrate into the fabric of your server's activities.
Designing Visual Representations
Visual representations, such as the bot's profile picture and status messages, offer opportunities for customization that contribute to the overall aesthetic appeal of your server. Consider designing or selecting a visually appealing profile picture that reflects the bot's purpose and complements your server's theme. Additionally, crafting creative and informative status messages enhances the bot's presence, providing server members with relevant updates or engaging prompts.
Integrating Custom Modules
Depending on the bot's capabilities, you may have the opportunity to integrate custom modules or features that cater to your server's unique requirements. Whether it's custom moderation tools tailored to your community guidelines, specialized entertainment features, or utility modules designed to streamline specific server activities, integrating custom modules enriches the bot's contribution and amplifies its impact within the server ecosystem.
Soliciting Community Feedback
Engaging your server members in the customization process can yield valuable insights and foster a sense of inclusivity. Encourage community members to share their suggestions for bot customization, such as preferred commands, interactive features, or visual elements. By soliciting and incorporating community feedback, you demonstrate a commitment to tailoring the bot's presence to align with the collective preferences and aspirations of your server members.
By immersing yourself in the process of customizing the bot on the Discord mobile app, you infuse it with a distinct identity and functionality that harmonizes with your server's ethos and community dynamics. The art of customization empowers you to sculpt a bot that seamlessly integrates into the fabric of your server, enriching the interactive landscape and fostering a vibrant and engaging community experience.
In conclusion, creating a bot on Discord mobile is a straightforward process that offers numerous benefits for enhancing server management and user experience. By following the steps outlined in this guide, you can successfully set up a bot to automate tasks, engage with members, and add exciting features to your Discord server. With the increasing popularity of mobile usage, having the ability to manage bots on the go is a valuable asset for server administrators. Embracing the mobile platform for bot creation opens up new possibilities for interaction and community building. As Discord continues to evolve, the mobile environment presents a convenient and accessible avenue for bot development and management. Whether you're a seasoned server owner or just starting out, leveraging Discord mobile for bot creation can elevate your server to new heights.
FAQs
-
Can I create a bot on Discord using my mobile device?
- Yes, you can create a bot on Discord using your mobile device. While the process may vary slightly from using a desktop, there are mobile apps and web browsers that allow you to access the necessary tools to create and manage a bot.
-
What are the essential steps to create a bot on Discord using a mobile device?
- The essential steps include setting up a Discord application, creating a bot user, obtaining the bot token, and adding the bot to your server. These steps can be accomplished using a mobile browser or the Discord mobile app.
-
Are there any specific requirements for creating a bot on Discord using a mobile device?
- The requirements for creating a bot on Discord using a mobile device are similar to those for using a desktop. You will need a Discord account, access to the Discord Developer Portal, and a stable internet connection on your mobile device.
-
Can I customize and manage my bot on Discord using a mobile device?
- Yes, you can customize and manage your bot on Discord using a mobile device. The Discord mobile app and mobile web browsers provide access to bot settings, commands, and other management features.
-
Are there any limitations to creating and managing a bot on Discord using a mobile device?
- While you can perform most bot-related tasks on Discord using a mobile device, there may be limitations in terms of advanced customization and development. Some complex bot configurations and coding tasks may be more convenient to perform on a desktop or laptop.