
Certainly! Here's the introduction wrapped in the
tag:
html
So, you’ve got your hands on a new Google phone, and you’re eager to get it up and running. Activating your Google phone is the crucial first step towards unlocking its full potential. Whether you’re a tech enthusiast or a casual user, this guide will walk you through the process of activating your Google phone, ensuring that you can start using it to its fullest capabilities in no time. From setting up your Google account to configuring essential settings, we’ve got you covered. Let’s dive in and get your Google phone activated!
Inside This Article
- Setting Up Your Google Phone
- Connecting to Wi-Fi
- Activating Your SIM Card
- Logging into Your Google Account
- Setting Up Google Services
- Conclusion
- FAQs
**
Setting Up Your Google Phone
**
Setting up your new Google phone is an exciting experience, and it’s essential to ensure that you complete the process correctly to enjoy all the features and benefits it offers. Here’s a step-by-step guide to help you set up your Google phone seamlessly.
1. Unboxing and Powering On: After unboxing your Google phone, locate the power button and hold it down to turn on the device. Once the phone powers on, you’ll be greeted with the initial setup screen.
2. Selecting Language and Region: The next step involves selecting your preferred language and region. This ensures that your phone’s interface and services are tailored to your specific linguistic and geographical preferences.
3. Connecting to Wi-Fi: To proceed with the setup, you’ll need to connect your Google phone to a Wi-Fi network. This step is crucial as it enables your phone to download updates and access online services during the setup process.
4. Activating Your SIM Card: If your Google phone requires a SIM card for cellular connectivity, you’ll need to insert the SIM card provided by your mobile carrier. This allows you to make calls, send texts, and access mobile data on your new device.
5. Logging into Your Google Account: One of the most important steps is logging into your Google account. If you don’t have one, you can create a new account during this step. Logging in allows you to access your personalized settings, contacts, calendar, and other Google services.
6. Setting Up Google Services: Once you’re logged in, you’ll have the opportunity to set up various Google services such as Google Assistant, Google Drive, and Google Photos. These services enhance the functionality of your Google phone and integrate seamlessly with your daily activities.
By following these steps, you can ensure that your Google phone is set up correctly and ready to use. With the initial setup completed, you can now explore the full range of features and capabilities that your new Google phone has to offer.
Connecting to Wi-Fi
Connecting your Google phone to a Wi-Fi network is essential for accessing the internet, downloading apps, and enjoying various online services. Here’s a step-by-step guide to help you connect to Wi-Fi seamlessly.
1. Unlock your phone: Start by unlocking your Google phone and accessing the home screen. Swipe up or enter your PIN or pattern to unlock your device.
2. Access the settings: Tap on the “Settings” icon, typically represented by a gear or cogwheel symbol, to access the phone’s settings menu.
3. Select Wi-Fi: Within the settings menu, locate and tap on the “Wi-Fi” option. This will open the Wi-Fi settings on your device.
4. Turn on Wi-Fi: Toggle the Wi-Fi switch to the “On” position to enable Wi-Fi functionality on your phone. It will then start scanning for available Wi-Fi networks in your vicinity.
5. Choose a network: Once the scan is complete, a list of available Wi-Fi networks will appear on the screen. Tap on the name of the network you want to connect to.
6. Enter the password: If the selected Wi-Fi network is secured with a password, a prompt will appear asking you to enter the password. Input the correct password and tap “Connect” or “Join” to establish the connection.
7. Connection confirmation: After entering the correct password, your Google phone will attempt to connect to the selected Wi-Fi network. Once connected, a confirmation message or icon will appear, indicating a successful connection.
Successfully connecting your Google phone to a Wi-Fi network ensures that you can enjoy a seamless internet experience, access online content, and make the most of your smartphone’s capabilities.
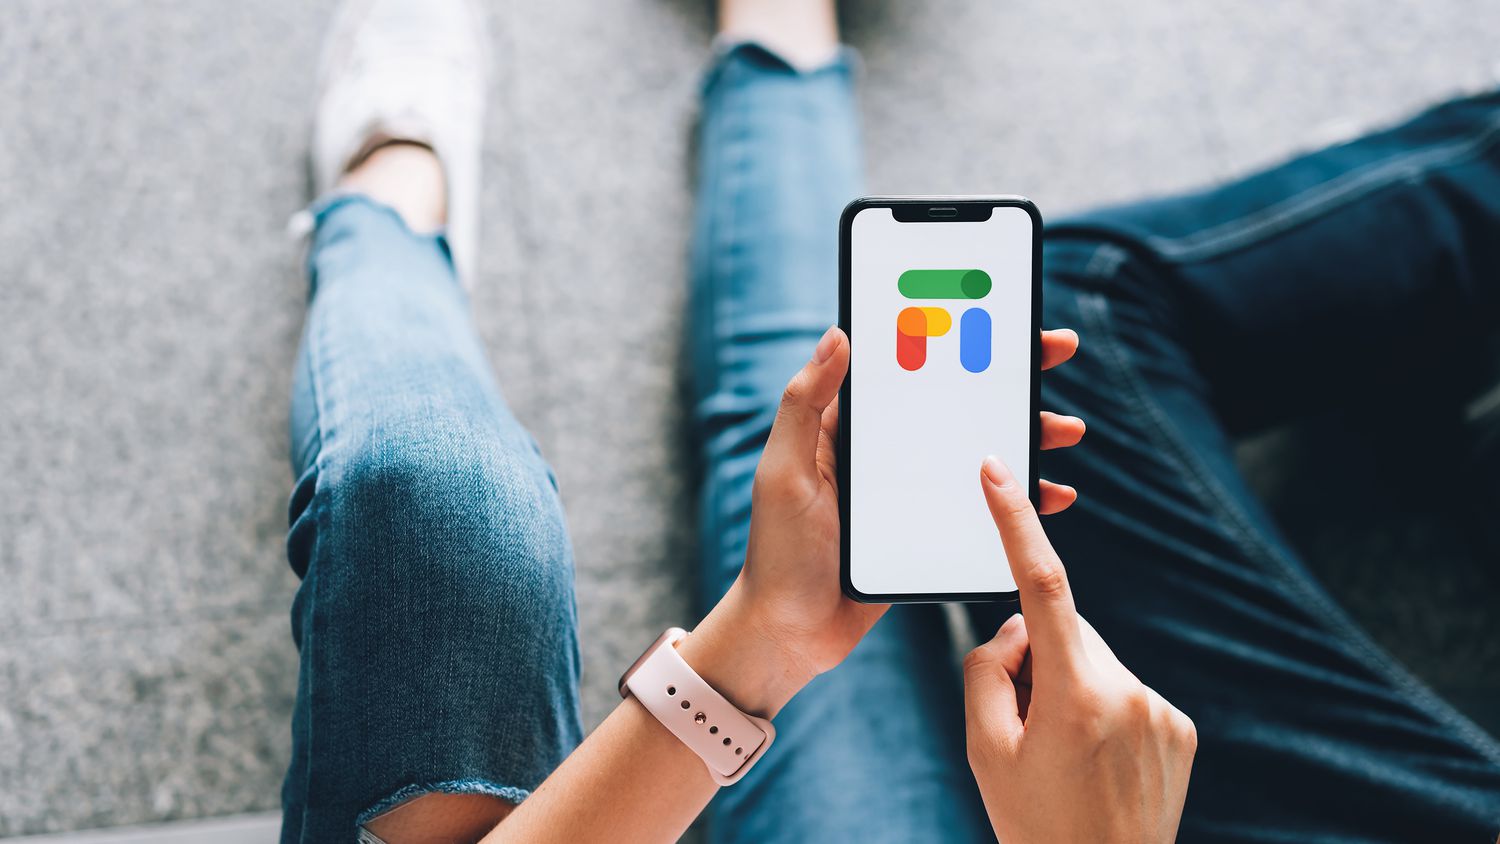
Activating Your SIM Card
After inserting the SIM card into your Google phone, the next crucial step is to activate it. Activating your SIM card is essential for enabling cellular services such as making calls, sending texts, and accessing mobile data. The activation process varies depending on your carrier, but the general steps remain consistent across most providers.
First, ensure that your Google phone is powered on and connected to a stable Wi-Fi network. This is important as the activation process often requires an internet connection to communicate with your carrier’s servers and complete the setup. Once your phone is connected to Wi-Fi, navigate to the phone’s settings and locate the “Network & internet” or “Connections” section.
Within the network settings, you should find an option specifically labeled “SIM card” or “SIM status.” Selecting this option will typically display the status of your SIM card, including whether it is active or requires activation. If activation is needed, your phone may prompt you to enter the activation code provided by your carrier or guide you through the activation process directly within the settings menu.
Alternatively, some carriers may require you to activate your SIM card by visiting their official website or contacting their customer support. In such cases, you may need to provide the SIM card’s serial number, often printed on the SIM card itself or included in the documentation provided by your carrier. Following the instructions provided by your carrier’s website or support representative should lead you through the activation process smoothly.
Logging into Your Google Account
Once your SIM card is activated and your phone is connected to Wi-Fi, the next step is to log into your Google account. This is a crucial step as it allows you to access a myriad of Google services, secure your device, and personalize your user experience.
To log in, open the “Settings” app on your Google phone and scroll down to find “Accounts.” Tap on “Accounts” and then select “Add account.” From the options provided, choose “Google” and enter your email address associated with your Google account. If you don’t have one, you can create a new account by selecting “Create account” and following the prompts.
After entering your email address, you’ll be prompted to enter your password. Once you’ve done so, tap “Next.” If you have two-step verification enabled, you may need to enter the verification code sent to your trusted device or phone number. This additional layer of security helps protect your account from unauthorized access.
Upon successful entry of your credentials, you’ll be greeted with the Google account sync options. Here, you can choose which data you want to sync with your device, such as contacts, calendars, and Gmail. Select the items you wish to sync and tap “Next” to proceed.
After completing the sync settings, your Google account will be added to your device, granting you access to a range of Google services, including Gmail, Google Drive, and the Play Store. You’ll also be able to seamlessly back up your device data to Google Drive, ensuring your important information is securely stored and easily accessible across devices.
Logging into your Google account on your Google phone not only provides access to essential services but also ensures a personalized and integrated experience across the Google ecosystem. It’s a fundamental step in setting up your device for optimal functionality and convenience.
Setting Up Google Services
Once your Google phone is activated and connected to Wi-Fi, it’s time to set up the essential Google services that make your device truly powerful and convenient. Google offers a range of services that seamlessly integrate with your smartphone, enhancing your user experience and productivity.
The first step is to ensure that your Google account is properly linked to your device. This allows you to access all the features and benefits associated with your Google account, including Gmail, Google Drive, and Google Photos. To do this, navigate to the “Settings” menu on your phone and select “Accounts.” From there, you can add your Google account by entering your username and password.
Once your Google account is linked, you can customize the various Google services to suit your preferences. For instance, you can set up your Gmail account to receive push notifications for new emails, ensuring that you stay on top of your messages. Additionally, you can configure Google Photos to automatically back up your photos and videos, providing peace of mind knowing that your precious memories are safely stored in the cloud.
Google Assistant is another powerful service that can be tailored to meet your needs. By enabling Google Assistant, you can use voice commands to perform a wide range of tasks, from setting reminders and sending messages to controlling smart home devices. This hands-free functionality adds a new level of convenience to your daily routine.
Furthermore, Google offers a suite of productivity tools, such as Google Calendar and Google Keep, which can be seamlessly integrated into your device. By setting up these services, you can stay organized, manage your schedule, and take quick notes on the go, all within the Google ecosystem.
By taking full advantage of Google’s array of services, you can unlock the full potential of your Google phone, streamlining your digital life and maximizing efficiency.
Conclusion
Activating your Google phone is a straightforward process that ensures you can seamlessly access its features and functionalities. Whether you’re setting up a new device or switching carriers, the activation steps are designed to be user-friendly and efficient. By following the provided guidelines and using the appropriate activation method, you can enjoy the full potential of your Google phone. From making calls to accessing the internet and utilizing various apps, a properly activated phone enhances your overall experience. As technology continues to evolve, the activation process may become even more streamlined and intuitive, further simplifying the user experience. With your Google phone activated, you’re ready to dive into the world of connectivity and convenience, leveraging the power of modern mobile communication at your fingertips.
Certainly! Here's the FAQ section for the article:
html
FAQs
Q: How do I activate my Google phone?
A: To activate your Google phone, simply turn it on and follow the on-screen instructions to set it up. You may need to insert a SIM card and connect to a Wi-Fi network during the activation process.
Q: Can I activate a Google phone without a SIM card?
A: Yes, you can activate a Google phone without a SIM card by connecting to a Wi-Fi network and following the setup instructions. However, a SIM card may be required for cellular service and certain features.
Q: What should I do if my Google phone activation is unsuccessful?
A: If your Google phone activation is unsuccessful, ensure that you have a working SIM card inserted and a stable internet connection. If issues persist, contact your carrier or Google support for assistance.
Q: Do I need a Google account to activate my Google phone?
A: Yes, a Google account is required to activate and fully utilize the features of a Google phone. You can create a new Google account during the setup process if you don’t have one.
Q: Can I transfer data from my old phone during the activation process?
A: Yes, you can transfer data from your old phone to your new Google phone during the activation process using tools like Google’s “Quick Switch Adapter” or by backing up your data to Google Drive and restoring it on your new device.