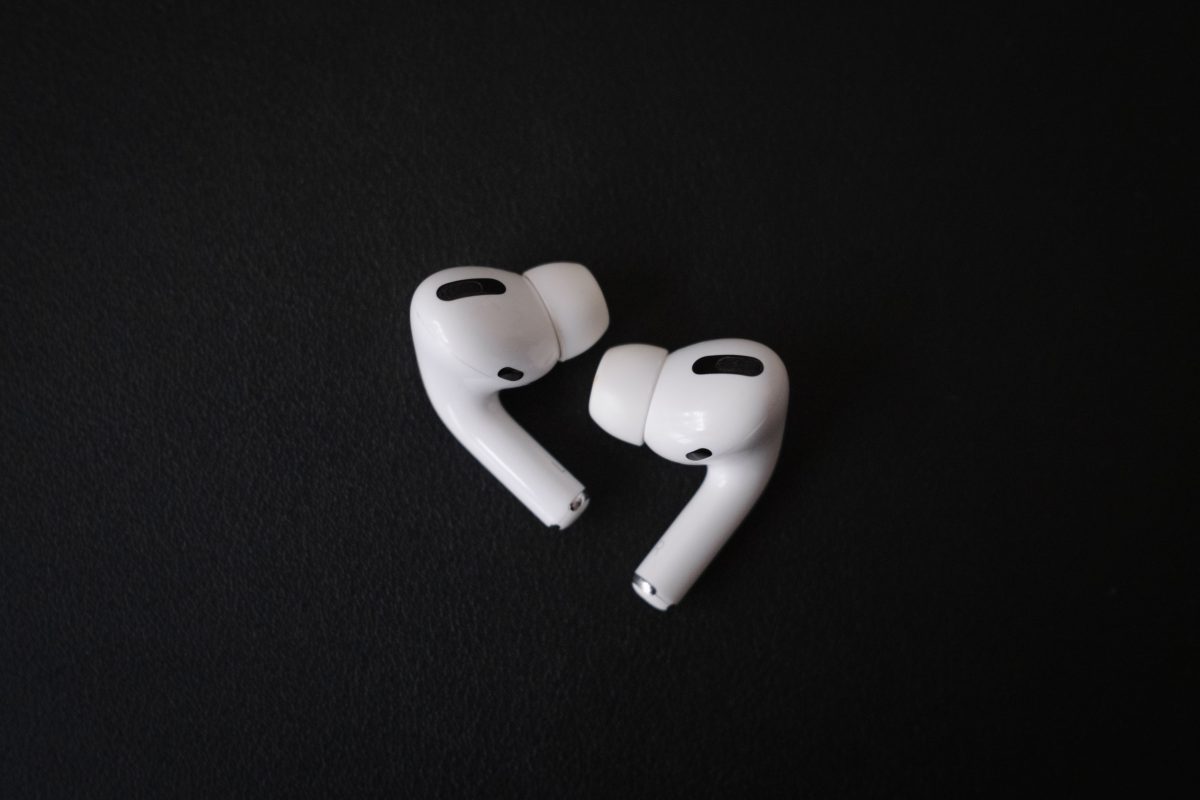
To use AirPod Pros, you pair them with your iPhone, control them with stem gestures, and customize their settings for noise cancellation and Siri.
How to use AirPod Pros: a quick-start guide
Your AirPod Pros work best when you know the basics of setup, daily control, and personalization. The steps below walk you through pairing true wireless earbuds with your iPhone, using the stem to manage calls and audio, and adjusting key settings to match your preferences. Each section builds on the last so you can get the most out of your listening experience.
Pairing your AirPod Pros with an iPhone
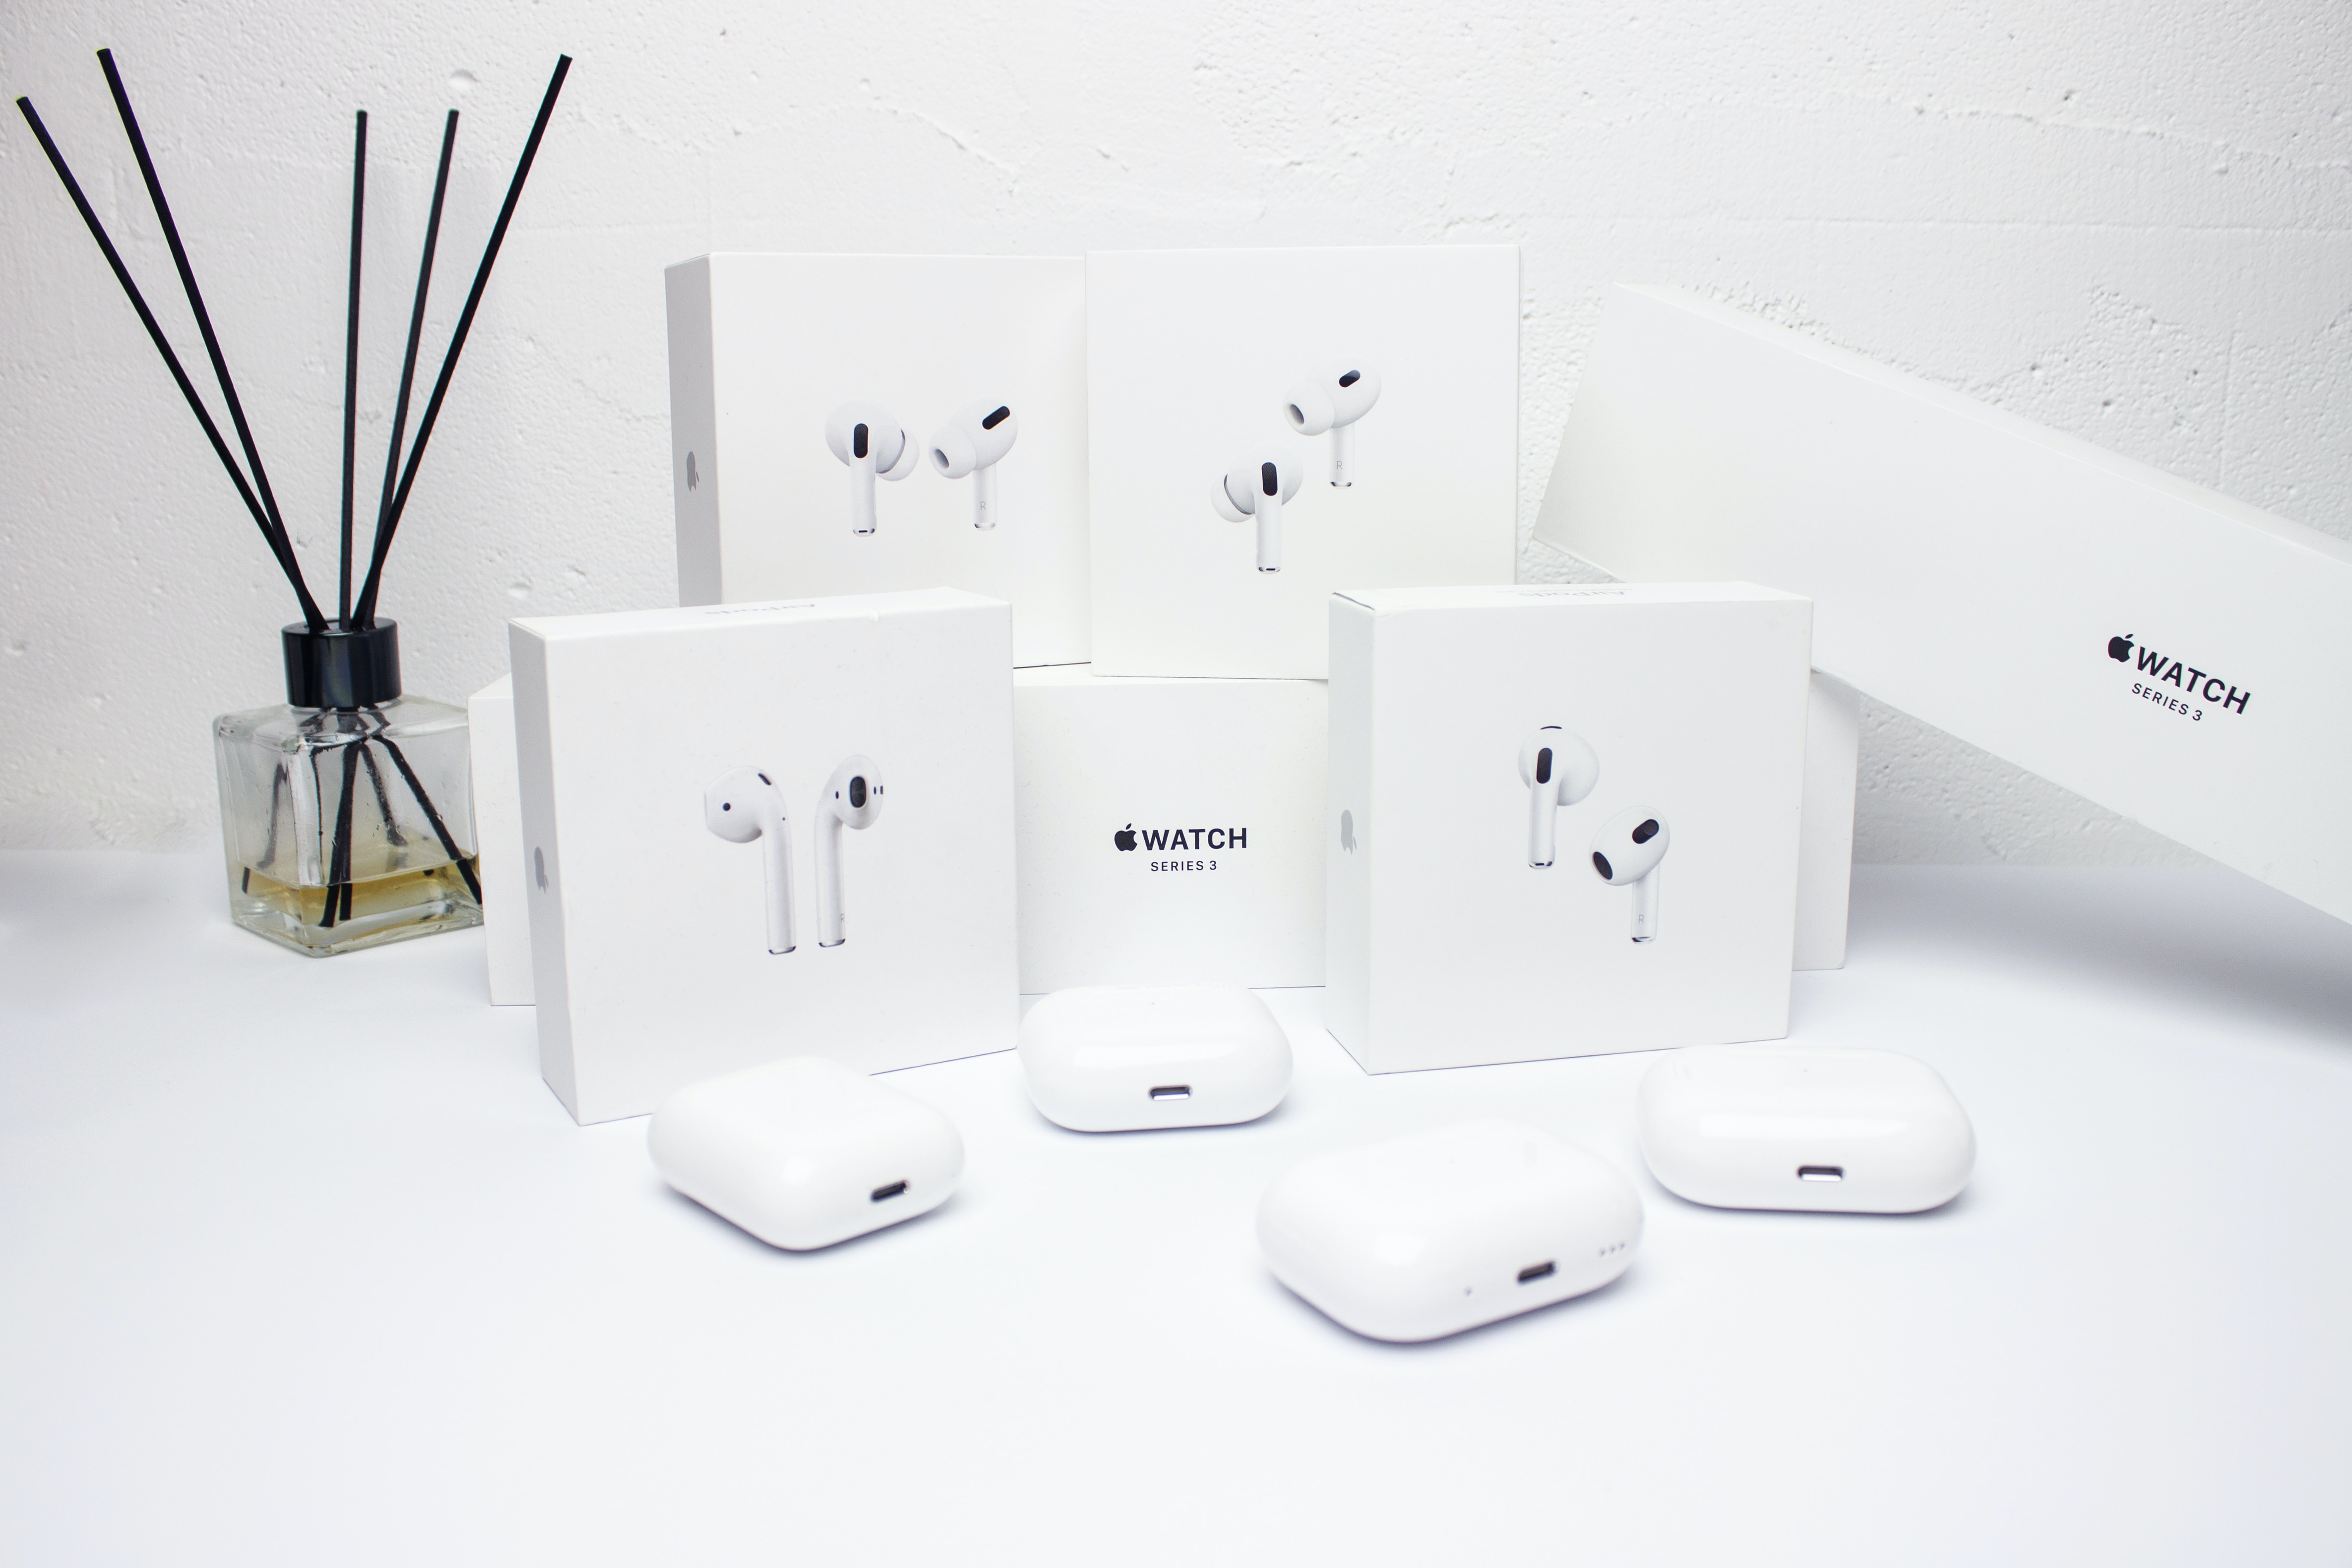
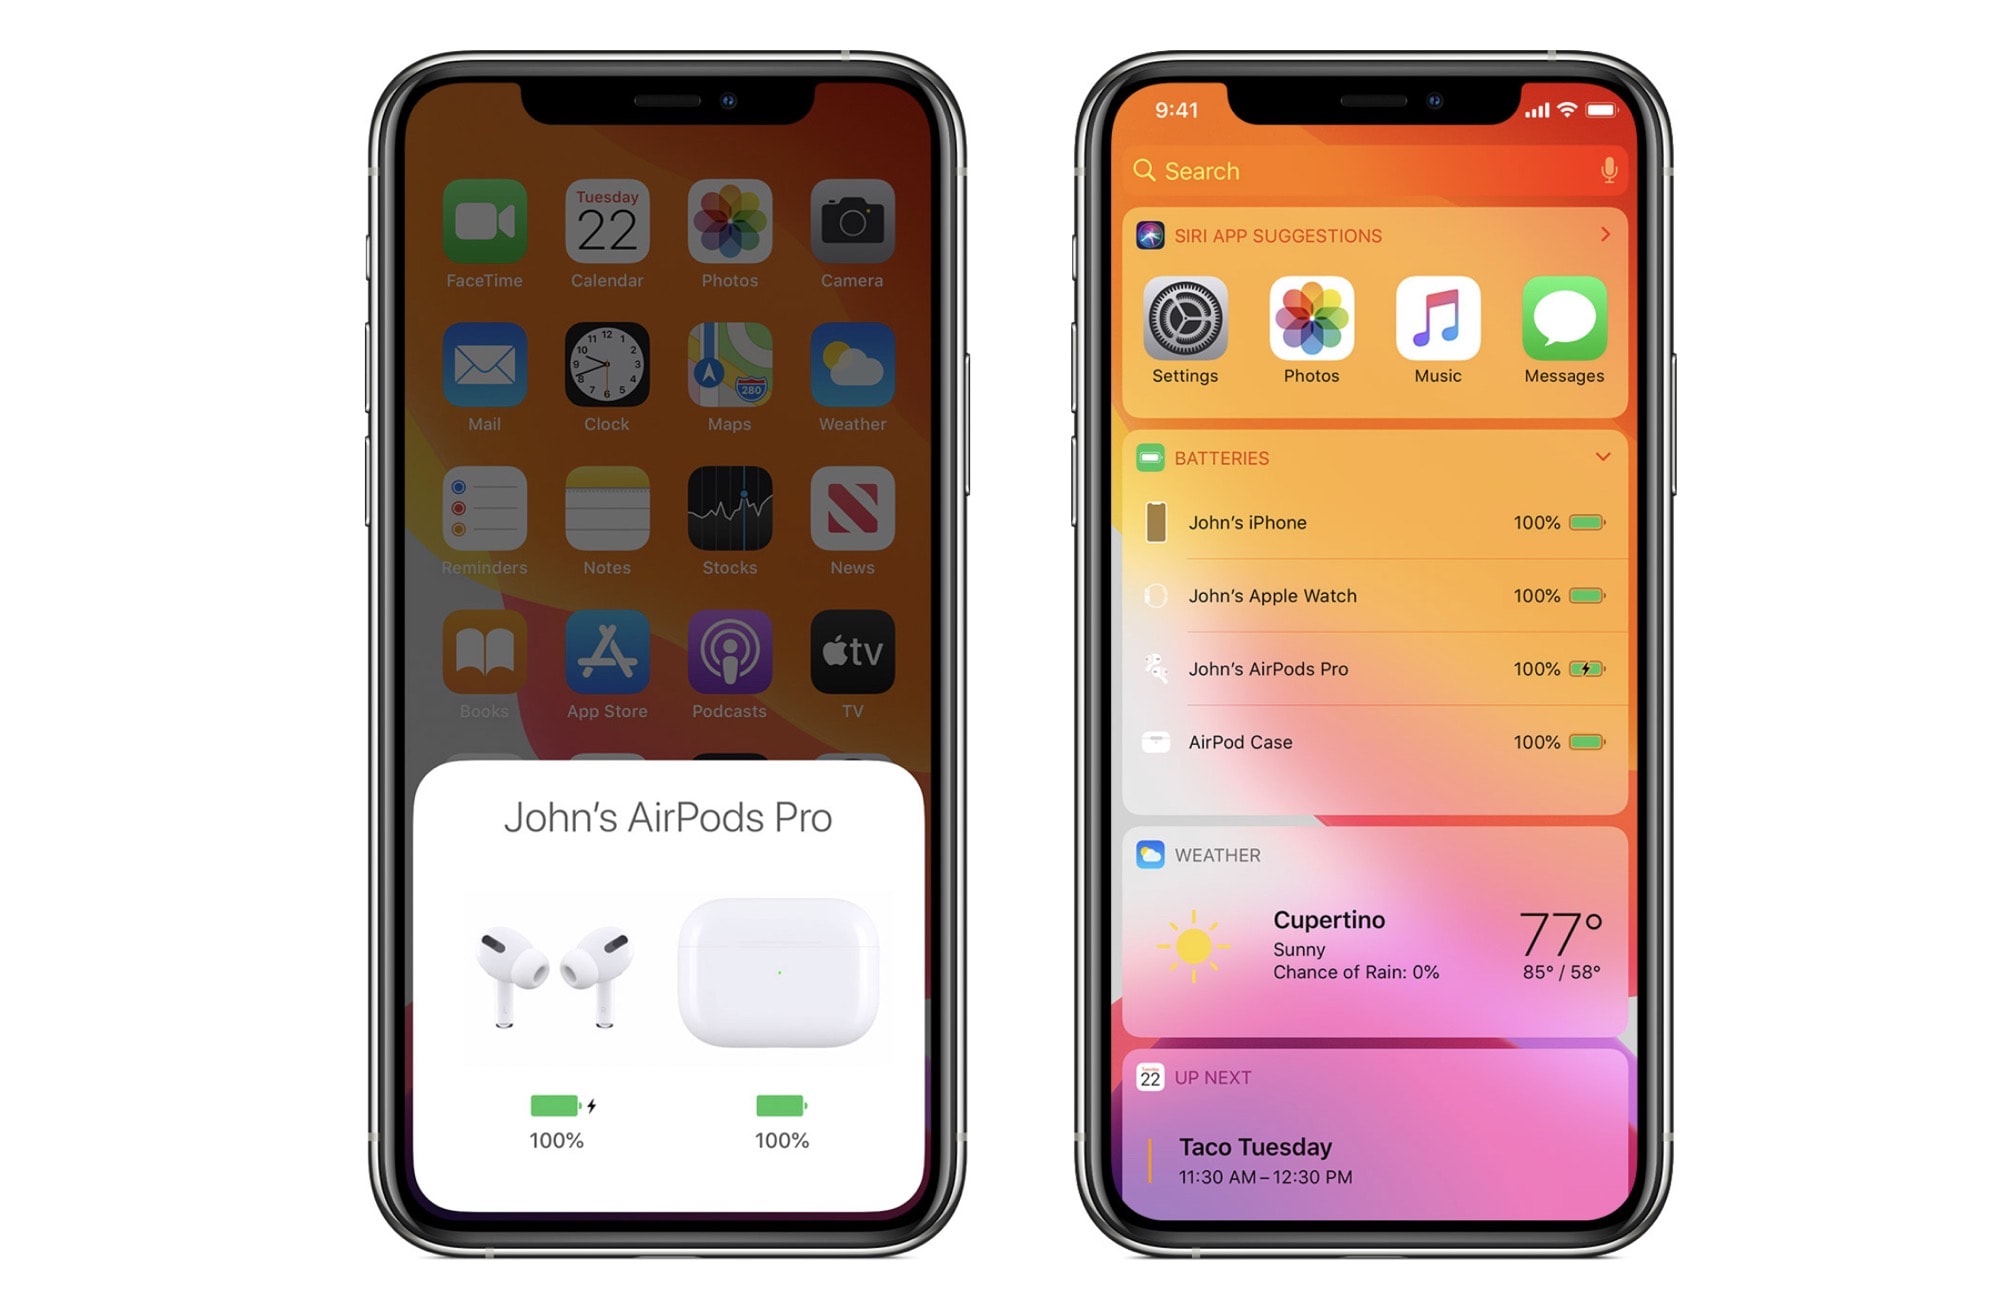
The fastest way to pair is through the automatic setup animation. Open the charging case with your AirPod Pros inside, hold it next to your unlocked iPhone on the Home Screen, tap Connect on the prompt that appears, then follow the on-screen instructions and tap Done. If the animation does not appear, use the manual fallback: go to Settings > Bluetooth on your iPhone, turn Bluetooth on, open the case with the AirPods inside, hold it near the device, then tap Connect and finish with Done. This method works for AirPods Pro and other AirPods models on iPhone. To put AirPod Pros in pairing mode for non-Apple devices, press and hold the button on the back of the case until the LED flashes white. You can check the battery level by placing the AirPods in the charging case and opening the lid near your device. To use AirPod Pros with another device, you must first unpair them from the current device by going to Bluetooth settings and selecting 'Forget' or 'Disconnect'.
Understanding the stem controls
The stem on each AirPod Pro responds to presses for managing calls, audio playback, and listening modes. Press the stem once to answer a call. Double-press the stem to end a call on AirPods Pro (1st generation); call decline behavior can be changed in settings for some models. Press and hold the stem to activate Siri or to switch between listening modes, depending on how you set it in the AirPods settings. During a call, press the stem once on either AirPod to mute and unmute, this action can be changed under Mute & Unmute or End Call in Controls & Gestures. Triple-press the stem to go back to the previous track. Control behavior varies by model: AirPods Pro (all generations) share the same basic gestures, but AirPods Pro 2, AirPods Pro 3, and AirPods 5 with Wireless Charging Case use different answer and decline gestures than AirPods Pro 1.
Customizing your AirPod Pros settings
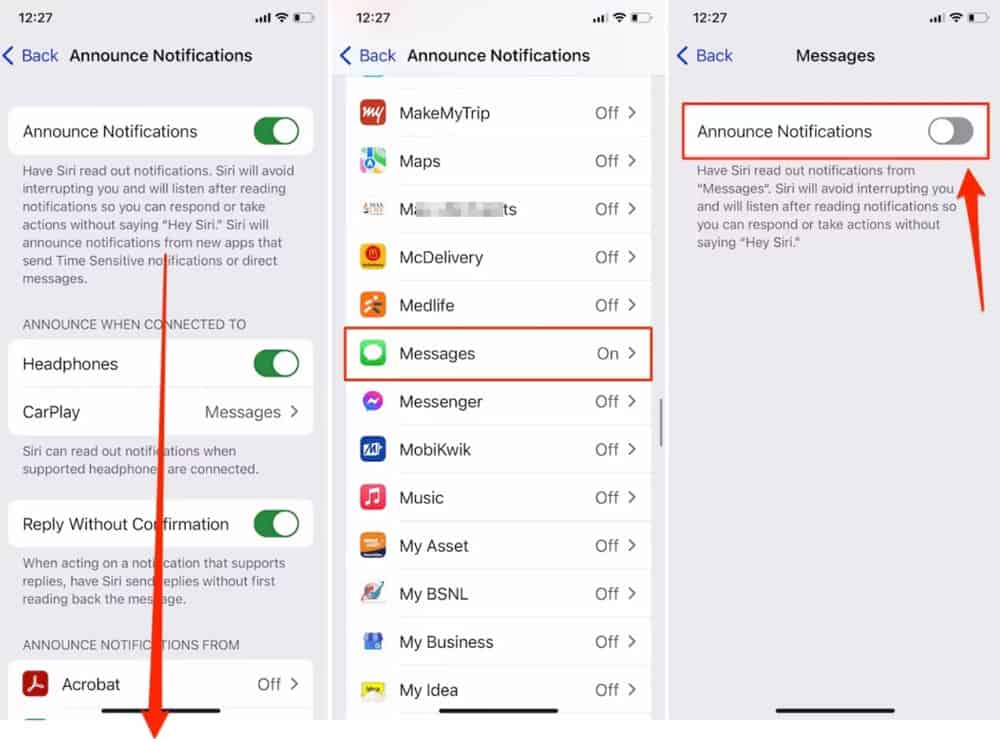
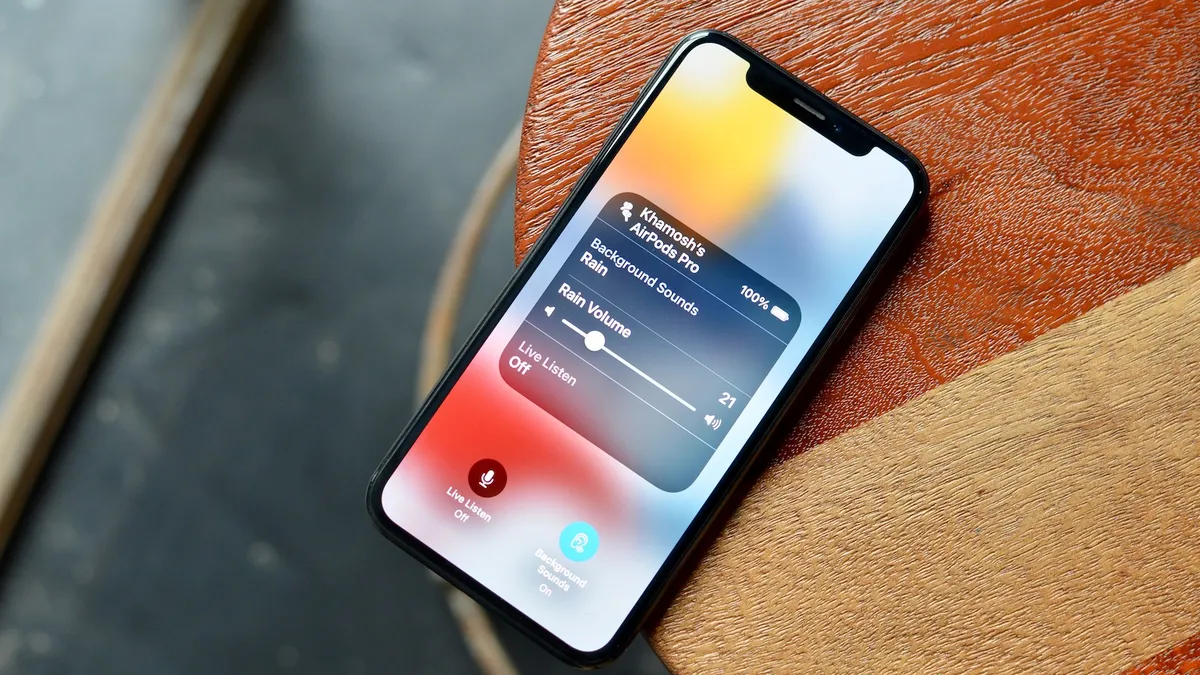
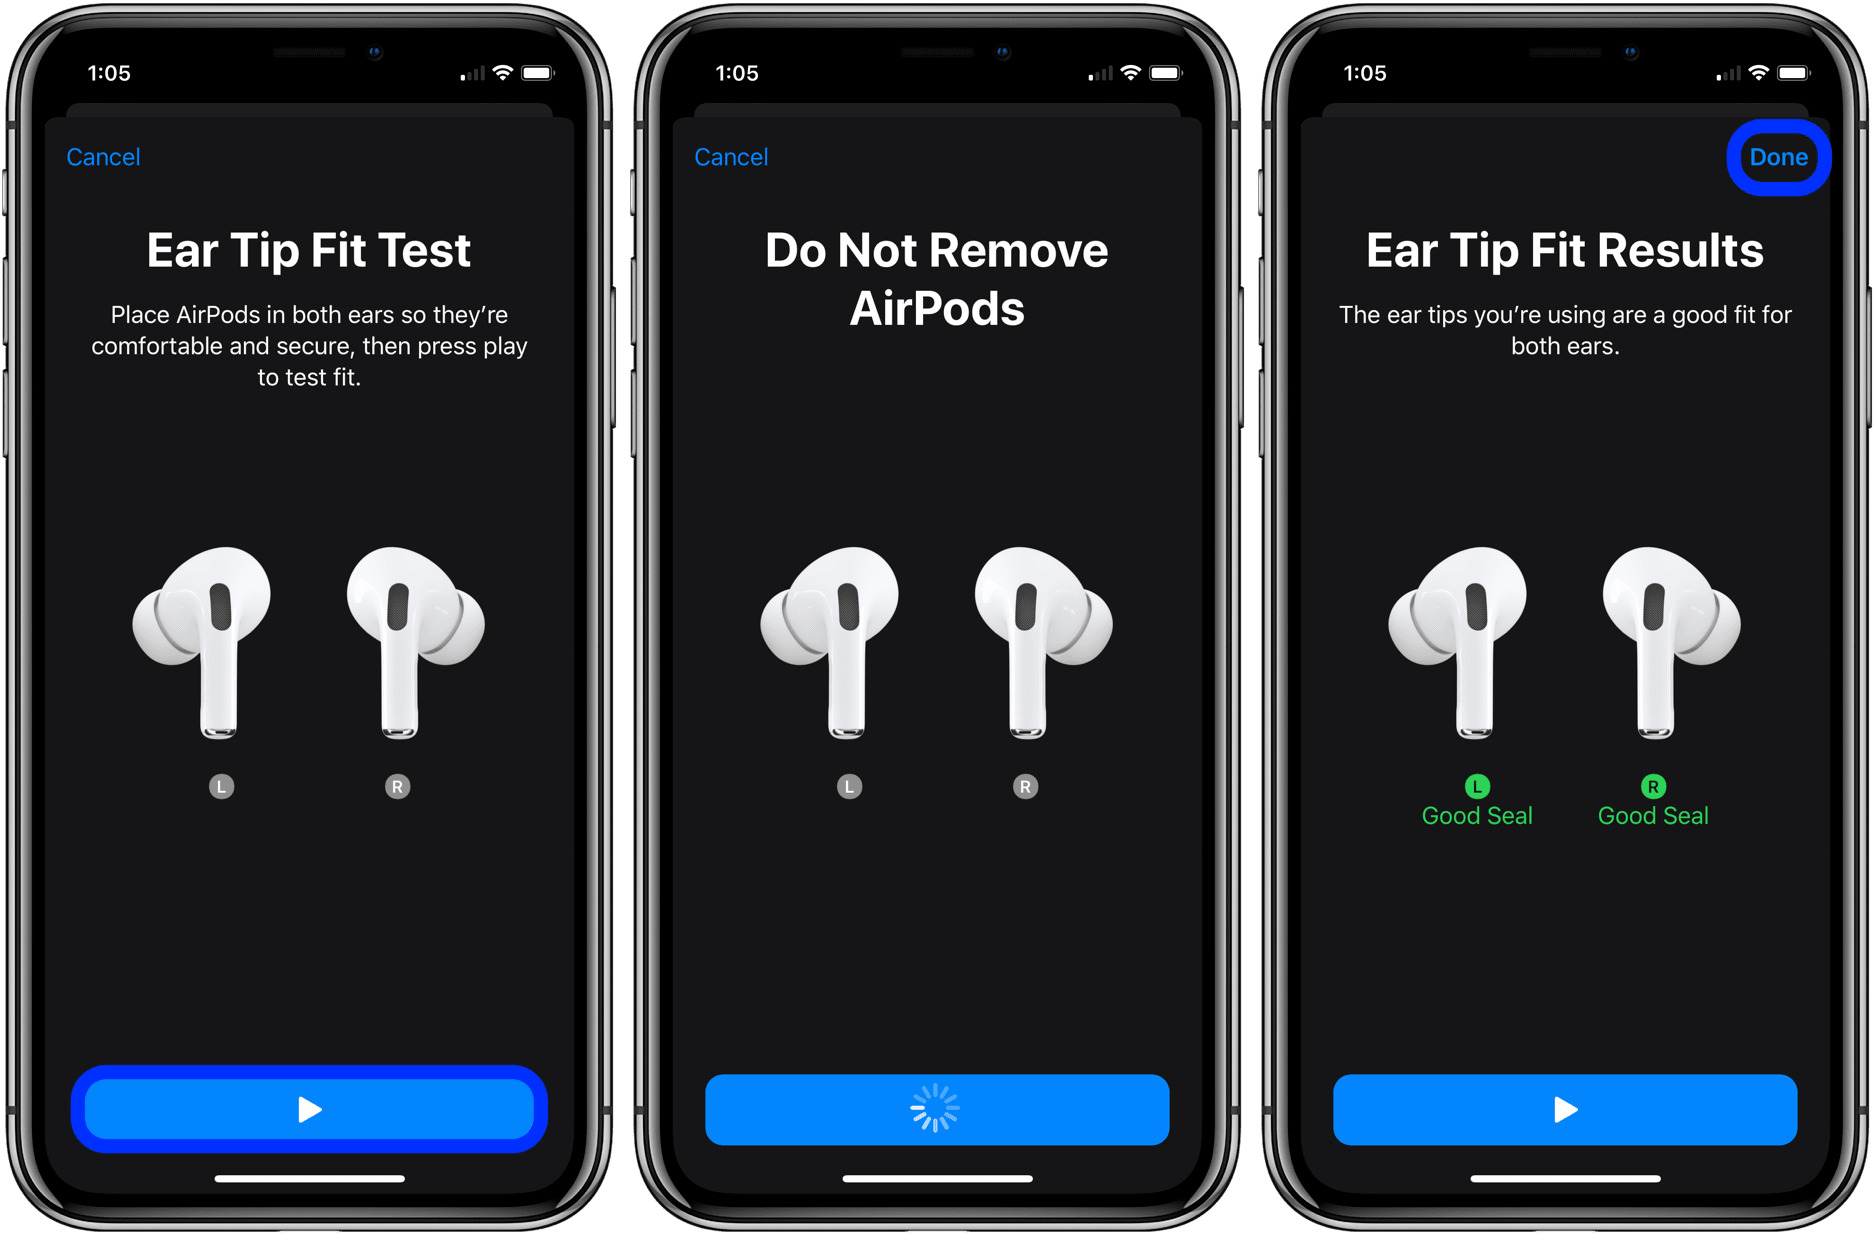
To change how your AirPod Pros behave, open the Settings app on your iPhone and tap the name of your AirPods near the top of the screen. If the controls are not visible, tap Controls & Gestures first. Under Press and Hold AirPods, you can select Left or Right and assign each side to Siri or Listening Mode (the modes used by press and hold). You can set one AirPod for Siri and the other for listening modes. You can adjust the level of noise cancellation in Settings > Bluetooth > your AirPod Pros. Use the Ear Tip Fit Test in Settings > Bluetooth > your AirPod Pros to determine if you have the right size ear tips. Automatic Ear Detection pauses audio when you remove an AirPod Pro; this can be toggled in Settings > Bluetooth > your AirPod Pros. To rename your AirPod Pros, go to Settings > Bluetooth, tap the name of your AirPods, tap the info button next to it, tap the name again, and enter a new name. Changing the press-and-hold action on one AirPod applies to both if both are set to change listening modes.
Frequently Asked Questions
Can I use only one AirPod Pro at a time?
Yes, each AirPod Pro works independently. You can use a single AirPod for calls or audio while keeping the other in the case, which is useful for staying aware of your surroundings.
Can I use AirPod Pros with Android devices?
Yes, you can pair AirPod Pros with Android devices via Bluetooth. Some features like automatic ear detection and Siri will not work.
Are AirPod Pros sweat-resistant or waterproof?
AirPod Pros have an IPX4 rating, meaning they are sweat and water-resistant against light splashes and sweat during workouts. They are not fully waterproof and should not be submerged in water or exposed to excessive moisture.
Related reading: How To Turn Off AirPod Announcements and How To Answer Calls With Wireless Earbuds.