
In a world where smartphones have become an integral part of our lives, the need for ample storage to accommodate photos, videos, and apps is ever-increasing. One popular storage option for iPhone users is iCloud, a cloud-based service provided by Apple. While iCloud offers convenience and accessibility, it may not provide enough storage for some users. Fortunately, there is a way to change iCloud storage to phone storage, allowing you to have more control over your device’s memory. In this article, we will explore how to make this switch and delve into the benefits it brings. Whether you’re looking to free up space or simply prefer having your files stored directly on your phone, we’ve got you covered with step-by-step instructions and valuable insights.
Inside This Article
- Step 1: Accessing iCloud Settings
- Step 2: Managing iCloud Storage
- Step 3: Backing up iPhone to iCloud
- Step 4: Transferring Data from iCloud to Phone Storage
- Conclusion
- FAQs
Step 1: Accessing iCloud Settings
Accessing iCloud settings on your iPhone is easy and straightforward. iCloud provides a seamless way to manage your storage and backups. Here’s how you can access the iCloud settings:
1. Open the “Settings” app on your iPhone. It’s represented by a gear icon and is usually found on your home screen.
2. Scroll down until you see your name or Apple ID at the top, and tap on it. This will take you to your Apple ID settings.
3. In the Apple ID settings, you’ll find the “iCloud” option. Tap on it to access your iCloud settings.
4. Once you’re in the iCloud settings, you’ll see a variety of options such as iCloud Storage, Apps using iCloud, and more. You can now manage and configure your iCloud storage as desired.
5. You may be prompted to enter your iCloud password or authenticate with Touch ID/Face ID depending on your device’s security settings. Provide the necessary information to proceed.
That’s it! You’ve successfully accessed your iCloud settings on your iPhone. Now you’re ready to explore the various features and options available to you.
Step 2: Managing iCloud Storage
When it comes to managing your iCloud storage, there are a few important factors to consider. iCloud storage is a precious resource that ensures your data, apps, and files are safely backed up and easily accessible across your Apple devices. However, if you find yourself running out of space or simply want to optimize your storage usage, follow these steps to manage your iCloud storage effectively.
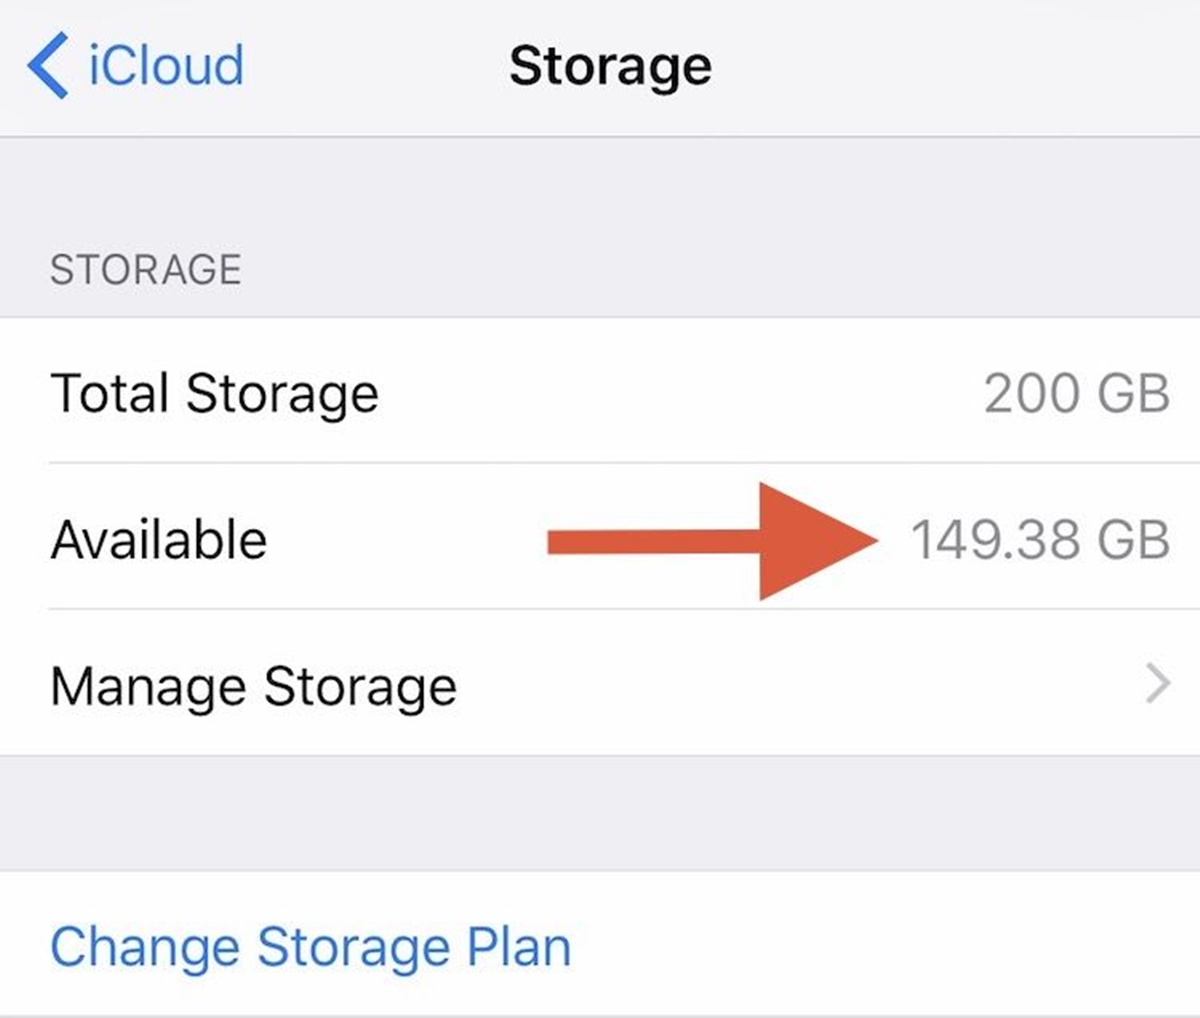
1. Evaluate your storage usage: The first step in managing your iCloud storage is to assess how much storage you’re currently using. To do this, go to “Settings” on your iPhone or iPad, tap on your name, then select “iCloud” followed by “Manage Storage.” Here, you’ll find a breakdown of the apps and data taking up the most space in your iCloud storage.
2. Review and optimize app backups: Many apps on your iOS devices automatically back up their data to iCloud, which can consume a significant amount of storage over time. Review the list of apps that are currently using iCloud storage and determine if you need to keep their backups. To disable backups for specific apps, simply toggle the switch off next to their names.
3. Delete unnecessary backups: Over time, you may accumulate backups of old devices or unnecessary data. To free up space, you can delete unnecessary backups by selecting “Backups” in the iCloud storage management menu. From there, you can choose the backups you want to delete and tap “Delete Backup.” Be cautious and ensure that you don’t delete any important backups.
4. Optimize iCloud Photo Library: If you’re an avid photographer, your iCloud Photo Library might be taking up a significant portion of your storage. To minimize its impact, you can enable the “Optimize iPhone Storage” option in the “Photos” settings. This will automatically store full-resolution photos in iCloud while keeping device-optimized versions on your iPhone or iPad.
5. Offload unused apps: If you have apps on your device that you rarely use, consider offloading them rather than deleting them. Offloading an app removes the app itself but keeps its data and documents intact in case you decide to reinstall it in the future. This can be done by going to “Settings,” selecting “General,” then “iPhone Storage,” and tapping on the app you want to offload.
6. Consider upgrading your iCloud storage: If you find yourself consistently running out of iCloud storage, it might be worth considering upgrading to a higher storage plan. Apple offers various storage options, including 50GB, 200GB, and 2TB plans, each with its own monthly subscription fee. Upgrading your iCloud storage plan will provide you with more space to store your data and ensure seamless backups.
By following these steps to manage your iCloud storage effectively, you’ll be able to optimize your storage usage and ensure that your important data is secure and easily accessible. Remember to regularly review your storage and make any necessary adjustments to keep your iCloud storage organized and efficient.
Step 3: Backing up iPhone to iCloud
Backing up your iPhone to iCloud is an essential step to ensure that your data is safe and easily recoverable in case of any unfortunate events, such as accidental deletion, device loss, or damage. iCloud provides an effortless and convenient way to back up your device wirelessly, allowing you to restore your data seamlessly on a new device or after a reset.
To begin the backup process, make sure your iPhone is connected to a Wi-Fi network and has enough storage space available on iCloud. It’s important to note that you need to have an active iCloud account and enough iCloud storage space to successfully complete the backup.
To check your iCloud storage space, go to your iPhone’s “Settings” app, and tap on your name at the top of the screen. From there, select “iCloud” and then “Manage Storage.” You will see how much storage is being used and how much is available. If you need more storage, you can upgrade your iCloud plan by selecting “Buy More Storage.”
Once you have confirmed your iCloud storage space, follow these steps to back up your iPhone:
- Open your iPhone’s “Settings” app
- Tap on your name at the top of the screen
- Select “iCloud”
- Scroll down and tap on “iCloud Backup”
- Toggle the “iCloud Backup” switch to the “On” position
- Tap on “Back Up Now”
During the backup process, ensure that your iPhone remains connected to Wi-Fi and is plugged into a power source to prevent any interruptions. The backup time may vary depending on the size of your data and internet connection speed, so it’s best to perform the backup when you have a stable and fast internet connection.
It’s worth noting that iCloud backups include essential data such as app data, device settings, photos, videos, messages, and more. However, some items like music, movies, and TV shows purchased from the iTunes Store are not included in the backup. These items can be re-downloaded from the iTunes Store using your Apple ID after restoring your device.
Once the backup is completed, you will have peace of mind knowing that your valuable data is securely stored on iCloud. In case you ever face any data loss or need to set up a new device, you can easily restore your iPhone from the iCloud backup during the setup process.
It’s highly recommended to regularly back up your iPhone to iCloud to ensure that you always have an up-to-date copy of your data. This way, you can quickly recover from any data loss situations without losing any important information or memories.
Step 4: Transferring Data from iCloud to Phone Storage
Once you have successfully managed your iCloud storage and backed up your iPhone to iCloud, you may now consider transferring your data from iCloud to your phone storage. This can be useful if you want to free up some space in your iCloud storage or if you want immediate access to your data even without an internet connection.
To transfer your data from iCloud to your phone storage, follow these simple steps:
Step 1: Open Settings
Go to the Settings app on your iPhone. It is represented by the gear icon and can usually be found on your home screen.
Step 2: Tap on your Apple ID
Once you are in the Settings app, tap on your Apple ID, which is located at the top of the screen.
Step 3: Access iCloud Settings
Scroll down and look for the iCloud option. Tap on it to access your iCloud settings.
Step 4: Manage Storage
In the iCloud settings, tap on the “Manage Storage” option. This will allow you to manage the data stored in your iCloud account.
Step 5: Select Data to Transfer
Under the “Storage” section, you will see a list of apps and their corresponding data that is stored in your iCloud. Tap on the app for which you want to transfer the data.
Step 6: Choose “Offload App”
Within the app settings, you will see an option called “Offload App”. Tap on it to offload the app from iCloud and transfer its data to your phone’s storage. This will remove the app from iCloud but keep its data on your device.
Step 7: Confirm the Transfer
A confirmation prompt will appear asking if you want to continue with the transfer. Tap “Offload App” again to confirm and initiate the transfer process.
Step 8: Repeat for Other Apps
If you have more apps that you want to transfer from iCloud to phone storage, repeat steps 5-7 for each app.
Step 9: Check Data in Phone Storage
Once the transfer process is complete, you can go to the app on your phone and check if the data is now stored in your phone storage instead of iCloud.
By following these steps, you can easily transfer your data from iCloud to your phone storage and have quick and convenient access to your files, photos, and apps without relying on an internet connection or using up your iCloud storage quota.
Conclusion
In conclusion, changing iCloud storage to phone storage can be a beneficial decision for users who may be experiencing limitations in terms of cloud storage capacity or for those who prefer to have their data directly stored on their device. By following the steps outlined in this article, users can easily make the switch and enjoy the convenience of having their files, photos, and documents readily accessible on their mobile phones. It’s important to note that while changing to phone storage provides immediate access and eliminates the need for an internet connection, it also means that users will need to regularly backup their data to ensure its safety. Overall, the choice between iCloud and phone storage ultimately depends on individual preferences and needs.
FAQs
Q: Can I change iCloud storage to phone storage?
A: No, you cannot change iCloud storage to phone storage. iCloud is a cloud-based storage service provided by Apple, while the phone storage refers to the internal storage capacity of your device. These are two separate storage systems, and you cannot directly convert one to the other.
Q: How can I free up space on my iCloud storage?
A: To free up space on your iCloud storage, you can start by deleting old backups or unnecessary files from your iCloud account. Additionally, you can optimize your device settings to reduce the amount of data that gets backed up to iCloud. You can manage your iCloud storage by going to Settings > [Your Name] > iCloud > Manage Storage on your iOS device.
Q: What happens if I run out of iCloud storage?
A: If you run out of iCloud storage, you won’t be able to back up your device or upload new photos, videos, or other files to iCloud. You may receive notifications from Apple informing you about the insufficient storage and prompting you to upgrade your plan or optimize your storage.
Q: Can I access my iCloud storage from multiple devices?
A: Yes, you can access your iCloud storage from multiple devices as long as you’re signed in with the same Apple ID. This allows you to sync your photos, videos, documents, and other files across all your Apple devices seamlessly.
Q: How much does iCloud storage cost?
A: iCloud storage plans and prices vary depending on the amount of storage you need. Apple offers several storage options, ranging from 5GB (which is free) to 2TB. You can choose the plan that suits your needs and budget. To view the pricing details, visit Apple’s website or go to Settings > [Your Name] > iCloud > Manage Storage > Change Storage Plan on your iOS device.